From skipping subfloor prep to botching project order, these common DIY renovation mistakes can get expensive fast. Here’s how to avoid them and build it r...
home improvement and DIY
Planning an Attic Bonus Room

Marcus Hayes
Marcus Hayes is a lifelong DIY enthusiast and former residential carpenter who has spent the last decade renovating his 1970s fixer-upper. Through Tinksmith, he shares his hands-on experience to help fellow homeowners tackle repairs, choose the right tools, and build spaces they love without breaking the bank.
Published October 17, 2026
Updated October 17, 2026
I love an attic bonus room. It is the unicorn space: already under your roof, usually quiet, and sometimes just begging to become a guest room, office, or movie den. But attics also have a talent for humbling confident DIYers. The biggest wins happen before you buy a single sheet of drywall, when you confirm the structure, map your insulation and ventilation strategy, and make sure the plan can actually pass inspection.
This is your pre-renovation checklist for framing, insulation, and the code items that most commonly make or break an attic finish.
Start with the hard truth: can your attic carry people?
Most unfinished attics were built for dead load (the weight of ceiling drywall and insulation) and maybe light storage, not live load (people, furniture, and that treadmill you swear you will use). Once you turn an attic into habitable space, the expected loads are typically higher than “storage,” and the exact requirements depend on your jurisdiction and your specific framing. This is where a structural engineer or qualified framing contractor can save you from expensive guesswork.
What you are looking at up there
- Ceiling joists vs. floor joists: In many 1970s homes (like mine), the “floor” in the attic is actually ceiling joists designed to hold up drywall below. That is not the same thing as a real floor system.
- Rafters and ridge: Traditional rafters can sometimes be modified with proper engineering. But if your roof uses a ridge board (not a structural ridge beam), you cannot just start removing ties and braces.
- Trusses: If your roof uses engineered trusses, do not cut or notch anything without stamped engineering. Trusses are like a Jenga tower that pretends it is a roof. One wrong cut and the whole thing gets exciting in a bad way.
Important reality check: most homeowners cannot reliably identify ridge boards vs. ridge beams or determine load paths by eyeballing it. If you are not 100 percent sure what you have, assume you are not sure, and get a pro to confirm.
Quick structural red flags
- Joists that are undersized for span or widely spaced, especially if they bounce when you walk
- Cracked ceiling drywall below, doors that suddenly stick, or sagging ridgelines
- Previous DIY cuts to webs, braces, or rafters
- Moisture damage, rot, or active leaks
My rule: if you are changing the attic from “storage” to “habitable,” plan on someone needing to verify load paths. Many building departments will require engineered drawings anyway.
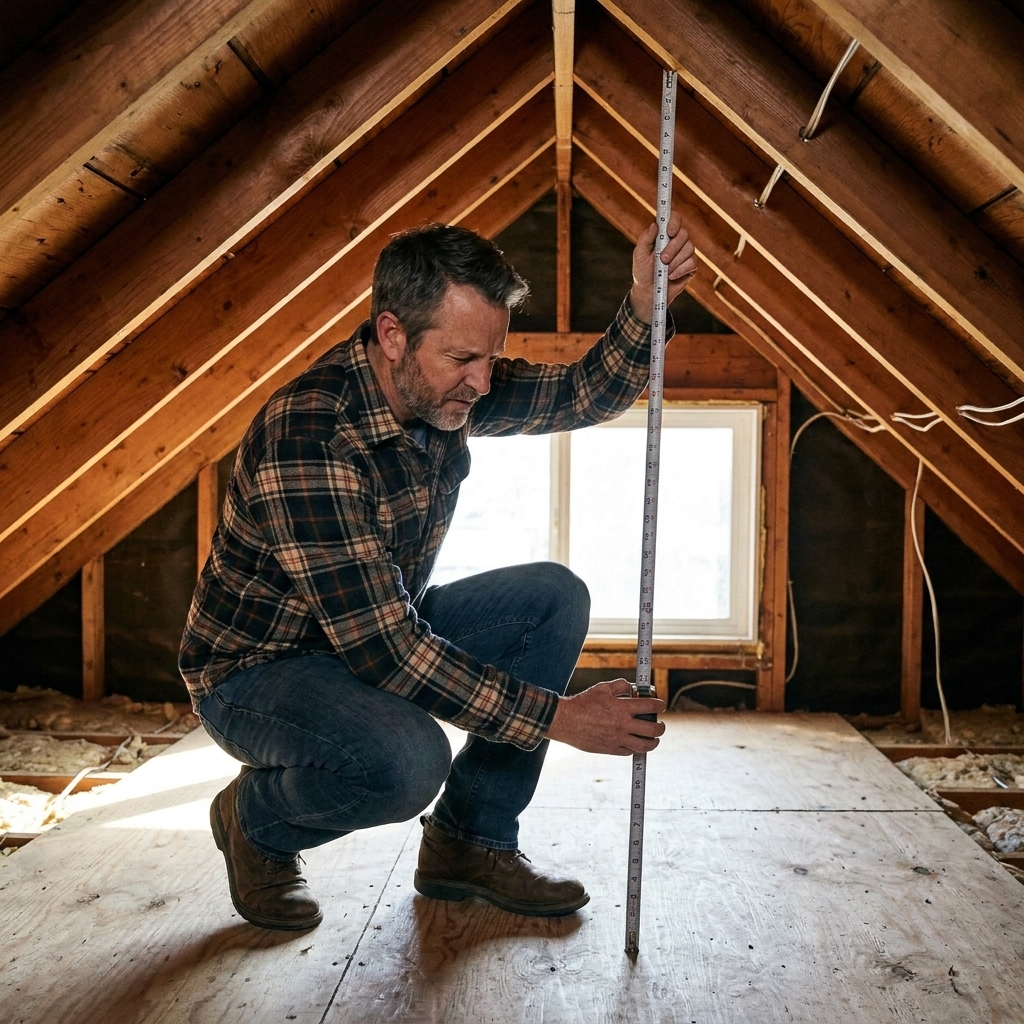
Measure for real room dimensions
Attics trick you with potential. You stand in the middle, it feels roomy, and then you realize half the square footage is only tall enough for a determined housecat.
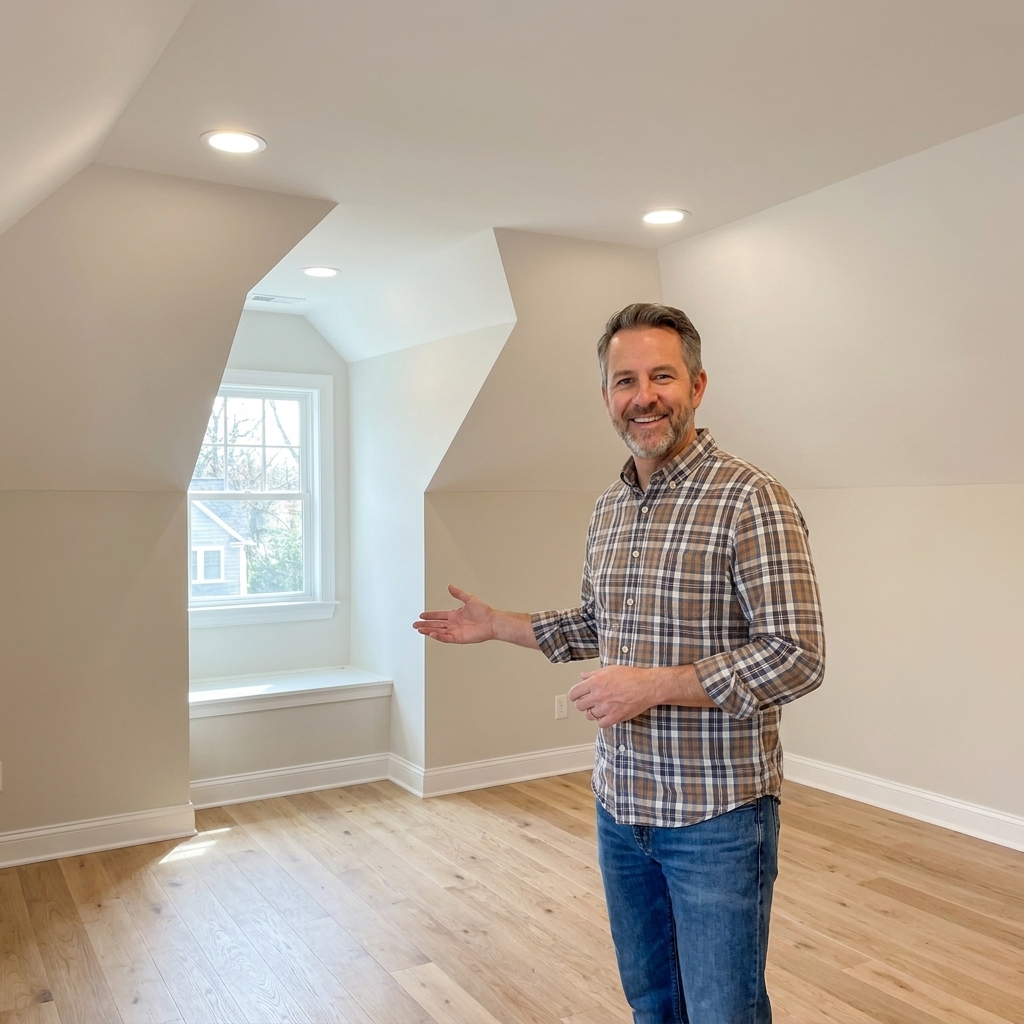
Also, there is “total floor area” and then there is “habitable, countable floor area.” The difference is usually headroom. Sloped ceilings and low knee-wall zones are often the reason an attic that looks big does not qualify as a bedroom or finished living area.
Ceiling height and usable area
Many jurisdictions use a 7-foot minimum ceiling height rule for habitable rooms, but the attic and sloped-ceiling rules are more specific. Most codes do not just care about the highest point. They care about how much floor area meets minimum heights, and how low the slopes are allowed to go at the edges. This is one of the most common inspection surprises, so confirm your local thresholds early.
Before you design the layout, mark out:
- Where the ceiling hits 7 feet (or your local minimum)
- Where sloped areas drop below your local cutoff
- Where knee walls would land
- Where furniture can realistically fit under slopes
Framing plan: build the shell first
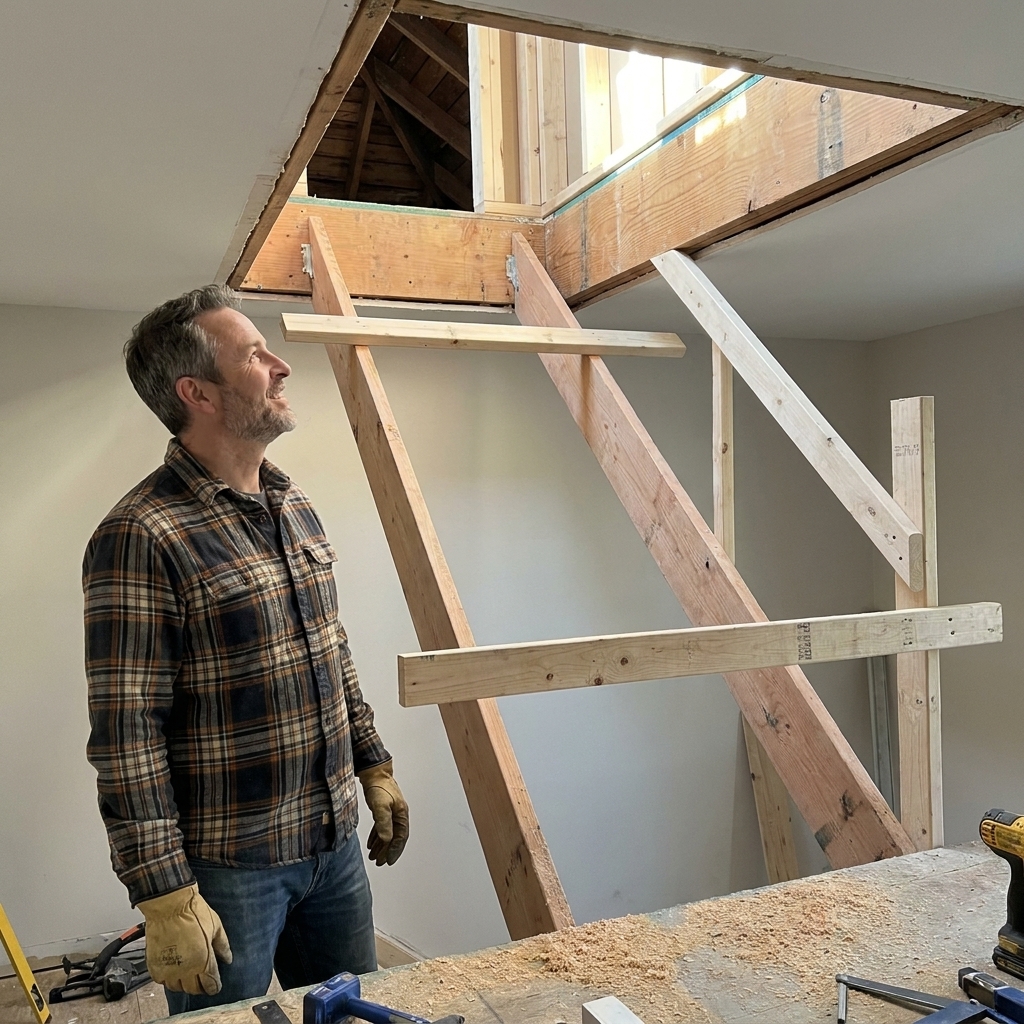
Attic framing is usually a mix of new floor structure, knee walls, dormers or skylights (if you add them), and lots of careful blocking for drywall and trim. Plan it like you are building a tiny house inside your roof.
Floor framing options
- Sistering joists: Adding new lumber alongside existing joists to increase strength. This can help in some scenarios, but it is not a universal fix. The details matter: span, species and grade, bearing points, fasteners, and how the loads transfer down to real support.
- New floor system: Installing new joists or engineered members that bear on load-bearing walls or new beams below. This is common when the existing “joists” are really just ceiling ties.
- Subfloor upgrade: Many attics have thin boards or random plywood scraps. A bonus room typically gets a proper subfloor, often tongue-and-groove panels, glued and screwed to reduce squeaks.
Noise note: If the room below is a bedroom or living area, consider sound control now. Once drywall is up, it is too late to wish you had added mineral wool or resilient channel.
Walls, knee walls, and backing
Knee walls are not just “little walls.” They need:
- Solid plates anchored to the floor framing
- Stud layout that allows insulation depth and drywall attachment
- Air sealing continuity so those triangular side spaces do not become wind tunnels
If you have side attic spaces behind knee walls, plan how you will insulate and air-seal them without making future access impossible. Those areas often need weatherstripped access panels or small doors, plus careful detailing so insulation stays continuous and the space does not become a cold, leaky bypass around your “finished” room.
Also plan backing for:
- Handrails and guardrails
- Built-ins or shelving
- Ceiling fans or heavy light fixtures
- TV mounts
Fireblocking and draftstopping
This is a quiet code requirement that becomes loud at inspection. Attic remodels often create new concealed cavities that can move fire and smoke fast. Many codes require fireblocking at key framing transitions and draftstopping in larger concealed spaces. Ask your inspector what they expect in knee-wall cavities, soffits, dropped ceilings, and around stair openings before you close anything up.
Stairs: the project inside the project
Most attic conversions rise or fall on the stair design. Code commonly governs minimum width, headroom, riser height, tread depth, landings, and handrails. If your plan is “we will just do a steep set of steps,” that is usually where the inspector says, “We will not.”
If you do not already have code-compliant stairs, talk to your building department early. A lot of attic dreams die right here, especially in tighter homes.
Insulation: choose a system, not a product
In an attic bonus room, comfort depends less on the brand of insulation and more on whether you create a complete thermal and air control layer. Sloped roofs and knee-wall side attics are notorious for air leaks, ice dams, and summer heat soak.
Quick but important distinction: an air barrier stops air movement. A vapor retarder slows vapor diffusion. They are not the same thing, and mixing them up is how people accidentally create moisture problems while trying to “seal everything.”
Roofline vs. floor insulation
You generally have two strategies:
- Insulate the roofline (conditioned attic approach): You bring the bonus room and any adjacent side spaces inside the thermal envelope. This often improves comfort and HVAC performance, but it must be done with proper ventilation or an approved unvented assembly.
- Insulate the attic floor (traditional attic approach): Works when the space above stays unconditioned. For a finished bonus room, this is usually not the right fit unless the “bonus room” is more of a small finished area with clear separation.
Most attic bonus rooms end up insulating along the roofline and gable walls because the room lives under the roof.
Ventilation basics for sloped ceilings
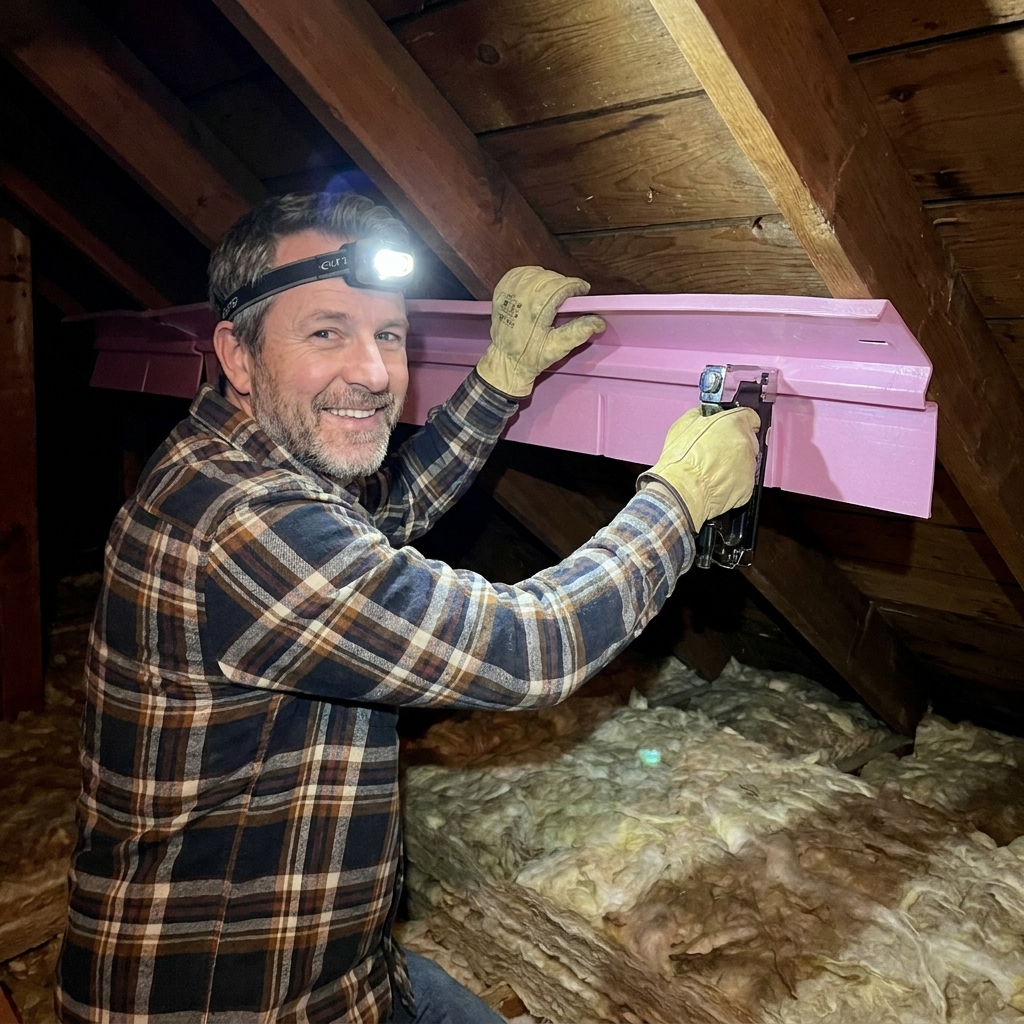
If your assembly is vented, you typically need a continuous air channel from soffit to ridge (or to a high roof vent). That channel is kept open with baffles (rafter vents). Without them, insulation can block airflow, and moisture can build up where you really do not want it.
- Soffit intake: air enters low
- Ridge or high exhaust: air exits high
- Baffles: maintain the pathway
If you are considering an unvented roof (often done with spray foam), your local code and climate zone matter a lot. Unvented assemblies commonly require specific minimum insulation levels or specific ratios of exterior to interior insulation to keep the roof sheathing warm enough to avoid condensation. This is not a “close enough” category.
Air sealing: the boring step that makes everything work
Air sealing is where DIYers can outperform rushed pros, simply because you can take your time. Before insulation, seal:
- Top plates and framing gaps with caulk or foam (use fire-rated products where required)
- Wire and plumbing penetrations
- Chases to lower floors
- Recessed light penetrations (better yet, avoid cans in sloped ceilings unless they are rated for the application)
Think of insulation like a winter coat. If you leave the zipper open, it is not the coat’s fault.
Common insulation choices
- Fiberglass batts: budget-friendly, DIY-friendly, but needs perfect fitting and good air sealing to perform well.
- Mineral wool batts: denser, often easier to friction-fit, better sound control, and more forgiving around odd cavities.
- Spray foam: excellent air sealing and high R-value per inch, but expensive and best left to trained installers. Also changes how the roof can dry, so the assembly must be correct.
- Rigid foam: useful for continuous insulation, tricky detailing, and requires careful fire protection details in many applications.
Code items that surprise people
Every area tweaks the rules, so treat this as a practical checklist to discuss with your building department. If you want the bonus room to be a legal bedroom, the bar is higher in a few key areas.
Egress: a safe way out
Bedrooms typically require an egress window or exterior door that meets minimum size rules for a person to climb out. That usually means minimum clear opening area, minimum opening height and width, and maximum sill height. Even if it is not a bedroom, many attics still need compliant emergency escape and rescue openings depending on the use and layout.
Plan egress early. Adding a dormer or resizing a window is structural work and often drives cost.
Fire safety: separation and alarms
- Smoke alarms: code typically requires them in bedrooms, outside sleeping areas, and on each level. Interconnection is often required in remodels.
- Carbon monoxide alarms: commonly required when there are fuel-burning appliances or an attached garage, and frequently required on each level.
- Garage separation: if the attic connects to space above a garage, fire-rated drywall and proper sealing details may be required.
Stairs, guards, and handrails
Inspectors care a lot about falls. Expect rules for:
- Minimum stair width and headroom
- Maximum riser height and minimum tread depth
- Handrail height and graspability
- Guards at open sides and landings
If you have low headroom at the stair due to the roof slope, you may need to rework framing or add a dormer. This is another reason to finalize stairs before framing walls upstairs.
Insulation and energy code
Energy codes typically dictate minimum insulation levels by climate zone and may require:
- Specific R-values in roof and walls
- Air sealing and sometimes blower-door testing
- Vapor retarder requirements (this varies widely by climate and assembly)
Your building department can tell you the target R-values for your area. If you are tight on rafter depth, you may need a higher performance insulation approach or furring to increase cavity depth.
Electrical: what code usually expects
A finished attic often triggers modern electrical requirements, depending on your jurisdiction and the scope of the remodel:
- Enough receptacles so you are not living on extension cords
- AFCI and GFCI protection where required
- Proper lighting and switch placement at stairways
- Dedicated circuits if you add HVAC equipment, a bathroom, or an office load
If your attic wiring looks like it was installed sometime around the invention of disco, consider having an electrician evaluate it before you cover it up forever.
HVAC and ventilation
Attics get hot and cold fast. Plan how the room will be heated and cooled, and make sure the system is allowed by code and sized appropriately. Common options include:
- Extending existing ductwork (only if your system can handle the added load)
- A ductless mini-split
- Electric baseboard or wall heaters (check local rules and operating costs)
Also consider air movement and pressure balance. A room with a supply vent but no good return path can end up stuffy or whistling. Depending on your setup, that can mean adding a return, a transfer grille, or an undercut door plan that actually works.
Bathrooms (if you add one) typically require exhaust ventilation ducted to the exterior, not into the attic. Please do not vent warm, moist air into the same space you are trying to keep dry. That is like inviting mold to move in and giving it a welcome basket.
Permits and inspections
If you are creating new habitable space, most municipalities require a permit. It is not just bureaucracy for bureaucracy’s sake. You are changing life-safety elements like egress and stairs, and potentially altering structural loads.
Typical documentation
- A floor plan showing room use, stairs, windows, smoke and CO alarms
- Framing details and structural notes (often engineered when modifying trusses or adding beams)
- Insulation and ventilation details
- Electrical and HVAC scope
Common inspection points
- Framing inspection: before insulation and drywall
- Rough electrical and rough plumbing: before walls are closed
- Insulation inspection: sometimes separate, sometimes combined
- Final inspection: guards, handrails, egress, alarms, finish details
If you want a smoother permit process, bring clear drawings and be honest about scope. Inspectors are much happier helping you do it right than discovering surprises under fresh paint.
Budget and timeline reality check
An attic bonus room can be cost-effective compared to an addition, but it is rarely “cheap.” The stair, structure, and insulation details add up. Plan extra time for:
- Structural engineering and any beam or joist upgrades
- Stair design and framing changes below
- Electrical runs from lower levels
- Drywall finishing in tight angles (attics love angles)
If you are DIYing, the biggest money saver is labor. The biggest money pit is rework. That is why planning matters more here than in almost any other room.
Pre-build checklist
- Confirm the attic can meet ceiling height and usable area requirements
- Verify the floor structure can support habitable loads (engineer when needed)
- Decide on roofline strategy: vented or unvented assembly
- Plan air sealing, baffles, and insulation depth before framing finishes
- Detail knee walls and side attic spaces for insulation continuity and access
- Lock in stair location and code-compliant geometry
- Confirm egress plan, especially if it will be a bedroom
- Plan smoke and CO alarm locations and interconnection requirements
- Ask about fireblocking and draftstopping expectations before drywall
- Map electrical, HVAC, and ventilation routes that will actually fit
- Talk to your building department early about permits and inspections
FAQ
Can I finish my attic without a permit?
In most places, creating new habitable space requires a permit. Even if enforcement varies, the bigger issue is safety and resale. Unpermitted bedrooms and staircases can create headaches later. Call your local building department and describe the scope before you start.
Do I need to reinforce attic joists?
Often, yes. Many attics are framed with ceiling joists that are not intended for habitable live loads. A qualified pro can confirm what you have and what is required, which may include sistering, new joists, or beams. The right fix depends on span, bearing, and load path, not just “add more wood.”
What insulation is best for an attic bonus room?
The best insulation is the one that matches your roof assembly and is detailed correctly. Mineral wool or fiberglass can work well with excellent air sealing and correct ventilation. Spray foam can be effective for certain unvented assemblies, but it is more expensive and must be designed properly for moisture control, especially by climate zone.
Can an attic bonus room be a legal bedroom?
Sometimes. Bedrooms typically need compliant egress, minimum ceiling height and area rules (attics with slopes are where this gets specific), and code-compliant stairs. If you are aiming for “legal bedroom” status, design around egress and stairs first.