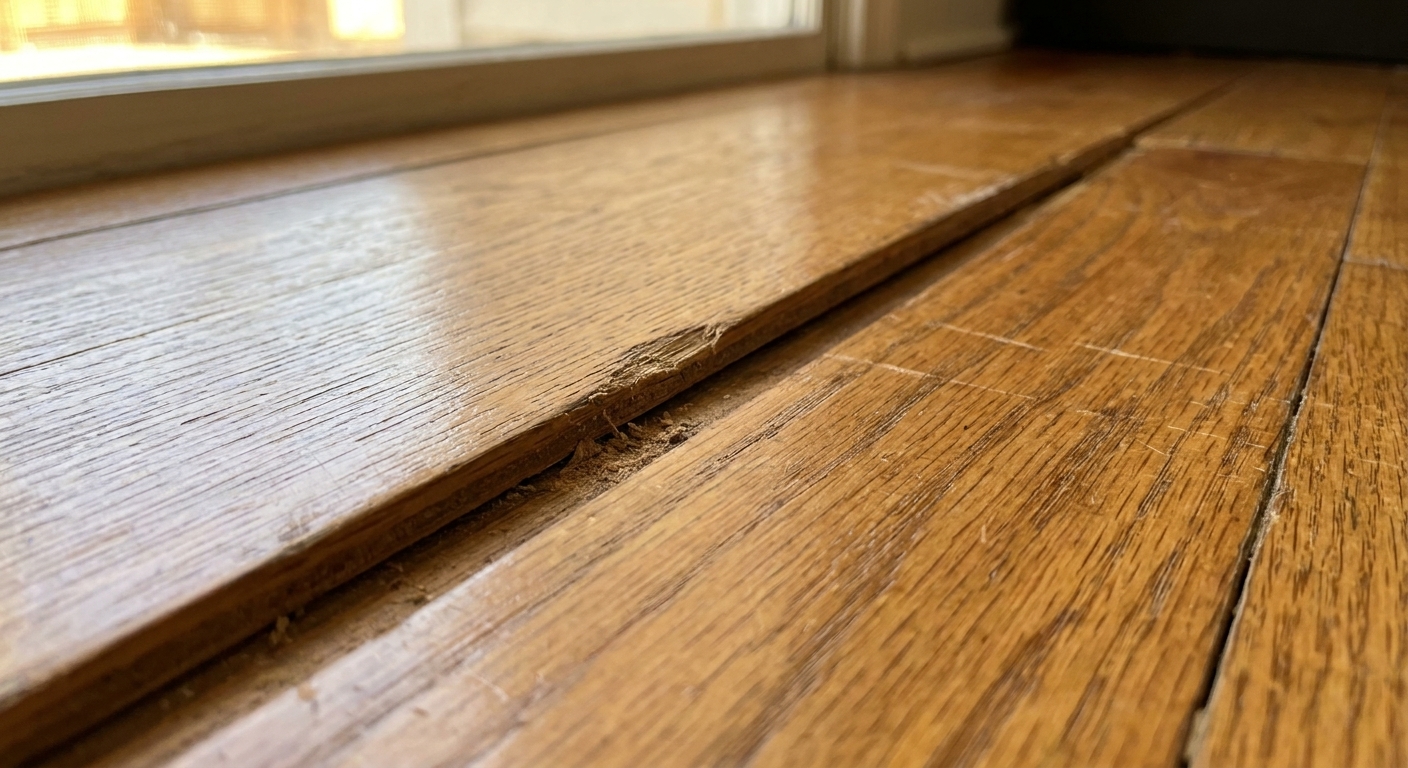
Track down the squeak and fix it using powder, shims, blocking, and safe fastening methods from above or below the floor.
home improvement and DIY
7 Costly Room Renovation Mistakes DIYers Make (And How to Avoid Them)

Marcus Hayes
Marcus Hayes is a lifelong DIY enthusiast and former residential carpenter who has spent the last decade renovating his 1970s fixer-upper. Through Tinksmith, he shares his hands-on experience to help fellow homeowners tackle repairs, choose the right tools, and build spaces they love without breaking the bank.
Published October 17, 2026
Updated October 17, 2026
I love a good weekend renovation. I also love not doing the same work twice because I “saved time” by skipping the boring parts. If you have ever ripped out a brand-new floor because it squeaks like a family of mice holding tap dance practice, you know exactly what I mean.
These are the seven room renovation mistakes I see DIYers make most often, plus the simple, budget-friendly ways to avoid them.

1) Skipping subfloor and surface prep
New flooring and fresh finishes only look as good as what is under them. Subfloor issues do not politely stay hidden. They turn into squeaks, soft spots, cracked tile, and seams that separate.
What goes wrong
- Vinyl plank telegraphs every ridge, staple, and hump.
- Tile cracks when the substrate flexes or the floor system is too bouncy.
- Carpet feels lumpy and wears unevenly.
- Flooring fails early because the subfloor is damp or dirty.
How to avoid it
- Check flatness, not just level. Manufacturers spell out a flatness tolerance. A common requirement for floating floors is around 3/16 inch over 10 feet (or 1/8 inch over 6 feet), but your product may be different. Check the install guide and measure with a long straightedge.
- Fix squeaks now. Drive proper subfloor screws into joists, and add blocking where edges are unsupported.
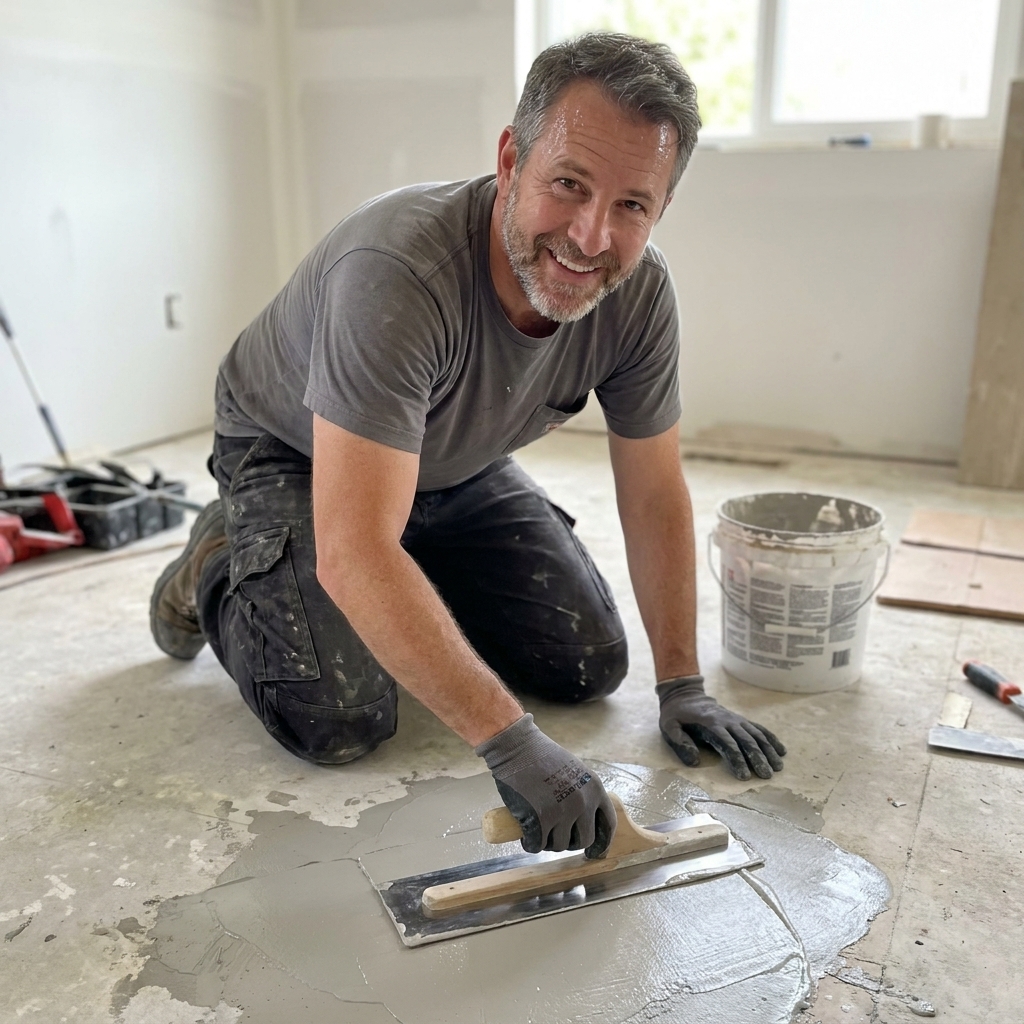
- Patch and feather. Use floor patch or self-leveling underlayment where appropriate, then sand high spots.
- Clean like you mean it. Vacuum grit and remove old adhesive bumps. Grit under underlayment can cause movement and failures later.
- Mind moisture. Basements and slabs may need a vapor barrier or specific underlayment. If you are not sure, read the flooring manufacturer’s install guide and follow it like it is a recipe for brisket.
- For tile, verify the floor is stiff enough. Tile cares about more than “feels solid.” Check joist deflection and underlayment requirements for your tile, especially for natural stone (which typically needs a stiffer floor than ceramic).
2) Bad project sequencing
This is the classic: install the nice new floor, then decide to remove popcorn ceiling. Or paint the walls, then cut in new electrical boxes. Renovations have an order of operations, and ignoring it gets expensive fast.
What goes wrong
- Finished surfaces get scratched, dented, or splattered.
- Trim has to be removed and reinstalled.
- Floor installation gets compromised by later work.
How to avoid it
Use a simple top-down, messy-to-clean rule:
- Structure and mechanical first: framing, plumbing, electrical, HVAC changes.
- Dirty overhead work: ceilings, texture removal, major drywall repairs.
- Walls next: drywall finishing, primer, paint.
- Floors later: especially finished wood, LVP, and tile.
- Trim and doors: baseboards, casings, interior doors, hardware.
- Final paint touch-ups and fixtures: outlet covers, registers, lighting.
If you must do floors earlier, protect them like a newborn. Ram board, taped seams, and felt pads on anything that moves.
3) Underestimating demo and discovery
Demo day is fun right up until you find three layers of flooring, a mystery stain, and wiring that looks like it was installed during a tornado drill. Older homes love surprises.
What goes wrong
- Budget gets blown on unplanned repairs.
- Timeline doubles because materials and tools were not planned for “extra” work.
- DIYers push forward anyway, covering problems instead of fixing them.
How to avoid it
- Plan for a contingency. For many rooms, 10% to 20% of your budget set aside is realistic. Old houses can demand more.
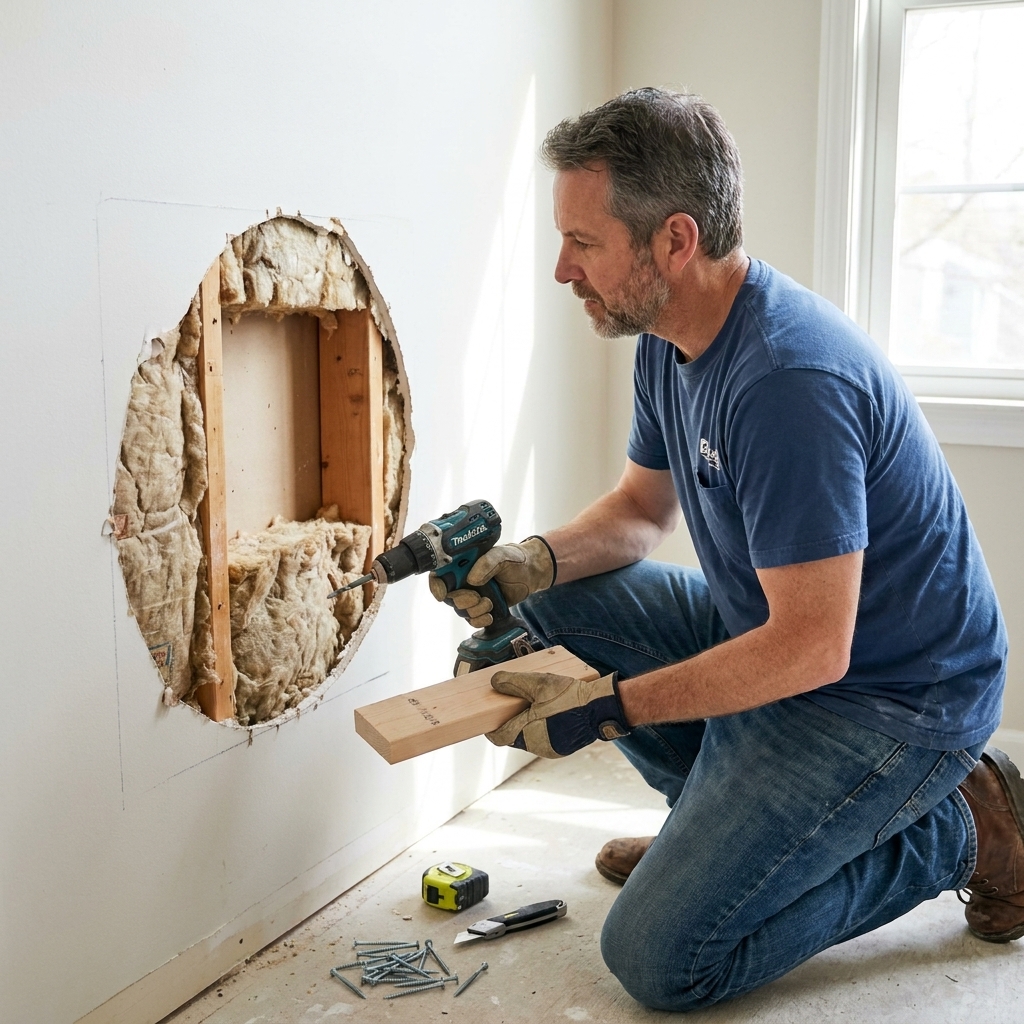
- Do a careful exploratory demo. Open a small area first, especially around plumbing walls, exterior walls, and floors near water.
- Decide your “stop work” triggers. Active leaks, mold, structural rot, aluminum wiring concerns, and questionable electrical splices are all reasons to pause and get qualified help.
- Test before you tear. If your home is older, be cautious with popcorn ceilings, old vinyl flooring, and heavily painted trim. When in doubt, get materials tested for hazards like asbestos or lead before you disturb them and spread dust everywhere.

4) Ignoring moisture and ventilation
Moisture is the silent budget assassin. It ruins paint, swells trim, warps flooring, and invites mold. Bathrooms, basements, laundry rooms, and kitchens are the obvious spots, but any exterior wall can have moisture issues too.
What goes wrong
- Peeling paint and bubbling drywall.
- Swollen MDF baseboards and door casings.
- Floor cupping or adhesive failure.
- Persistent musty smell that no candle can defeat.
How to avoid it
- Fix the source, not the symptom. Leaks, missing flashing, wet basements, and bad exhaust all need to be addressed before finishes go in.
- Vent bathrooms properly. An exhaust fan should, and often must by code, vent outdoors through the roof or wall, not into an attic.
- Use the right materials. In wet areas, choose cement board or foam backer where appropriate, moisture-rated drywall only where allowed, and bathroom-grade paint.
- Know what “moisture rated” does not mean. Green board can be fine for some damp locations, but it is not a proper tile backer for shower and tub wet zones.
- Acclimate materials. Wood and many floating floors need time in the space to adjust to temperature and humidity before installation.
5) Measuring once, cutting twice (and buying the wrong amount)
I have purchased trim three times for the same room. Not because I like the store’s fluorescent lighting. Because I was convinced I could eyeball it. Spoiler: I could not.
What goes wrong
- Extra trips cost time and money.
- Dye lots and wood grain vary, causing mismatched flooring or tile.
- Rushing leads to sloppy cuts and wasted material.
How to avoid it
- Make a cut list and a takeoff. Write down wall lengths, door and window counts, and ceiling height. Do the math on paper, not in your head on aisle 14.
- Buy enough for waste. Rules of thumb: flooring often needs about 10% extra (more for diagonal installs or tricky rooms), tile is often 10% to 15% (more for patterns, large format, fragile tile, or if you are new), and trim should include extra sticks for mistakes and bad boards.
- Check product numbers. For flooring, tile, and paint sheen, match SKUs and batch numbers when possible.
- Measure the room, not the listing. Homes are rarely perfectly square, especially older ones.
- Plan the layout before you start sticking things down. For tile, center the layout and check for skinny “sliver” cuts at edges. For cabinets and vanities, confirm clearances for doors, drawers, and appliances.

6) Choosing materials for looks only
Some finishes photograph beautifully and live terribly. The trick is picking materials that fit the room’s abuse level, your cleaning tolerance, and your skill set.
What goes wrong
- Low-durability paint scuffs instantly in hallways.
- Soft countertops stain or etch from normal use.
- Cheap laminate in damp areas swells at the seams.
- Trendy fixtures fail early and are hard to find parts for.
How to avoid it
- Match the material to the room. Bedrooms are forgiving. Mudrooms and kid bathrooms are not.
- Respect water. Use materials rated for the location, especially floors around tubs, entryways, and basements.
- Read installation requirements before buying. Some products demand specific underlayments, trowels, adhesives, or acclimation times.
- Consider repairability. Can you patch it, touch it up, or replace a section without redoing the entire room?
7) Rushing the finish work
Finish work is where the room starts looking “done,” which is exactly why it is so easy to rush. Caulk, paint, and trim are not hard, but they do reward patience and punish optimism.
What goes wrong
- Wavy caulk lines and gaps that reopen later.
- Paint that peels because prep and primer were skipped.
- Trim joints that separate because wood was not acclimated or nailed properly.
- Visible brush marks and lap lines from poor technique.
How to avoid it
- Prep is the job. Fill holes, sand, vacuum dust, and prime repairs. Paint sticks to clean, dull surfaces.
- Use the right caulk. Paintable acrylic latex for most trim. Use kitchen and bath rated products in wet areas. Tool it smoothly and do not paint until it is ready.
- Mind dry times. Recoat times and cure times are different. Cabinets and floors especially need time before heavy use.
- Upgrade one tool, not all of them. A good angled sash brush, quality roller cover, and sharp miter saw blade do more than a cart full of gimmicks.

Quick checklist before you start
- Confirm the sequence: messy to clean, top to bottom.
- Inspect the bones: subfloor, framing, moisture, and wiring before finishes.
- Read the manufacturer instructions: acclimation, underlayment, adhesives, fasteners.
- Pad your budget: plan for discoveries.
- Buy protective materials: floor protection, plastic, painter’s tape, drop cloths.
- Check permits and inspections: especially for electrical, plumbing, and structural changes. It is easier to do it right now than to reopen walls later.
- Plan for dust and safety: respirator as needed, eye protection, and smart containment so demo dust does not move in with you.
If you avoid just the first two mistakes on this list, you will save yourself a pile of money and at least one “Why is it doing that?” conversation with the wall. Been there. Still own the T-shirt.
FAQ
What is the biggest DIY renovation mistake?
Skipping prep. Subfloor prep for flooring, surface prep for paint, and layout prep for tile are the unglamorous steps that keep the finished work looking good and lasting.
In what order should you renovate a room?
Typically: fix structure and mechanicals, then ceilings and messy work, then walls, then floors, then trim and fixtures. The goal is to protect finished surfaces from later dust, drips, and damage.
When should I call a pro?
Call a pro when you find structural damage, active leaks, extensive mold, or electrical issues you cannot confidently identify. Also consider hiring out tile showers and complex plumbing reroutes if you have not done them before. Paying once beats paying twice.