
Weekend-friendly DIY upgrades that make your home look newer, cleaner, and more valuable without blowing the budget.
home improvement and DIY
Replace a Single-Pole Light Switch Safely

Marcus Hayes
Marcus Hayes is a lifelong DIY enthusiast and former residential carpenter who has spent the last decade renovating his 1970s fixer-upper. Through Tinksmith, he shares his hands-on experience to help fellow homeowners tackle repairs, choose the right tools, and build spaces they love without breaking the bank.
Published October 17, 2026
Updated October 17, 2026
I have replaced a lot of light switches in my life. Some were smooth, some were gritty, and a few had the kind of wiring “creativity” that makes you double-check your life choices. The good news: swapping a standard single-pole wall switch is usually a beginner-friendly DIY job, as long as you take safety seriously and work methodically.
This guide walks you through the tools, the shutdown steps that actually keep you safe, and the exact wiring moves to replace a single-pole switch like a pro.
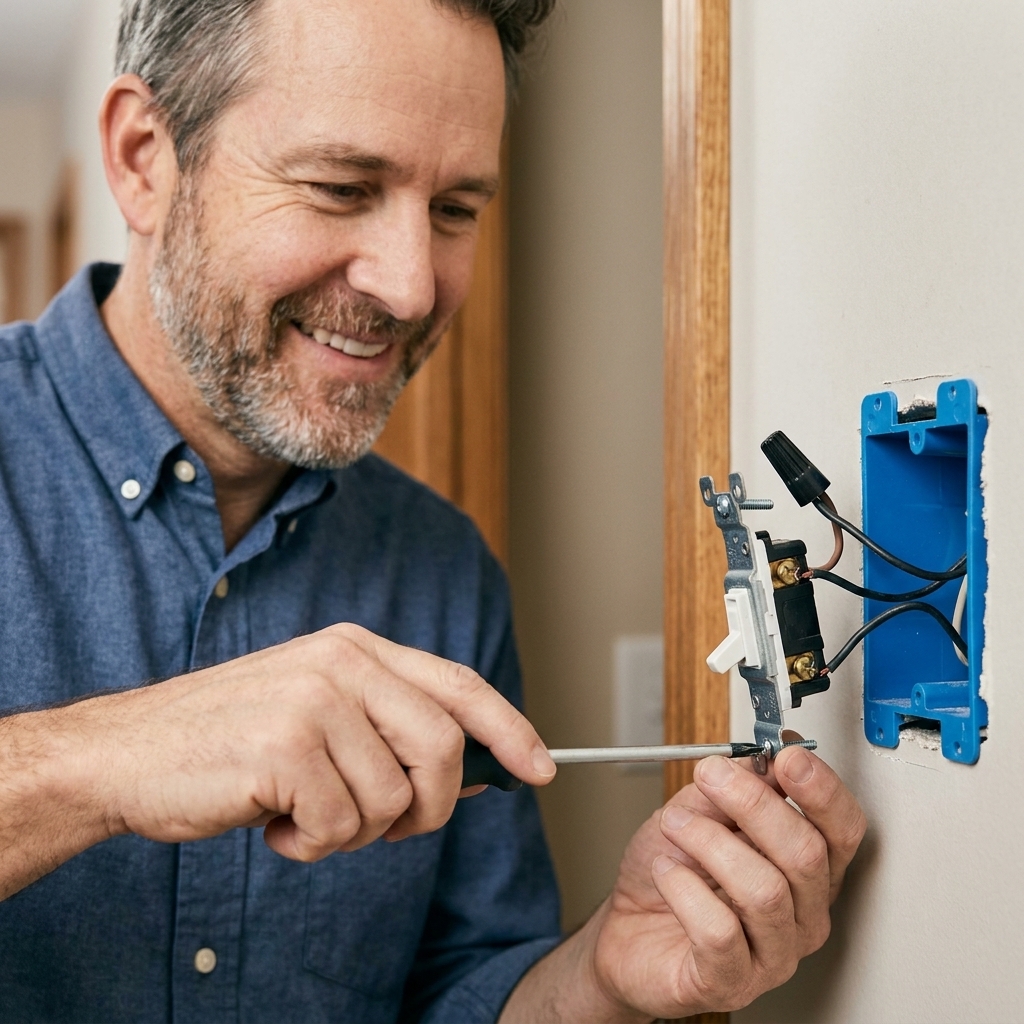
Before you start: Is it really a single-pole switch?
A single-pole switch controls one light (or set of lights) from one location. It is the most common switch in bedrooms, closets, and hallways.
- Single-pole: On and off from one spot. Typically has two brass screws (plus a green ground screw).
- 3-way switch: Controls the same light from two locations (like top and bottom of stairs). Has three screw terminals (plus ground). If you see an extra screw that is often darker (common terminal), it is likely a 3-way.
If your switch is part of a two-location setup, stop and use a 3-way guide instead. Wiring is different.
Tools and materials
- New single-pole switch with the right rating for the circuit. Most basic lighting circuits are 15A, but 20A circuits are common too. Use a switch rated at least the circuit amperage, and match what is already installed.
- Non-contact voltage tester (the little pen-style tester). Great for quick checks, but it is not perfect.
- Multimeter (strongly recommended for confirming power is truly off).
- #2 Phillips screwdriver and a small flathead (some plates use slotted screws).
- Wire stripper/cutter
- Needle-nose pliers (for forming hooks on wire ends)
- Flashlight or headlamp (because breakers love to be in the darkest corner of the basement)
- Electrical tape (handy, not a substitute for proper connections)
- Wire nuts (only if you find damaged conductors or need to re-pigtail)
- Optional upgrades: a spec-grade switch, a new cover plate, and Wago lever connectors if you need to remake splices
Quick reality check: In most homes, a 15A breaker typically goes with 14 AWG copper wire, and a 20A breaker typically goes with 12 AWG copper wire. If you open the box and the wire size surprises you or does not match the breaker, that is a good moment to pause and get help.
Budget tip: Spending a couple extra bucks for a spec-grade switch is usually worth it. The screws are sturdier, the feel is better, and it holds up longer.
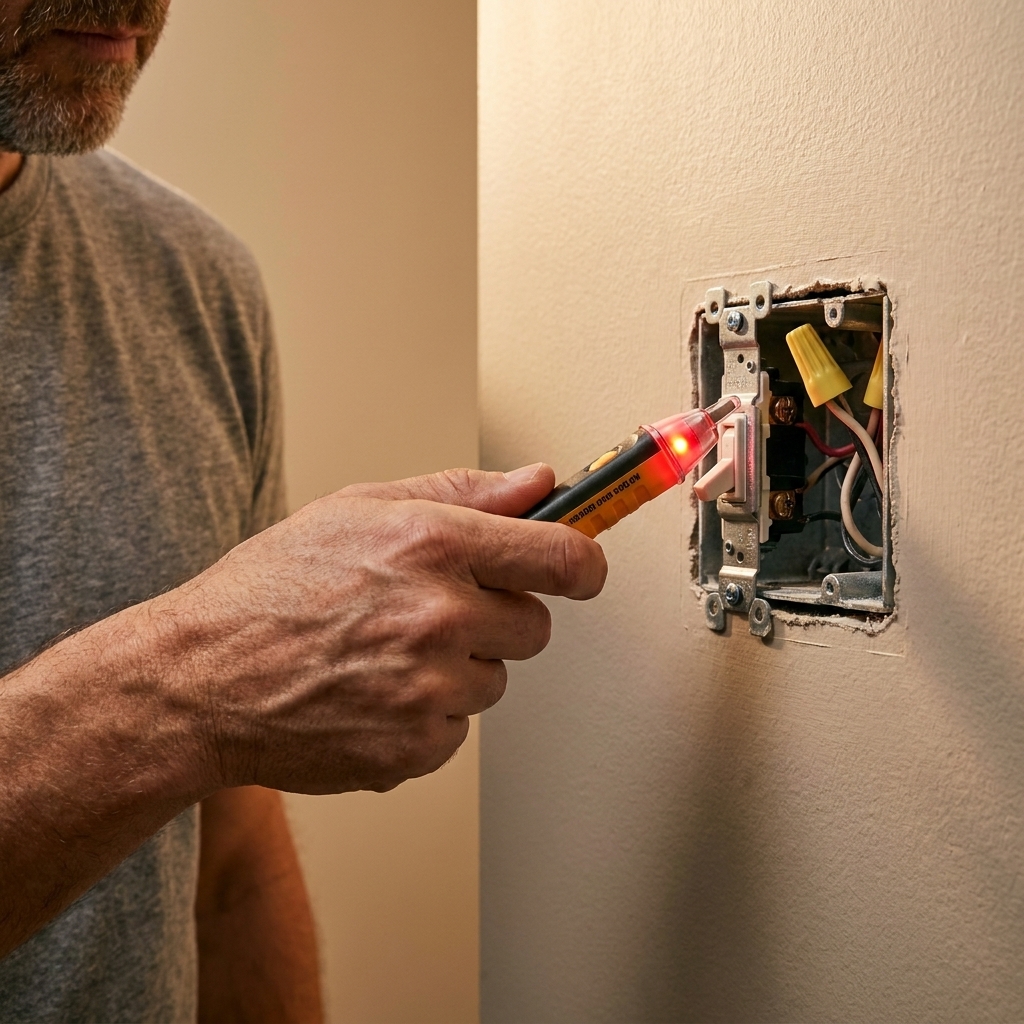
Safety rules I actually follow (and you should too)
- Shut off the breaker, not just the switch. Turning the wall switch off does not make the box safe to touch.
- Test before you touch. Use a non-contact tester on the switch and the wires in the box.
- Pro habit: prove your tester works. Test the non-contact tester on a known-live source before and after you check the switch. Better yet, confirm with a multimeter once the box is open.
- Test again. After you pull the switch out, test the conductors once more. Wires can shift.
- Never rely on breaker labels. “Living room” sometimes means “everything except the living room.”
- If you see aluminum wiring (often dull silver, common in some older homes), stop and call a licensed electrician unless you are trained and have AL/CU rated devices and connectors.
- If the box is crowded, scorched, or brittle, slow down. Overheating and damaged insulation are not “just cosmetic.”
Step-by-step: Replace the switch
1) Turn the power off at the breaker
Flip the breaker you believe feeds the switch. Then go back to the room and try the switch. If the light does not respond, that is a good sign, but it is not proof.
2) Remove the cover plate and confirm power is off
Unscrew the cover plate. Before you touch any screws on the switch itself, use your non-contact voltage tester:
- Test near the switch terminal screws.
- Test near the wires entering the box.
If your tester shows no voltage, do not stop there. Confirm your tester is working (check a known-live source), and if you have a multimeter, verify the conductors are actually dead before you handle bare copper.
3) Pull the switch out carefully
Remove the two mounting screws (top and bottom) holding the switch to the box. Gently pull the switch straight out a couple inches so you can see the wiring.
Now test again, this time closer to the individual conductors and terminal screws.
4) Take a photo and label the wires
Snap a clear photo of the wiring before you disconnect anything. This is the cheapest insurance policy in DIY history.
On a typical single-pole switch you will see:
- One “line” (hot) wire bringing power in (usually black).
- One “load” wire sending power to the light (usually black, sometimes red).
- Ground bare copper or green insulated wire.
You may also see a bundle of white neutral wires tied together in the back of the box and not connected to the switch. That is normal for a standard mechanical single-pole switch. Neutrals typically pass through to feed the light or other loads.
Important: On a basic mechanical single-pole switch, the two brass screws are often interchangeable. Some switches are not, including smart switches, switches with pilot lights, and devices with terminals labeled LINE and LOAD. If your new switch has labels, follow them exactly.
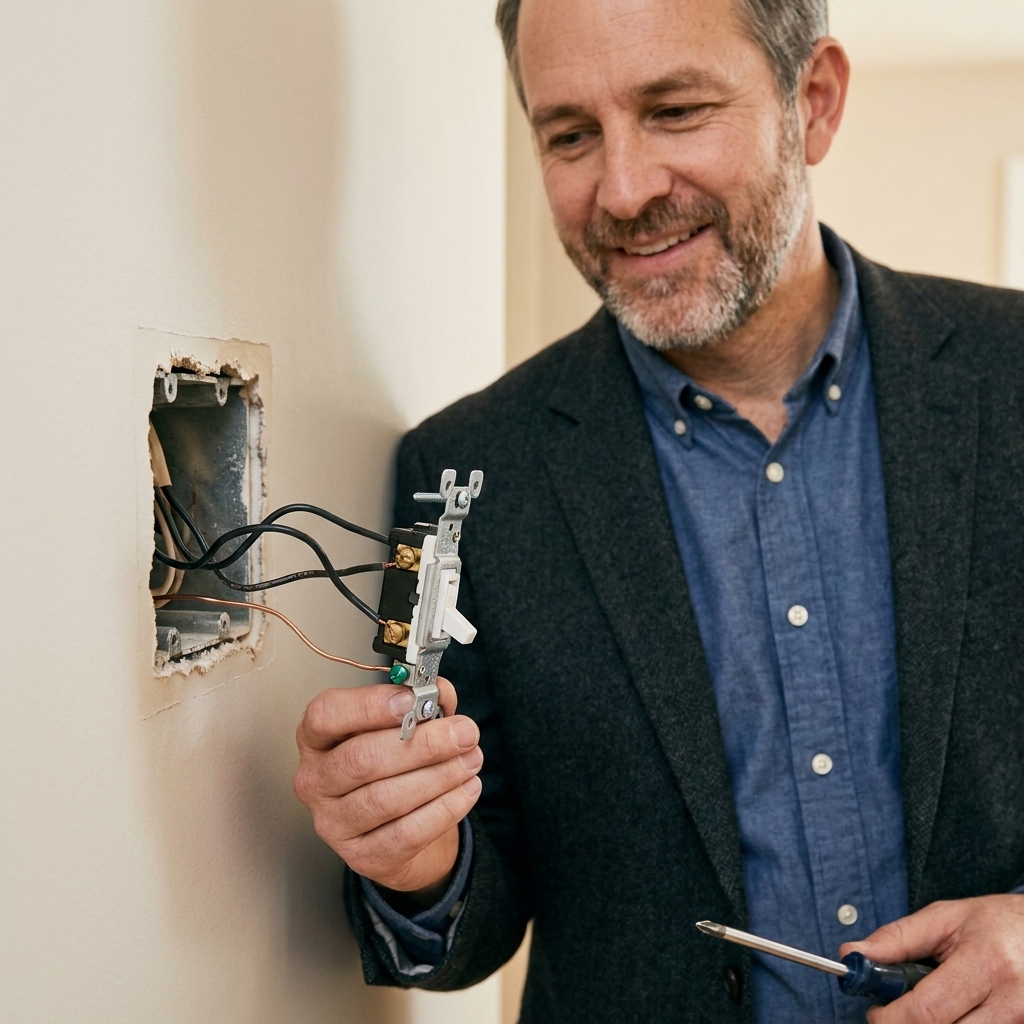
Disconnect the old switch
5) Remove the wires
There are two common connection styles:
- Side-screw connections: Wires are wrapped around screws. Loosen the screws and unhook the wire.
- Backstab connections: Wires push into holes in the back. These can be released by inserting a small screwdriver into the release slot, or sometimes you can pull the wire out while pressing the release.
Pro move: If your old switch uses backstabs, consider switching to side-screw or back-wire clamp style. Push-in connections can loosen over time, especially in older boxes where wires have been moved around a few times.
6) Inspect and prep the wire ends
If the copper is nicked, bent badly, or darkened from heat, cut it back and re-strip fresh copper. You typically want about 3/4 inch of bare copper for a screw terminal, but follow the strip gauge on the switch if it has one.
Use needle-nose pliers to form a clean clockwise hook so tightening the screw pulls the wire tighter, not looser.
Install the new single-pole switch
7) Connect ground first
Attach the bare copper or green ground wire to the green ground screw on the switch. Tighten firmly (and follow any torque guidance printed on the device, if provided).
If you have more than one ground wire in the box, they should be tied together with a pigtail to the switch. If you have a metal box, make sure the box is bonded too, not just the device. If any of that sounds fuzzy, that is a solid place to call an electrician.
8) Connect line and load to the brass screws
Attach the two remaining wires (usually black and black, or black and red) to the two brass screws.
- Hook the wire clockwise around the screw.
- Tighten until the wire is secure and cannot wiggle (or to the specified torque, if listed).
- Make sure no bare copper is exposed beyond the terminal area.
If your switch has a back-wire clamp (a straight-in hole plus a side screw that clamps), that is a great option. Insert straight, tighten the clamp screw, and give the wire a gentle tug test.
Small detail that matters: Keep the ground tucked back first, then fold the hot conductors so they are not pressed against the box edge. If you used screw hooks, make sure each hook sits fully under the screw head.
9) Fold the wires neatly and mount the switch
Carefully fold the wires back into the box in an accordion shape. Avoid sharp bends and avoid putting pressure directly on the terminal screws.
Set the switch into the box and install the two mounting screws. Use gentle, even pressure so the switch sits straight.
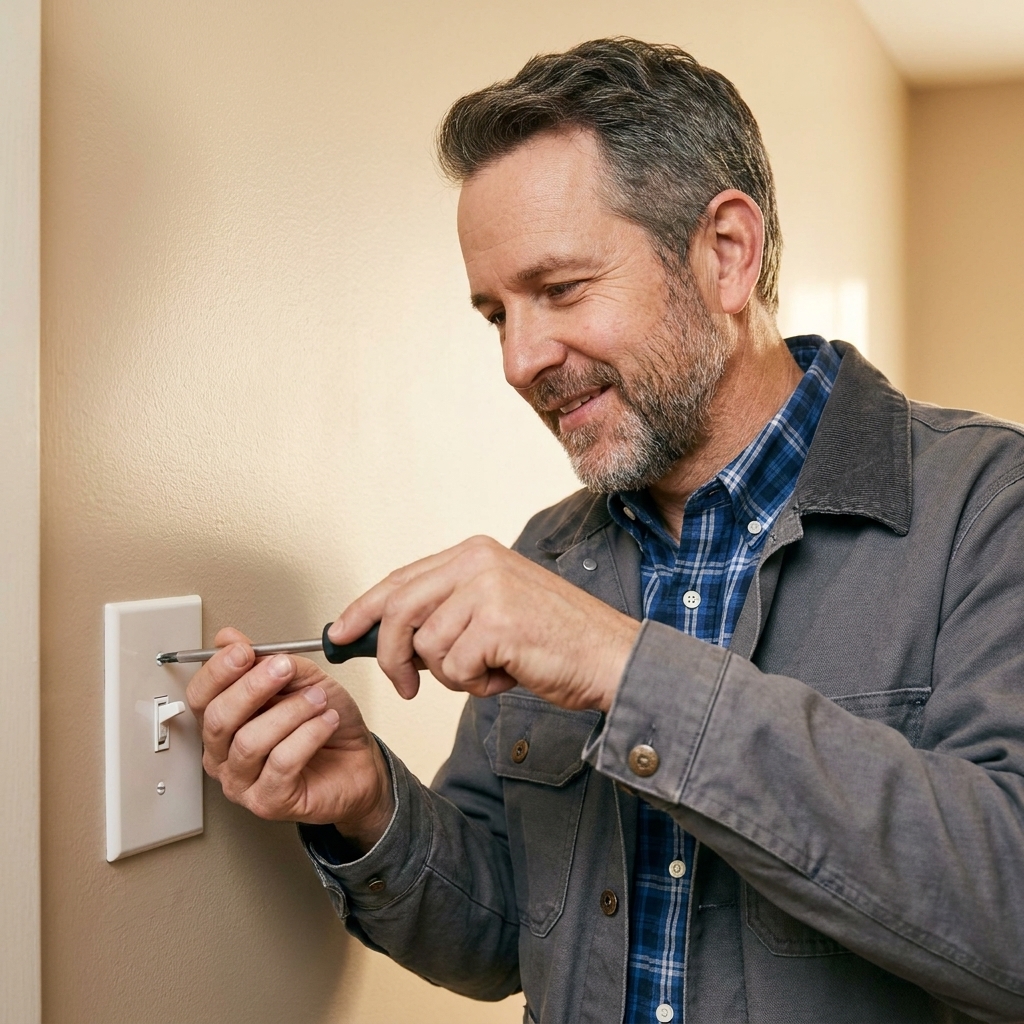
10) Reinstall the cover plate
Install the cover plate. Tighten the screw until snug, then stop. Over-tightening is how cover plates crack. Ask me how I know.
Restore power and test
Flip the breaker back on. Test the switch:
- Light turns on and off normally
- No buzzing from the switch
- No flickering that was not there before
If anything seems off, turn the breaker back off and re-check connections.
Troubleshooting: common issues
The light stays on all the time
- The switch might be bypassed by a miswire in the box, or the circuit might be wired unusually.
- Turn off the breaker and verify one wire is always-hot (line) and one goes to the fixture (load). If you are unsure, call an electrician.
The light does not turn on at all
- Check the breaker is fully on.
- Confirm the bulb or fixture works.
- Re-check that both conductors are firmly attached and not sitting under insulation.
Sparking, crackling, heat, or a burning smell
Turn the breaker off immediately. These are signs of a loose connection, damaged device, or other wiring problem that needs to be corrected before the circuit is used again.
The box is too small or too crowded
Overfilled boxes are a real problem. If wires are crammed in tight, the right fix may be a larger box or reworking splices to meet box fill rules. That is a good moment to bring in a pro if you are not comfortable.
The breaker trips after the swap
Turn it back off and stop. A trip can mean a short, a ground fault, or an AFCI or GFCI issue triggered by a wiring mistake. If you cannot immediately spot and correct the problem, call an electrician.
Upgrades worth considering
- Spec-grade toggle switch: tougher internals, better terminals, longer life.
- Rocker (decorator) switch: modern look and often more comfortable to use.
- Dimmer switch: only if your bulb type supports dimming and the dimmer is rated for the load.
- Smart switch: may require a neutral wire in the box. Many older switch boxes do not have one.
FAQ
Do I need to shut off the main breaker?
Usually no. Turn off the specific branch circuit breaker and verify power is off at the switch box with a tester. If you cannot confidently identify the right breaker, shutting off the main is safer.
Which wire goes on which screw?
On a basic mechanical single-pole switch, the two brass screws are often interchangeable. If the new switch is labeled LINE and LOAD, follow the labels. Always connect ground to the green screw.
Is it okay to use the push-in backstab holes?
I avoid them when I can. Side-screw or back-wire clamp connections tend to be more reliable long-term, especially in older homes where wires have been worked a few times.
What if I have two black wires and a white wire on the switch?
Sometimes a white wire is used as a hot (it should be re-marked with black tape, but that does not always happen). This can be normal in a switch loop, but it is also a spot where beginners get tripped up. If you see an unexpected white on a switch, take a photo, shut the breaker off, and consider consulting an electrician if you are not 100 percent sure what you are looking at.
When to call an electrician
- You see aluminum wiring or crumbling insulation
- The box shows scorch marks or melted plastic
- There are multiple cables and several splices you do not understand
- You need to change the box, add a neutral, or correct overcrowding
- The breaker trips after the swap
DIY is about confidence, not bravado. Knowing when to phone a pro is also a skill.