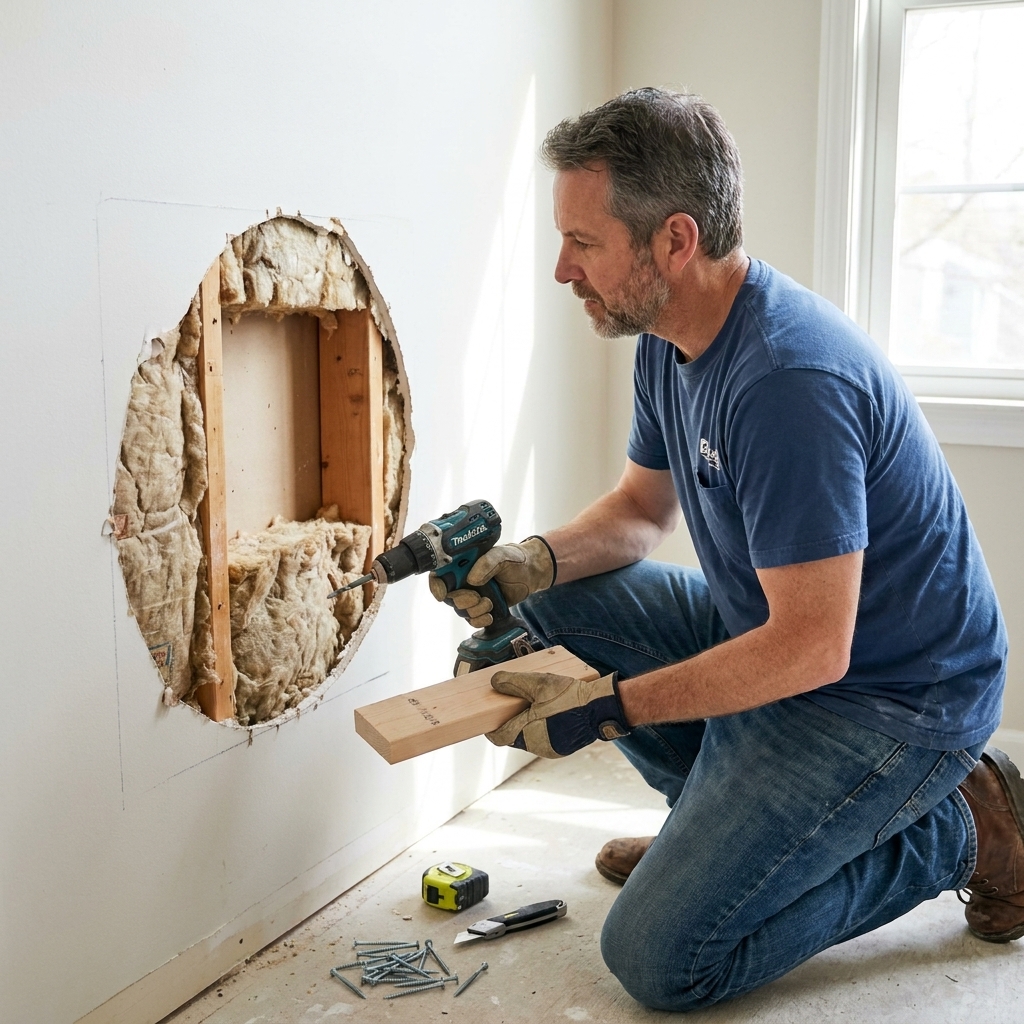
Weekend-friendly DIY upgrades that make your home look newer, cleaner, and more valuable without blowing the budget.
home improvement and DIY
10 Essential Fall Home Maintenance Tasks

Marcus Hayes
Marcus Hayes is a lifelong DIY enthusiast and former residential carpenter who has spent the last decade renovating his 1970s fixer-upper. Through Tinksmith, he shares his hands-on experience to help fellow homeowners tackle repairs, choose the right tools, and build spaces they love without breaking the bank.
Published October 17, 2026
Updated October 17, 2026
Every fall I get the same urge: drink something warm, admire the leaves, then remember I own a house and houses love winter about as much as a screen door loves a hurricane. The good news is you do not need a contractor’s schedule (or budget) to head off most cold-weather headaches. You need a ladder, a flashlight, and a couple of focused weekends.
Below is my go-to fall checklist, built from real-life lessons in a very real 1970s fixer-upper. Tackle these now, and winter is far more likely to be boring. That is the dream.

Before you start: safety and a simple plan
Pick a dry day. Wet leaves on a roof are basically nature’s prank.
Use the right ladder setup. Level ground, ladder stabilizer if you have one, and keep your belt buckle between the rails. If you do not like heights, outsource roof work. Pride is not worth a fall.
Make a quick supply pile. Most of this list needs the same few items:
- Work gloves, safety glasses, headlamp
- Caulk and exterior-rated sealant
- Expanding foam (minimal-expanding for windows and doors)
- Utility knife, putty knife, rags
- Pipe insulation (foam sleeves) and heat tape if needed
- Weatherstripping (adhesive foam, door sweep)
- Shop vac
- Garden hose and sprayer nozzle
1) Clean gutters and downspouts
Clogged gutters are a top-shelf way to invite ice dams, basement leaks, fascia rot, and mystery stains on ceilings. Clean them after most leaves have dropped, then test them.
How to do it
- Scoop out debris by hand or with a gutter scoop into a bucket.
- Flush each downspout with a hose. If it backs up, clear the clog with a plumber’s snake or by disconnecting the bottom elbow.
- Confirm downspouts discharge away from the house. You want water landing a minimum of 4 to 6 feet away, farther is better.
Fix it now if you see
- Standing water in the gutter: likely improper slope or sagging hangers.
- Water overflowing behind the gutter: could be a slipped drip edge or debris packed under shingles.
- Loose sections: tighten or replace hangers before snow loads make it worse.
2) Check the roof and flashing
You do not need to be a roofer to spot the usual suspects. A five-minute inspection can save you from a mid-January ceiling stain that “definitely was not there yesterday.”
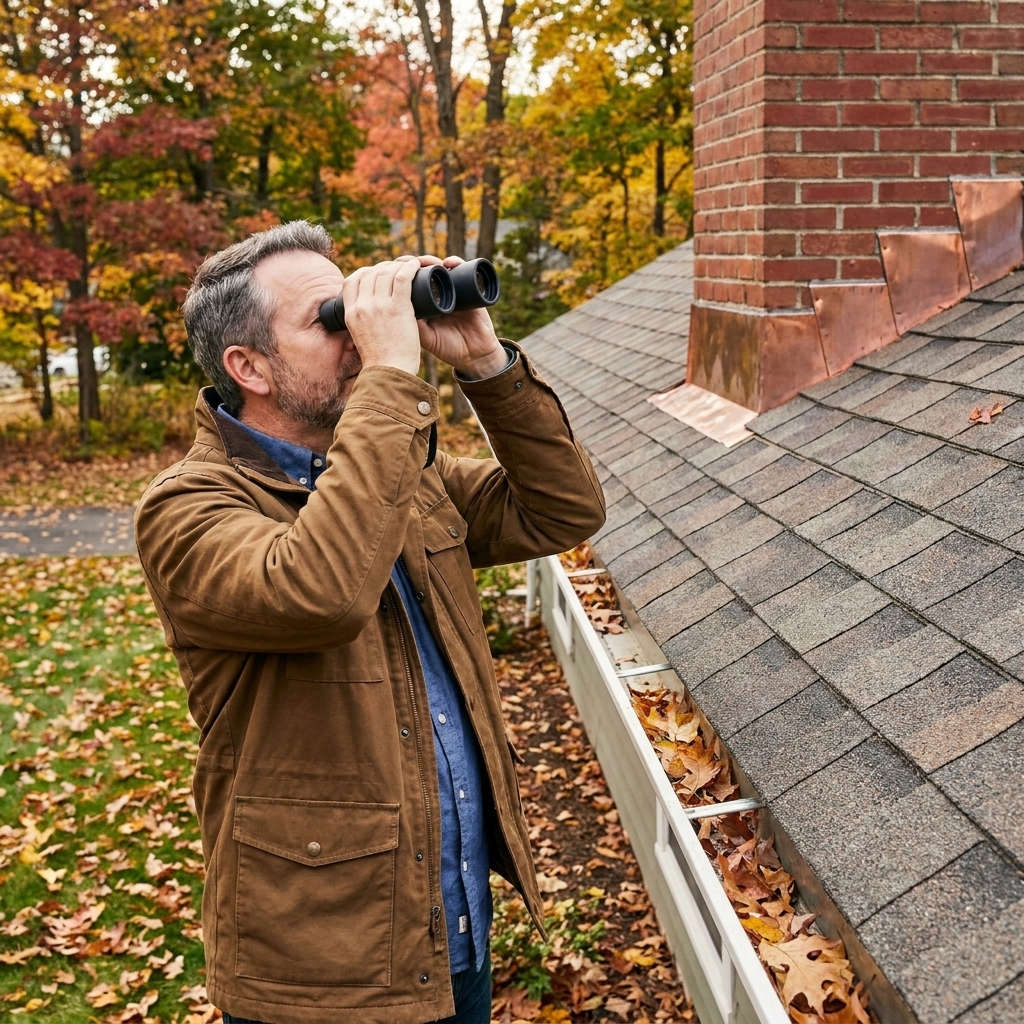
What to look for
- Missing, curled, cracked, or sliding shingles
- Damaged or rusted flashing around chimneys, vent pipes, skylights, and valleys
- Exposed nail heads or popped nails
- Gutter area shingle edges that look lifted or worn
DIY or call someone?
Start from the ground with binoculars if you can. If it is a couple of obvious shingles on a low, walkable roof and you are comfortable and safe up there, you can sometimes handle a small repair. Avoid steep roofs and anything that makes you feel even slightly sketchy. Also note that sloppy repairs can worsen leaks and can affect warranties on newer roofs.
If you see widespread granule loss, soft spots, multiple flashing issues, or anything around a chimney that looks suspect, call a pro before winter schedules get tight.
3) Seal air leaks
This is the cheapest “upgrade” you can do. Air leaks make your furnace work harder, create drafts, and can lead to condensation problems. Your goal is simple: stop uncontrolled air movement.
Fast checks that work
- Door test: If you can see daylight around the door, you are heating the outdoors.
- Hand test: On a windy day, feel around window trim, baseboards on exterior walls, attic hatches, and outlets.
- Dollar bill test: Close a door or window on a dollar bill. If it slides out easily, the seal is weak.
Fixes
- Doors: Replace worn weatherstripping and add a door sweep. Adjust strike plates so the door pulls snug.
- Windows: Re-caulk exterior gaps where trim meets siding. Indoors, use rope caulk or temporary interior shrink film for drafty older windows.
- Big gaps: Use minimal-expanding foam around window and door frames. Go easy. Foam can bow jambs if you get ambitious.
4) Service your heating system
If your furnace, boiler, or heat pump is struggling, winter will find out. A fall tune-up improves efficiency and lowers the odds of a no-heat emergency call when everyone else’s system also quits.
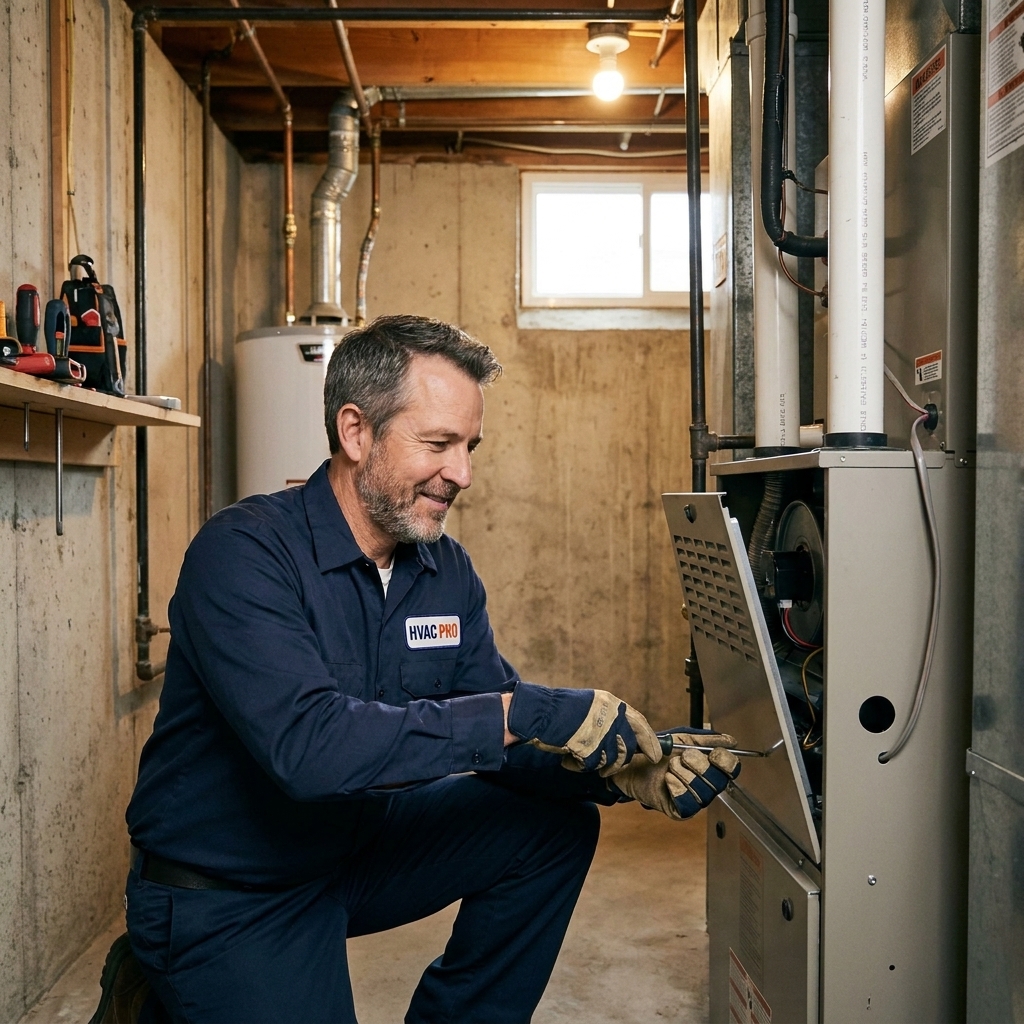
What you can DIY
- Replace the HVAC filter. Most homes need it every 1 to 3 months during heavy use.
- Vacuum dust around the furnace cabinet and return grilles.
- Make sure supply registers are open and not blocked by rugs or furniture.
What to schedule
- Annual professional service for gas and oil systems
- Heat pump check before heating season
- Boiler inspection and combustion safety check
Safety note: If you smell gas, hear unusual booming, or see soot around the burner area, shut the system down and call a professional immediately.
5) Water heater: flush and check safety
Sediment buildup reduces efficiency and can shorten tank life. Fall is a good time to drain a few gallons and make sure safety devices are working.
Quick method
- Turn the thermostat to “pilot” on gas, or shut off power at the breaker for electric.
- Connect a hose to the drain valve and run it to a floor drain or outside.
- Open a hot water faucet somewhere in the house to prevent vacuum lock.
- Drain a few gallons until the water runs clearer, then close the valve.
- Restore power or gas and let the tank reheat.
Small caution that can save a big headache: If your drain valve has not been touched in years, open it slowly. On older heaters, a neglected valve can clog with sediment or start to drip after you disturb it. If it looks corroded, you are unsure, or it will not close cleanly, it is okay to stop and call a pro.
Test the temperature and pressure relief (T&P) valve by lifting the lever briefly. It should discharge water and then stop completely when released. If it will not reseat or it drips afterward, the valve may need replacement. If the valve is old, crusty, or you are not comfortable testing it, have it checked during service.
6) Protect plumbing from freezes
Frozen pipes are expensive and dramatic. Often at 2 a.m. Often on a holiday. Insulating now is cheap insurance.
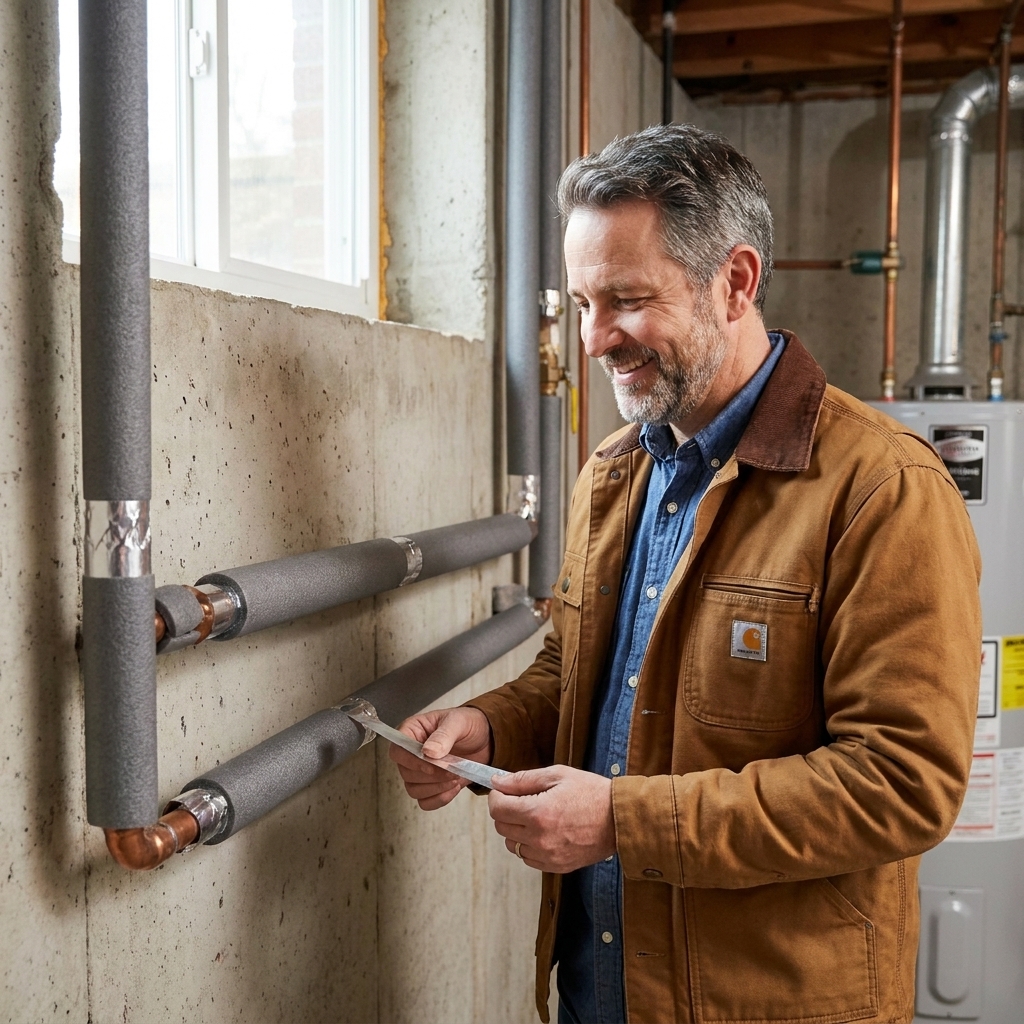
Where to focus
- Pipes in unheated areas: crawlspaces, garages, attics, exterior walls, rim joists
- Near vents or leaky basement windows where cold air pours in
- Any pipe that has frozen before, even once
What to use
- Foam pipe sleeves: Great for most water lines. Tape seams with appropriate tape so they stay closed.
- Fiberglass wrap: Useful for odd shapes and tight spots. Wear gloves and long sleeves.
- Heat tape: For high-risk sections, especially in crawlspaces. Use only products rated for your pipe type and follow the installation instructions exactly.
Do not forget
- Disconnect and drain exterior hoses
- Shut off and drain exterior hose bibs if you have an interior shutoff
- Cover hose bibs with insulated covers if you do not have shutoffs
7) Chimney, fireplace, and CO safety
If you burn wood, creosote buildup is not just messy. It is a fire risk. Even gas fireplaces benefit from a seasonal check.
What to do
- Wood-burning: Schedule a chimney inspection and sweeping if you have not done one in the last year, or if you burned regularly last season.
- Gas fireplace: Check that the glass is intact, vents are unobstructed, and the unit lights cleanly. If the flames look odd or you smell gas, stop and call a pro.
- Carbon monoxide protection: Test CO detectors and replace batteries. If your detectors are old (often 5 to 10 years depending on model), replace them.
- Also do this: Test smoke alarms while you are at it. This is the easiest five minutes you will spend all season.
8) Fans and attic hatch
This one sounds too small to matter until you do it and suddenly the living room stops feeling like a ski lodge. Heat rises, and your attic is happy to take it.
Checklist
- Set ceiling fans to winter mode at low speed. It is usually clockwise, but confirm with the switch label on the fan body or the manual.
- Weatherstrip the attic hatch or pull-down stairs opening.
- Add foam board insulation on top of an attic hatch cover if it is thin or uninsulated.
If you have a pull-down ladder, consider an insulated attic stair cover. It is not glamorous, but neither is paying to heat your attic.
9) Winterize outdoor water and irrigation
Anything that holds water outdoors can split when it freezes. That includes hoses, sprinkler backflow assemblies, and certain outdoor faucets.
Minimum you should do
- Disconnect hoses. Drain them and store them out of sun and where they will not sit in ice all winter.
- Shut off water to exterior hose bibs if you have indoor shutoffs, then open the outdoor faucet to drain the line.
- Drain and store removable sprinkler timers and hoses.
If you have an in-ground irrigation system, many systems need a blowout with compressed air. If you are not experienced, hire it out. Too much air pressure can damage components, and too little leaves water behind.
If you have seasonal exterior lines like an outdoor kitchen or a hose-fed sink, shut them off and drain them now. Spring-you will be grateful.
10) Walk the perimeter
Winter water problems often start with simple drainage issues. And small openings in fall become welcome mats for mice once temperatures drop.
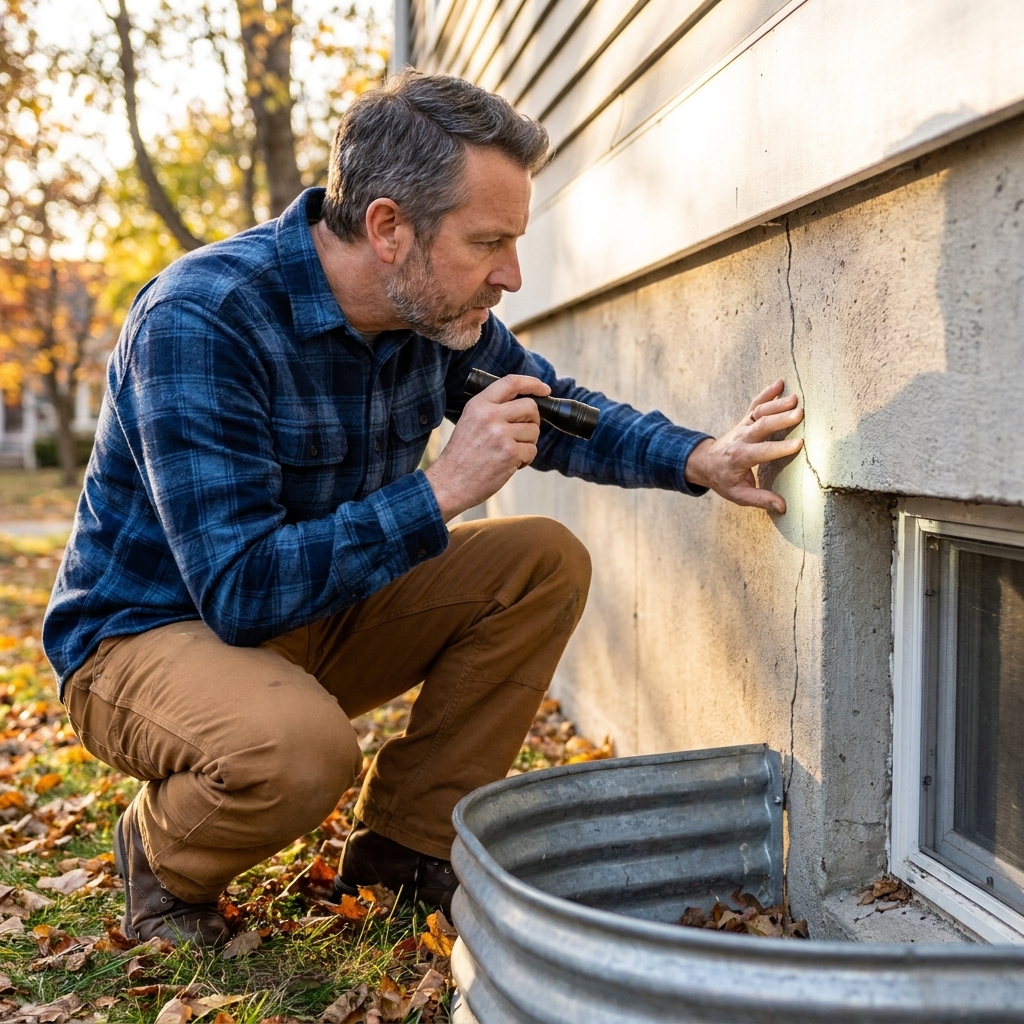
What to check
- Soil slope: Ground should slope away from the foundation, roughly 6 inches over the first 10 feet when possible.
- Cracks and gaps: Seal small gaps around penetrations (hose bibs, cables, pipes) with exterior sealant. For bigger holes, use pest-resistant materials like steel wool plus sealant or a proper patch.
- Window wells: Clear leaves and debris so water does not pool and leak into the basement.
- Rodent routes: Look for gaps at garage door corners, dryer vents, and soffit returns. If you can fit a pencil in it, a mouse is taking notes.
- Trees and branches: Trim limbs that overhang the roof or look dead. Snow and ice love turning weak branches into expensive surprises.
Bonus checks (if they apply)
- Sump pump: Pour water into the pit to make sure the float triggers the pump. Check that the discharge line is clear and that it sends water away from the house.
- Dryer vent: Clean lint from the trap and the vent run, and make sure the exterior flap opens freely. It is a fire-safety thing, not just an efficiency thing.
Quick fall checklist
- Clean gutters and flush downspouts
- Inspect roof shingles and flashing
- Seal drafts with caulk, foam, and weatherstripping
- Service heating equipment and change filters
- Flush water heater and check the T&P valve
- Insulate pipes and protect hose bibs
- Inspect and clean chimney or fireplace system
- Test CO detectors and smoke alarms
- Set fans to winter mode and seal attic access
- Winterize hoses and irrigation
- Check grading, foundation gaps, and window wells
- Test sump pump and clear dryer vent (if applicable)
FAQ
When should I do fall maintenance?
Aim for early to mid-fall for HVAC servicing and air sealing, and later fall for gutters after most leaves drop. Try to finish anything involving water lines before the first hard freeze.
What is the most important task if I only do one?
If your area freezes, protecting against water damage is the big one: clean gutters and make sure water drains away from the house, then insulate vulnerable pipes. Water is patient, persistent, and expensive.
Are gutter guards worth it?
Sometimes. They can reduce debris buildup, but they are not “install and forget.” Fine debris still collects, and you still need to check flow. If tall trees hover over your roof, guards can be helpful, but I still plan on an annual inspection.
Wrap-up
Fall maintenance is not about perfection. It is about removing the easy failure points before winter starts stress-testing your house. Knock out two or three items a weekend, and by the time the first real cold snap shows up, you can do what nature intended: stay inside and complain about the weather with a clear conscience.