Stop winter from turning small problems into big repairs. Here are 10 fall maintenance tasks that protect your roof, pipes, heating system, and wallet.
home improvement and DIY
Quick Fixes for Sticking Interior Doors

Marcus Hayes
Marcus Hayes is a lifelong DIY enthusiast and former residential carpenter who has spent the last decade renovating his 1970s fixer-upper. Through Tinksmith, he shares his hands-on experience to help fellow homeowners tackle repairs, choose the right tools, and build spaces they love without breaking the bank.
Published October 17, 2026
Updated October 17, 2026
If you have an interior door that suddenly started rubbing, sticking, or needing a shoulder-check to close, you are not alone. Often the “problem door” is not actually the door. It is the hinges, the screws, paint buildup, or the house doing what houses do: moving a little with seasons, humidity, and time.
Below is my go-to troubleshooting order, starting with the easiest fixes and moving toward sanding and planing. Follow it top to bottom and you will usually be done before your coffee gets cold.
Safety and a few tools that help
You can do most of this with basic hand tools. Power tools are optional, but restraint is mandatory.
Quick tool list
- #2 Phillips screwdriver or driver
- Utility knife and pencil
- 4 ft level (or at least a 2 ft level)
- Wood shims or thin cardboard
- 1 1/2 in to 3 in wood screws (same diameter as existing hinge screws)
- Sandpaper (80, 120, 180 grit) and a sanding block
- Block plane or hand plane (if needed)
- Painter’s tape and a drop cloth
Safety note: If you plan to sand or plane paint on an older home, assume it could be lead until you know otherwise. If your house is pre-1978 and the paint is original or unknown, test first and use proper precautions. Lead-safe requirements can vary by location, but as a general rule avoid power sanding without good dust control and containment.
Step 1: Find exactly where it rubs
Before you touch a screw, figure out what is actually happening. A door can stick at the top, bottom, latch side, hinge side, or all of the above.
Start with the reveal
The reveal is the gap around the door. It is the fastest diagnostic clue.
- If the gap is tight at the top on the latch side, the door is often sagging.
- If the gap is tight along the entire latch side, the jamb may be out of plumb or the door is sitting “crooked” in the opening.
- If the gap is tight at the bottom, look for a floor change, swelling, or a bottom corner that needs a tiny trim.
Easy ways to locate the rub
- Look for shiny spots: On a painted door, rubbing often leaves a polished edge. On stained wood, you might see a burnish mark.
- Paper test: Close the door on a strip of paper at different points around the perimeter. Where the paper won’t pull out, you have tight clearance.
- Pencil trick: Lightly scribble pencil on the door edge where you suspect contact. Close and open the door. If the pencil transfers, that is your spot.
- Listen and feel: A scrape at the top latch corner usually points to hinge sag. A rub at the bottom latch corner can be an out-of-plumb jamb or swelling.
Goal: Identify whether the door is sagging (hinge issue), swelling (humidity or paint buildup), or the latch is misaligned (strike plate issue).
Step 2: Try the “free” fixes first
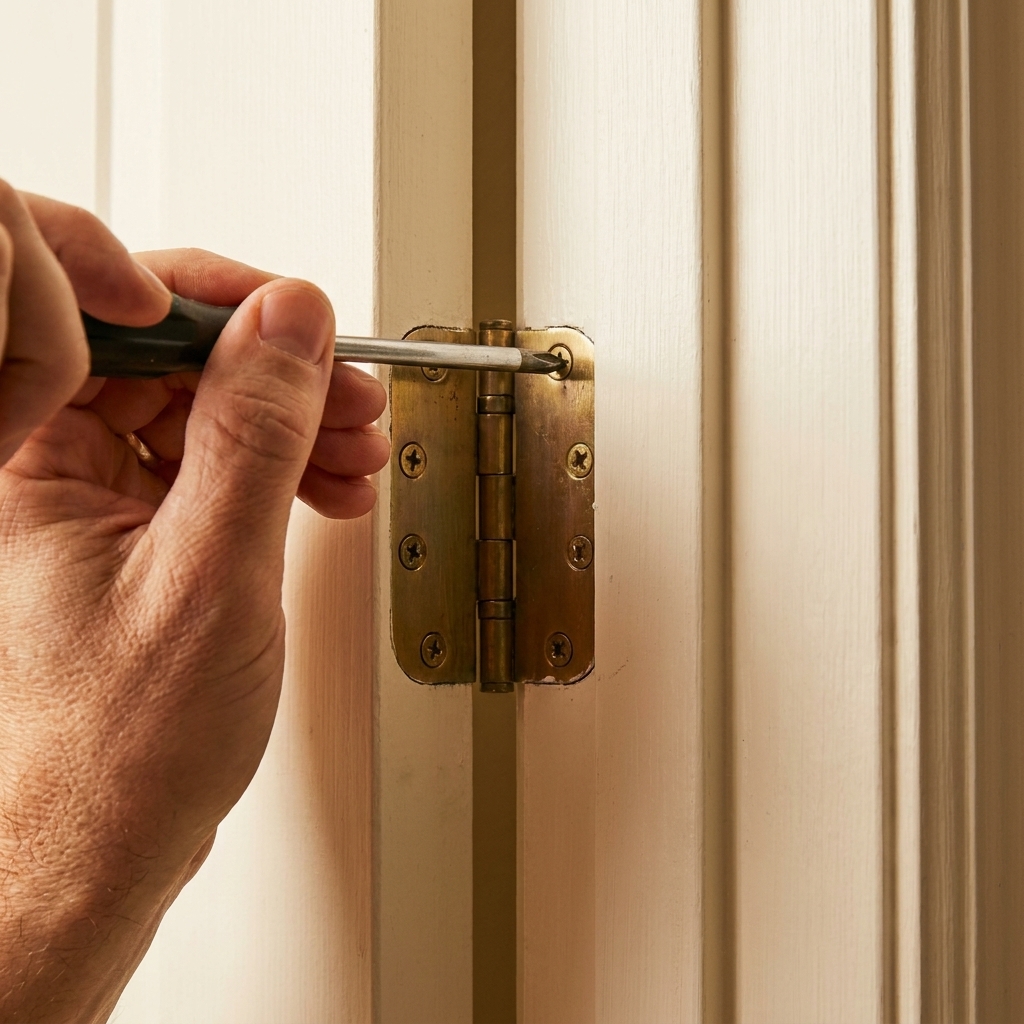
Tighten every hinge screw
Open the door and snug up the screws on all hinges, both on the door and the jamb. Start with the top hinge. A surprising number of sticking doors are just one loose top hinge screw away from peace and quiet.
Do not skip the door side: If the screws in the door slab are loose or stripped, the door can sag just as badly as it would with loose jamb screws.
Tip: If screws keep spinning without tightening, the hole is stripped. Jump to the longer-screw and hole-repair tips below.
Check for hinge bind
Sometimes the door is not rubbing the jamb at all. The hinges are binding because they are slightly bent, painted shut, or not seated.
- Look for paint bridging the hinge leaf and jamb or door edge.
- Make sure each hinge leaf is fully seated in its mortise and not riding on a paint ridge or wood chip.
If paint is the culprit, score the paint line with a sharp utility knife and gently flex the hinge a few times.
Note: You may see advice online about bending hinge knuckles with a wrench. It can work, but it is easy to overdo. I am keeping this guide to adjustments that are easier to control and easier to undo.
Step 3: Fix sag with a longer screw
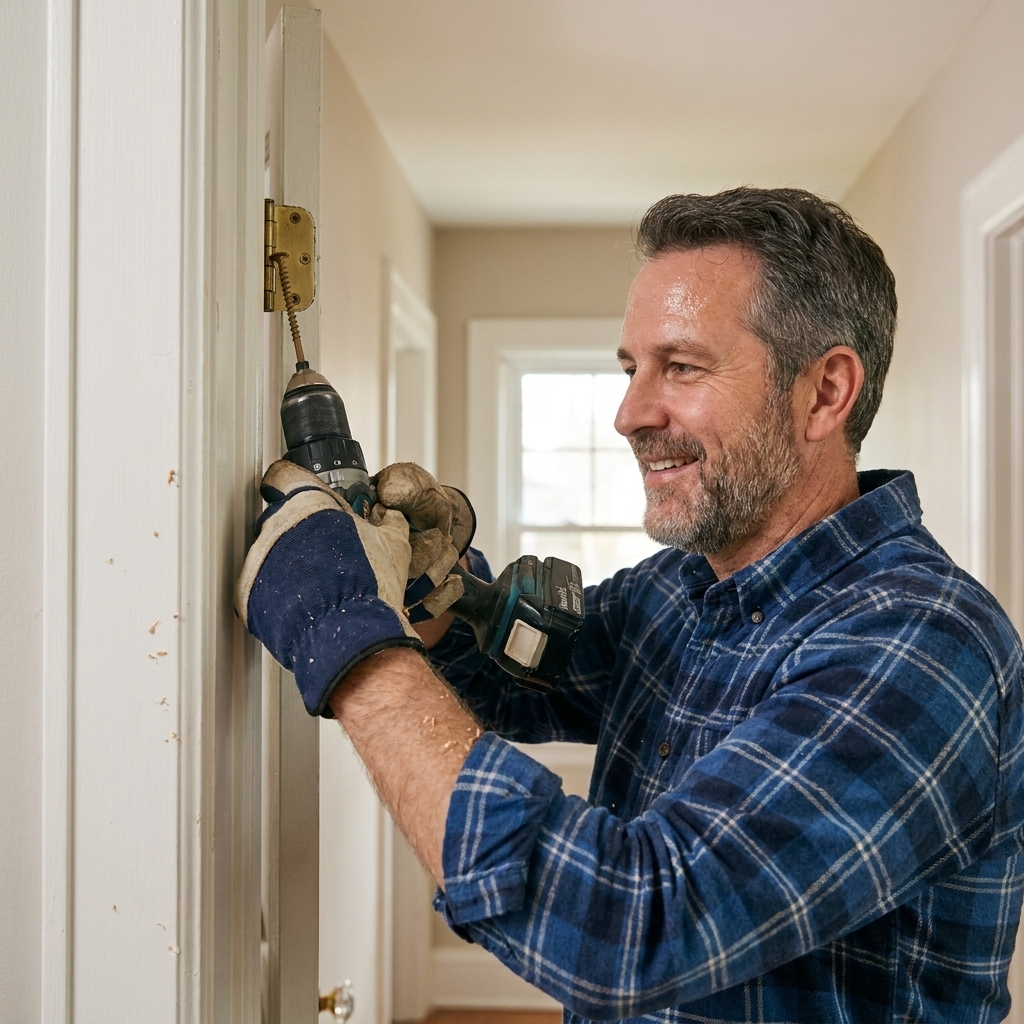
If the door rubs at the top latch corner, the door is usually sagging. The most common reason is that the top hinge is not anchored well into the framing behind the jamb.
What to do
- Remove one screw from the top hinge on the jamb side. Use one of the screws nearest the door stop (typically the inner-most screw on the jamb leaf, closest to the opening).
- Replace it with a 2 1/2 in to 3 in wood screw of the same diameter.
- Drive it in until snug, watching the reveal (the gap) around the door as you go.
That longer screw can bite into the stud framing and pull the top of the jamb tighter, lifting the latch side of the door just enough to stop the rub.
Reality check: This only works if the long screw is actually catching solid wood behind the jamb. If the screw spins, sinks without tightening, or starts pulling the jamb in a weird way, stop. You may be hitting a gap or shims, and a different screw location or a different fix may be needed.
Dad-joke warning: This is the closest thing carpentry has to a “turn it off and back on again.”
Step 4: Adjust the hinges
If tightening and a longer screw do not solve it, you can fine-tune with hinge adjustments. Small changes at the hinge create noticeable changes at the latch side.
Option A: Shim a hinge (simple, reversible)
Shimming changes the door’s position in the opening. It is great when the door rubs along the latch side or the hinge side because the door is sitting slightly “wrong” in the frame.
How: Support the door with a shim under it, then remove the screws from one hinge leaf (usually on the jamb side). Cut a shim the shape of the hinge leaf (thin cardboard from packaging works), place it behind the hinge leaf, reinstall the screws, and test.
Which hinge and where to shim:
- Rubs at the top latch corner (sag): Shim behind the bottom hinge on the jamb side to push the bottom out a hair, which nudges the top latch corner away from the jamb. Start with a very thin shim.
- Rubs at the bottom latch corner: Shim behind the top hinge on the jamb side to nudge the bottom latch corner away.
- Rubs on the hinge side: Before shimming, check for a hinge leaf sitting proud or paint ridges. If you truly need a shim, use the thinnest one possible and re-check the latch alignment afterward.
Rule of thumb: One layer of thin cardboard can move the door more than you think. Start small.
Option B: Set a hinge deeper (only if it is proud)
If a hinge leaf is sitting proud of the wood surface, it can push the door out of alignment and cause rubbing.
- Remove the hinge leaf.
- Carefully pare or chisel the mortise deeper by a hair.
- Reinstall and test.
If you have never chiseled a hinge mortise before, practice on a scrap first. This is a “remove wood slowly” moment.
Step 5: Fix a latch that will not catch
Sometimes the door swings fine but the latch will not click in unless you lift the knob or lean on the door. That is usually a strike plate alignment issue, not a door rubbing issue.
Quick checks
- Close the door slowly and watch whether the latch hits above or below the strike opening.
- Look for fresh metal scrape marks on the strike plate.
- Marking trick: Put a tiny dab of washable marker, chalk, or lipstick on the latch bolt, then close the door once. The transfer mark shows exactly where it is hitting.
Fast fixes
- Tighten strike plate screws: Loose screws let the plate drift.
- Move the strike plate slightly: If it is clearly off, fill old screw holes with toothpicks and wood glue, then re-screw after it sets. Move the plate just enough to center the latch.
- File the strike opening: For tiny misalignments, a metal file can open the strike plate a bit. Go slow and keep it neat.
Tip: If the door only acts up in humid months, do not relocate hardware until you confirm the door itself is not swelling.
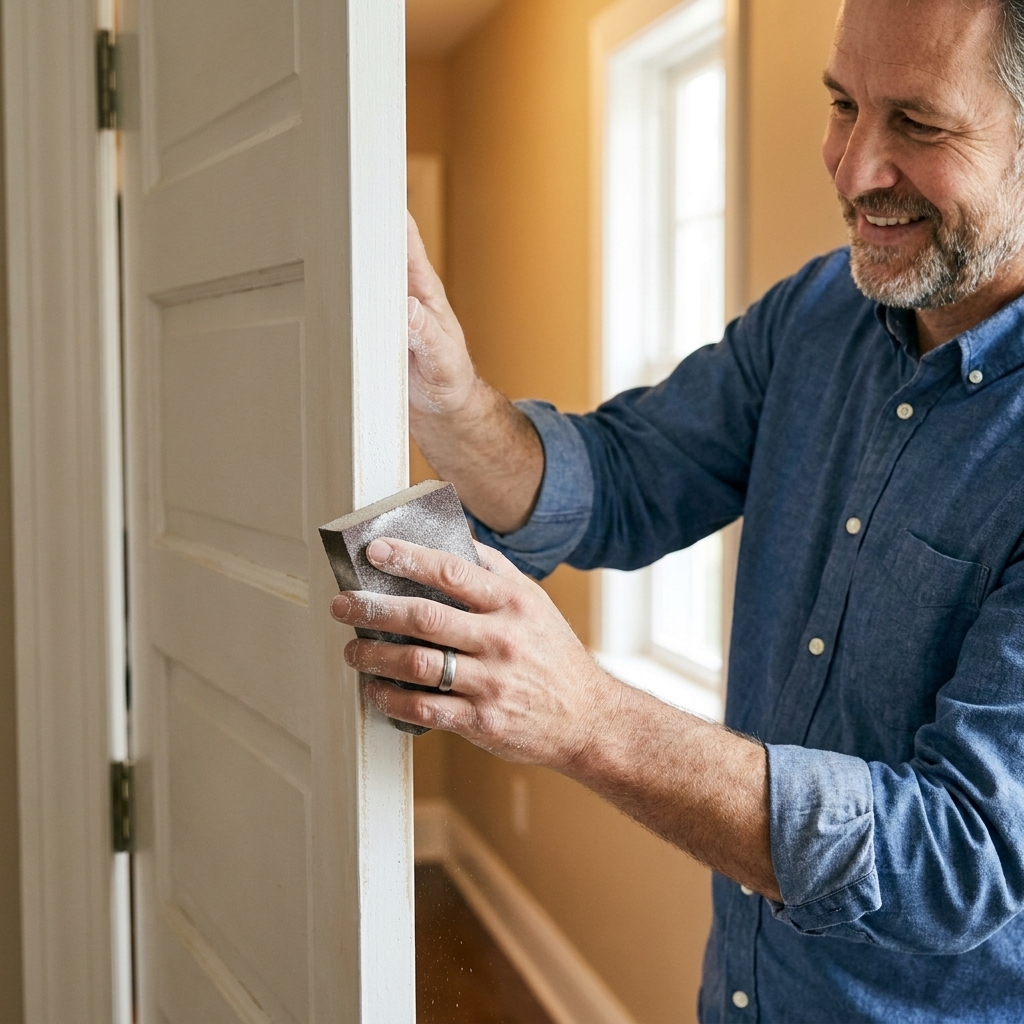
Step 6: Sand the door edge
If you have a clear rub spot and it is minor, sanding is the safest way to remove material. It is slower than planing, which is exactly why it is harder to mess up.
How to sand without making it look like you fought a bear
- Mark the rub area with pencil.
- If you sand with the door hanging, protect the floor and door stop with a drop cloth and painter’s tape, and keep dust under control.
- Start with 80 grit only if you need to remove material quickly. Otherwise start at 120.
- Use a sanding block and keep your strokes consistent along the edge.
- Test the fit often. Every few passes, close the door and check.
- Finish with 180 grit for a smoother edge.
Do not forget the finish: If you sand bare wood, seal it with primer and paint or a matching finish. Unsealed wood drinks humidity like a sponge and the sticking often returns.
Step 7: Plane the edge
If sanding would take forever, a hand plane is the cleanest way to remove a controlled amount of wood. A power planer is fast, but it is also the express lane to “oops.”
Best practices for planing a door
- Take the door off: It is safer and you get better results. Pop the hinge pins and set the door on sawhorses.
- Mark your target: Pencil the area to be removed. If the rub is only at one corner, do not plane the whole edge.
- Plane with the grain when possible: This reduces tear-out, especially on stained doors.
- Take thin passes: Adjust the blade for a light cut and sneak up on the fit.
- Ease sharp edges: After planing, lightly sand to break the corner so paint holds up better.
How much to remove: Usually 1/32 in to 1/16 in is plenty. If you find yourself needing more, pause and re-check your hinges and jamb. The door might not be the real problem.

Common causes
Humidity and seasonal movement
In older homes especially, doors can swell in summer and behave in winter. Sealing the top and bottom edges helps a lot, and those edges are often raw wood from the factory.
Loose hinges or short screws
Builder-grade hinge screws are often too short to bite into framing. Upgrading one screw per hinge to a longer screw is cheap insurance.
Paint buildup
Each coat makes the door a little bigger and the opening a little smaller. If a door has been painted a dozen times, the fix might be careful sanding of paint ridges around the stop and hinge mortises, not removing wood from the door itself.
Foundation or framing shifts
If multiple doors in the same area start sticking at once, you might be seeing house movement. Fixing one door is fine, but keep an eye out for new cracks, sloping floors, or doors that suddenly swing open or closed on their own.
Quick fixes by rub spot
- Rubs at top latch corner: Sagging. Tighten hinges, swap one top-hinge jamb screw for a 3-inch screw (if it bites framing), consider shimming the bottom hinge.
- Rubs along latch side (full height): Door may be twisted in the opening. Try hinge shims and check jamb for plumb.
- Rubs at bottom latch corner: Possible jamb out of plumb, floor change, or swelling. Check hinge tightness first, then consider sanding or planing that corner.
- Rubs on hinge side: Hinge leaf proud, paint buildup, or hinge screws pulling unevenly. Seat hinges, clean paint lines, tighten screws. Only shim if you are sure it helps.
- Door closes but latch misses: Strike plate alignment. Adjust plate or file opening slightly.
FAQ
Should I sand the door or the frame?
Usually the door edge, because it is easier to refinish cleanly and you are less likely to mess up the stop or casing. If the frame has thick paint ridges or a proud hinge, address that first.
Can I just plane it until it fits?
You can, but you should not start there. Confirm hinges are tight and not stripped. Planing is great when you truly need to remove wood, but it is irreversible.
What if the door only sticks in summer?
That is classic humidity swelling. Seal any bare wood edges (top and bottom too), run a dehumidifier if needed, and remove as little material as possible. You want it to still close nicely in winter when everything shrinks back.
My hinge screws are stripped. What is the best fix?
For a quick repair, fill the hole with wood glue and a few toothpicks (or a golf tee), let it set, then re-drive the screw. If you can, upgrade at least one screw per hinge to a longer screw that reaches framing.
When to call in help
If you see signs of significant structural movement, it is worth getting a pro’s eyes on it. Also be cautious with any door that appears to be fire-rated (common between a house and an attached garage, and sometimes in multifamily buildings). If the door has a fire label or is part of a rated assembly with smoke seals, do not cut or plane it without confirming what is allowed for that door and keeping the seals intact.
If you want the quickest path: tighten hinges, swap one top-hinge jamb screw for a 3-inch screw if it is catching solid wood, then only sand or plane after you confirm the hardware is doing its job.