A step-by-step, weekend-friendly guide to measuring, calculating spacing, and installing a board and batten feature wall, plus corner tips, safety notes, cau...
home improvement and DIY
9 High-ROI DIY Projects That Add Immediate Value

Marcus Hayes
Marcus Hayes is a lifelong DIY enthusiast and former residential carpenter who has spent the last decade renovating his 1970s fixer-upper. Through Tinksmith, he shares his hands-on experience to help fellow homeowners tackle repairs, choose the right tools, and build spaces they love without breaking the bank.
Published October 17, 2026
Updated October 17, 2026
If you want the kind of DIY that pays you back, aim for projects that make a home feel cared-for the second someone walks up. Not “gold-plated faucet” fancy. More like “this place has been maintained” confidence.
I have renovated a 1970s fixer-upper for long enough to learn a painful truth: you can spend a whole weekend doing something that only you will notice. These are not those projects. The list below is built around quick visual impact, broad buyer appeal, and improvements that often move the needle with both appraisers and real humans. (As always, ROI varies by market, neighborhood comps, and your home’s price point.)

Before you start: ROI rules I follow
- Fix first-impression problems first. Peeling paint, dated light fixtures, and scuffed trim read as deferred maintenance.
- Choose neutral and durable. You are aiming for broadly appealing, not bold and personal.
- Keep changes consistent. One gorgeous updated room next to three tired spaces can feel worse than doing nothing.
- Do the boring prep. Clean, patch, sand, caulk, prime. That is where “DIY” turns into “pro-looking.”
- Know your limits. Electrical and plumbing can be great ROI when done safely and correctly. When in doubt, hire a pro for the final connections.
1) Upgrade the front door trim and hardware
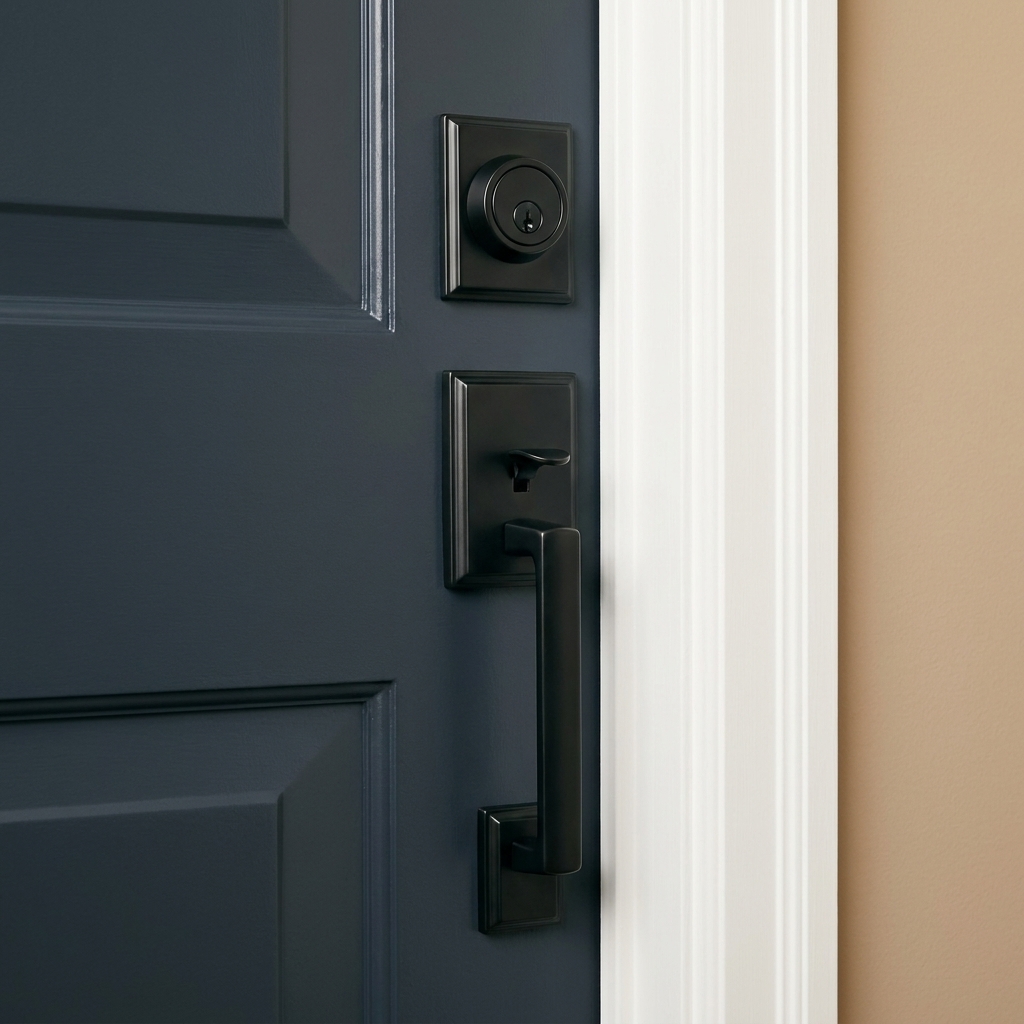
If you do only one project from this list, do this one. The front door is your home’s handshake. Fresh paint on the door and its trim (the “surround”), modern house numbers, and updated hardware can make the whole exterior feel newer.
What to do (weekend plan)
- Day 1: Remove old caulk, scrape loose paint, sand, and patch dings. Caulk the trim joints and fill nail holes.
- Day 2: Prime any bare spots, then paint the door and trim. Install a new handle set and deadbolt. Add larger, easy-to-read house numbers.
Materials and tools
- Exterior-rated paint and primer
- Paintable exterior caulk
- New handle set and deadbolt (keyed alike if possible)
- House numbers, screws, and a level
- Sanding sponge, putty knife, painter’s tape
Budget tip
If the trim is rough, do not replace it unless it is rotted. Sand, patch, and paint. Replacing trim can snowball fast once you find what is hiding behind it.
2) Add wainscoting or board-and-batten
Wainscoting is one of those upgrades that looks expensive but is mostly careful measuring and patience. Done right, it makes builder-basic walls feel custom and intentional.
Best places to add it
- Entry hallway (instant “nice house” vibes)
- Dining room (makes even a simple table feel elevated)
- Stairwell wall (big visual payoff)
My approach
- Use a laser level or a long level to mark your top rail height.
- Find studs, then plan your spacing so fasteners land in wood where possible.
- Where studs do not line up, combine construction adhesive with brad nails, and use the right anchors when you must (especially near corners and ends).
- Caulk every seam and fill every nail hole. This is where the magic happens.
- Paint in a durable sheen like satin or semi-gloss for wipeability.
Common mistake
Uneven spacing around outlets and corners. Lay it out on paper first. A five-minute sketch can save you five hours of muttering.

3) Refresh kitchen cabinets and hardware
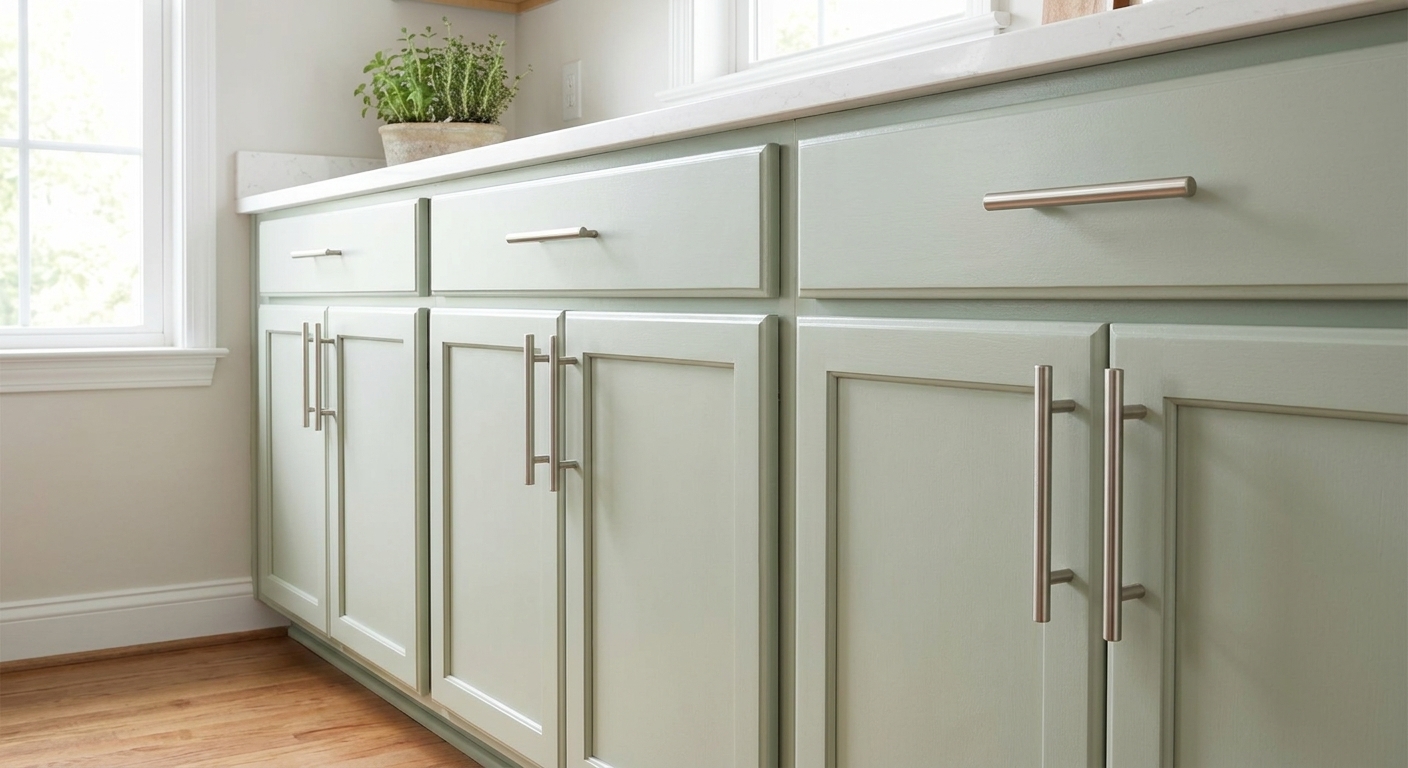
Full kitchen remodels are wallet bonfires. Cabinet refreshes are not. Clean, updated cabinets can make a kitchen feel modern even if the layout stays the same.
Two ROI-friendly options
- Paint existing cabinets: Highest impact per dollar, more labor.
- Replace doors only: Higher cost, faster to get a factory-smooth look.
Non-negotiable prep steps for painted cabinets
- Degrease thoroughly (kitchen cabinets are basically butter collectors).
- Scuff sand, then use a bonding primer.
- Use cabinet-grade paint or enamel for durability.
- Let doors cure before rehanging. “Dry” and “cured” are not the same thing.
Older-home caution
If your house predates 1978 in the U.S., assume paint might contain lead when sanding or scraping. Use a lead-safe approach (contain dust, use proper PPE, and follow local guidance) or hire it out if you are not set up for it.
Hardware upgrade guidance
Pick one finish and commit. Matte black and brushed nickel are easy wins. Measure your existing hole spacing so you do not end up drilling a brand-new constellation into every door.
4) Update light fixtures and switches
Lighting is sneaky ROI. New fixtures often make rooms feel taller, cleaner, and more current. And unlike a lot of upgrades, you see it day and night.
High-impact swaps
- Entry flush mount to a semi-flush or small pendant
- Dining room “boob light” to a simple chandelier
- Bathroom vanity bar to a clean, damp-rated fixture
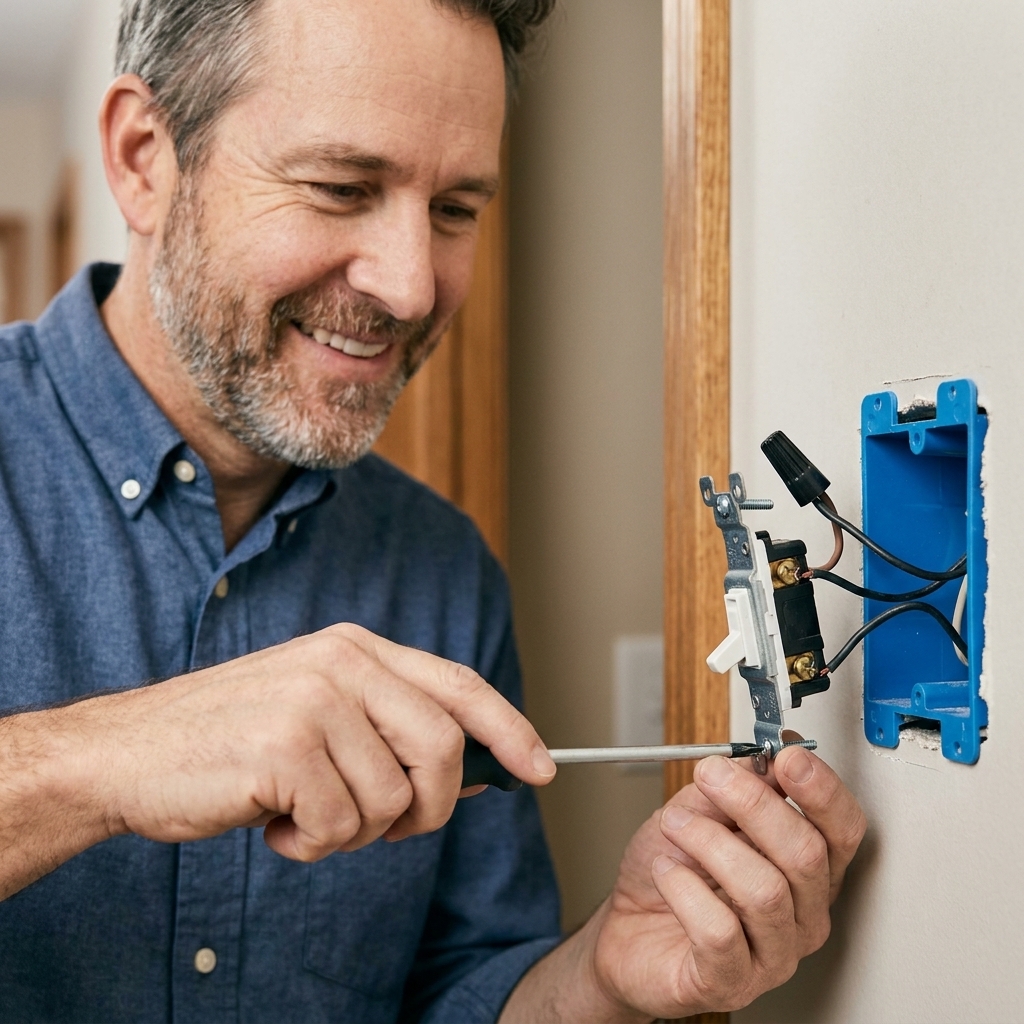
Safety first (dad voice)
- Turn off the breaker, not just the switch.
- Verify power is off with a non-contact voltage tester.
- Check the electrical box rating if the new fixture is heavier than the old one.
- Connect grounds properly. If you open the box and see mystery wiring, stop and call an electrician.
- If you are ever installing a ceiling fan, use a fan-rated box (different job, same ceiling).
Bonus upgrade
Consider a dimmer in living spaces. It is inexpensive, it feels premium, and it helps hide “I stayed up too late watching home renovation videos” under softer light.

5) Re-caulk and refresh bathroom grout
Bathrooms sell homes more often than not, and nothing screams “I have mold somewhere” like cracked caulk and dingy grout. This is one of the least expensive upgrades with the biggest perception boost.
Weekend checklist
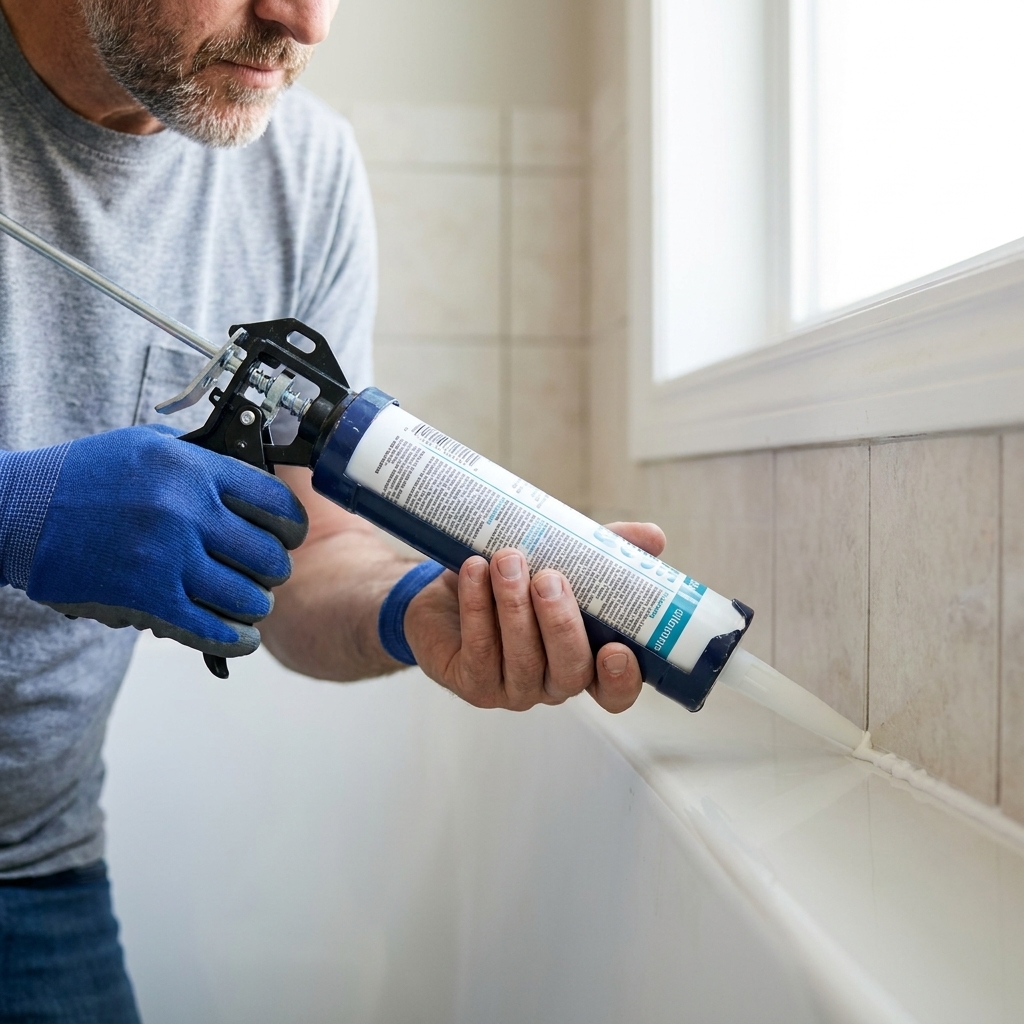
- Remove old caulk completely (use a caulk remover tool and patience).
- Clean and dry the joints before new caulk.
- Re-grout small failing areas or use grout refresh for cosmetic improvement.
- Install a new mirror and update towel bars if they look tired.
Pick the right caulk
For tub and shower seams, use 100% silicone rated for kitchen and bath wet areas. Siliconized acrylic can be fine for lower-moisture spots, but it tends to fail faster in a daily-splash zone. If it is not meant for showers, it will fail early, usually right when you are feeling proud of yourself.
6) Add closet organization
Buyers love storage. So do you, once you stop playing “closet Jenga” every morning. A simple closet system can make rooms feel larger and more functional.
What adds value fast
- Double-hang rods in kids’ closets
- One long hang section plus shelves in a primary closet
- Swap flimsy wire shelving for painted wood cleats and a solid shelf
Pro-looking details
- Paint the closet a bright, clean white before installing anything.
- Use consistent hangers. Yes, really. The “before and after” looks better instantly.
- Add a battery or hardwired LED closet light if lighting is poor.

7) Patch and paint for move-in ready
Fresh paint is classic ROI for a reason. But the secret is not the paint. It is the wall prep. Smooth walls and clean trim can make the whole house feel newer, even if your flooring is still living its best 2003 life.
Where to focus
- Entry and main hallway
- Living room
- Kitchen and dining area
- Any room with obvious nail pops, anchor holes, or cracking corners
Fast, clean process
- Patch holes with spackle or setting compound for deeper repairs.
- Sand smooth with a pole sander and vacuum dust.
- Prime patches so they do not “flash” through the finish coat.
- Paint with a quality washable interior paint in an eggshell sheen.
Color advice
Neutral sells. That does not mean sterile. A warm off-white or light greige reads clean and modern without feeling like a doctor’s office.

8) Clean up flooring and transitions
You do not need new floors for a better first impression. You need floors that look intentionally maintained. This category is unglamorous, but buyers notice it immediately.
Quick wins
- Deep clean carpets, especially in high-traffic paths.
- Replace cracked or missing transition strips between rooms.
- Tighten or replace loose stair nosings and squeaky threshold areas.
- Use a large, simple area rug to visually “reset” a tired living room floor.
Tip
Transitions and thresholds are small, cheap parts that make a home feel finished. They are also exactly the sort of thing people trip over during a showing, which is not the vibe.
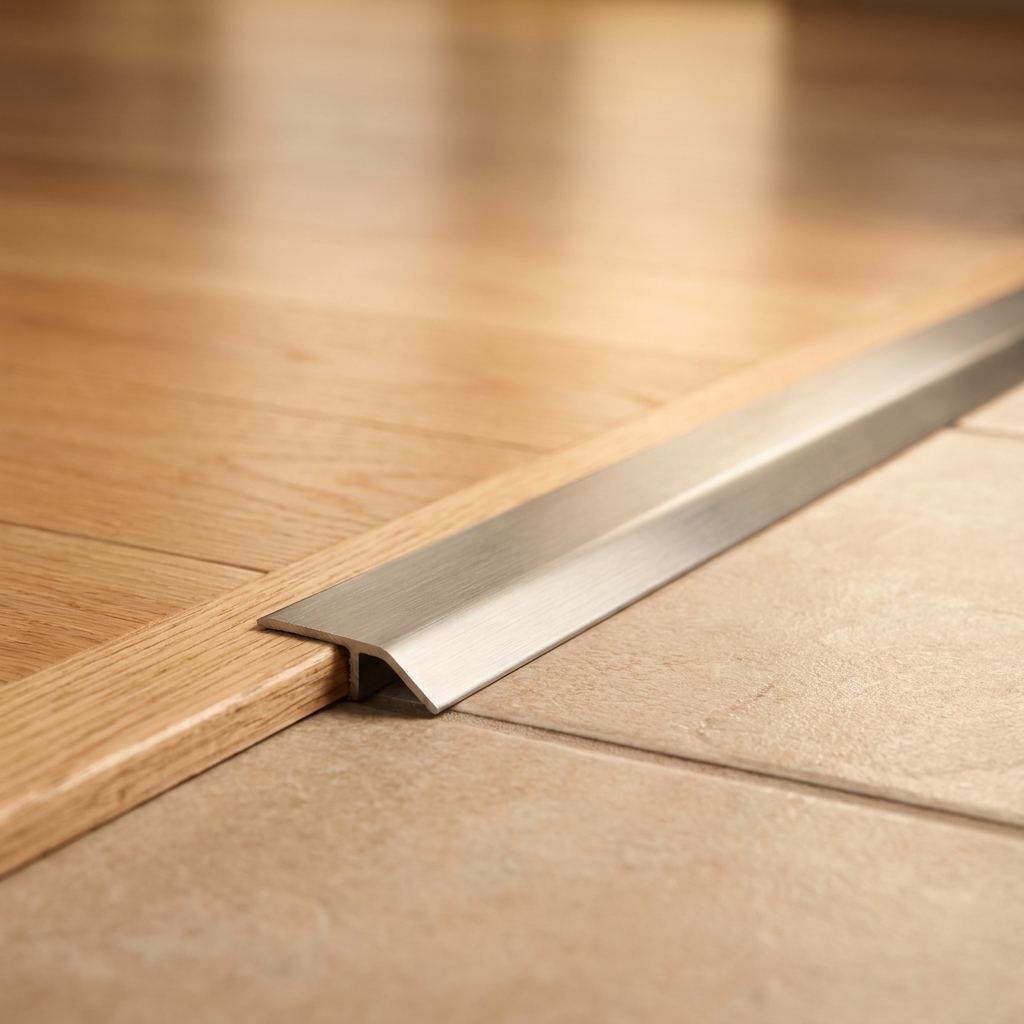
9) Do simple exterior cleanup
If you want perceived ROI, go outside. Exterior basics often deliver an outsized payoff because they broadcast “we take care of this place” before anyone sees your kitchen.
Best weekend tasks
- Pressure wash siding, steps, and walkways where allowed and safe.
- Edge the driveway and tidy beds.
- Trim overgrown shrubs away from windows and walkways.
- Refresh mulch and remove dead plants.
Keep it simple
You are not building a botanical garden. You are making the yard look clean, open, and easy to maintain.

Quick ROI checklist
- If you need curb appeal: Front door trim and hardware, exterior cleanup, touch-up paint
- If your home feels dated: Lighting swaps, cabinet hardware refresh
- If buyers will tour soon: Bathroom caulk and grout refresh, wall patch and paint, flooring transitions
- If storage is a pain: Closet organization upgrades
FAQ
What is the best DIY project for immediate value?
If we are talking pure immediate impact, start at the front door and entry. A fresh, well-painted door, updated hardware, and crisp trim make the whole property feel maintained before anyone steps inside.
Do I need permits for these projects?
Painting, trim, wainscoting, and closet systems typically do not require permits. Fixture swaps often do not require a permit when you are replacing existing fixtures, but rules vary widely by jurisdiction, HOA, and sometimes insurer. If you are adding wiring, moving junction boxes, altering circuits, or you are unsure about the existing setup, check local requirements and consider hiring a licensed electrician.
How do I keep these projects buyer-neutral?
Stick with simple styles and consistent finishes. Avoid highly specific themes and loud colors. When in doubt, choose clean lines, warm neutrals, and proven finishes like matte black or brushed nickel.
Where do DIY projects go wrong on ROI?
Most often: rushing prep, mixing too many styles, and over-customizing. The goal is “clean, solid, updated” not “look what I can do with reclaimed bowling alley flooring.”