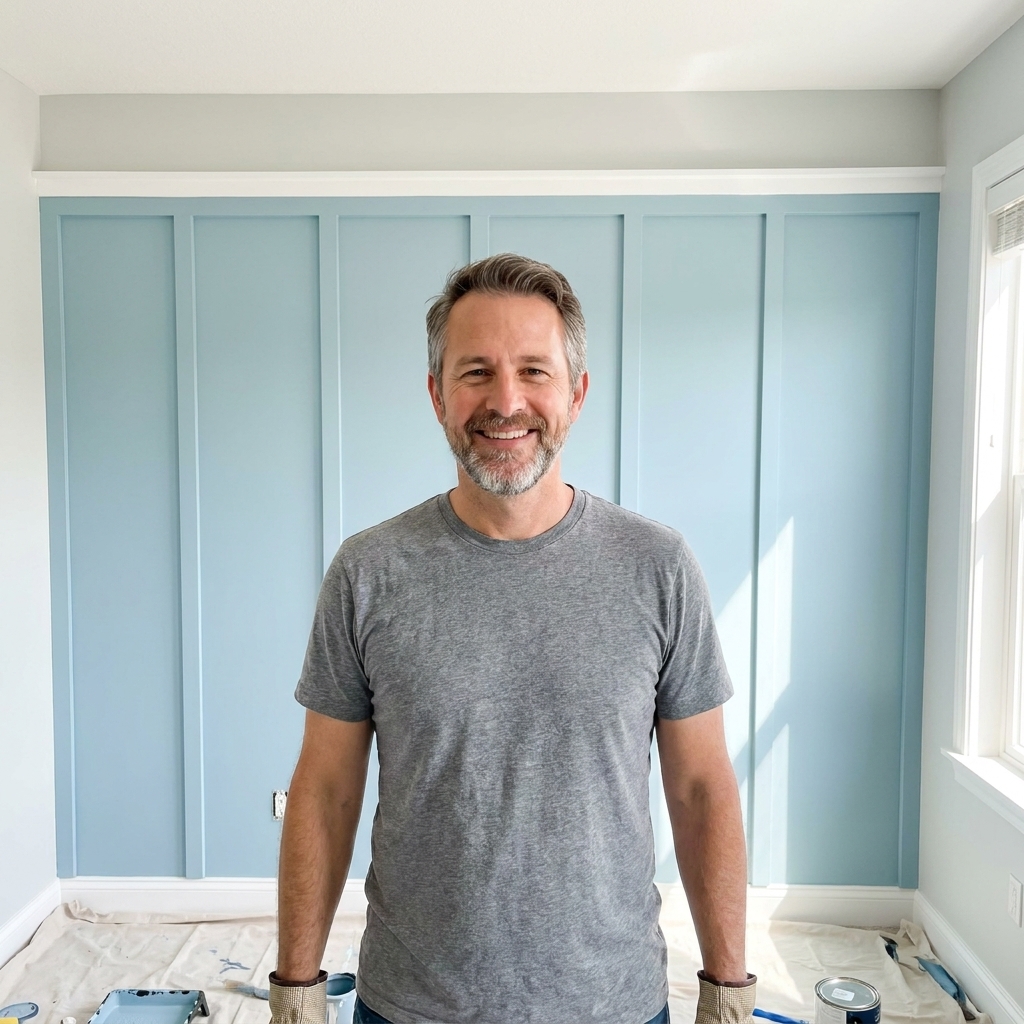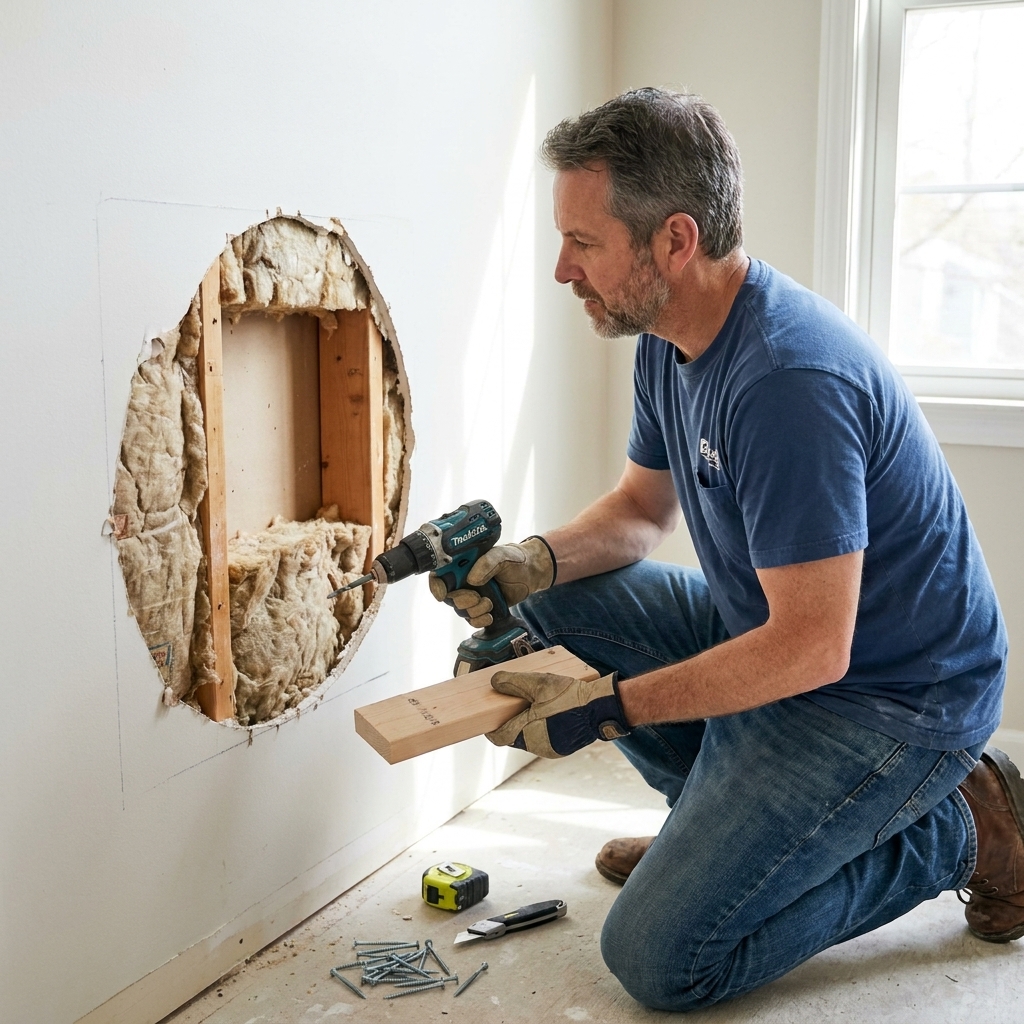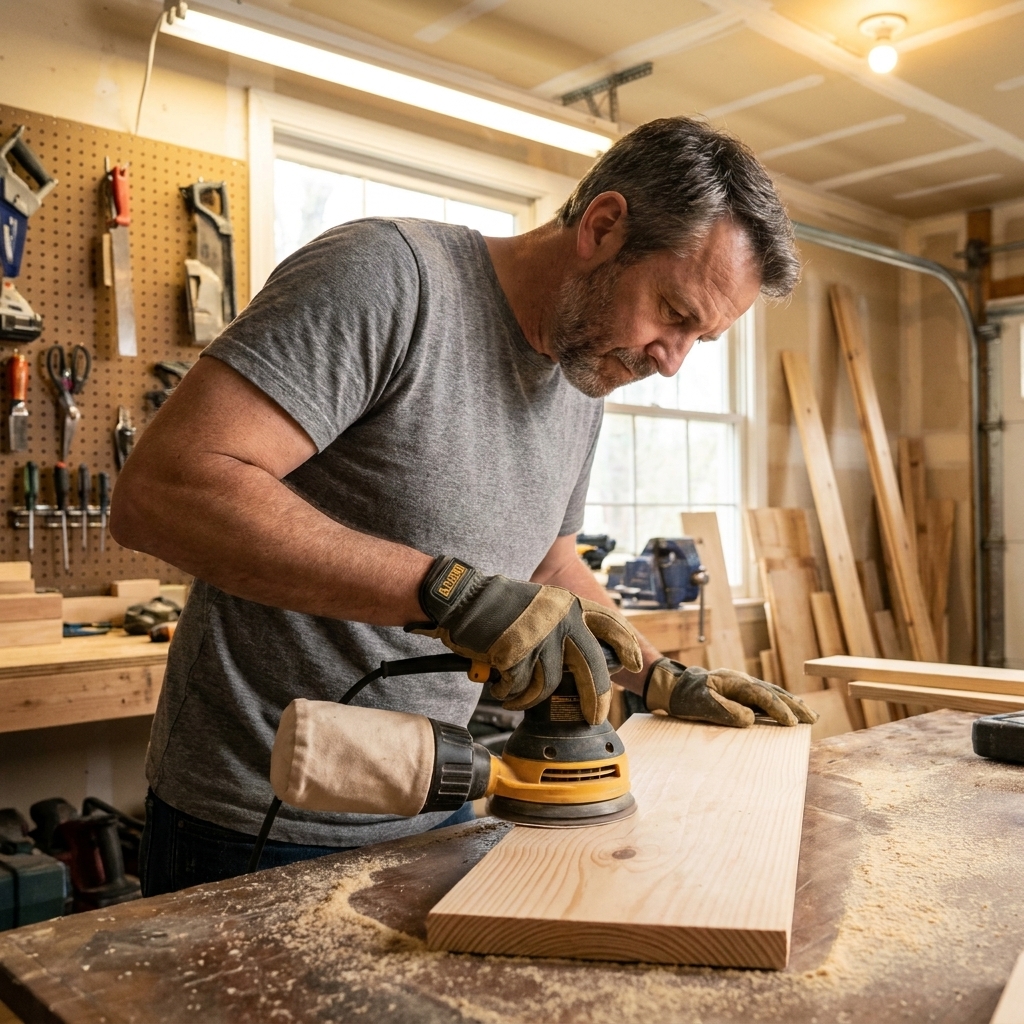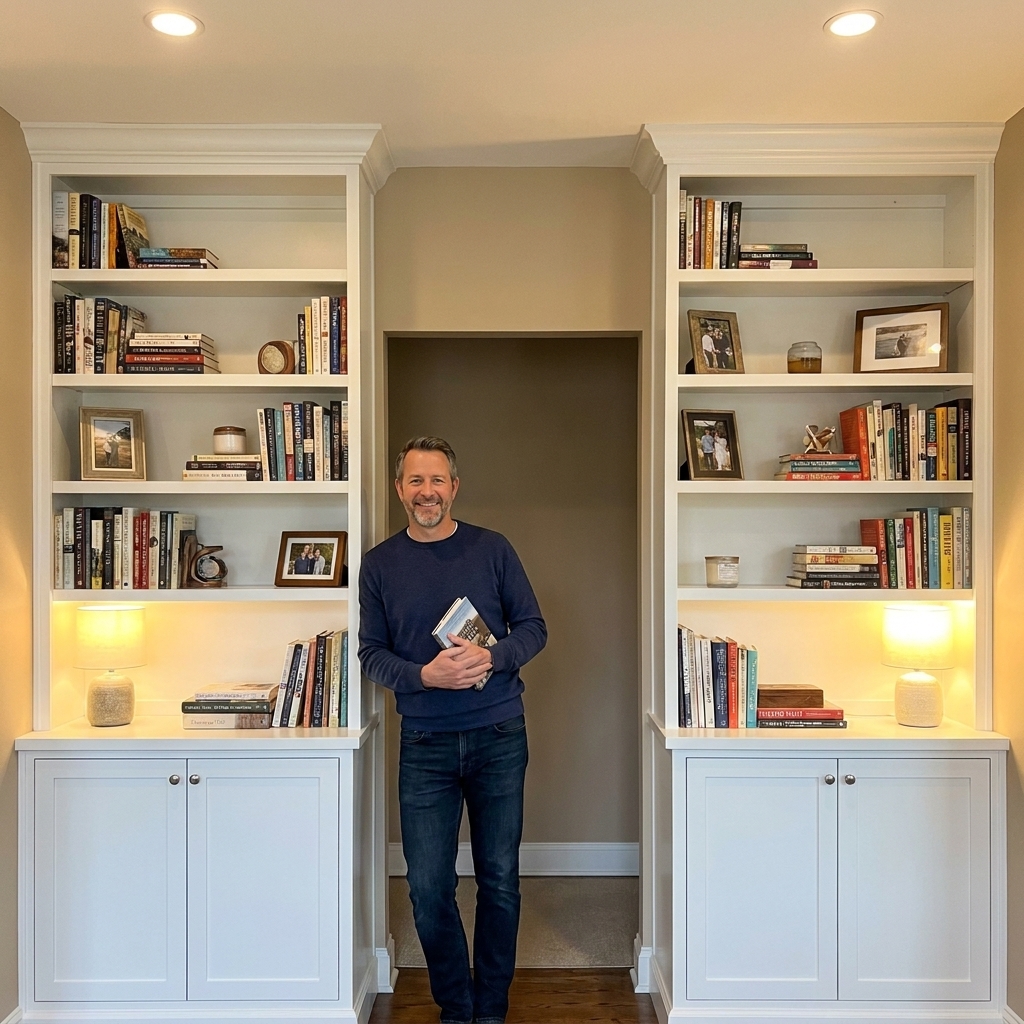
A practical, weekend-friendly method to build custom-looking built-in bookshelves using stock base cabinets, MDF panels, and trim. Includes layout, scribing,...
home improvement and DIY
DIY Closet Organizer: Custom Shelving on a Budget

Marcus Hayes
Marcus Hayes is a lifelong DIY enthusiast and former residential carpenter who has spent the last decade renovating his 1970s fixer-upper. Through Tinksmith, he shares his hands-on experience to help fellow homeowners tackle repairs, choose the right tools, and build spaces they love without breaking the bank.
Published October 17, 2026
Updated October 17, 2026
Those skinny wire racks are great at two things: leaving waffle marks on your sweaters and launching hangers like a carnival game. The good news is you do not need a fancy closet company to get a built-in look. With basic lumber, a handful of brackets, and a plan that fits your closet, you can build a wood closet organizer that holds more, looks cleaner, and costs a fraction of a packaged system.
This is the exact kind of weekend project I love: measurable, repeatable, and very forgiving if you take your time with layout. I will walk you through a simple, strong design you can customize: a long shelf with a hanging rod under it, plus optional towers of adjustable shelves for folded storage.

Plan the layout
If you do one thing before buying materials, do this: measure your closet and decide what you actually store. A closet that holds mostly shirts wants long hanging space. A closet full of hoodies, jeans, and bins needs shelves.
Start with three measurements
- Back wall width (inside drywall to inside drywall)
- Depth (back wall to inside of the door opening, not to the closed door)
- Height (floor to ceiling, plus note where your door trim or casing sits)
Pick a simple, high-impact layout
Here are three layouts that work in most reach-in closets:
- One long shelf + one long rod: simplest and cheapest. Great for coats and everyday hanging.
- Long shelf + rod, plus a shelf tower on one side: best balance of hanging and folded storage.
- Two-level hanging: top shelf, then a rod for shirts, then a second rod below for pants. Great if you have more hangers than folded items.
Rule of thumb: for a typical single hanging rod, place the top of the rod about 66 to 70 inches from the floor for shirts and most everyday hanging. For long-hang items, you might go roughly 72 to 84 inches depending on what you store and your ceiling height. Always cross-check with the actual garments you own and make sure nothing smacks the door frame or header when the door swings.
Put the shelf 10 to 12 inches above the rod so hangers have room.
And yes, you can break rules. Your closet does not grade homework. It just needs to work.
Materials that feel built-in
You can build this organizer with dimensional lumber and plywood from any home center. The trick is choosing materials that stay straight and resist sagging.
Best shelf options
- 3/4-inch plywood (sandable): strong, stable, and easy to paint. My default choice.
- Edge-glued pine panels: looks great stained, costs more, can move with humidity but usually behaves in a closet.
- Melamine-coated shelving panels: clean and wipeable, but can chip and needs careful anchoring.
What to avoid
- 1/2-inch plywood for long spans: it will sag under stacks of jeans and board games.
- MDF in damp areas: fine in many closets, but it hates water and swells if it gets wet.
Typical material list
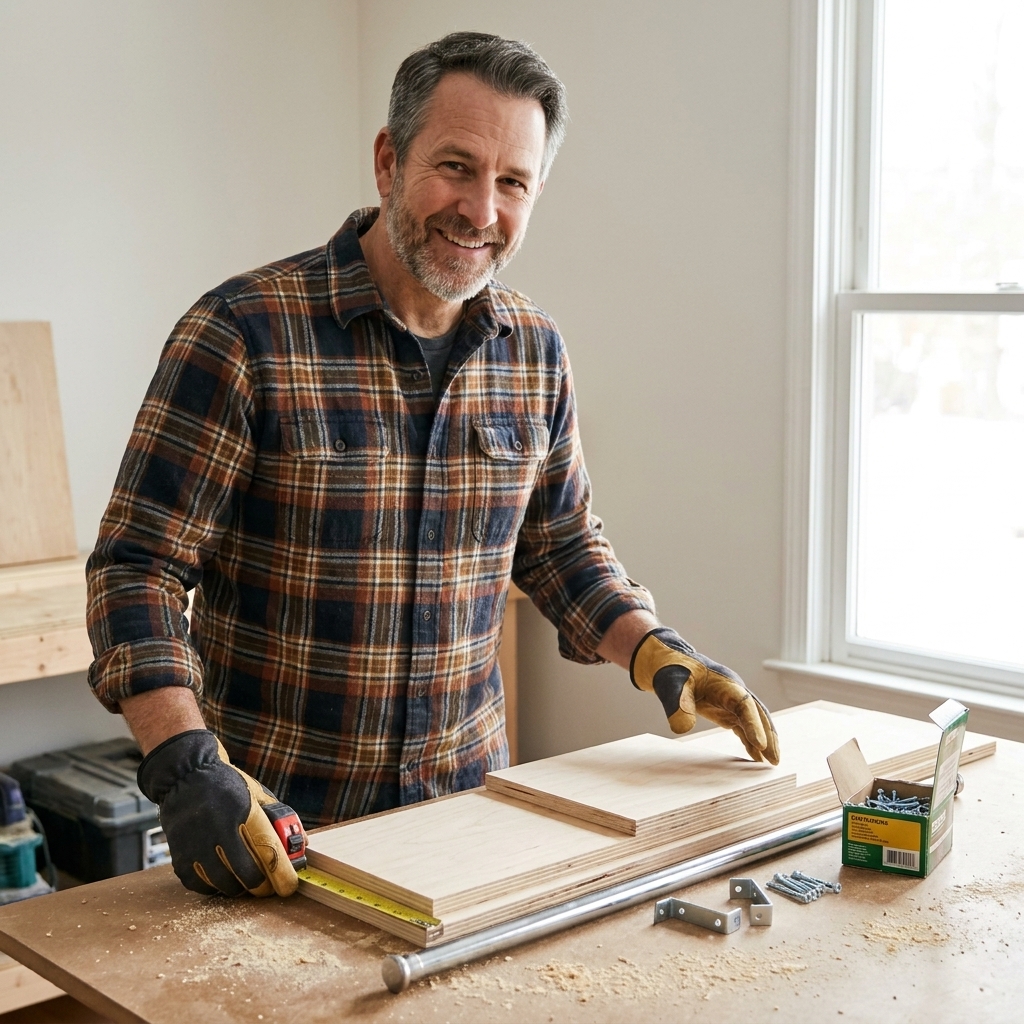
- 3/4-inch plywood for shelves (one 4x8 sheet may cover many reach-in closets, especially around 6 to 8 feet wide, depending on your layout)
- 1x2 or 1x3 for shelf face trim (optional but makes it look custom and stiffens the shelf)
- 1x4 or 1x6 for cleats and side supports (or ripped plywood strips)
- Closet rod (wood or metal) plus rod sockets
- 2 1/2-inch to 3-inch screws for studs (aim for about 1 1/2 inches of bite into the stud after drywall and wood thickness)
- 1 1/4-inch screws or brad nails for trim
- Wood filler, sandpaper, paint or stain, and a basic primer
Tools you need
No need for a truckload of tools. Here is the practical list.
- Stud finder
- Level (2-foot is fine, 4-foot is nicer)
- Tape measure and pencil
- Circular saw with a straightedge guide, or a table saw if you have it
- Drill and driver bits
- Finish nailer (optional) or a hammer and finish nails
- Clamps (helpful for trim and straight cuts)
- Safety glasses and hearing protection
Budget tip: If you do not want to cut sheets at home, have the store cut your plywood into manageable strips. Their panel saw is not always cabinet-precise, but it is great for rough sizing. You can fine-tune at home.
Build the shelf and rod
This is the backbone of most closet organizers. Get this right and everything else is just add-ons.
1) Remove the wire shelving
Back out screws, pull anchors, and remove the track if your system has one. Patch holes with spackle. If you are painting the closet, this is the time.
2) Mark studs and shelf height
Find studs on the back wall and side walls. Mark them with painter’s tape so you can see them easily.
Mark a level line for the top of the shelf. For many closets, 80 to 84 inches from the floor is a sweet spot for a top shelf, but use what fits your storage and door clearance.
3) Install cleats
Cleats act like ledgers that support the shelf from underneath. That means the top of each cleat should sit at the height of the underside of the shelf, not the top.
Measure down from your shelf-top line by the shelf thickness (3/4 inch if you are using 3/4-inch plywood), then draw a second level line for the cleats.
Cut 1x4 cleats for the back wall and side walls. Screw them into studs along the cleat line.
- Fastener: 2 1/2-inch to 3-inch screws into studs (or structural/washer-head screws if you want to be extra confident).
- Spacing: every stud you can hit.
If you cannot hit a stud at one end, use a heavy-duty wall anchor rated for the load. Studs are best, anchors are the backup singers.
4) Cut and set the shelf
Cut the plywood shelf to fit the closet width and desired depth. A typical closet shelf depth is 12 inches. If you want more folded storage, 14 to 16 inches can work, but make sure hangers will not smash into stacks when you slide clothes on and off.
Fit tip: Walls are rarely perfect. Leaving about a 1/8-inch gap at each side makes installation less frustrating, and paintable caulk can make it disappear.
Set the shelf on the cleats and screw down through the shelf into the cleats.
5) Add face trim (optional, but worth it)
Trim makes a plywood shelf look like furniture and helps prevent sagging. Glue and nail a 1x2 or 1x3 along the front edge. Fill nail holes, then sand smooth.
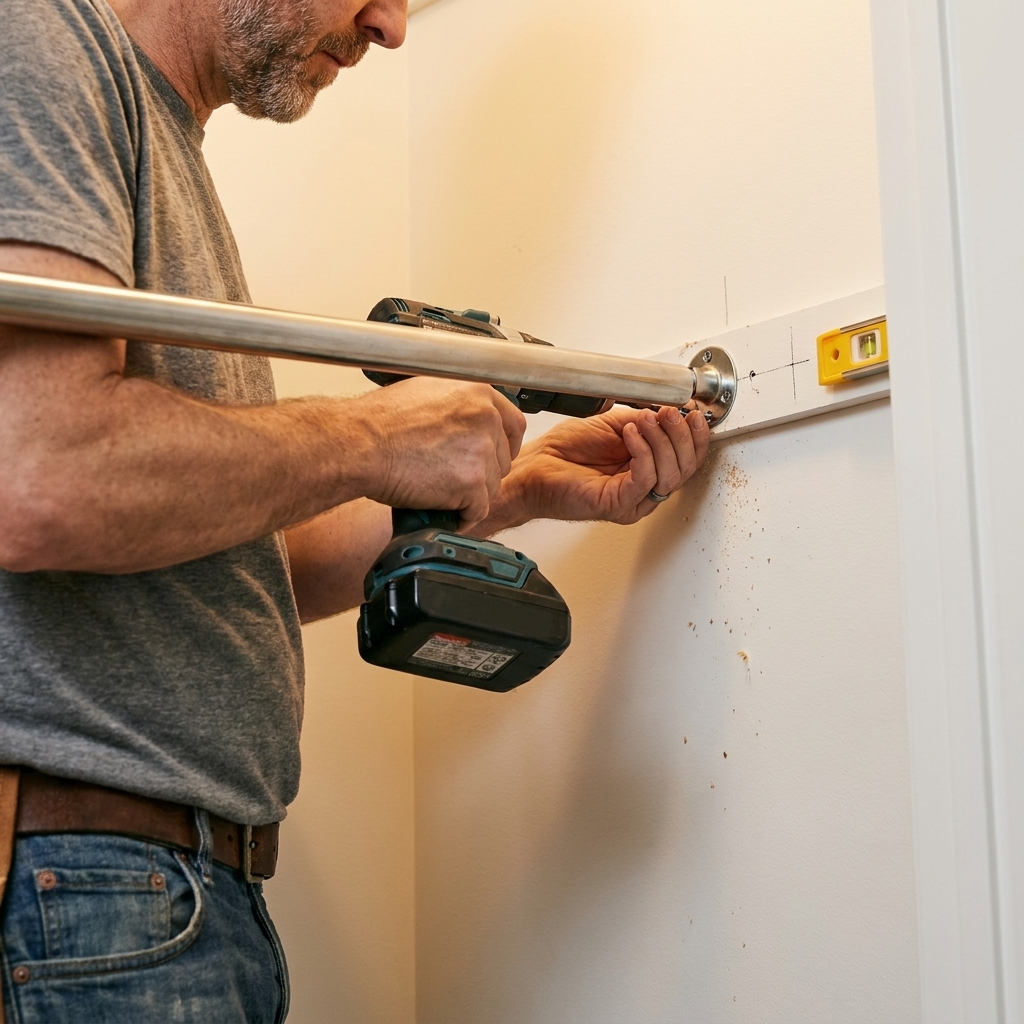
6) Install the closet rod
Measure down from the shelf to place the rod. I like 10 to 12 inches from the underside of the shelf to the top of the rod.
Rod setback tip: Most hangers are happiest when the rod centerline is roughly 10 to 12 inches from the back wall. Too close and shirts rub the drywall. Too far forward and doors can hit hangers in shallow closets.
- Mount rod sockets into studs when possible.
- If the span is around 48 inches or more, add a center support for the rod (or follow the rod manufacturer’s guidance). Wood rods and thinner rods often need support sooner.
- Use a level so hangers do not all slide to one end like it is trying to escape.
Add a shelf tower
If you want your closet to stop eating T-shirts, add a tower on one side. This can be as simple as two vertical panels with shelves between them.
Simple fixed-shelf tower
- Cut two side panels from 3/4-inch plywood (depth 12 to 14 inches).
- Anchor the sides to studs at the back wall using screws through the plywood.
- Add cleats on the inside of the tower sides to support each shelf.
- Install shelves on those cleats.
Clean look tip: Pre-drill and countersink any visible screws, then fill them smooth before painting. If you are staining, consider hiding fasteners with cleats, pocket screws, or plugs so the tower does not look like it was assembled in a hurry.
Adjustable-shelf tower (my favorite)
Use shelf pin holes so you can change spacing later. You can drill holes with a shelf-pin jig, or buy metal shelf standards that screw to the sides. Shelf standards are not as “seamless” looking, but they are fast, strong, and very adjustable.
Shelf spacing tip: Start with 10 to 12 inches between shelves for folded clothes, 14 to 16 inches for bins, and one taller section for handbags or bulkier items.

Make it look custom
The difference between “I built this” and “I installed this” is usually in the finishing details.
Three cheap upgrades
- Face trim on exposed plywood edges: even a simple 1x2 makes shelves look thicker and cleaner.
- Caulk the gaps: a thin bead where wood meets drywall makes it look built-in.
- Paint everything the same color: shelves, cleats, and trim all one color hides seams and makes the closet feel bigger.
Paint and primer notes
- Prime plywood first, especially the cut edges. They drink paint like it is sweet tea in July.
- Use a durable trim enamel in satin or semi-gloss for wipeable shelves.
- If staining, use edge banding or solid wood trim on plywood edges for a cleaner look.
Stop shelf sagging
Sagging is almost always a span problem, not a “you didn’t believe hard enough” problem.
- Keep shelf spans under 36 to 42 inches when possible, especially for folded clothes.
- Add a center support on long shelves: a vertical divider or a bracket that ties into a stud.
- Use 3/4-inch material for shelves.
- Add face trim to stiffen the front edge.
If your closet is wide and you want one long uninterrupted shelf, consider adding a vertical divider panel in the middle. You gain support and a natural “zone” for organizing.
Safety and walls
Closets are full of surprises: off-center studs, bowed drywall, and trim that is not square. That is normal.
- Always anchor primary supports into studs. Shelves loaded with clothes get heavy fast. If you plan to store really heavy items (books, weights, dense bins), either keep them low or overbuild the supports.
- Pre-drill near edges to prevent splitting wood.
- Use a level, then trust your eyes. Sometimes walls are so crooked that “perfectly level” looks wrong. Split the difference if needed.
- Watch for wiring. If you feel unusual resistance drilling, stop and investigate.
What it costs
Costs vary by region and finish level, but here is a realistic ballpark for a reach-in closet:
- Basic shelf + rod: often $80 to $180 using plywood, cleats, and a rod.
- Add a shelf tower: add $60 to $160 depending on plywood and hardware.
- Paint and supplies: $25 to $60 if you do not already have primer, caulk, and rollers.
Even if you splurge on nicer plywood and a wood rod, you are usually still well under the cost of a pre-packaged closet kit, and you get a better fit.
Troubleshooting
My shelf does not fit wall-to-wall
Walls are rarely perfectly parallel. Scribe the shelf to the wall if you want a tight fit, or leave a small gap and caulk it after installation.
I cannot hit studs where I need support
Shift the design slightly to land cleats on studs, or add a vertical panel that can anchor into studs at the back wall. For secondary points, use heavy-duty anchors rated for the load.
My rod feels bouncy
Add a center rod support, especially for spans around 48 inches and up (or per the manufacturer). Also make sure your rod sockets are in studs or rated anchors.
FAQ
How deep should closet shelves be?
For most reach-in closets, 12 inches is a great all-around depth. If you store bulky bins, 14 to 16 inches can work, but double-check door clearance and hanging space so things do not collide.
Can I build over existing wire shelving?
I do not recommend it. Wire systems are not a flat, stable base, and you will fight the brackets. Pull it out and start clean. Patching holes is quick and worth it.
Is plywood strong enough for closet shelves?
Yes, if you use 3/4-inch plywood and support it properly with cleats into studs and reasonable spans. Add face trim or a center divider for extra stiffness on longer runs.
What is the easiest built-in finish?
Painted plywood with face trim, caulked edges, and a durable enamel topcoat. It is forgiving, clean looking, and easy to touch up later.
Wrap-up
A closet organizer does not need to be complicated to be life-changing. Start with a sturdy shelf and rod, then add a tower or extra shelves where your stuff needs a home. Measure twice, hit studs whenever possible, and do not be shy about trim and caulk. Those little details make the whole thing look like it came with the house, instead of showing up in a cardboard box.
If you build one, you will never look at wire shelving the same way again. Which is good, because it never looked at you kindly in the first place.