A homeowner-friendly guide to choosing a random orbital sander, selecting the right grits, and sanding wood to a flawless finish without swirl marks.
home improvement and DIY
Top 5 HVLP Paint Sprayers for Cabinet Makeovers

Marcus Hayes
Marcus Hayes is a lifelong DIY enthusiast and former residential carpenter who has spent the last decade renovating his 1970s fixer-upper. Through Tinksmith, he shares his hands-on experience to help fellow homeowners tackle repairs, choose the right tools, and build spaces they love without breaking the bank.
Published October 17, 2026
Updated October 17, 2026
If you have ever brushed cabinet doors and thought, “Wow, I love visible brush marks in my kitchen,” you are either lying or you are a much calmer person than me.
For the rest of us, an HVLP paint sprayer is the straightest line between weekend DIY effort and a finish that looks like it came out of a cabinet shop. HVLP stands for High Volume, Low Pressure. Translation: lots of air, gentler pressure, and better control, which can mean less overspray and smoother results than a conventional high-pressure gun when your setup and technique are dialed in.
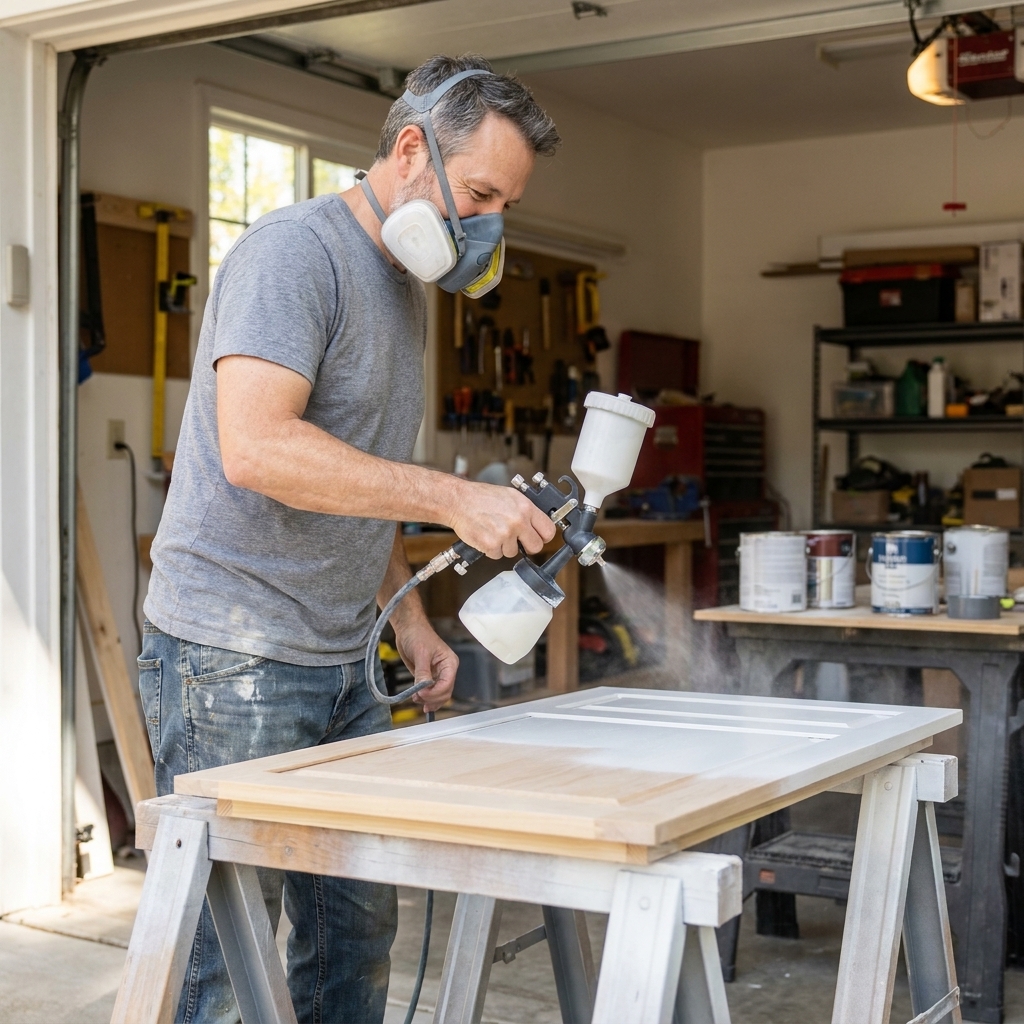
Below are my top five HVLP sprayers for cabinet makeovers, with the kind of details I wish someone had told me before I turned my garage into a fog machine.
Quick picks
- Best overall for most DIY cabinet jobs: Wagner Control Spray Max
- Best budget starter: Wagner FLEXiO 590
- Best for low overspray and control: Fuji Semi-PRO 2
- Best value “serious DIY” turbine: Earlex HV5500
- Best if you already own an air compressor: California Air Tools 1.0 mm HVLP Gravity Feed Spray Gun
How I judged these sprayers
Cabinet work is picky. You are spraying flat panels, edges, profiles, and door backs, and every flaw is right at eye level under kitchen lighting.
- Finish quality: how well it atomizes cabinet enamels and urethane acrylics
- Ease of dialing in: fan pattern, material flow, and air control
- Overspray and control: especially important indoors or in a garage
- Cleanup: how painful it is to clean between coats
- Budget reality: the best sprayer is the one you can afford and will actually use
My cabinet baseline: If you want that smooth “factory” vibe, your workflow matters as much as the sprayer. Degrease, scuff sand, prime appropriately, spray thin coats, and give it real cure time. The sprayer is the quarterback, but prep is the offensive line.
1) Wagner Control Spray Max
Best overall for most DIY cabinet makeovers
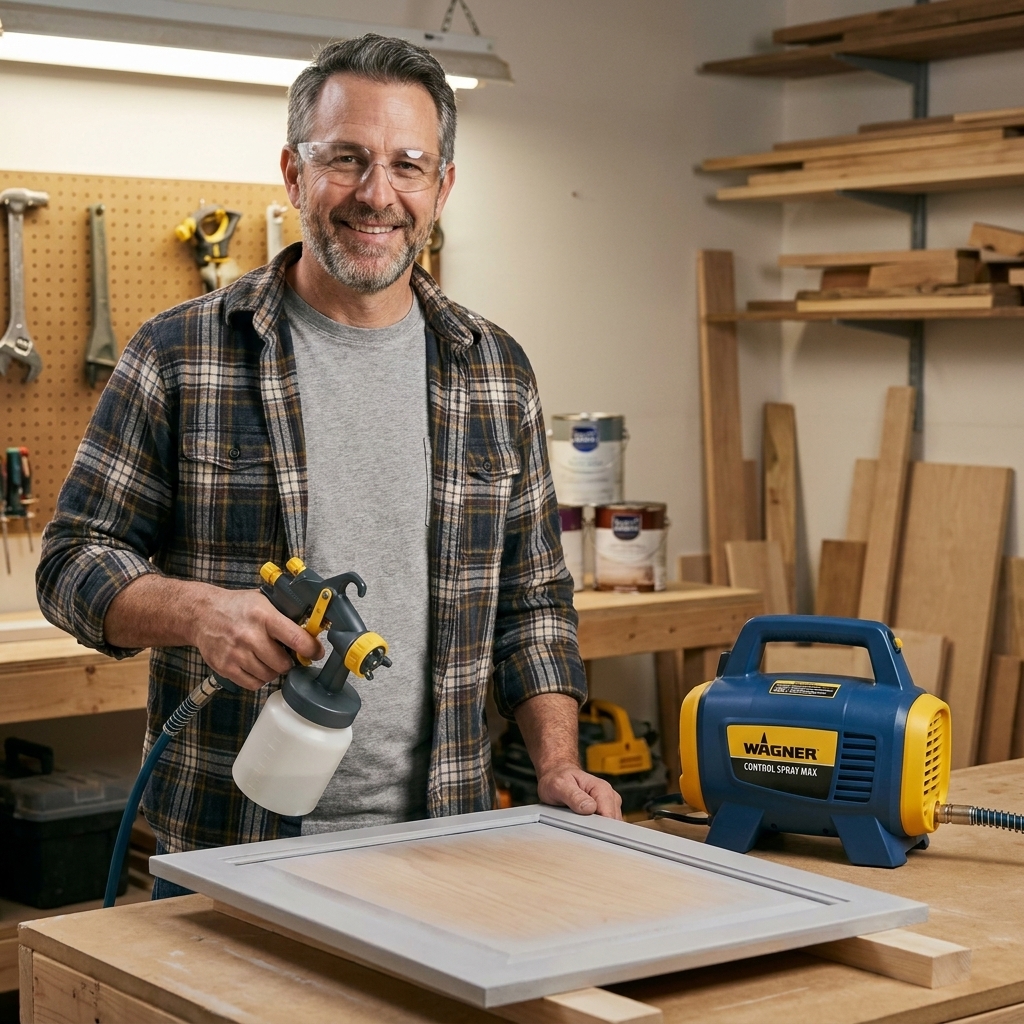
Why I like it: This is a sweet spot sprayer for cabinet DIYers because it offers a true turbine-style HVLP experience without the price tag of pro systems. (A turbine unit makes its own airflow, so you do not need an air compressor.) It can lay down a surprisingly smooth finish with the right setup, and it has enough oomph to spray common cabinet coatings with reasonable thinning.
What it does great
- Good atomization for the money, especially with waterborne cabinet enamels and urethane acrylics
- Adjustable pattern (horizontal, vertical, round) for doors, rails, and stiles
- Separate turbine unit helps reduce hand fatigue compared to all-in-one handhelds
Watch-outs
- You still need to thin some cabinet paints and strain everything
- Like most consumer HVLPs, you can get orange peel if you spray too dry, too far away, or too thick
Best for
Homeowners painting a typical kitchen set who want a noticeable jump in finish quality without jumping all the way to a premium Fuji or Apollo setup.
My setup tip
Do a few passes on cardboard and listen for the sweet sound: a consistent hiss with a wet, even fan. If it feels dusty, open material flow slightly, move a bit closer, or thin a touch more. The sprayer is not mad at you. It just wants a calmer, wetter coat.
2) Wagner FLEXiO 590
Best budget starter
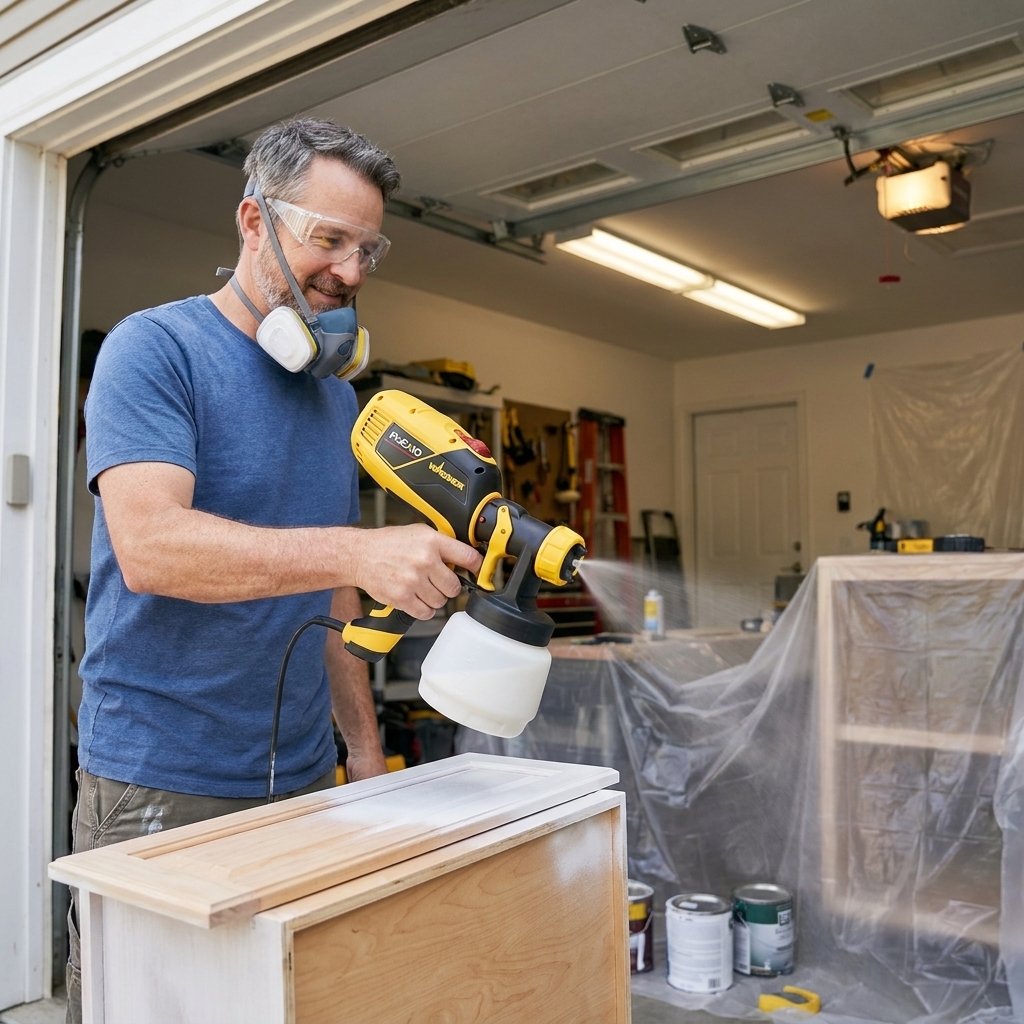
Why I like it: If you want to get into spraying without dropping a big chunk of change, the FLEXiO line is a common on-ramp. To be clear, this is a consumer handheld sprayer that is often marketed as HVLP-ish rather than a classic turbine spray station like Fuji or Earlex. For cabinets, you will want the finer finish-oriented setup and some patience while dialing in. It can absolutely work for cabinet makeovers if you do your part.
What it does great
- Affordable entry point for DIYers who will use it for more than one project
- Fast coverage once you get your settings close
- Easy to find parts and accessories
Watch-outs
- More likely than dedicated turbine spray stations to produce texture if your material is too thick
- Heavier in-hand than a gun-on-hose setup
- Cabinet-level results require practice and test spraying
Best for
Smaller kitchens, laundry room cabinets, bathroom vanities, or first-time sprayers who want a decent finish on a budget.
My setup tip
Strain your paint, reduce it gradually, and spray doors flat whenever possible. Gravity is your friend. It is also your enemy if you get greedy and lay it on like syrup.
3) Fuji Semi-PRO 2
Best for control and smooth results
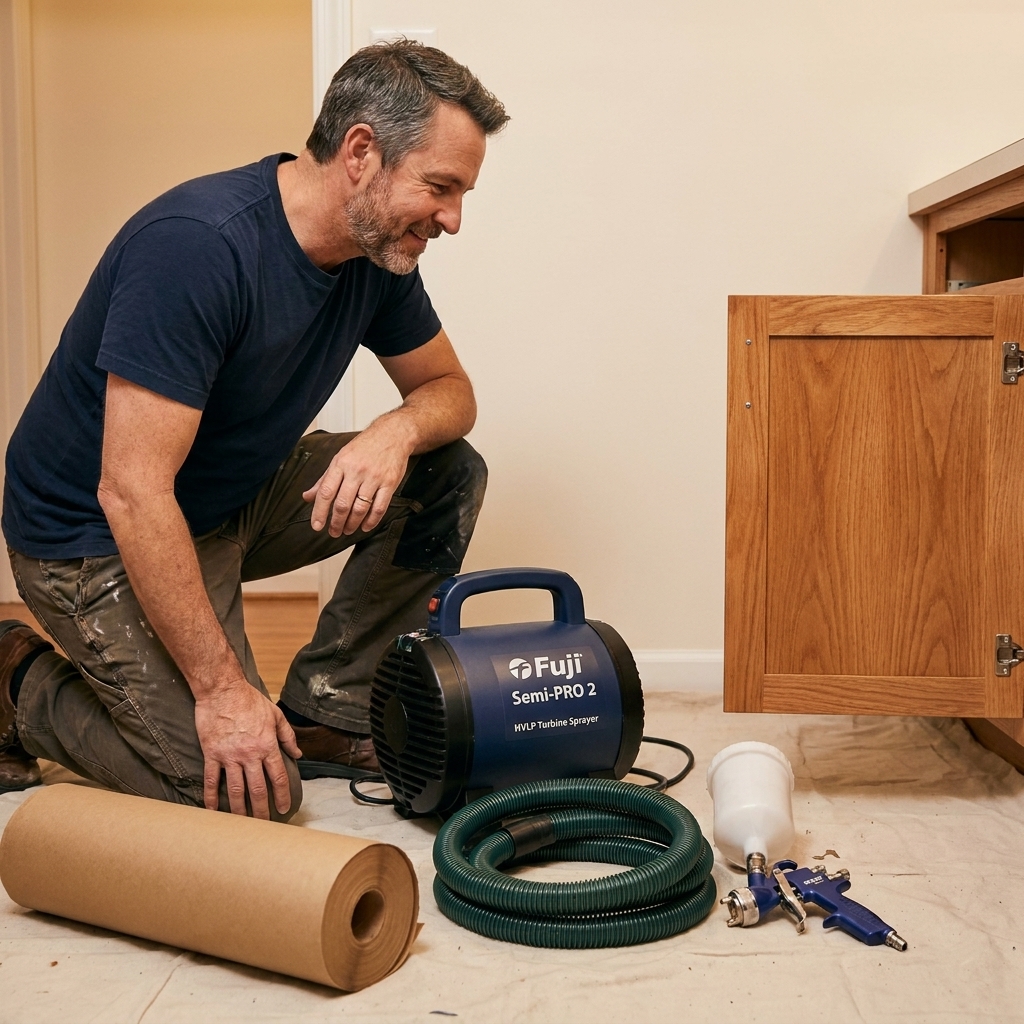
Why I like it: When you step up to Fuji, you feel it immediately. The gun control is better, the components are more robust, and it is simply easier to produce a consistent finish once you learn your coating and distance. For cabinet makeovers, that control is everything.
What it does great
- Excellent atomization compared with most big-box DIY options
- More predictable fan pattern for edges and profiles
- Solid build quality for repeated projects
Watch-outs
- Costs more, especially once you add extra needles, tips, or accessories
- Still requires good technique and surface prep to truly look “factory”
Best for
DIYers who plan to spray multiple projects over the years, or anyone who wants to minimize learning-curve frustration and chase that smoother, more professional cabinet finish.
My setup tip
If you are spraying thicker coatings, a different needle/nozzle set can be a game changer. Think of it like buying the right size wrench instead of using pliers and optimism.
4) Earlex HV5500
Best value turbine for serious DIYers
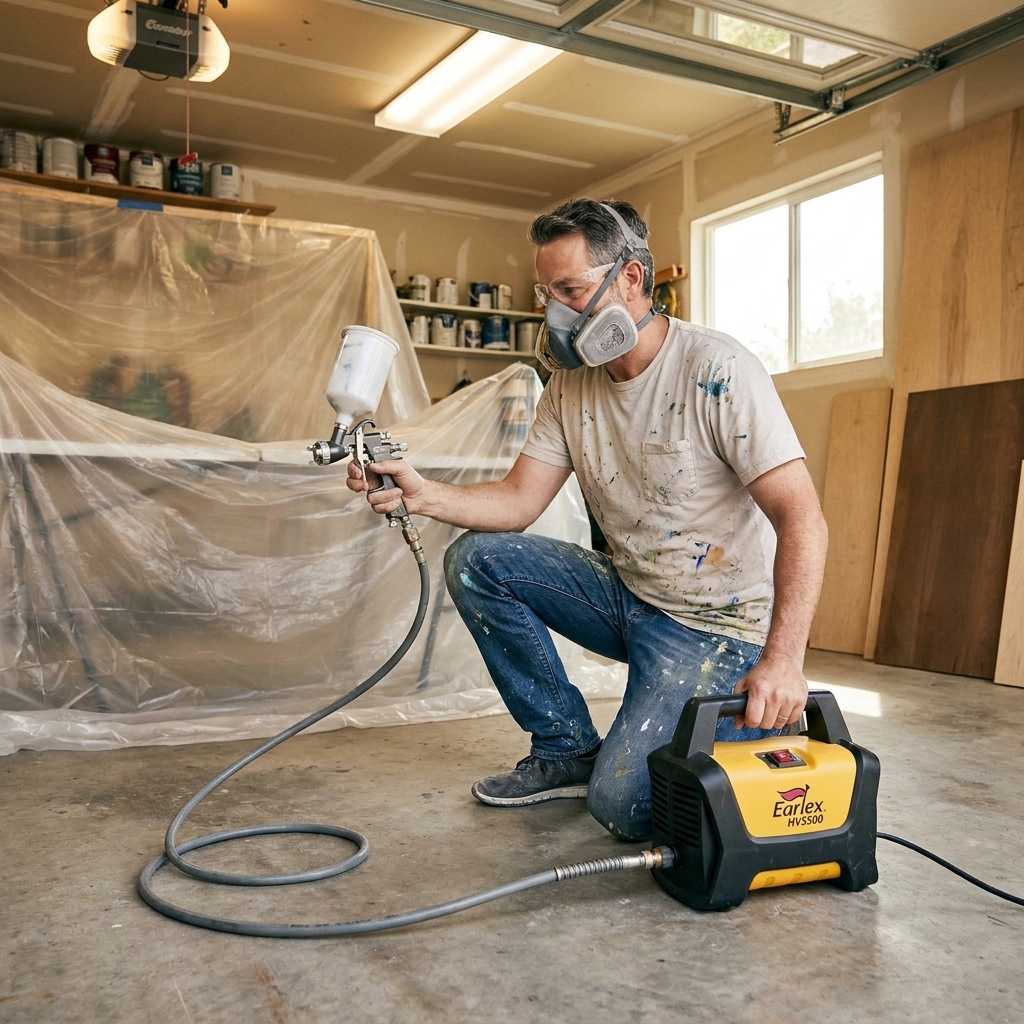
Why I like it: The HV5500 sits in a nice middle ground between entry-level sprayers and the premium pro-leaning systems. It is a turbine-based unit with enough muscle for cabinet coatings, and it is designed more like a “spray station” than a handheld gadget.
What it does great
- Good power for common cabinet primers and topcoats
- Comfortable for longer sessions since you are not holding the turbine
- Good control once tuned for your material
Watch-outs
- Turbine units move warm air, which can dry a finish faster if you are too far away
- You may still need to thin and strain depending on the coating
Best for
Medium to large kitchen cabinet jobs, and DIYers who want a “step-up” sprayer without jumping to the top of the price ladder.
My setup tip
Keep your hose managed so it is not tugging your wrist mid-pass. A bungee cord overhead or a simple hook can make you look like you know what you are doing. Even if you do not. Yet.
5) California Air Tools 1.0 mm HVLP Gravity Feed Spray Gun
Best if you already own a compressor
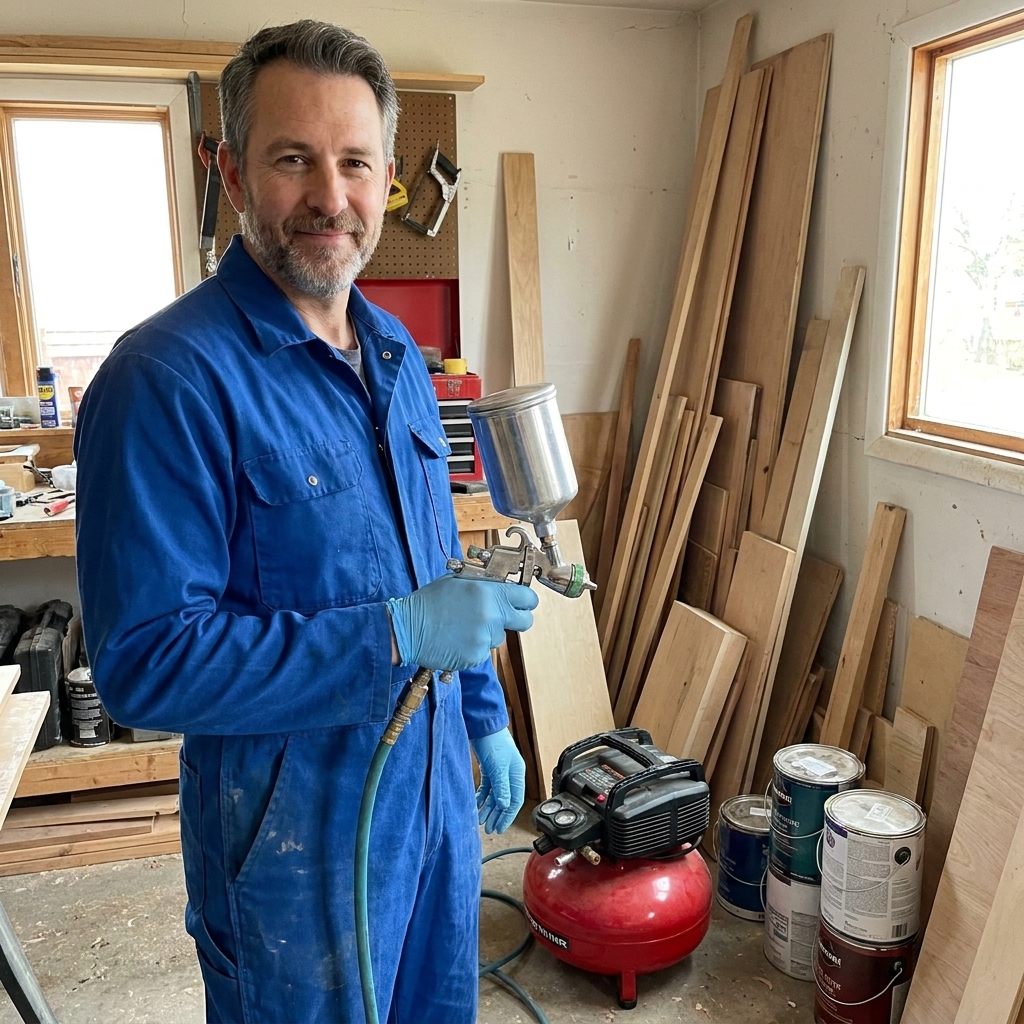
Why I like it: If you already have a decent air compressor, a compressor-driven HVLP gun can be the most cost-effective way to get a really nice cabinet finish. The key is having enough air delivery to keep up, plus a water filter and regulator at the gun.
What it does great
- Excellent control potential when paired with the right compressor setup
- Fine atomization for thinner finishes and clear coats
- Great value if the compressor is already in your shop
Watch-outs
- Your compressor needs sufficient CFM or you will be waiting on air
- You must manage moisture in the air line to avoid finish problems
- More setup pieces: regulator, fittings, filter, and sometimes a longer hose
Best for
DIYers with a workshop mindset who already own a compressor and want to grow into spraying furniture, doors, trim, and cabinets.
My setup tip
Rule of thumb: plan on a compressor that can deliver at least 6 to 9 CFM at 40 PSI for steady HVLP spraying with many full-size guns. Always check the gun’s CFM requirement, then buy more compressor than you think you need. Underpowered air feels like trying to paint cabinets through a coffee straw.
Add a small filter at the gun. Water in your air line will ruin your day faster than a toddler with a Sharpie.
What to look for in an HVLP sprayer
Turbine vs compressor
- Turbine HVLP: Plug it in and go. Great for homeowners. Usually less tinkering. Often warmer air.
- Compressor HVLP: More adjustable and scalable, but you must have the right compressor and clean, dry air.
Needle and nozzle sizes
Cabinet paints are often thicker than wall paint. If your sprayer cannot atomize it well, you either thin more or move to a larger tip size if your system supports it. In general, larger tips move thicker material, smaller tips excel at thinner finishes and detail work.
If you want a starting point (not a law): many waterborne cabinet enamels spray nicely around 1.3 to 1.5 mm, high-build primers often want something bigger, and clears can go smaller. Your coating manufacturer’s spray recommendations are the boss here.
Fan control
For cabinet doors, you want a fan wide enough to cover rails and stiles efficiently, but controllable enough that you are not blasting paint past the edges. Pattern control is what keeps your finish smooth and your overspray contained.
Coating reality check
Most DIY cabinet makeovers happen with waterborne enamels, urethane acrylics, or waterborne alkyds because they are durable and more garage-friendly. Lacquer can look amazing, but it is a different safety and ventilation conversation, and it can be a bad match for casual DIY setups.
Cleanup reality
HVLP spraying is “fast painting, slower cleaning.” If you cut cleanup corners, the sprayer will punish you later with spitting, clogs, or a fan pattern that looks like it sneezed.
My cabinet spraying workflow
1) Remove, label, and set up
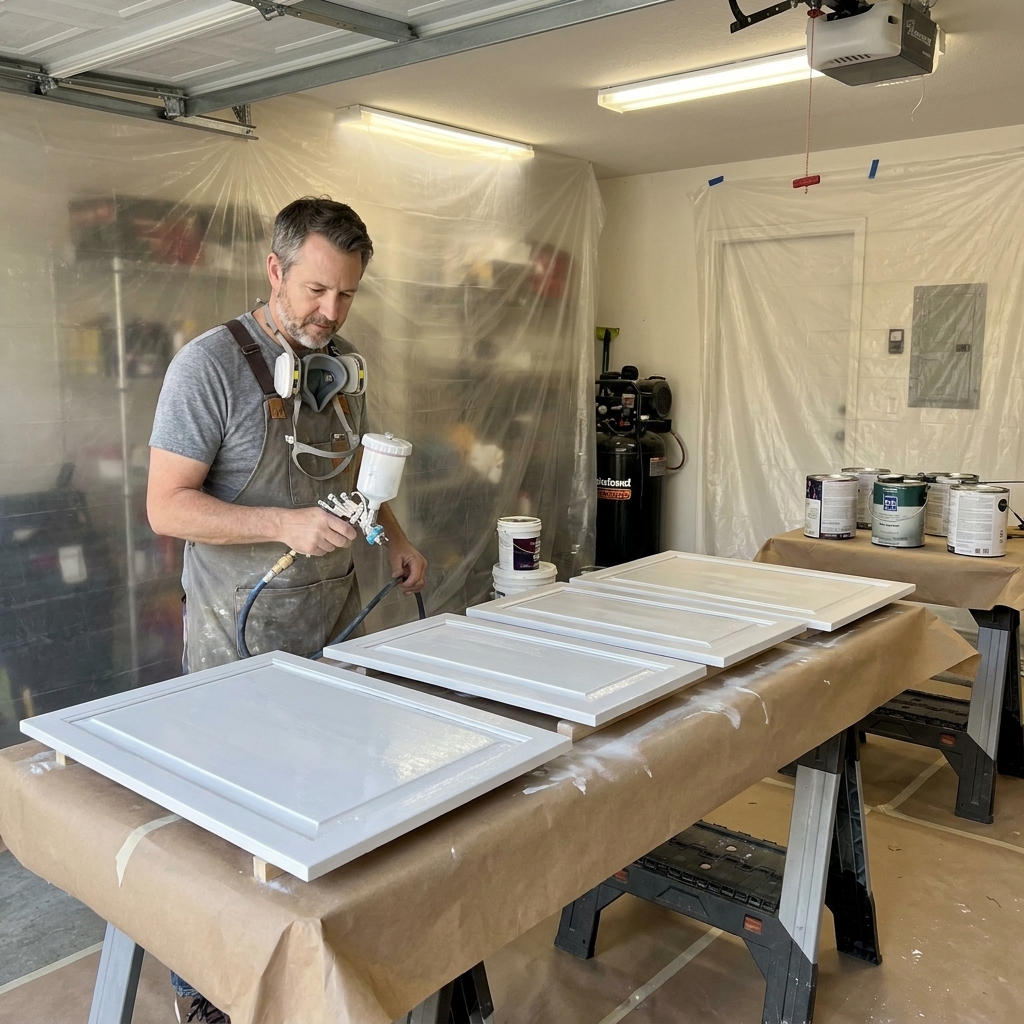
Pull doors and drawer fronts, label everything, and set up a place where you can spray without wind, dust, or curious pets. A garage works great with plastic sheeting and a box fan exhausting outward through a filter for waterborne products. If you are spraying solvent-based or flammable finishes, do not rely on a standard box fan. Use equipment rated for those vapors and follow the coating label.
2) Clean like you mean it
Kitchen cabinets hold onto grease like it is paying rent. Use a degreaser, rinse well, let dry, then scuff sand.
3) Sand for adhesion
Scuff sand to de-gloss and level small defects. You are not trying to sand your way into a new personality.
4) Prime smart
Use a primer that fits your situation. For tannin bleed, think tannin-prone woods (especially oak, cherry, and mahogany), and consider a stain-blocking primer. For slick finishes, choose a bonding primer.
5) Strain, test, then spray light coats
Strain everything. Test spray. Then spray multiple light to medium coats instead of one heavy coat. Heavy coats look great for about five minutes, right up until they sag.
6) Let it cure
Dry-to-touch is not the same as cured. Cabinets take abuse. Give your finish time to harden before you reinstall hardware and start slamming doors in celebration.
Common problems
Orange peel texture
- Cause: Paint too thick, spraying too far away, air and material not balanced
- Fix: Thin slightly, move closer, slow down, increase material flow carefully, keep a wet edge
Runs and sags
- Cause: Too much material, too slow, too close
- Fix: Lighter coats, keep moving, do edges first then faces, sand out after dry and respray
Dry spray and rough feel
- Cause: Spraying too dry, too much air, too far away, hot or windy conditions
- Fix: Slightly wetter coat, reduce distance, adjust settings, control airflow in your spray area
Spitting or sputtering
- Cause: Clogged nozzle, loose pickup tube, low material, dirty gun
- Fix: Clean thoroughly, check seals, strain paint, keep cup topped up
Safety checklist
- Respirator: Use a properly rated respirator for paint spraying. A dust mask does not count.
- Ventilation: Move air out and bring fresh air in. Protect your furnace and water heater from fumes.
- Eye protection: Overspray finds eyeballs like it has a GPS.
- Fire safety: Be cautious with flammable finishes. Follow product label guidance and do not use non-rated fans around solvent vapors.
- Protect everything: Overspray is basically airborne commitment. Mask, cover, and plan.
FAQ
Do I really need an HVLP sprayer for cabinets?
No, but it is one of the most reliable ways to get a smooth finish fast. You can roll and brush cabinets successfully, but it takes more sanding between coats and more technique to avoid texture.
What paint works best in an HVLP for cabinets?
Look for cabinet and trim enamels, urethane acrylics, and waterborne alkyds that are spray-friendly. No matter what the can says, plan to strain and possibly thin to match your sprayer. Follow the coating’s spray guidance first, then adjust in small steps.
Should I spray doors flat or hanging?
Flat is usually easier for DIY because it helps prevent runs on the face. If you hang doors, you can get great results, but your technique has to be on point, especially on edges.
How do I minimize overspray?
Use the smallest effective fan, keep your distance consistent, avoid cranking material wide open, and build a simple spray booth with plastic sheeting. Also, spray when the air is calm, not when the garage door is acting like a wind tunnel.
My bottom line
If you want the best mix of price, ease, and finish quality for a typical cabinet makeover, the Wagner Control Spray Max is a solid pick. If you already own a compressor and enjoy tinkering, a compressor-driven HVLP gun can produce beautiful results for less money, as long as your compressor has the CFM to keep up and your air is clean and dry. And if you want a smoother path to that pro look with fewer tool limitations, stepping up to a Fuji is one of the clearest upgrades you can make.
Whichever sprayer you choose, remember the secret sauce: clean, sand, prime, strain, spray light coats, and let it cure. Do that, and your cabinets will look so good you will start eyeing the bathroom vanity like it owes you money.