A practical tutorial plus top stud finder picks, with troubleshooting tips for drywall, plaster, lath, and stubborn false positives.
home improvement and DIY
DIY Board and Batten Accent Wall

Marcus Hayes
Marcus Hayes is a lifelong DIY enthusiast and former residential carpenter who has spent the last decade renovating his 1970s fixer-upper. Through Tinksmith, he shares his hands-on experience to help fellow homeowners tackle repairs, choose the right tools, and build spaces they love without breaking the bank.
Published October 17, 2026
Updated October 17, 2026
Board and batten is one of those upgrades that looks custom and expensive, but it is really just a handful of straight boards installed with care. In this guide, I am talking about applied board and batten: trim boards attached over drywall to create that paneled look. It is not the same thing as true board-and-batten paneling that replaces the wall surface, but the finished vibe is very similar.
If you can measure, cut square, and take your time with caulk, you can absolutely pull this off in a weekend for one wall in average condition. Dry times and wall weirdness can stretch the timeline, but the work itself is very doable. I have done it in bedrooms, entryways, and one hallway that used to feel like a bowling alley. Same story every time: instant character.
This guide walks you through planning, layout, cutting, and installation, with the little details that make it look like built-ins instead of “weekend warrior, but make it loud.”
Decide style and height
Board and batten can mean a few different looks. Before you buy a single board, pick the style and lock in the height.
Common layouts
- Wainscot height (traditional): About 36 to 48 inches tall. Great for dining rooms, entryways, and stair landings.
- Mid-height: 50 to 60 inches. Nice in bedrooms behind a bed, especially with taller ceilings.
- Full height: Battens run nearly to the ceiling, usually with a top rail near the top. Big impact, modern farmhouse vibe.
Quick height rules
- 8-foot ceilings: 42 to 54 inches is a safe sweet spot for a wainscot-style accent wall.
- 9-foot ceilings: 48 to 60 inches often feels balanced.
- Behind a bed: Aim for the top rail to land a few inches above the top of your mattress and pillows, so it reads like a headboard wall.
My dad-joke-level advice: once you pick a height, commit like it is a haircut. Second-guessing mid-project is how you end up with “board and regret.”
Tools and materials
You do not need a full woodshop. You do need accurate measuring, clean cuts, and a plan for attaching boards securely.
Tools
- Tape measure
- Pencil and straightedge or chalk line
- Stud finder
- Level (2-foot is fine, 4-foot is nicer)
- Miter saw or circular saw with a guide
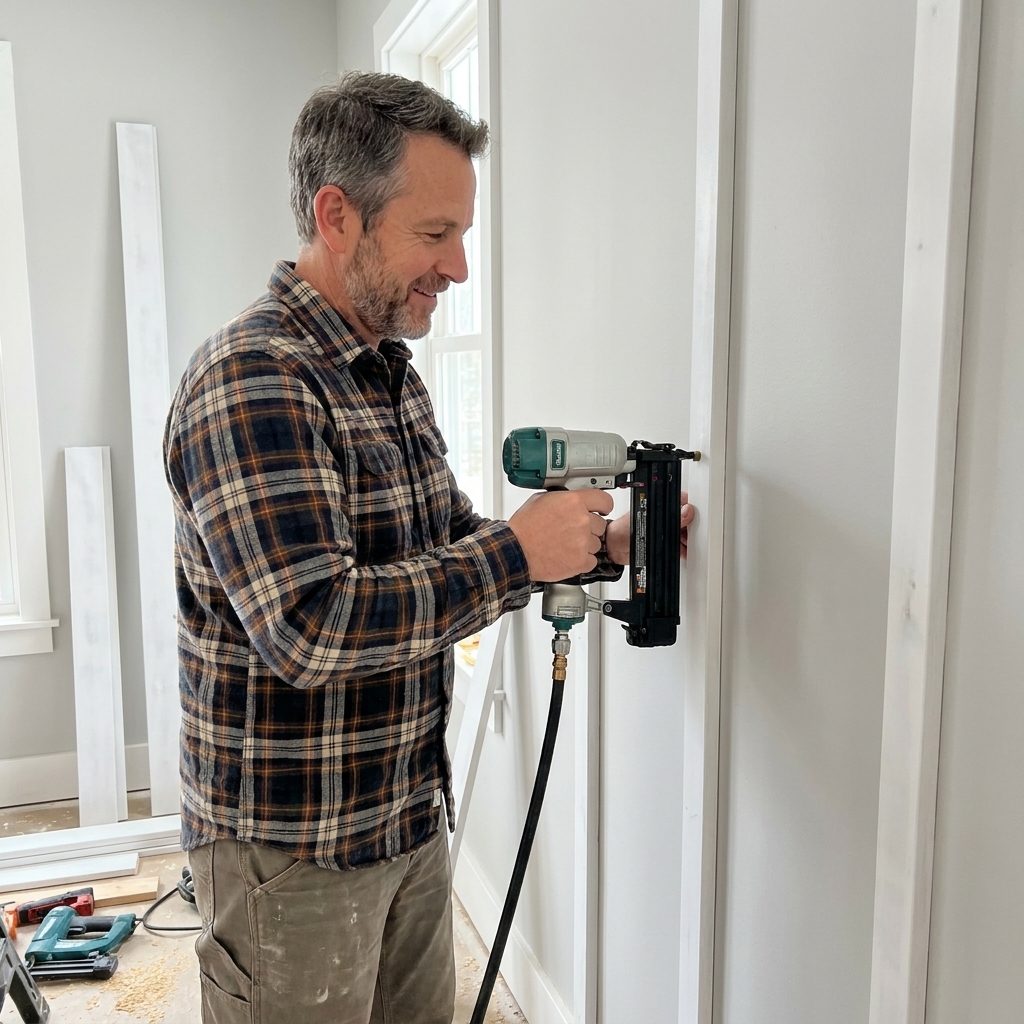
- Brad nailer (18-gauge) plus compressor or battery nailer
- Caulk gun
- Putty knife
- Sanding sponge (180 to 220 grit)
Materials
- Trim boards: Common choices are 1x3 or 1x4 for battens and a 1x4 or 1x6 for a top rail. You can also use MDF for flatter walls.
- Baseboard strategy: Either remove and reinstall the baseboard on top of the new work, or build the board and batten above the existing baseboard.
- Construction adhesive (optional but helpful)
- 18-gauge brad nails (usually 1 1/4 inch or 1 1/2 inch)
- Paintable caulk
- Wood filler or spackle
- Primer (especially if using MDF or raw wood)
- Paint (trim or wall paint in your sheen of choice)
MDF vs pine: MDF is smooth and stable for dry interior spaces and gives crisp painted edges. It does not love moisture, so for bathrooms, mudrooms, or anywhere damp, use moisture-resistant MDF, well-primed wood, or PVC. Pine is tougher and holds up better to dings but can move a little with humidity. Either works. If your wall might take hits (kids, dogs, entryway backpacks), I lean pine.
Safety first
This is not a scary project, but it is still power tools, dust, and sometimes old paint. A few basics go a long way.
- Eye and ear protection: Always when cutting and nailing.
- Dust control: Cutting MDF kicks up fine dust. Wear a dust mask or respirator and vacuum often.
- Lead paint caution: If your home was built before 1978 and you are removing baseboards or sanding painted trim, assume lead is possible. Use lead-safe practices and do not dry-sand old paint.
- Electrical safety: If you are adjusting outlets, turn off the breaker and verify power is off.
Measure and plan spacing
The “secret” to a pro-looking board and batten wall is that the spacing looks intentional and symmetrical. This is the part where you slow down and do math with confidence.
Step 1: Measure usable width
Measure the full wall width, then subtract anything that will stop a batten from landing normally, like door casing you want to keep clear, built-ins, or inside corner returns (the little wall turn at the end of a run). If this is a single uninterrupted accent wall, you are usually working with the full width baseboard-to-baseboard.
Important: If you plan to install a batten at each end, you should subtract the width of those end battens from your usable width before calculating panel spacing. End battens count as trim, not panel space.
Step 2: Choose batten width
Most DIY board and batten accent walls use 2 1/2 to 3 1/2 inch battens (a 1x3 is 2 1/2 inches actual, a 1x4 is 3 1/2 inches actual). Pick one and use that actual measurement in your math.
Step 3: Pick a spacing vibe
Typical spacing between battens (the open panel width) is 10 to 16 inches. Narrow spacing feels busier and more traditional. Wider spacing reads more modern.
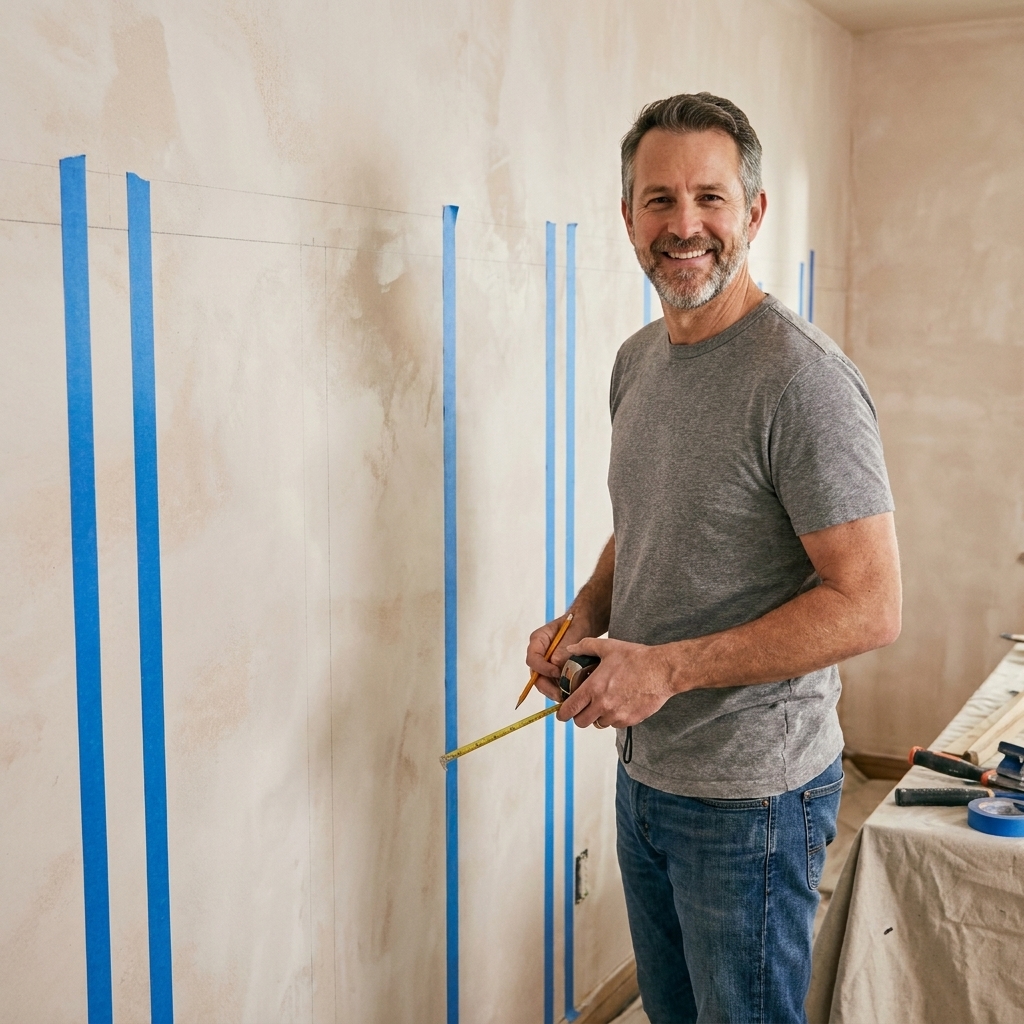
Step 4: Use tape and a simple formula
Here is the weekend-friendly combo I use: do a quick calculation, then confirm with painter’s tape.
Simple formula (panel width):
Panel width = (Usable wall width minus total batten width) divided by number of panels
Where:
- Number of panels is the number of open spaces between battens.
- Total batten width includes all battens on that wall (including end battens if you use them).
Worked example: Let’s say your wall is 120 inches wide and you want an end batten on each side. You choose 1x4 battens (3.5 inches actual). You decide on 7 panels, which means 8 battens total (one more batten than panels).
- Total batten width = 8 battens x 3.5 inches = 28 inches
- Panel width = (120 - 28) ÷ 7 = 13.14 inches
So you would lay out roughly 13 1/8 inches between battens. In real life, you can tweak the panel count up or down to land in that 10 to 16 inch comfort zone.
Painter’s tape mockup method: Put vertical tape lines where battens would go, step back, and adjust until it looks right and symmetrical around key features (center of wall, bed, light switch bank, etc.). Then measure the final spacing from tape to tape and commit. Tape is cheaper than trim boards.
Prep the wall
Trim highlights flaws. If your wall has nail pops, bulges, or old anchor holes, board and batten will not hide them. It will politely introduce them to every person who walks into the room.
- Patch holes: Fill and sand smooth.
- Knock down texture bumps: Lightly sand any high spots.
- Clean the wall: A damp rag takes care of dust. Paint sticks better to clean surfaces.
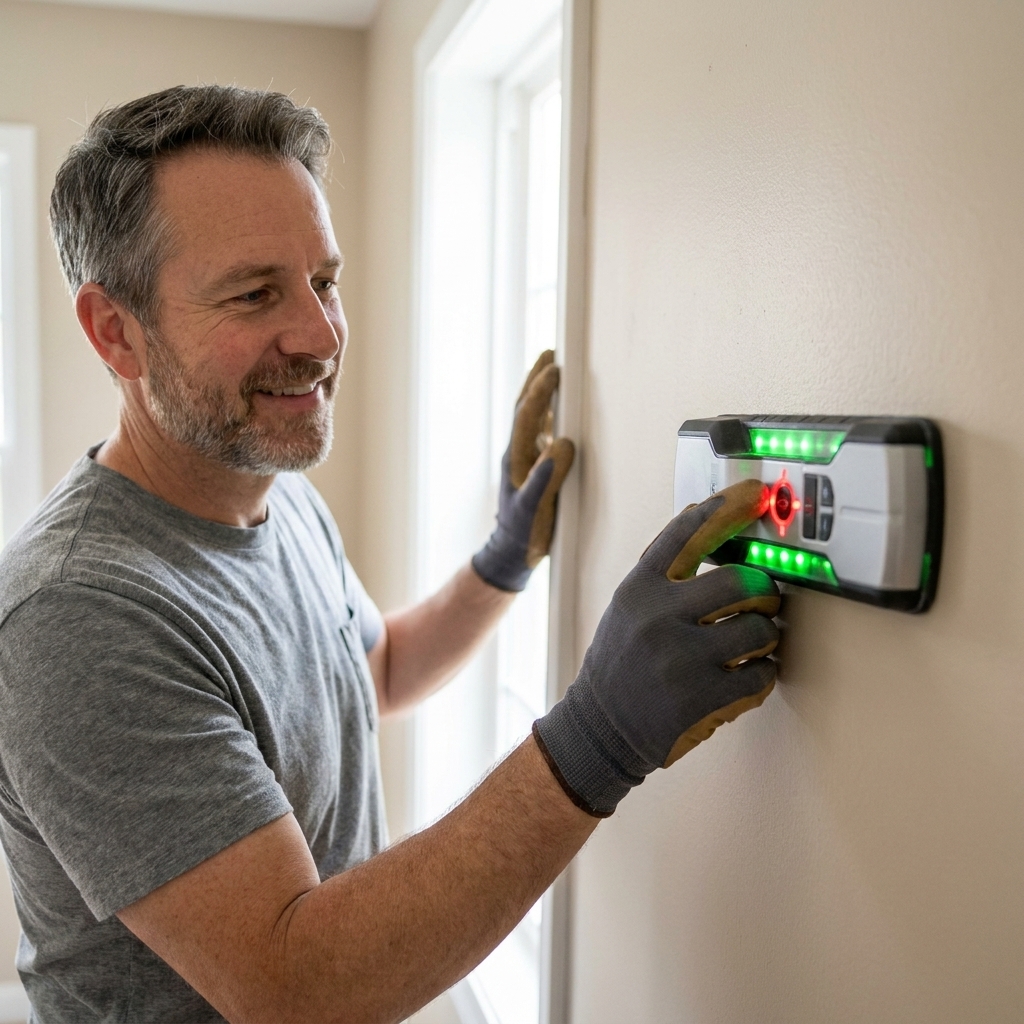
- Find studs: Mark stud locations lightly in pencil above where the top rail will go, so your marks are easy to cover later.
Baseboard call: If your baseboard is simple and you want the board and batten to look truly built-in, removing the baseboard and reinstalling it on top of the new work is the cleanest look. If you have tall, fancy baseboards or you would rather keep things simpler, build your board and batten above the existing baseboard and run battens down to the top edge of the baseboard.
Cut list basics
Before you start cutting everything, cut and install one test piece to confirm your height and fit. Walls and floors are rarely perfectly level, especially in homes that have celebrated a few decades of life.
What you cut
- Top rail: One long horizontal board (or multiple pieces spliced on studs) at your chosen height.
- Bottom rail (optional): Some designs include a bottom horizontal board above the baseboard. Others skip it and just use vertical battens.
- Vertical battens: Multiple identical lengths, cut to fit between bottom and top elements.
- Optional cap molding: A thin trim piece on top of the top rail for a more finished ledge look.
Pro tip: If you are splicing long rails, plan your joints so they land on studs. A simple butt joint over a stud works fine once filled and painted. If you want to get fancy, a scarf joint is great too, but it is not required.
Install the rails
Start with the horizontal pieces. They give you a straight reference line so your battens do not drift into leaning-fence territory.
Step-by-step
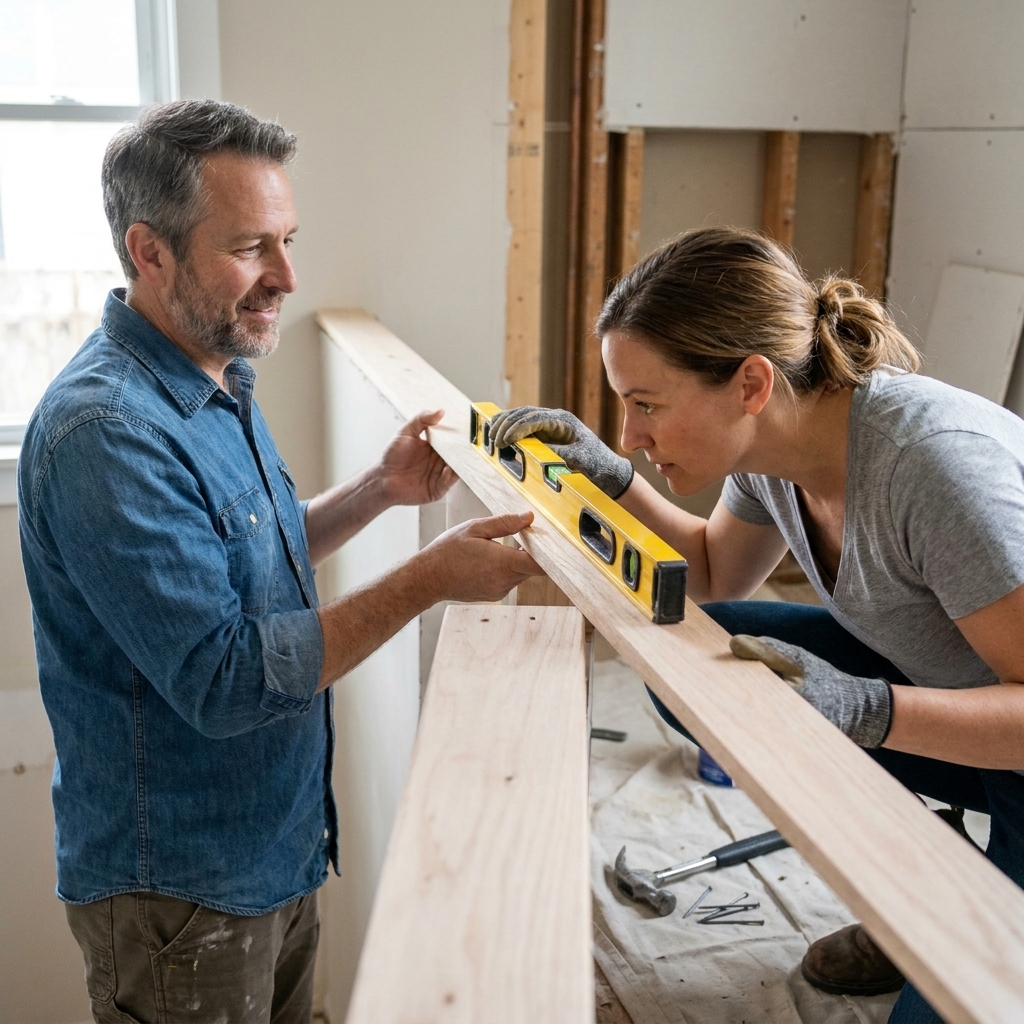
- Mark the height: Measure up from the floor in several spots and snap a chalk line or draw a level line.
- Dry fit: Hold the top rail in place to confirm it hits your line and looks right around outlets and switches.
- Glue (optional): A thin bead of construction adhesive helps on walls where studs do not line up with every piece. Follow the adhesive manufacturer’s guidance.
- Nail: Nail into studs where possible. Add a few extra nails to keep the board tight to the wall.
- Check level: Especially on longer walls, check as you go.
If your floor is out of level (welcome to the club), baseboard and batten bottoms can show gaps. Usually caulk hides minor gaps. Big gaps mean you may need to scribe a board, meaning you trace the floor’s contour onto the trim and trim it so it fits tight.
Install the battens
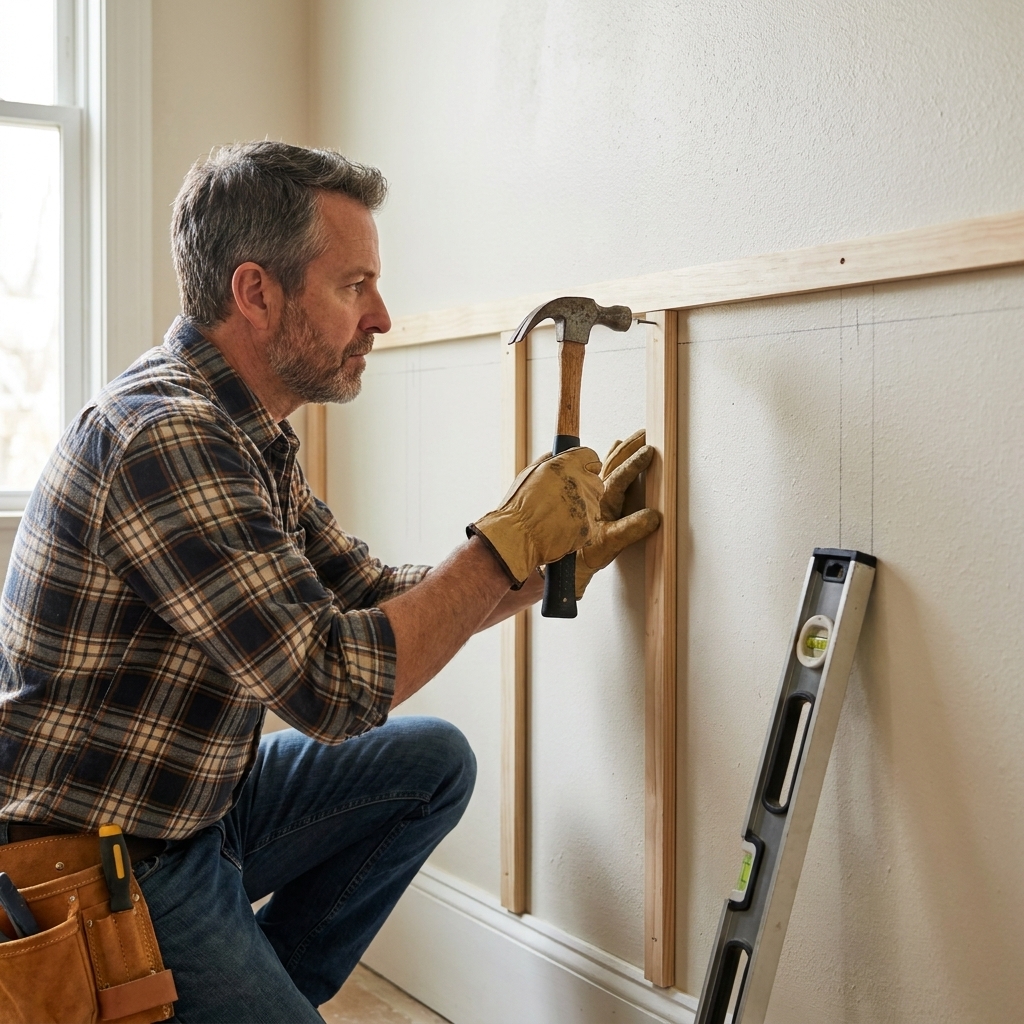
Once the rails are up, you are basically doing rinse-and-repeat trim work. The key is consistent spacing and making sure each batten is plumb.
Layout
- Start at the center: On many accent walls, starting centered looks best, then work outward so the end panels are similar.
- Mark batten edges: Mark both sides of each batten, not just the centerline.
- Plan for corners: Decide early if you are doing an end batten tight to each corner or stopping short. Most single-wall accents look clean with an end batten near each corner.
Corners and ends
- Inside corners: If the wall ends at an inside corner, an end batten tight to the corner usually looks finished. If the corner is not straight, you may need to caulk a slightly larger gap, or rip the batten slightly to fit.
- Outside corners: If your feature wraps around an outside corner, plan a corner trim solution (corner molding or two battens that meet cleanly). Measure carefully because outside corners are often not perfectly square.
- Not-square walls: Keep your battens plumb and your top rail level. Your eye forgives a slightly uneven floor. It does not forgive crooked vertical lines.
Install
- Cut battens to length: If you have a top rail and a bottom rail, cut battens to fit between them. If battens run from baseboard to top rail, measure that exact distance.
- Dry fit each piece: Walls can vary. Batch cutting is faster but can backfire in older homes.
- Glue (optional): A small bead helps keep the batten tight to the drywall. Do not rely on adhesive alone for anything that could be pulled on.
- Nail: Nail into studs when you can. If a batten lands between studs, brad nails plus adhesive is typically plenty for decorative trim.
- Check plumb: Use a level on every few battens, especially if your layout references the floor, which might not be level.
Outlets and switches: If your board and batten sits proud of the wall near an outlet, you may need a box extender so the electrical box is flush with the finished surface, which is standard safe practice. Cover plates should sit flat without being bent or trapped. Turn off the breaker and verify power is off before you touch anything.
Fill, sand, and caulk
This is where the magic happens. The difference between “nice DIY” and “wait, you built that?” is usually filler and caulk.
Wood filler
- Fill all nail holes.
- Let it dry fully.
- Sand flush with a sanding sponge.
Caulk
- Caulk the seams where trim meets the wall.
- Caulk inside corners where boards meet.
- Use paintable acrylic latex caulk (or paintable acrylic latex with silicone) and keep the bead small.
Caulk shrinks as it dries, so if you want that seamless look, plan on inspecting after it cures and doing a second light pass where needed. Cleaning excess caulk is still like trying to put toothpaste back in the tube, so start small.
Clean caulk tip: Run a light bead, then smooth it with a damp finger or a caulk tool, wiping often. Check the caulk label for cure time before painting.
Prime and paint
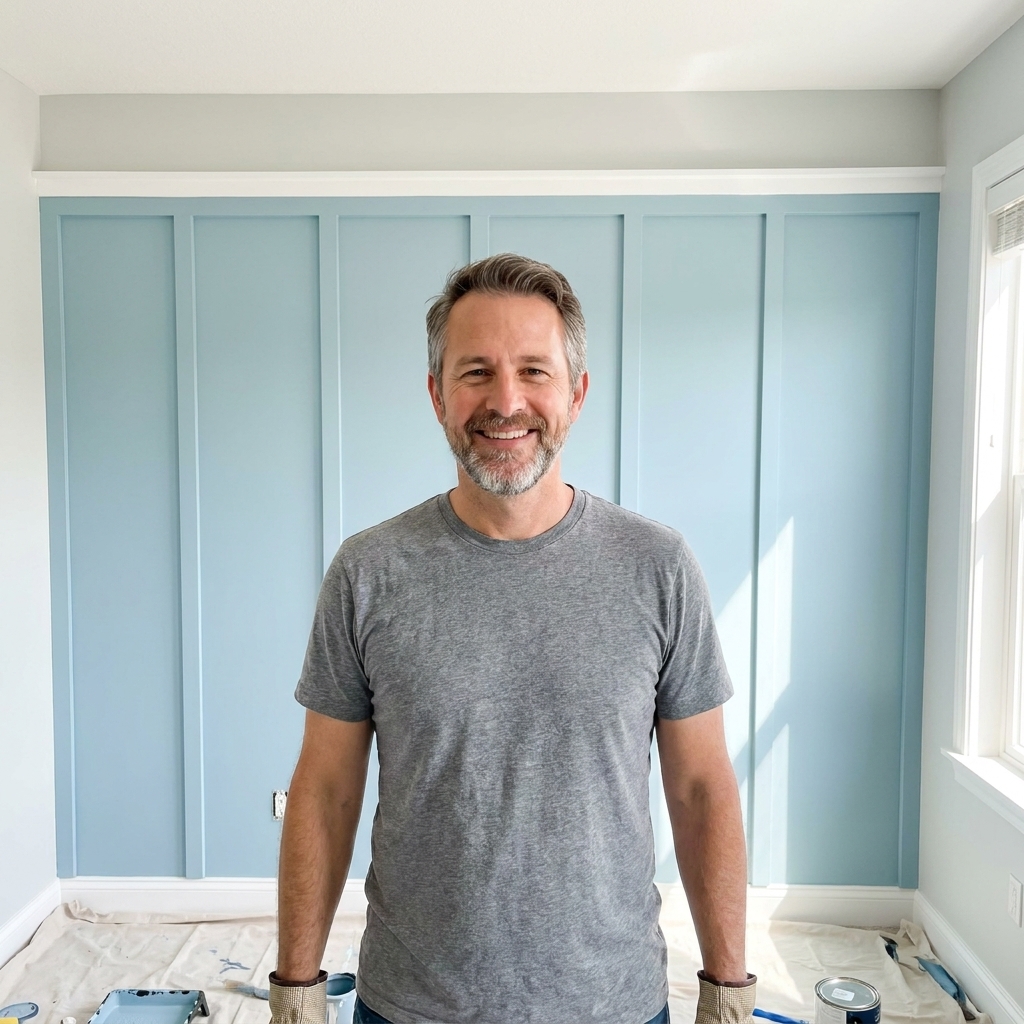
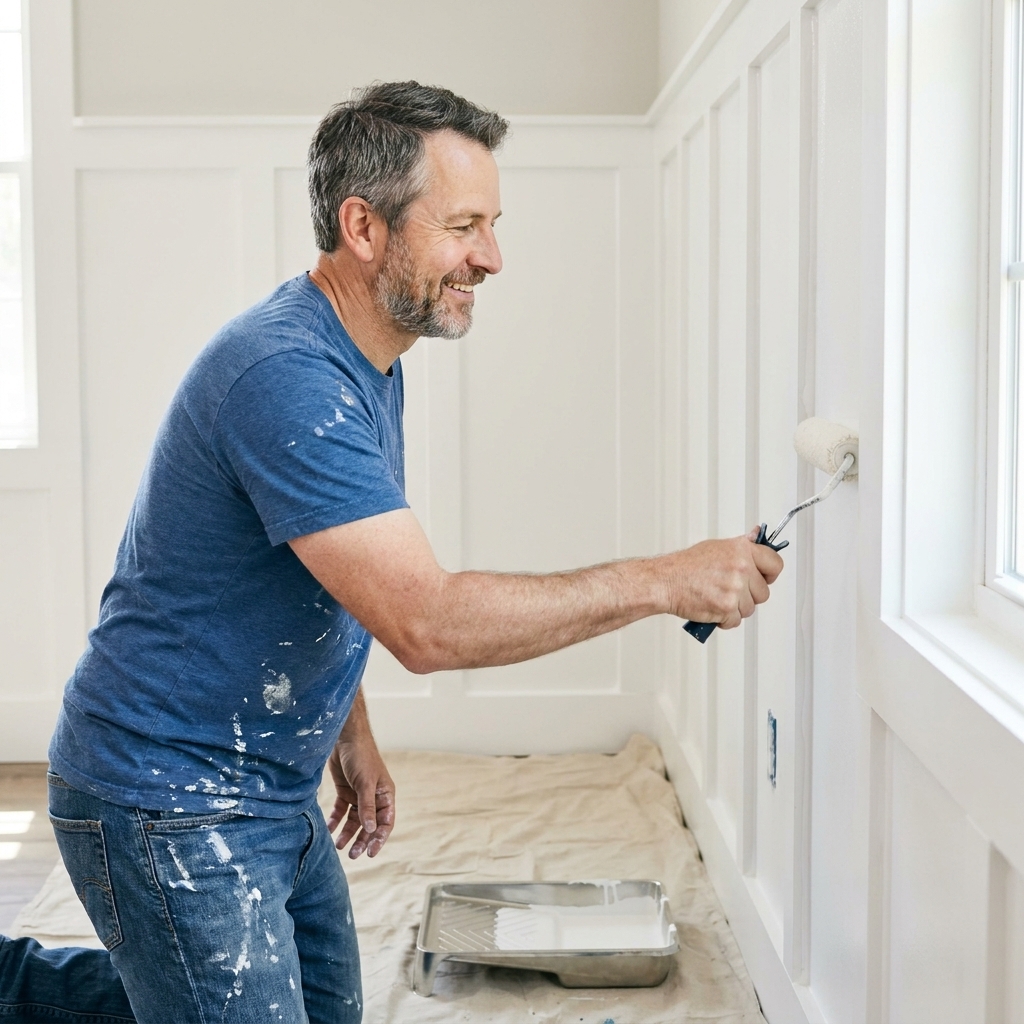
Paint pulls everything together. You can paint the board and batten the same color as the wall for subtle texture, or go bold and make it a true accent.
Best paint approach
- Prime MDF and raw wood: Especially edges. MDF edges drink paint like a teenager with a sports drink.
- Use a trim enamel: Satin or semi-gloss is popular for durability and wipeability. If you are trying to truly finish in a weekend, a faster-drying enamel helps.
- Roll then brush: A small foam roller gives a smooth finish on flat areas, and a brush helps cut in corners and edges.
Color and sheen ideas
- Classic: White satin board and batten with a soft neutral wall color above.
- Moody: Deep green or navy in satin for the whole feature wall.
- Modern subtle: Same color as the wall, but in a slightly higher sheen for quiet contrast.
Common mistakes
- Uneven spacing at the ends: Mock up with painter’s tape and adjust the layout so the end panels are close in width.
- Wavy top rail: Use a level line, not the ceiling or floor, as your reference.
- Huge gaps: Scribe where needed, and remember caulk is for small gaps, not structural problems.
- Too many nail holes: Use fewer nails plus adhesive. Nail where it counts, especially at studs and board ends.
- Forgetting outlets: Plan battens so they do not land through outlet covers, and use box extenders when the finished surface thickness changes.
Quick FAQs
Do I need to remove the baseboard?
No. You can build above it. Removing it often looks more built-in, but it adds time and risk of wall damage. If your baseboards are tall and pretty, I usually leave them and run battens down to the top edge.
Should I use nails, adhesive, or both?
Both is my go-to: a small bead of construction adhesive plus brad nails. Nails clamp the board while the adhesive cures and help keep things tight long term. Follow the adhesive label, and do not depend on adhesive alone for anything that might get yanked on.
What spacing looks most professional?
Symmetry matters more than the exact number. Aim for consistent spacing and similar-sized end panels. A tape mockup plus the simple panel-width formula removes most of the guesswork.
Can I install board and batten over textured walls?
You can, but gaps are more likely. Light orange peel is usually fine with caulk. Heavy knockdown or skip trowel can fight you. For very heavy texture, smoothing the area first gives the cleanest look.
One weekend plan
- Friday night: Measure, tape mockup, finalize spacing, buy materials.
- Saturday: Prep wall, install rails, install battens.
- Sunday: Fill, sand, caulk, prime, first coat of paint. Second coat if time allows.
Real talk: humidity, dry times, and caulk cure windows can push touch-ups into Monday. If that happens, it is still a win. If you take your time on layout and finish work, board and batten is one of the best bang-for-your-buck upgrades you can do. And every time you walk past it, you get that little “yep, I did that” feeling. Which, in my book, is the whole point.