
A step-by-step, DIY-friendly guide to planning, framing, and finishing a sturdy floating deck fast, including span guidance, support layouts, tool lists, and...
home improvement and DIY
Power Wash and Restore a Wooden Deck

Marcus Hayes
Marcus Hayes is a lifelong DIY enthusiast and former residential carpenter who has spent the last decade renovating his 1970s fixer-upper. Through Tinksmith, he shares his hands-on experience to help fellow homeowners tackle repairs, choose the right tools, and build spaces they love without breaking the bank.
Published October 17, 2026
Updated October 17, 2026
If your deck has that tired, gray look and a few mystery stains from last summer’s grilling adventures, you don't need a full rebuild. Most decks can be brought back with a smart wash, proper stripping, and a fresh protective coat. The trick is doing it in the right order and using the right pressure, because wood is tough but it's not indestructible.
This guide walks you through the whole process: picking the correct nozzle, stripping old stain, pressure washing without shredding the grain, and sealing it up so the refresh actually lasts.
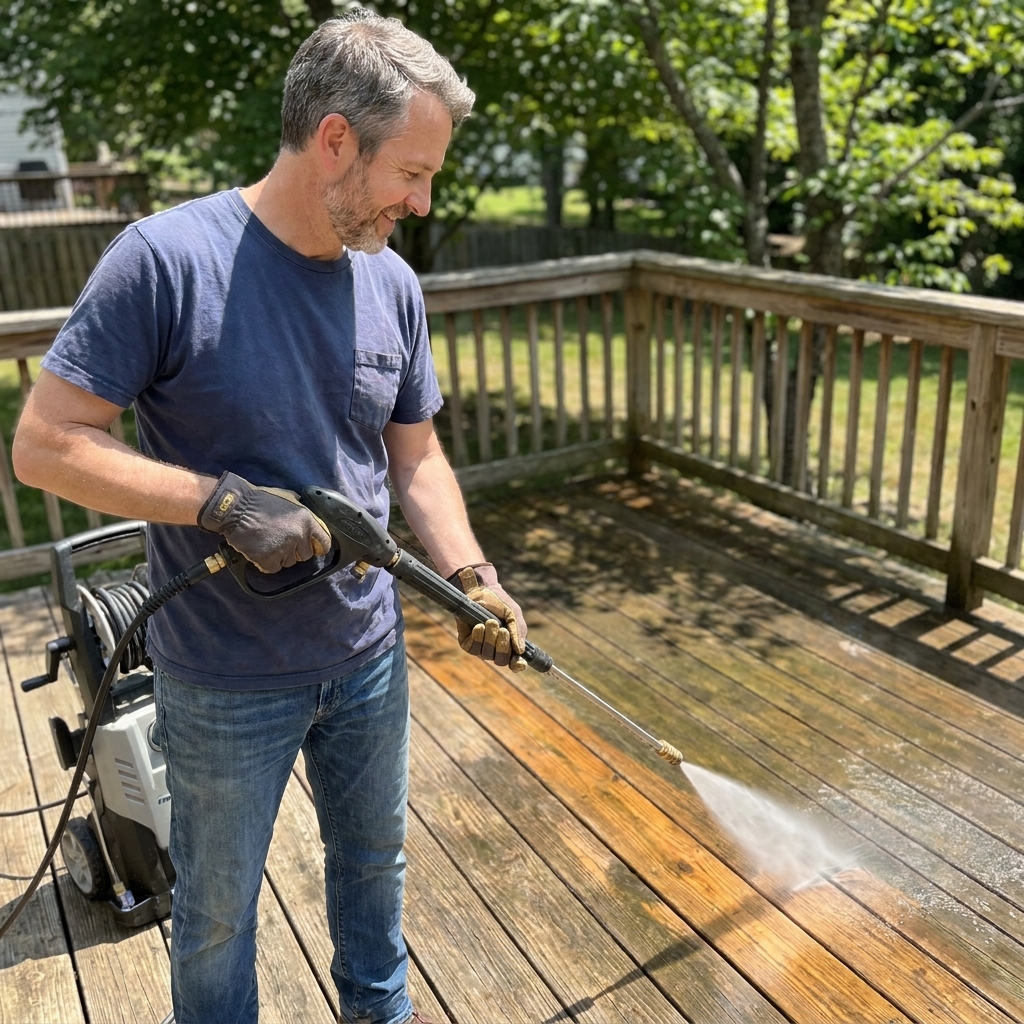
Before you start: Is your deck a good candidate?
Pressure washing and refinishing work best when the deck boards are structurally sound. If you've got widespread rot, boards that feel spongy, or fasteners that won't hold, fix that first. A finish isn't a bandage for bad lumber.
Quick 5-minute inspection
- Poke test: Use a screwdriver or awl at the ends of boards, near posts, and around stairs. If it sinks in easily, you've got rot.
- Check for cupping and severe splintering: Minor raised grain is fine. Deep cracks and splinters that catch your sock are a sign you may need sanding or board replacement.
- Look at the old finish: If it's peeling in sheets, you'll need a stripper (not just a wash) to get a clean base.
- Identify the material: Most older decks are pressure-treated pine. Cedar and redwood need a gentler touch. Composite decking usually shouldn't be stripped or pressure washed aggressively, follow the manufacturer’s cleaning guidance.
Tools and materials (what you actually need)
You can do this with basic DIY gear. Where folks get in trouble is trying to “save time” by cranking the PSI and blasting away. The right accessories matter.
- Pressure washer (electric or gas)
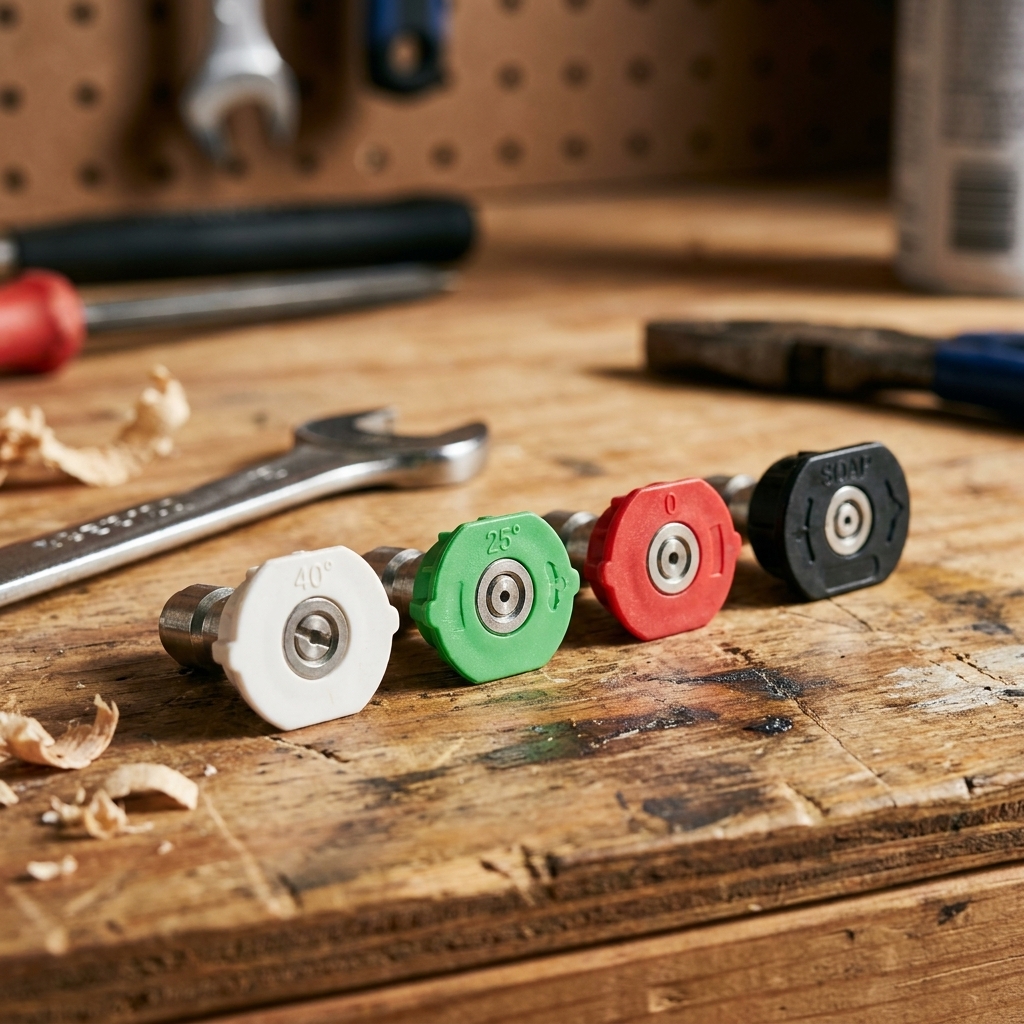
- Nozzles: 40-degree and 25-degree tips (more on this below)
- Deck cleaner or wood stripper (chosen based on existing finish)
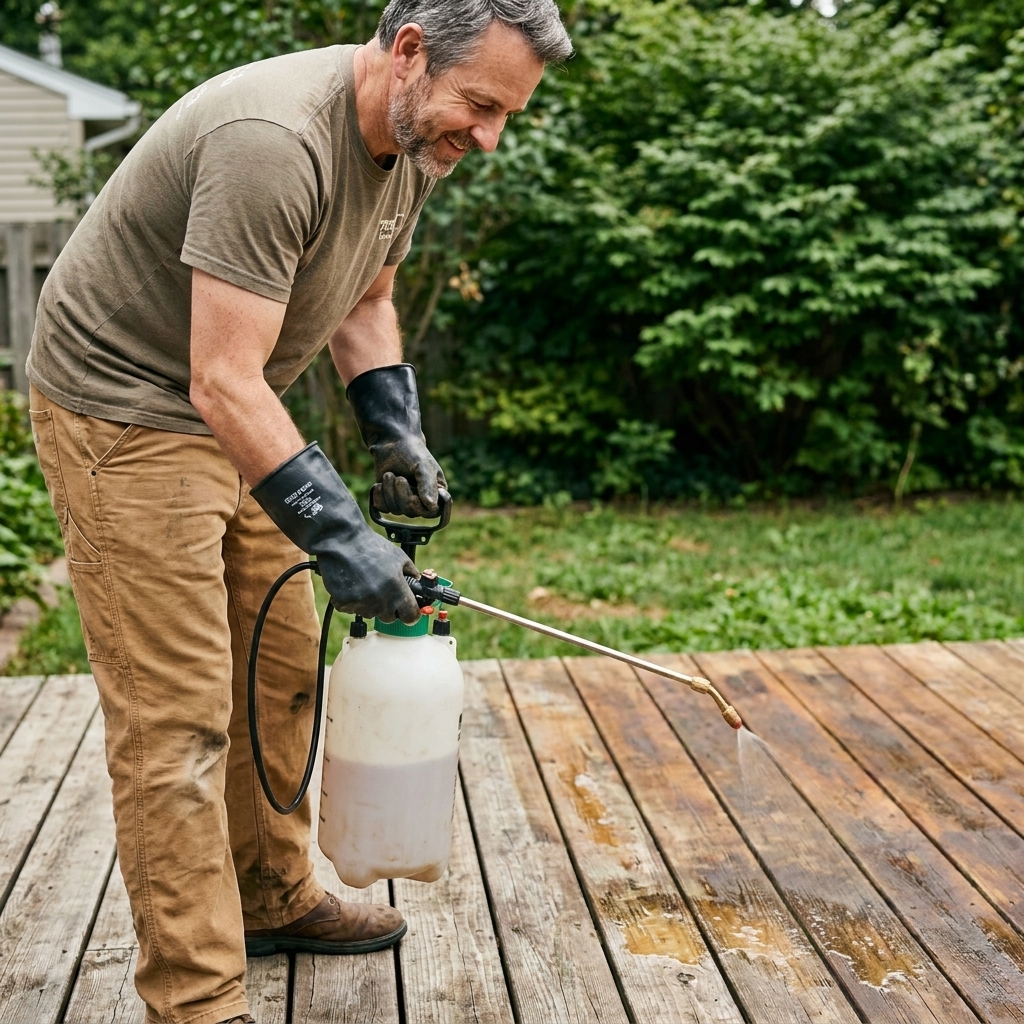
- Pump sprayer (or downstream injector if your washer has one)
- Stiff nylon scrub brush on a pole
- Garden hose with spray nozzle
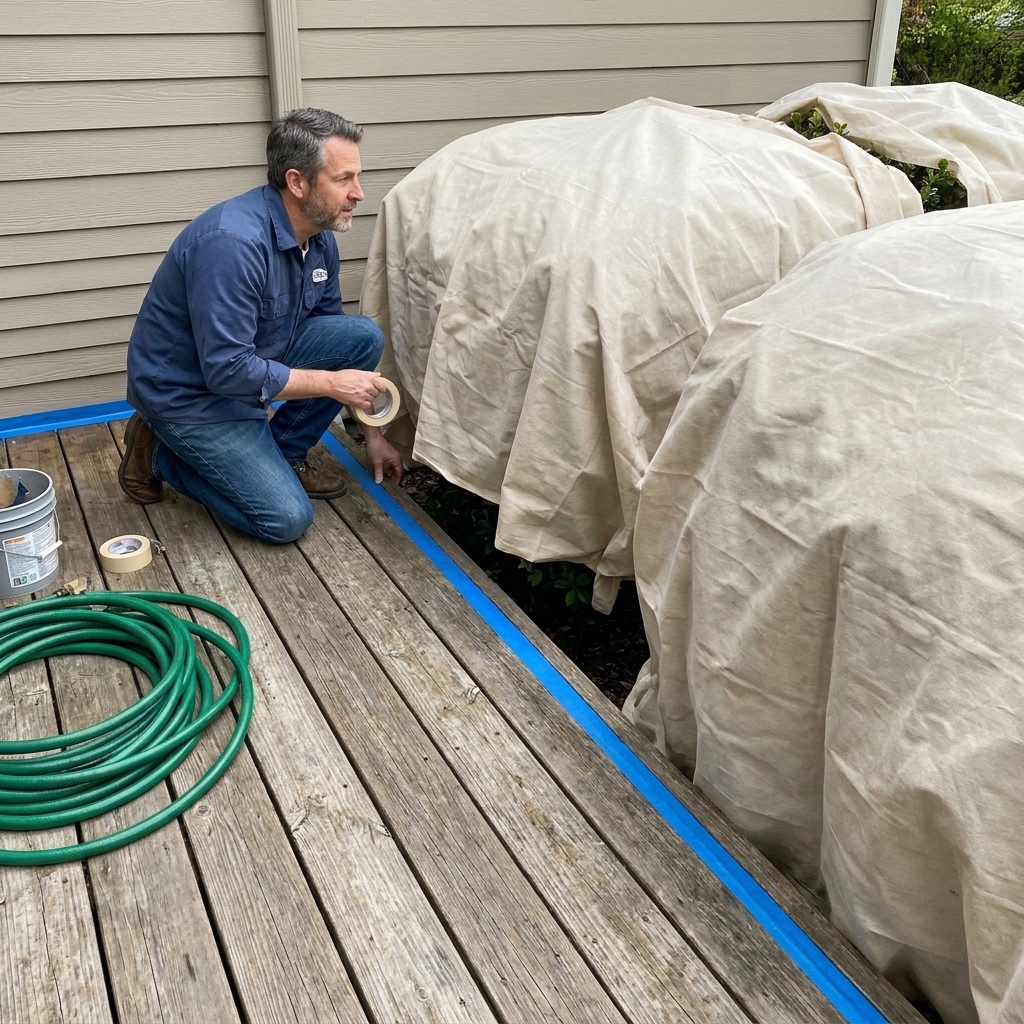
- Plastic sheeting and painter’s tape (to protect nearby surfaces)
- Drop cloths for plants (breathable fabric is better than plastic for longer cover)
- Deck brightener/neutralizer (especially after stripper)
- Moisture meter (optional but extremely helpful)
- Sandpaper (60 to 100 grit) or a random orbital sander for problem spots
- Exterior deck stain/sealer (penetrating oil or water-based, depending on your preference)
- Applicators: staining pad, quality brush, and/or roller with a brush for back-brushing
- PPE: eye protection, chemical-resistant gloves, closed-toe shoes, hearing protection (gas washers), and a respirator if using strong chemicals
Budget tip: If you don't own a pressure washer, renting a decent unit for a day is often cheaper than buying a bargain model that frustrates you for years.
Pressure washer basics: PSI, GPM, and why it matters
Most people shop pressure washers by PSI, but for decks, technique and flow matter just as much. In plain English: lower pressure plus decent flow is usually kinder to wood and still gets the job done.
- Typical DIY sweet spot: Many homeowners do fine in the 1200 to 2000 PSI range when using a 40-degree tip and good chemicals.
- GPM helps: A higher GPM unit rinses better and feels more effective without needing to crank pressure.
- Still test first: Wood species, age, and condition change everything, so use a test spot and adjust distance and pace.
Choosing the right nozzle (and not turning your deck into fuzz)
Nozzle choice controls how concentrated the spray is. Too narrow and you'll etch the wood, leaving striped “tiger marks” and raised fibers. Too wide and you'll spend all afternoon pretending you enjoy it.
My default recommendation for wood decks
- 40-degree nozzle (often white): Safest all-around for deck boards, railings, and softer woods. Start here.
- 25-degree nozzle (often green): Use cautiously for tougher grime or hardwoods, and only if you can keep distance and move steadily.
- Avoid 0-degree (often red) and turbo/rotary nozzles: These are often used on concrete. On wood, they're a recipe for gouges.
How much pressure is “too much”?
PSI numbers get messy because the real-world impact depends on tip angle, distance, and your technique. For decks, I like to work like this:
- Start with a 40-degree tip.
- Keep the wand 12 to 18 inches from the surface.
- Spray at a slight angle, not straight down into the grain.
- If you've got adjustable pressure, keep it on the lower side and let the chemicals do the heavy lifting.
Golden rule: If you can see the wood getting “hairy” immediately, you're too close, moving too slow, or using too aggressive of a tip.
Test spot first (always)
Pick an inconspicuous board near the house or under a rail. Try your nozzle and distance. If it cleans without leaving visible lines, you're good to go.
Step 1: Prep the area
Prep isn't glamorous, but neither is sanding off overspray from your siding. Take 20 minutes now and save hours later.
- Clear the deck: Furniture, planters, grill mats, rugs, and anything else that traps moisture.
- Sweep well: Debris turns into muddy sludge when you introduce water.
- Protect nearby surfaces: Cover outlets, lights, painted doors, and delicate landscaping. Wet your plants first, then cover them. The pre-wet step helps dilute accidental chemical splash.
- Check fasteners: Sink any popped nails or screws. A pressure washer will catch edges and make splintering worse.
- Plan your exit route: Work from the far corner back toward your stairs so you don't paint yourself into a wet corner.
Watch the house connections
Be extra careful around the ledger area (where the deck meets the house), door thresholds, and flashing. Don't blast water into gaps. Aim the spray away from the house when you can, and keep your passes moving so you're rinsing boards, not pressure-feeding water behind them.
Step 2: Strip old stain
If your deck has an existing stain or sealer, especially if it's peeling or patchy, you'll get the best results by stripping it. Cleaning alone can't remove a failing film finish.
Pick the chemical based on what's on the deck
- For old transparent or semi-transparent stains: A quality wood stripper made for decks is usually the right call.
- For mildew and gray weathering with little to no finish: A deck cleaner may be enough.
- If you suspect paint or a solid stain: You may need a stronger stripper and more scraping or sanding. Test a small section first.
Safety note: Read the product label and follow dwell time and dilution exactly. More concentrated doesn't automatically mean better, and leaving stripper on too long can darken wood or damage fibers.
Simple chemistry heads-up: Many deck strippers are alkaline, and many brighteners are acidic. Don't mix products, don't combine them in the same sprayer, and rinse thoroughly between steps.
Application steps
- Pre-wet the deck: Lightly wet the boards with a garden hose. This helps the chemical spread more evenly and keeps it from soaking in too fast.
- Apply stripper: Use a pump sprayer to coat 2 to 3 boards wide at a time, or a manageable section you can keep wet.
- Let it dwell: Keep it damp. Don't let it dry on the surface. If the sun is cooking your deck, work smaller sections.
- Agitate: Scrub with a stiff nylon brush, especially in corners and around knots.
Dad-level reminder: If you're thinking “I'll just do the whole deck at once,” that's the moment the wind picks up, the sun comes out, and the stripper dries in streaks. Work in sections. Future you will be smug about it.
Step 3: Pressure wash (the safe way)
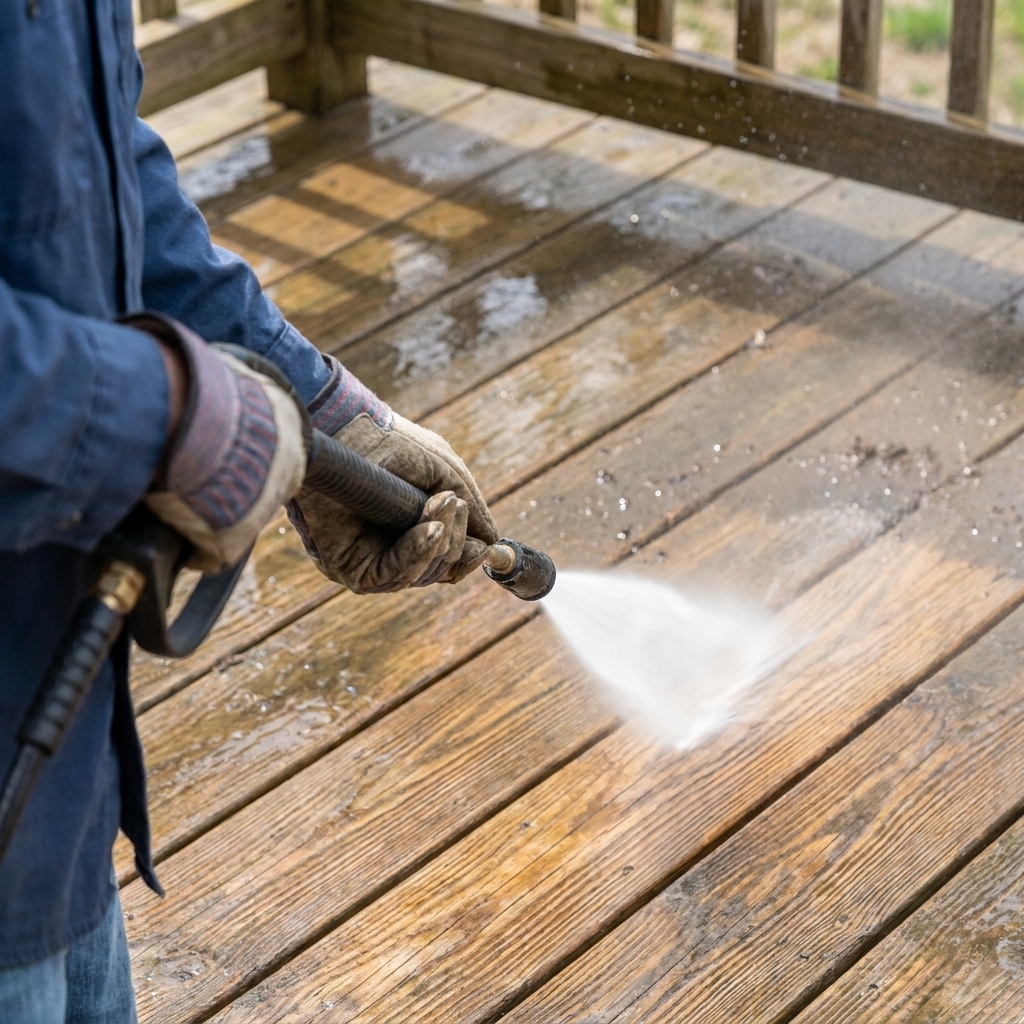
Once the stripper has done its job, the pressure washer is mainly for rinsing and lifting the loosened finish. This is where technique matters more than raw power.
Technique that prevents tiger stripes
- Use the 40-degree tip for most boards.
- Keep a consistent distance: 12 to 18 inches is a good starting point.
- Move with the grain: Long, smooth passes along the length of boards.
- Feather your passes: Overlap slightly so you don't leave edges.
- Don't pause in one spot: That's how you carve your initials into your deck.
Railings and spindles
Railings are easy to fuzz up because they're often softer wood and have lots of edges. Step back, use the 40-degree tip, and keep the wand moving. For delicate sections, a hose rinse and scrub brush may be safer than pressure.
Rinse everything thoroughly
Whether you used cleaner or stripper, keep rinsing until runoff looks clear and not soapy. Leftover residue can mess with stain or sealer bonding.
Step 4: Brighten and neutralize
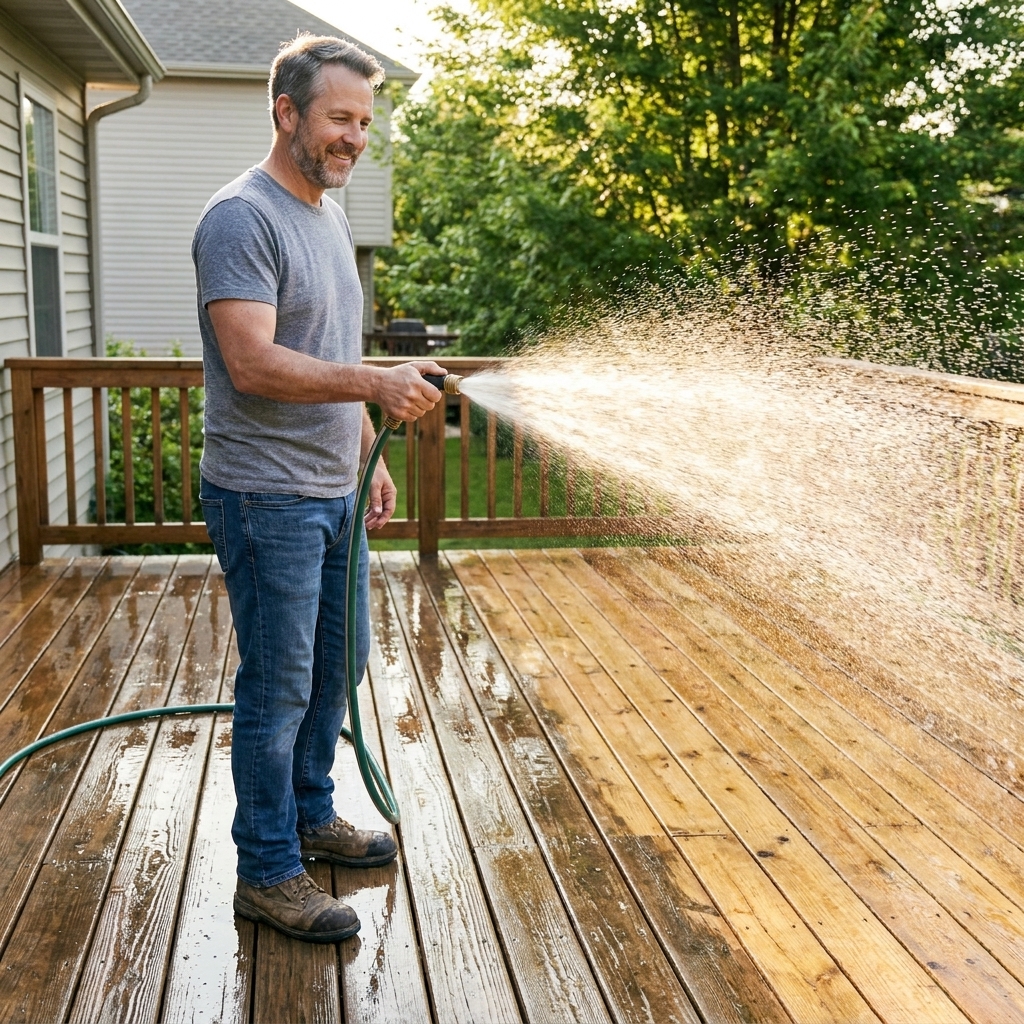
Many deck strippers are alkaline. A brightener neutralizes the surface, helps open the grain evenly, and brings back a more natural wood color. If you skip this step after stripping, you can end up with uneven color and weaker stain performance.
How to apply brightener
- Apply with a pump sprayer to a damp deck.
- Let it dwell per label directions.
- Lightly scrub trouble spots.
- Rinse thoroughly.
After brightening, the deck often looks instantly better. That's your reward for being patient.
Step 5: Let the deck dry
Sealers and stains need dry wood. If you coat damp boards, you trap moisture and shorten the life of the finish. The deck can feel dry on top but still be wet inside.
How long to wait
- Typical drying time: 48 hours after washing is common in warm, dry weather.
- Humid, shaded, or cool conditions: 72 hours or more isn't unusual.
- Sometimes it takes longer: Dense wood, older boards, limited airflow, or heavy rinsing can push drying into the 3 to 7 day range. When in doubt, wait.
The best way to know: a moisture meter
If you've got one, you're typically aiming for about 12% to 15% moisture content (follow your product label if it specifies something different). If you don't have a meter, at least wait a couple dry days and check for dark, damp-looking spots at board ends and in shaded corners.
Step 6: Sand where it helps
A full-deck sanding is sometimes needed, but many DIYers can get away with spot sanding after washing, especially if:
- You raised grain with the washer
- You've got fuzzy rails
- You've got old finish that didn't fully release in high-traffic areas
- You've got splinters on board edges
Use 60 to 80 grit for quick leveling, then 80 to 100 grit to smooth. You're not trying to polish it like furniture. You just want a comfortable surface and an even base for stain.

Step 7: Choose your finish
Here's the plain-English version:
- Clear sealer: Shows the most wood grain, offers the least UV protection, usually needs more frequent re-coats.
- Transparent or semi-transparent stain: Great balance of grain visibility and UV protection. My go-to for most decks.
- Solid stain: Looks more like paint but usually wears better than paint on decks. Good for older decks with lots of color variation, but it hides grain.
Water-based vs oil-based
- Water-based: Easier cleanup, often faster dry, less odor. Can perform very well with the right prep.
- Oil-based/penetrating: Often more forgiving and great at soaking in, especially on older wood. Longer dry time and more odor, and cleanup takes mineral spirits depending on product.
Compatibility warning: If you're switching types, confirm the product is compatible with your surface prep. When in doubt, do a test board or call the manufacturer support line. It's easier than stripping twice.
Step 8: Apply stain or sealer evenly
This is where your patience turns into a deck that looks even and lasts.
Best conditions for application
- Dry forecast for 24 to 48 hours (check your product)
- Moderate temperatures and out of direct, scorching sun if possible
- No heavy dew expected overnight right after application
Application method that works for most DIYers
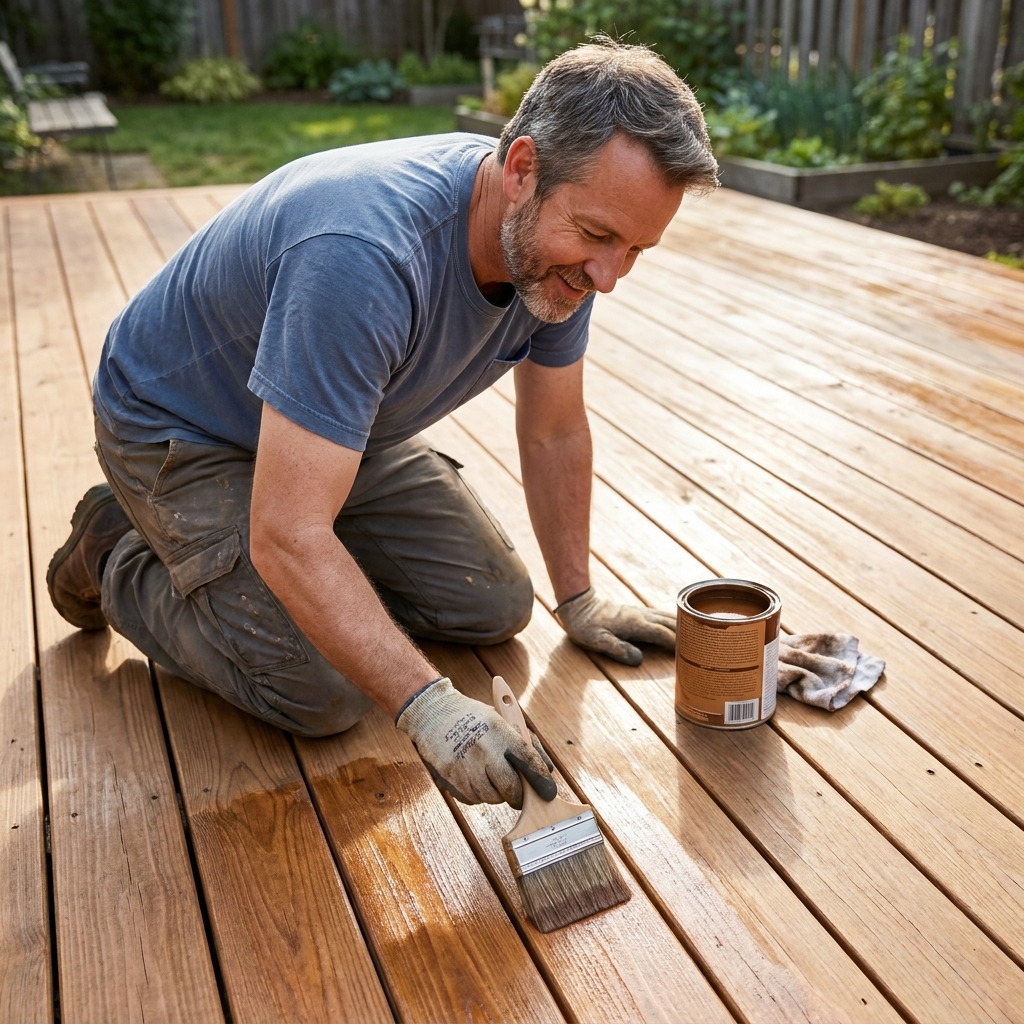
- Stir, don't shake: Shaking adds bubbles, and bubbles become ugly specks.
- Cut in rails and edges first: Use a brush for corners, around posts, and stair stringers.
- Do 2 to 3 boards at a time: Apply with a staining pad or roller, then back-brush to work it into the grain and even out puddles.
- Maintain a wet edge: Stop at natural breaks (end of a board run, a seam, or a step) so you don't create overlap lines.
- Wipe or brush out excess: Puddles dry sticky and can peel early.
One coat or two?
Many modern penetrating stains are designed for one coat. Some products allow two thin coats. Follow the label. More isn't always better, and over-application is one of the most common reasons a deck finish fails.
Step 9: Cure time and first-week care
Your deck might be dry to the touch in hours, but curing is different. Give it a fair shot to harden before you throw a party on it.
- Light foot traffic: Often 24 hours, but check your product.
- Furniture and grills: Typically 48 to 72 hours.
- Rugs and mats: Wait longer. Rugs trap moisture and can imprint or discolor a fresh finish.
If it rains unexpectedly during the cure window, don't panic. Let it dry fully and inspect for spotting. Most of the time, it's cosmetic and can be corrected with a light maintenance coat later.
Cleanup and disposal
A little cleanup discipline keeps this project safe and neighbor-friendly.
- Runoff: Follow local rules for wash water and chemical runoff. Avoid washing chemicals into storm drains, and rinse surrounding surfaces when you're done.
- Plants: After you're finished rinsing the deck, uncover plants and give them a gentle final rinse.
- Oily rags: If you used an oil-based or penetrating stain, treat used rags like a fire hazard. Lay them flat to dry on a non-combustible surface or store them in a sealed metal container per the product label. Don't toss stain-soaked rags in a pile.
Troubleshooting
My deck has stripes after pressure washing
This is usually from getting too close or pausing. Let the deck dry, then lightly sand the striped areas and blend. Next time, use a wider nozzle and keep a steady pace.
The wood looks fuzzy
Raised grain happens when water pressure is too aggressive or the wood is soft. Let it dry fully, then sand the fuzz off with 80 to 100 grit before staining.
Stain looks blotchy
Common causes are uneven stripping, leftover residue, or applying in direct sun so it dries too fast. A light maintenance coat can sometimes even it out, but severe blotchiness may need spot stripping and recoat.
Stain is sticky days later
Usually over-application. If it's still tacky after the product’s stated dry time, wipe with rags (and the manufacturer-recommended solvent if allowed) to remove excess, then allow more dry time. Avoid adding another coat until it's fully cured.
Deck maintenance
- Sweep leaves and debris regularly (wet leaves are basically compost glued to your boards).
- Wash lightly once or twice per season with a gentle deck cleaner and a brush.
- Recoat when water stops beading and starts soaking in, or when high-traffic areas look dry and faded.
- Keep planters on stands and move rugs occasionally to let the deck breathe.
FAQ
Can I pressure wash a deck without stripping it?
If the deck is bare wood or the stain is in good shape and you're just cleaning, yes. But if the old finish is peeling, patchy, or failing, stripping first is the best path to an even new coat.
What nozzle is safest for a wooden deck?
A 40-degree nozzle is the safest starting point for wood. Some sets label it as white, but the degree angle matters more than the color. Use a 25-degree tip only when needed and with careful distance and movement. Skip 0-degree and turbo nozzles on deck boards.
Should I use bleach on my deck?
Household bleach can kill mildew and lighten some stains, but it doesn't remove the gray oxidation that makes older wood look tired. It can also discolor surrounding materials and damage plants if oversprayed. Purpose-made deck cleaners and brighteners are usually a better system, especially if you plan to stain afterward.
How do I know when it's dry enough to stain?
A moisture meter is the most reliable. You're typically aiming for about 12% to 15% moisture content, unless your stain says otherwise. Without a meter, wait at least 48 hours of dry weather (often longer) and check shady spots and board ends.
My parting advice (from a guy with a 1970s deck in his past)
If you remember only two things, make it these: let chemicals do the heavy lifting, and don't rush the dry time. Your deck will look better, feel better underfoot, and you won't be back out there next month muttering at peeling boards like they personally offended you.