
A beginner’s step-by-step guide to installing subway tile: prep, layout, thinset, cuts, grout, and caulk, plus practical tips to avoid rookie mistakes.
home improvement and DIY
Caulk vs. Silicone for Bathroom Repairs

Marcus Hayes
Marcus Hayes is a lifelong DIY enthusiast and former residential carpenter who has spent the last decade renovating his 1970s fixer-upper. Through Tinksmith, he shares his hands-on experience to help fellow homeowners tackle repairs, choose the right tools, and build spaces they love without breaking the bank.
Published October 17, 2026
Updated October 17, 2026
If you have ever stood in the caulk aisle holding two tubes that both claim to be “bathroom” rated, you are not alone. In my 1970s fixer-upper, I have re-caulked enough tubs and sinks to qualify for a frequent flyer program. Here is the simple truth: acrylic latex caulk and 100% silicone sealant are not interchangeable. Pick the wrong one and you get peeling, mildew, or leaks. Pick the right one and your repair quietly does its job for years.

The quick answer
- Use 100% silicone anywhere the joint will see constant water, standing water, or regular soaking: tub to tile, shower corners, shower pans, around glass shower frames, and many sink rim joints.
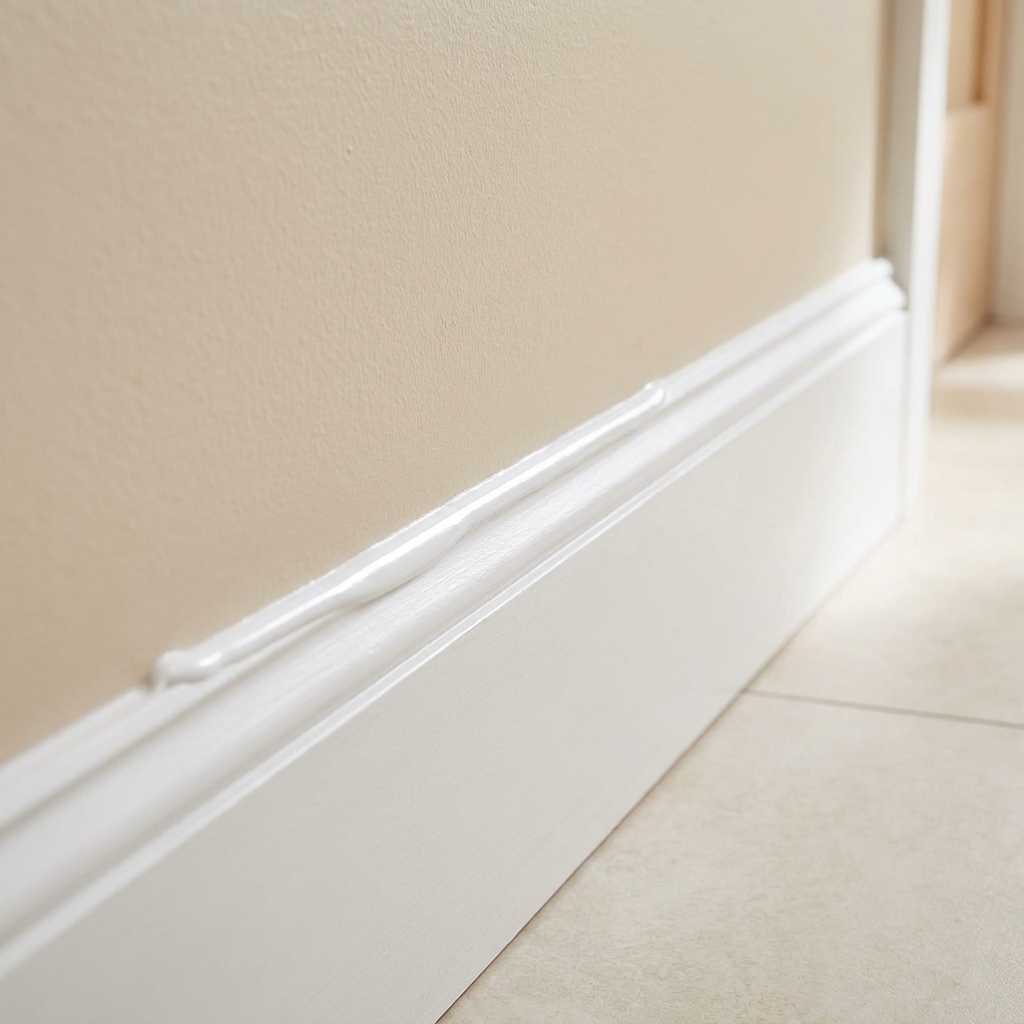
- Use acrylic latex caulk for dry to occasionally damp gaps that you want to paint: trim, baseboards, door casings, small wall cracks, and along bathroom vanities where water is not pooling.
- “Siliconized acrylic” sits in the middle: easier cleanup and paintable like acrylic, slightly more flexible than plain acrylic, but it is still not a true substitute for 100% silicone inside a shower.
What each product is
Acrylic latex caulk
Acrylic latex caulk is a water-based sealant. It goes on smoothly, tools easily, and cleans up with water. Once cured, it becomes a flexible filler that is great for movement that is small and slow, like seasonal trim shifts. In bathrooms, it is often used because it is paintable and beginner-friendly.
100% silicone sealant
Silicone is a rubbery, waterproof sealant designed to handle moisture, temperature swings, and joint movement better than acrylic. When the label says 100% silicone, you are generally getting the best performance for wet joints. It usually bonds very well to non-porous surfaces like tile, glass, and glazed fixtures, assuming they are truly clean and compatible. The tradeoff is that it can be messier to apply, harder to clean up, and typically not paintable.

Key differences
Waterproofing
Silicone typically wins. 100% silicone is designed to stay waterproof long-term, but real life still matters: surface prep, joint design, bead size, and the specific product. Acrylic latex is water-resistant once cured, but in continuously wet locations it is more likely than silicone to soften, swell, or release at the edges over time.
Mold and mildew resistance
Both can be labeled “mildew resistant,” but real-world performance is usually better with high-quality bathroom silicone. Mildew resistance helps, but it is not magic. The biggest mildew causes are poor ventilation, soap scum buildup, and tiny gaps that trap water. Keeping the bead clean and the bathroom ventilated does as much as the label claims.
Flexibility and movement
Silicone stays flexible longer. This matters at tub-to-tile seams because tubs flex slightly when filled and when someone steps in. Acrylic can crack or pull away as that movement repeats, especially in the “always wet” zones.
Paintability
Acrylic latex is paintable. Most 100% silicones are not, so paint tends to bead up or peel later. There are a few specialty products marketed as paintable silicone, but they are uncommon and must be explicitly labeled as paintable. If you need a paintable bead, use acrylic latex or a paintable hybrid sealant that says so on the tube.
Ease of application
Acrylic is friendlier. It tools smoothly and cleans up with a damp rag. Silicone is stickier, smears easily, and punishes you for “just one more swipe” with your finger.
Longevity
In wet areas, 100% silicone typically lasts longer. In drier, paintable areas, acrylic latex can last a long time and looks more seamless under paint.
Where to use silicone
- Tub to tile (or tub to surround): This is a silicone job. It flexes and gets soaked.
- Shower corners: Vertical corners and changes of plane should be silicone. Grout in corners often cracks because the walls move independently.
- Shower pan edges and curb seams: Silicone, because water sits there and finds every weakness.
- Around glass shower frames: Silicone adheres well to glass and many metals, and handles condensation.
- Sink rim to countertop: Often silicone, especially where water frequently pools.
Compatibility note: Silicone does not love every surface equally. Some plastics, composites, and previously sealed surfaces can be tricky. If you are working with an acrylic surround, fiberglass, or anything “mystery plastic,” check the manufacturer’s compatibility notes on the tube.
Tip from the school of hard knocks: If it is inside the splash zone and especially inside the standing water zone, reach for 100% silicone.
Where to use acrylic caulk
- Bathroom baseboards and trim: Paintable and neat.
- Outside edges of a vanity backsplash (if it stays mostly dry): Acrylic is fine if water is not sitting on it.
- Drywall gaps and small cracks: Acrylic is easier to feather and paint over.
- Around door casings and window trim: Acrylic latex is the standard.
Siliconized acrylic and hybrids
Many “kitchen and bath” products are siliconized acrylic. Think of it as acrylic caulk with a little silicone added to improve flexibility and water resistance. It can be a good choice for lightly wet areas, and it is usually paintable. It is still not the same as 100% silicone for the inside of a shower.
There are also hybrid sealants (often labeled MS polymer or advanced polymer). Some are paintable and quite water-resistant. They can be excellent, but they are not all the same. If you go hybrid for a shower, read the label carefully for shower or wet-area suitability, confirm surface compatibility, and check cure time before water exposure.
Pick in 60 seconds
Pick silicone if…
- The joint is in a shower or tub surround.
- Water will hit it daily.
- The joint moves (tub flex, glass frame, corners).
- You are sealing tile, glass, metal, or a glazed fixture.
Pick acrylic latex if…
- You need to paint it.
- The gap is mostly cosmetic and mostly dry.
- You are caulking trim, drywall, or woodwork.
Make it last
1) Remove the old caulk
New caulk over old caulk is like putting a fresh Band-Aid on a dusty elbow. It can look okay for a week, then it starts lifting. Use a caulk removal tool or a sharp utility knife, then scrape carefully. For silicone residue, a dedicated silicone remover can help, but elbow grease is still part of the deal.
2) Clean the joint
Soap scum and body oils are adhesion killers. Clean with a bathroom cleaner that cuts residue, rinse well, and let it dry. If you have mildew stains, treat them and fully dry the area before sealing.
3) Dry it completely
Moisture trapped behind the bead is a fast track to failure. After cleaning, give it time. A fan helps. In a pinch, I will aim a hair dryer on low to chase out the last bit of dampness, keeping it moving so I do not cook anything.
4) Use backer rod when needed
If the gap is wide or deep, caulk alone is not the answer. A foam backer rod supports the bead so you are not trying to fill a canyon with sealant. As a rough rule, if the gap is bigger than about 1/4 inch, step back and think backer rod or a different repair, not a bigger bead.
5) Mask for clean lines
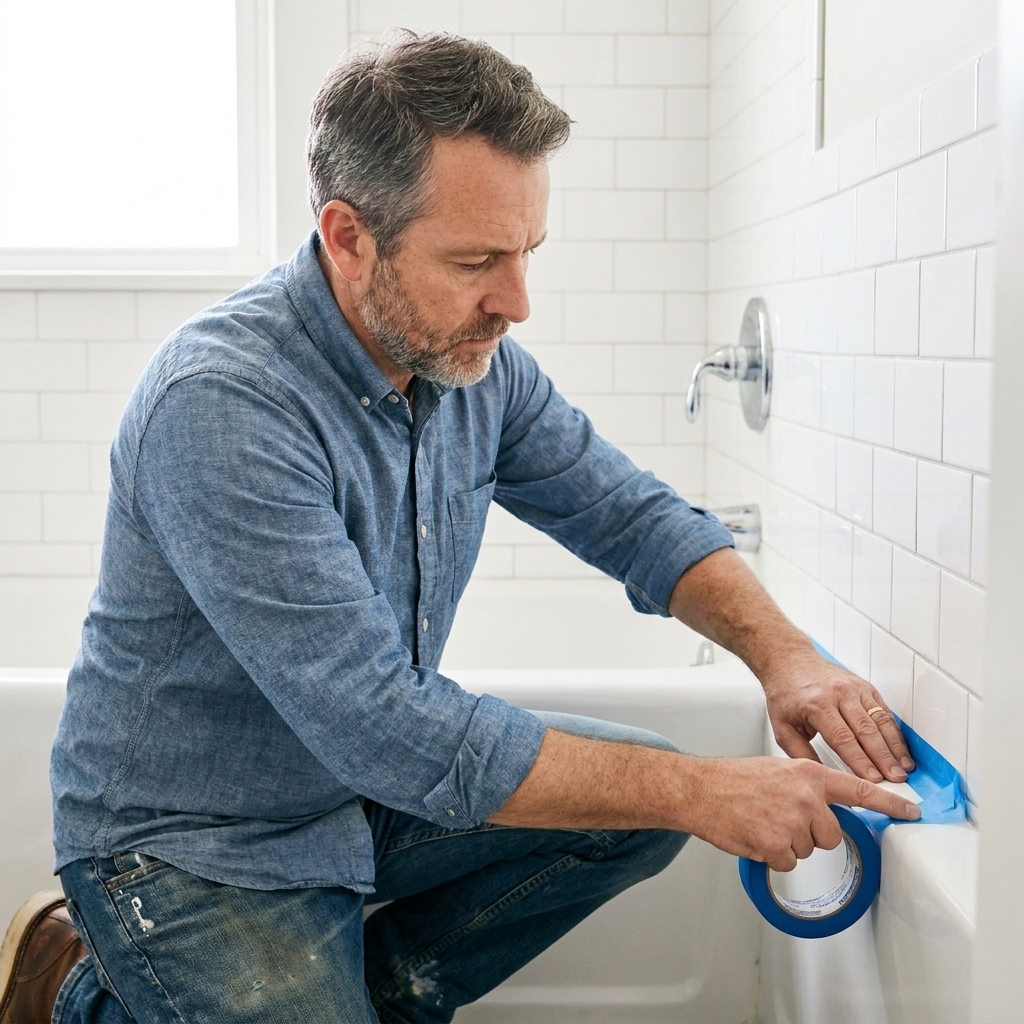
Painter’s tape on both sides of the joint is the easiest way to get a pro-looking bead, especially with silicone. Press the tape down firmly so sealant does not sneak under it.
6) Cut the tip smaller than you think
You can always add more. You cannot un-squeeze the “oops, that’s a giant worm” bead. Aim for a hole that matches the joint width, typically about 1/8 inch for many tub seams.
7) Tool once, then stop
Run a steady bead, then tool it in one smooth pass. Overworking silicone makes a mess and can pull it thin. A simple silicone caulk tool or a gloved finger can work well. If you like using a light mist of soapy water for tooling silicone, only do it if the manufacturer allows it for that product. When in doubt, skip the additives and use a proper caulk tool.
8) Pull tape right away
Pull tape while the sealant is still fresh, slowly, and at a low angle away from the bead. If you wait until it skins over, you can tear the edge.
Cure time
This is where many bathroom repairs fail. Most sealants are not ready for water the moment they feel dry to the touch. Read the tube and treat any number you see as a minimum, not a dare.
- Acrylic latex caulk: Often dries quickly, but needs more time to cure through. In a bathroom, a common guidance window is at least 24 hours before heavy moisture, and longer if the bead is thick or the room is humid.
- 100% silicone: Many products call for 12 to 24 hours before water exposure, and thicker beads or cool, humid bathrooms can push that longer. Again, the tube gets the final vote.
If your bathroom has poor ventilation, add time. Sealant cures by chemistry, not by your schedule. I have tried negotiating with it. It did not budge.
Common mistakes
- Using acrylic in the shower: It may say “kitchen and bath,” but a shower is the Olympics of wet environments. Choose 100% silicone for the inside of the shower.
- Caulking over mildew: You trap the problem and it comes right back. Clean first, dry completely.
- Skipping prep on glossy surfaces: Tile and tubs need to be clean and free of soap film for good adhesion.
- Making the bead too big: Bigger is not better. A neat, properly tooled bead seals better and looks better.
- Using silicone where you plan to paint: Paint and silicone rarely become friends unless the product is specifically labeled paintable.
- Turning the shower on too soon: Give it the cure time it deserves.
FAQ
Can I use silicone over acrylic caulk?
Sometimes, but it is risky. Silicone does not reliably bond to old acrylic, and it definitely does not like dirty or chalky surfaces. For the best odds, remove the old caulk fully, clean thoroughly, and start fresh.
Can I use acrylic caulk over silicone?
It is not recommended. Acrylic usually will not bond reliably to cured silicone, and even a thin silicone residue can cause adhesion problems. If you need to switch products, remove the silicone completely before re-caulking.
Clear or white silicone for a bathroom?
Clear is great where you want the tile or stone to visually carry the joint. White hides minor application imperfections better and looks clean against tubs and many surrounds. If you are sealing next to colored grout, some brands offer color-matched silicone, which can look very tidy.
Why does my caulk keep turning black?
Usually a combo of moisture plus soap scum plus low ventilation. Use an exhaust fan, squeegee the shower after use, and keep the joint clean. Also make sure you are using a bathroom-rated product and that you are not trapping moisture behind a bead applied over damp surfaces.
Should I fill the tub with water before caulking?
This can help on some tub-to-tile seams because it puts the tub in its loaded position. If your tub noticeably flexes when filled or when someone stands in it, filling it before applying silicone can reduce the chance of the bead being stretched later. Let the sealant cure fully before draining if you use this method.
Bottom line
If you remember one rule, make it this: use 100% silicone for wet, moving joints in the shower and tub area, and use acrylic latex caulk for paintable, mostly dry finish work. Then do the unglamorous part: remove the old caulk, clean like you mean it, and let it cure as long as the tube tells you. The right tube plus good prep is the difference between a Saturday repair and a monthly rerun.