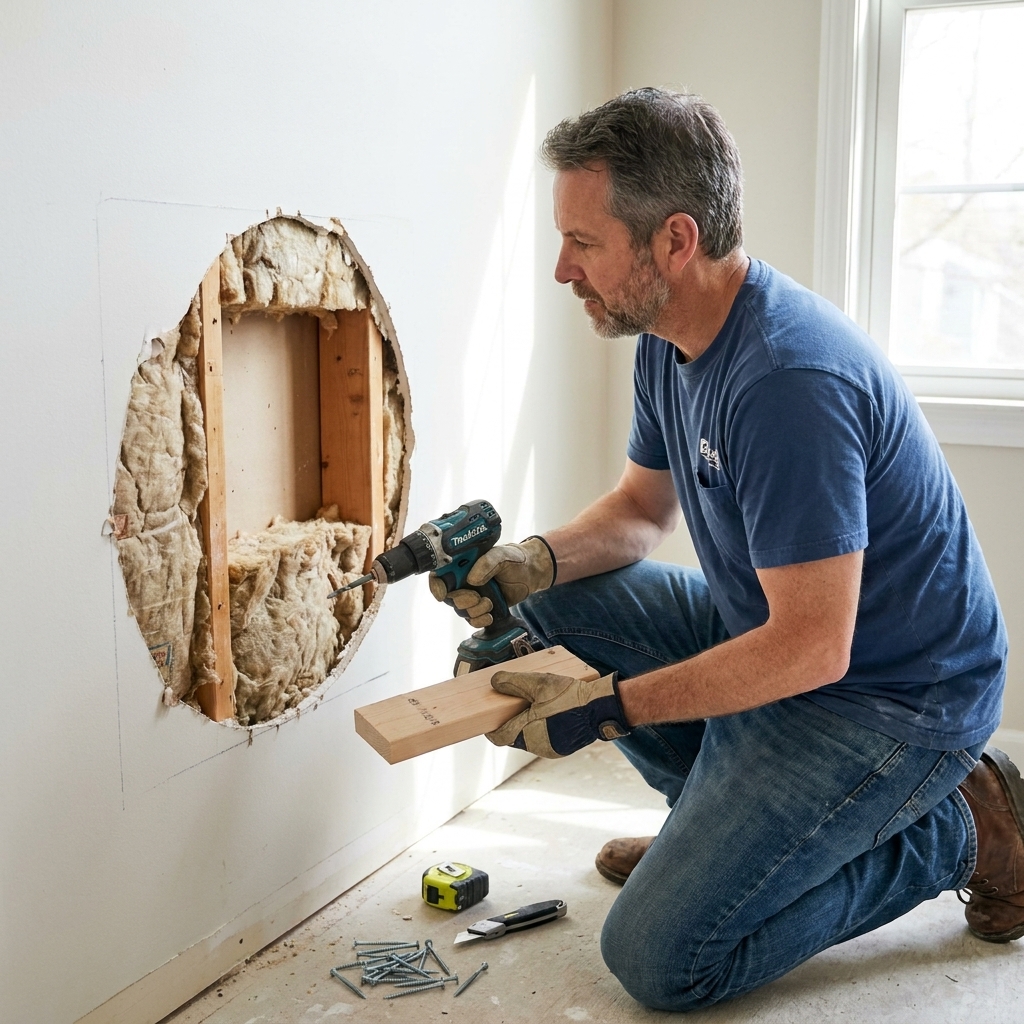
A practical, homeowner-friendly guide to repairing big drywall holes with backing boards or a drywall insert, plus taping, mudding, sanding, priming, and pai...
home improvement and DIY
How to Use a Stud Finder Like a Pro

Marcus Hayes
Marcus Hayes is a lifelong DIY enthusiast and former residential carpenter who has spent the last decade renovating his 1970s fixer-upper. Through Tinksmith, he shares his hands-on experience to help fellow homeowners tackle repairs, choose the right tools, and build spaces they love without breaking the bank.
Published October 17, 2026
Updated October 17, 2026
I have hung enough shelves in my 1970s fixer-upper to learn one universal truth: drywall is an excellent liar. It looks solid, it sounds solid, and it will absolutely let your new floating shelf rip a crater in the wall if you trust it without finding a stud.
A stud finder is the quickest way to stack the odds in your favor, but it only works well if you use it the right way and choose the right tool for your wall type. Below I will walk you through exactly how to scan like a pro, how to confirm what you found, and which stud finders I would actually spend my own money on.
How stud finders work
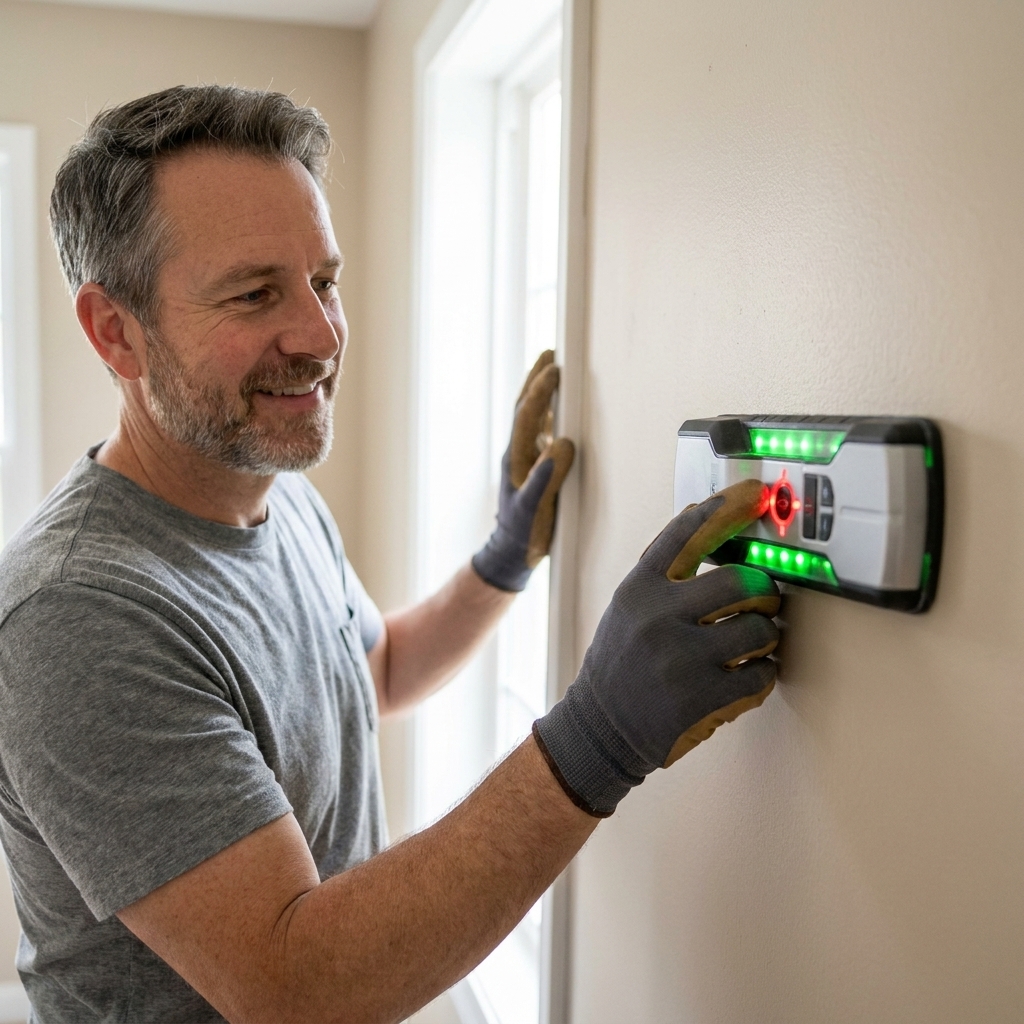
Most consumer stud finders use one of these methods:
- Electronic edge-finders (capacitance): They sense changes in what is behind the drywall, often described as changes in dielectric properties and overall material density. You slide across until it detects one stud edge, then keep sliding to find the other edge. Affordable and common, but easier to fool than the packaging suggests.
- Multi-sensor stud finders: Similar idea, but with multiple sensors so they can show more of the stud width at once. Faster and usually easier to interpret.
- Deep-scan modes: A setting on many electronic models that increases sensitivity. Helpful with thicker drywall, heavy texture, layered paint, or paneling. It sometimes helps through thicker surfaces, but tile and cement backer can be a different game entirely. In those situations, a higher-end scanner is often the right tool.
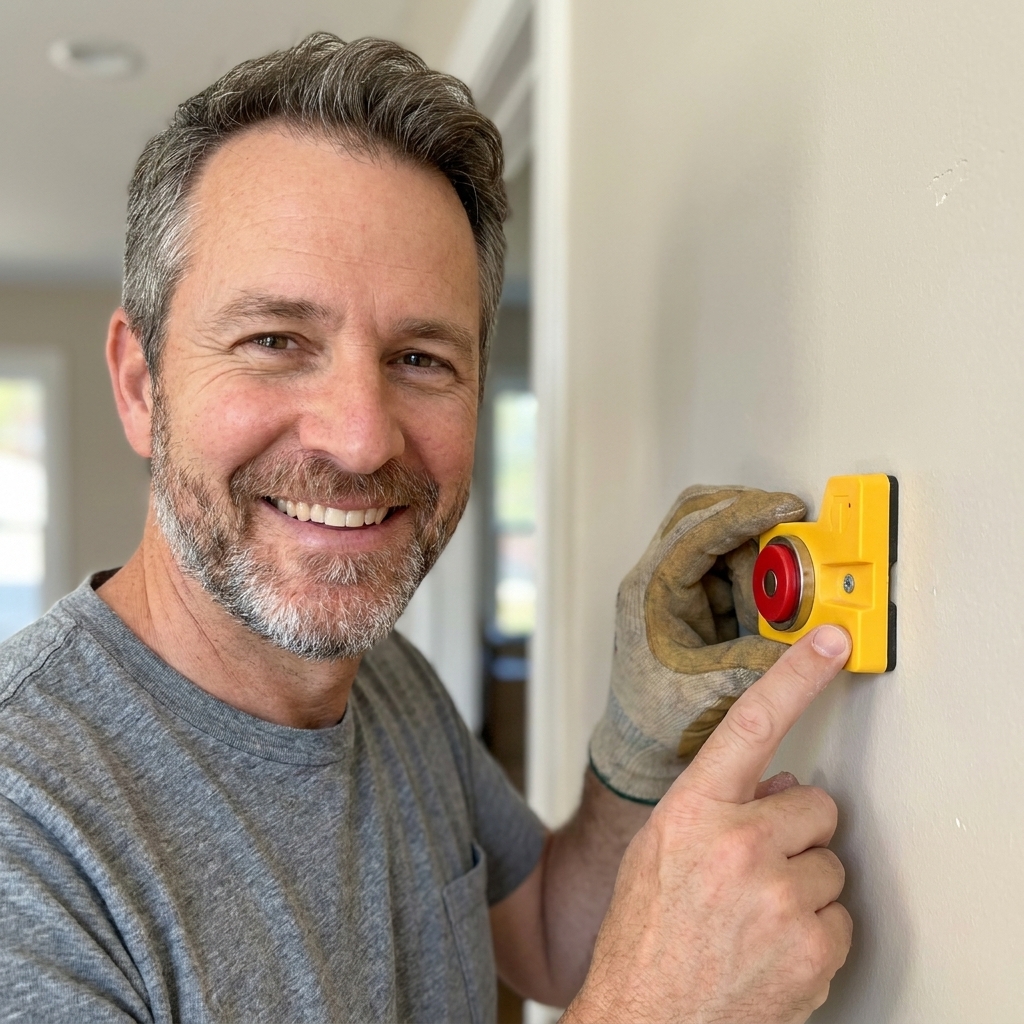
- Magnetic stud finders: They do not “find studs” directly. They find metal fasteners (drywall screws or nails) that are usually driven into studs. They are simple, reliable, and hard to fool, but you have to interpret what they are telling you. They can also grab onto other metal like corner bead, metal lath, or protective nail plates.
- Radar-based wall scanners: These are the fancy ones. They can detect stud locations and often indicate things like live AC and metal. Some models may also indicate non-metallic objects such as plastic pipes or conduit under the right conditions, but it varies a lot by model. Always check the specs and do a practice run on a wall you understand.
False positives come from metal (pipes, ducting, corner bead), dense patches, adhesive blobs, wallpaper seams, blocking, and electrical. Your job is to scan in a way that filters out the noise and then confirm before you drill.
Stud finder basics
1) Use wall logic first
Before you even turn the tool on, use the layout clues builders usually follow:
- Stud spacing: Many walls are 16 inches on center. Some are 24 inches on center.
- Studs near openings: There will be studs (and extra framing) around doors and windows.
- Studs at corners: Corners are often framed with multiple studs or blocks, but some newer “advanced framing” corners use fewer studs and drywall clips. Translation: corners are complicated, so expect weird readings.
- Outlets and switches: Electrical boxes are typically attached to the side of a stud.
This gives you a sanity check. If your stud finder says studs every 6 inches, it is not the wall suddenly becoming artistic. It is the tool getting confused.
2) Calibrate the right way
For electronic stud finders, calibration matters as much as the scan.
- Place it on the wall first, flat and steady.
- Press and hold the power button (or calibrate button) without moving. Wait for the “ready” beep or indicator.
- Calibrate on “blank” wall if possible, not directly over a stud, not over a seam, and not right above an outlet.
If you calibrate over a stud by accident, the tool can treat that density as “normal” and then lie to you for the rest of the scan. Drywall already has that job covered.
3) Scan slow with full contact
Move the stud finder horizontally across the wall slowly, keeping it flat. If you tilt it or lift an edge, many models will misread.
- Go about 1 to 2 inches per second.
- Keep the tool square to the wall.
- Maintain even pressure.
4) Mark edges, then find center
With an edge-finding model, the goal is not “the beep.” The goal is the stud center.
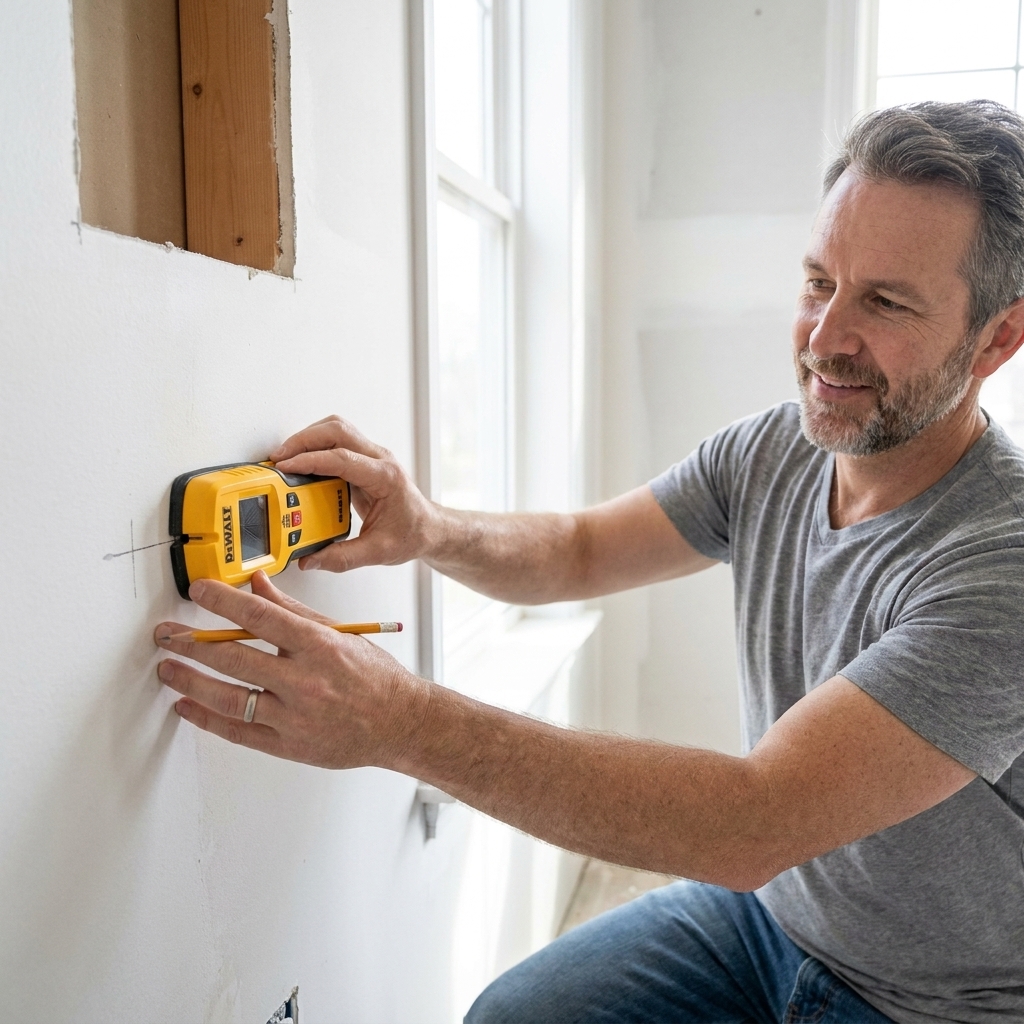
- Scan until it indicates the left edge. Mark it lightly with a pencil.
- Keep moving until it indicates the right edge. Mark it.
- The center is halfway between those marks.
Wood studs are typically 1.5 inches wide (a “2x4” stud). Your two edge marks should be roughly that far apart on a standard wall. If the “stud” is 4 inches wide, you might be reading doubled framing, a pipe chase, a patch, or blocking.
Avoid false positives
Scan both directions
After you mark the stud center, scan again from the other direction. If you found a real stud, the edges should show up in the same place whether you scan left-to-right or right-to-left.
Reset when it gets weird
If the stud finder starts acting like the wall is one giant stud, do this:
- Lift it off the wall.
- Turn it off.
- Turn it on and recalibrate on a different spot.
- Scan again, slower.
Take AC warnings seriously
Stud finders with AC detection can be helpful, but they also trigger on a lot of normal wiring conditions. Treat AC warnings as a reason to change your plan or investigate further, not as something to ignore because you are “pretty sure.”
If you get an AC warning where you want to drill, stop. Relocate the mount or verify with a non-contact voltage tester before you put a bit into the wall.
Blocking can look like a stud
Sometimes you will get a solid “stud” reading in a horizontal band mid-wall. That can be fire blocking, a horizontal brace, or backing someone added for a towel bar years ago. It is not bad news, but it is a reminder to confirm before you drill big holes.
Plaster and lath tips
Plaster walls can make even good electronic stud finders throw a tantrum. The lath strips and plaster keys create repeating density changes that look like studs to many sensors.
Best tools for plaster
- Magnetic stud finder: Often the most reliable choice. You are hunting for nails in the lath that line up vertically where they hit a stud.
- Radar-based scanner: Expensive, but when you need confidence before drilling, it can be worth it.
A plaster method that works
- Start with a strong magnet finder and locate a nail or screw head.
- Move straight up and down to find more fasteners in a vertical line.
- Mark that line. That is your stud line.
- Confirm by finding fasteners in the next stud bay over, often 16 inches away.
If you only find one random fastener and nothing else in a vertical run, it might be old hardware or a repair. A stud line will usually give you several hits.
Metal studs: what to know
If you have metal stud framing (common in condos and some basements), your stud finder may behave differently, and the “feel” of drilling changes fast.
- Finding them: Use a stud finder with a metal mode, or a magnetic finder to locate a vertical line of screws. Multi-sensor electronic models can still work, but confirm with fasteners.
- Centering: Metal studs are not always the same width as wood, and the flange shape can throw off edge reads. Find the screw line first, then treat that as your stud line.
- Mounting: For heavy loads, do not rely on basic plastic anchors. Use hardware designed for metal studs (toggle bolts, snap toggles, or a mounting plate that spans multiple studs). When in doubt, follow the mount manufacturer’s instructions for metal framing.
Stud finders worth buying
I am not loyal to brands. I am loyal to tools that keep my shelves on the wall and my drywall patch kit in the drawer. Here are models and types that consistently perform well for homeowners.
Best overall: Franklin Sensors ProSensor
Franklin Sensors uses multiple sensors across a wide face, so instead of hunting for edges like you are playing hot-and-cold, it can show a stud location more clearly and quickly.
- Why I like it: Fast reads, easier to interpret, great for typical drywall.
- Best for: People who hang a lot of stuff, from curtain rods to TV mounts.
- Watch-outs: You still need good technique and calibration. On tricky walls, confirm with a second method.
Best budget electronic: Zircon StudSensor
Zircon makes a range of StudSensor tools. Their basic edge-finding models are affordable and widely available, and they can work well if you scan carefully and confirm both edges. If you are shopping, look for one with a clear edge indicator and a deep-scan option, not just a single “beep and pray” light.
- Why I like it: Cheap entry point, solid for standard drywall when used correctly.
- Best for: Occasional projects, light to medium duty mounting.
- Watch-outs: More prone to false positives on textured walls, thick paint, and repairs.
Best backup: CH Hanson magnetic finder
This is the little tool I keep in a drawer for the day my electronic stud finder is convinced the entire wall is a stud. Magnets do not need calibration, batteries, or good moods.
- Why I like it: Dead simple, very reliable, great on drywall and plaster.
- Best for: Anyone who wants a second opinion or works on older homes.
- Watch-outs: You are finding fasteners, not wood. Corner bead, metal lath, and random metal can also attract the magnet, so look for a vertical pattern of hits.
Best scanner: Bosch wall scanner
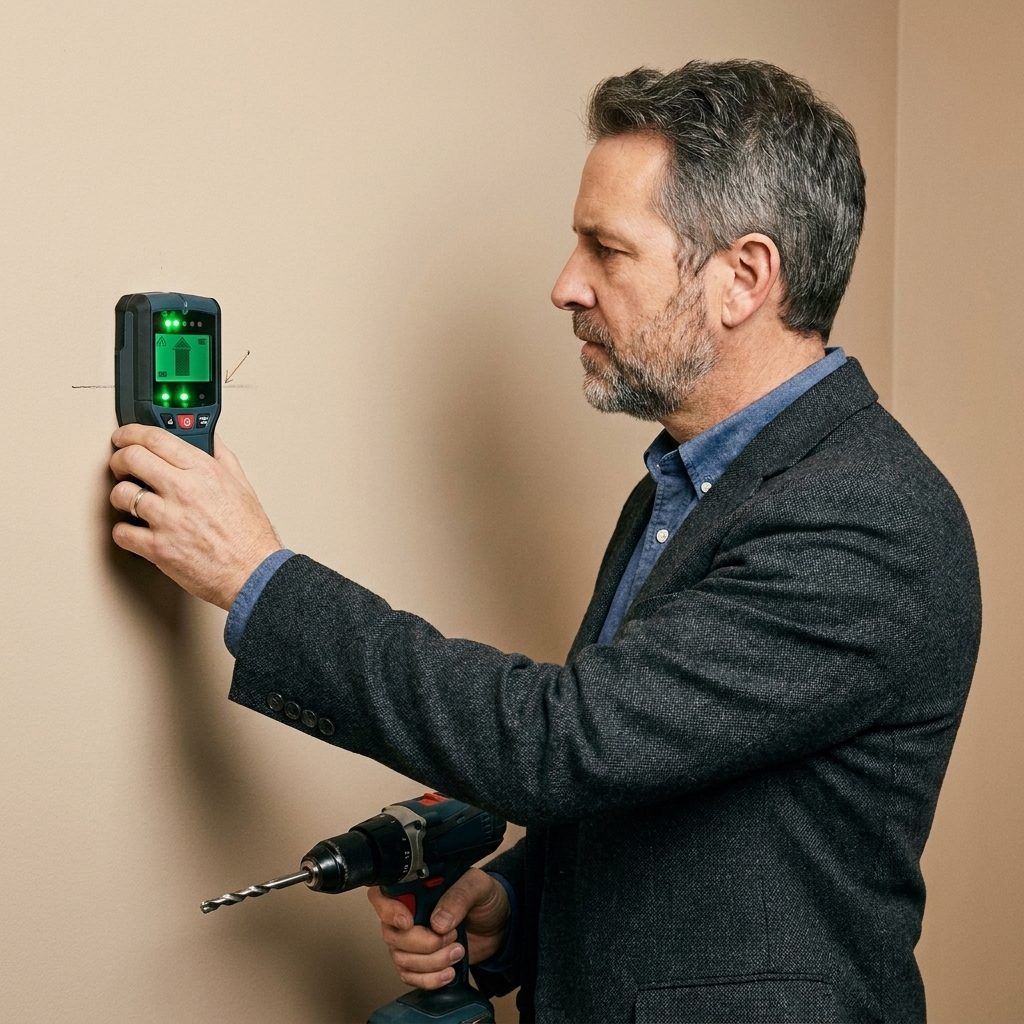
Bosch makes respected wall scanners that can detect studs and often help identify metal and live wiring in a more informative way than basic stud finders. Different Bosch models vary in what they can detect and how clearly they display it, so check the exact model’s capabilities if you care about non-metallic objects.
- Why I like it: Great when mistakes are expensive, like tile walls, fancy paneling, or mounting into a wall that has history.
- Best for: Serious DIYers, remodelers, and older homes with surprises.
- Watch-outs: Higher cost, and you still need to read the manual and practice.
How to confirm a stud
If you want to work like a pro, you confirm. Here are my favorite methods.
Method 1: Use an outlet as a clue
Outlets are usually attached to a stud. Remove the cover plate (shut off power if you are nervous, and you should be). You can often tell which side of the box is fastened to the stud. That gives you a starting stud line to measure from.
Method 2: Probe with a tiny pilot hole
For a shelf bracket or TV mount, I like drilling a tiny pilot hole first:
- Use a 1/16-inch to 1/8-inch bit.
- Drill where you think the stud center is.
- If you hit wood consistently for about an inch or more, that is a good sign.
- If it suddenly drops into a void, you missed.
Two safety notes that will save you from a very bad day:
- If you hit metal, stop. It could be a protective plate over wiring or plumbing, corner bead, or metal framing. Do not “just push through.”
- If your stud finder flags AC in that spot, do not drill until you verify or relocate.
If you are in a visible area, probe inside where the final bracket will cover the hole. No one will ever know, including Future You, who is the harshest critic.
Method 3: Find the next one
Once you find one stud, measure 16 inches (or 24 inches) over and scan there. Walls are repetitive. If the next stud shows up where it should, your confidence goes way up.
Method 4: Use painter’s tape for marking
If you hate pencil on flat paint, put a strip of painter’s tape on the wall and mark on the tape. Bonus: you can write “L edge,” “R edge,” and “center” without turning your wall into a detective board.
Troubleshooting
It shows a stud everywhere
- Recalibrate on a different spot.
- Slow your scan down.
- Check that the wall is not plaster and lath (switch to magnetic).
- Make sure your hand is not bridging the sensing area (some grips can affect readings on certain models).
It finds studs that make no sense
- Confirm spacing. Many walls are 16 inches on center.
- Scan from the opposite direction.
- Look for nearby outlets, plumbing walls, or metal corner bead.
- Try deep scan off and on. Sometimes deep scan adds more noise than signal.
It will not detect anything
- Replace batteries (low power causes weird behavior).
- Clean the tool’s sliding surface so it sits flat.
- Make sure you are not starting your scan already over a stud.
- Try a different mode (standard vs deep) based on wall thickness.
It keeps flagging AC
- Treat it seriously near outlets, switches, and near the ceiling where cables often run.
- Scan higher and lower to see if the warning tracks along a vertical stud line or across the wall.
- Use a second method to confirm stud location, and consider moving your mounting position.
My workflow for heavy mounts
If you want one repeatable routine, this is mine:
- Scan with a multi-sensor or good electronic stud finder. Mark both edges and the center.
- Scan again from the other direction.
- Confirm by finding the next stud 16 inches over.
- Use a magnetic finder to locate a fastener near your mark.
- If you see an AC warning, stop and verify or relocate.
- Drill a small pilot hole where the bracket will cover it.
- Only then drill the final hole and install lag screws or structural screws.
Yes, it is a few extra minutes. It is still faster than patching drywall and explaining to your spouse why the TV is leaning like it is tired.
Quick FAQ
Do I need a stud finder if I use anchors?
For light stuff, anchors are fine. For anything heavy or safety-related (TVs, cabinets, grab bars), you want studs or proper blocking. Anchors are great until they are suddenly not.
What if my studs are metal?
Many stud finders have a metal mode, and magnets will often grab screws just the same. For mounting, use hardware rated for metal studs, like toggles or snap toggles, unless you can hit wood blocking. When in doubt, spread the load across multiple studs.
Can a stud finder detect pipes?
Basic stud finders can confuse pipes for studs, especially metal pipes. Radar-based scanners are better at identifying metal objects, and some models may indicate non-metallic objects, but it depends. When in doubt, relocate the mount or open up a small inspection hole where it will be hidden.
Why does it work in one room but not another?
Different wall construction, different paint and texture thickness, patches, moisture, and nearby wiring can all change readings. Bathrooms and kitchens are the usual troublemakers.
Bottom line
Using a stud finder like a pro is less about buying the most expensive gadget and more about having a repeatable method: calibrate carefully, scan slowly, mark edges, confirm spacing, and double-check before you drill.
If you want the easiest path to consistent results on drywall, a multi-sensor tool like a Franklin Sensors model is hard to beat. If you live in an older home with plaster, keep a magnetic stud finder in your kit. Between the two, you will be ready for just about any wall your house throws at you, including the ones built by someone who clearly owned stock in drywall compound.