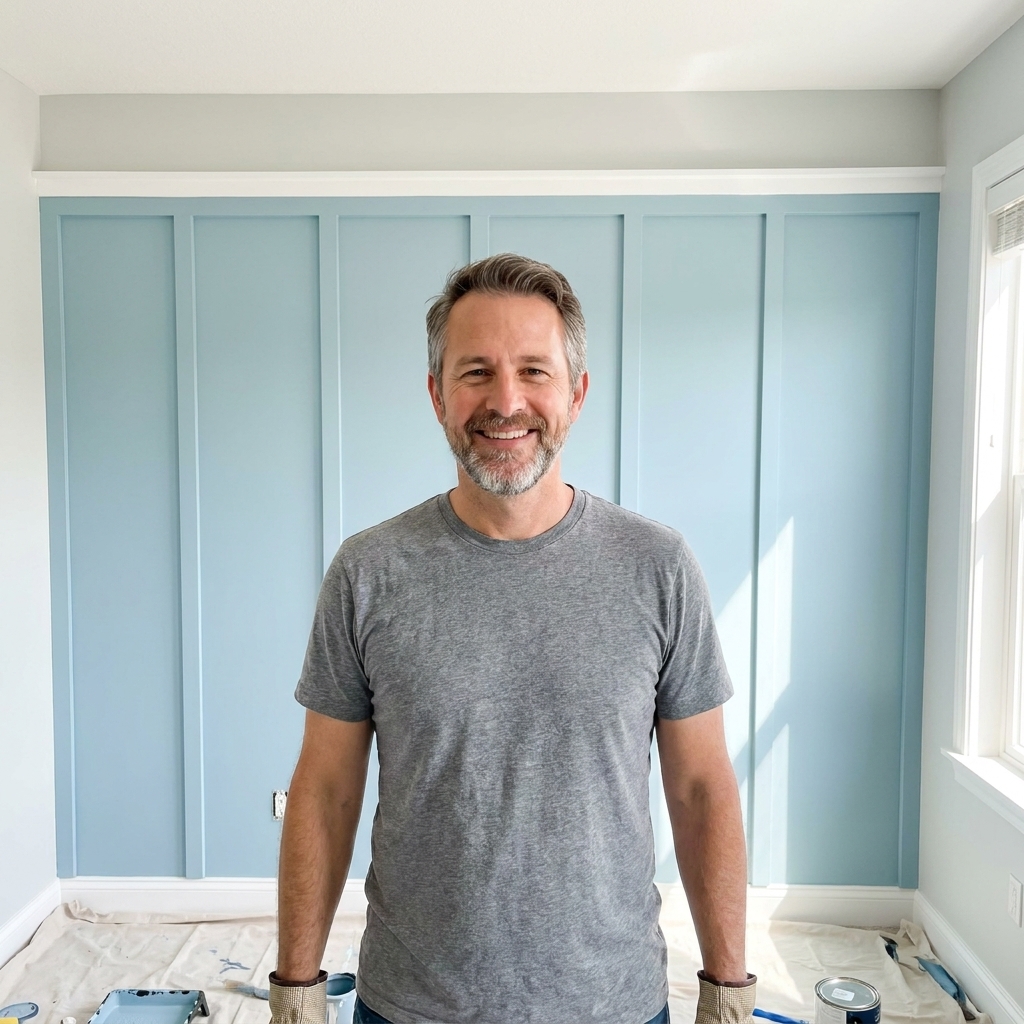
Turn a frustrating wire-shelf closet into a custom wood organizer with sturdy shelves and better hanging space, without spending custom-closet money.
home improvement and DIY
Built-In Bookshelves With Stock Cabinets and MDF

Marcus Hayes
Marcus Hayes is a lifelong DIY enthusiast and former residential carpenter who has spent the last decade renovating his 1970s fixer-upper. Through Tinksmith, he shares his hands-on experience to help fellow homeowners tackle repairs, choose the right tools, and build spaces they love without breaking the bank.
Published October 17, 2026
Updated October 17, 2026
Built-ins have a funny way of making a room feel instantly “grown up.” Like you suddenly drink coffee from a real mug instead of that free tumbler you got at a 5K in 2014. The good news is you do not need a full-blown cabinet shop to get the look. With stock base cabinets, MDF, and a little trim work, you can build bookshelves that look custom, stay on budget, and survive real life.
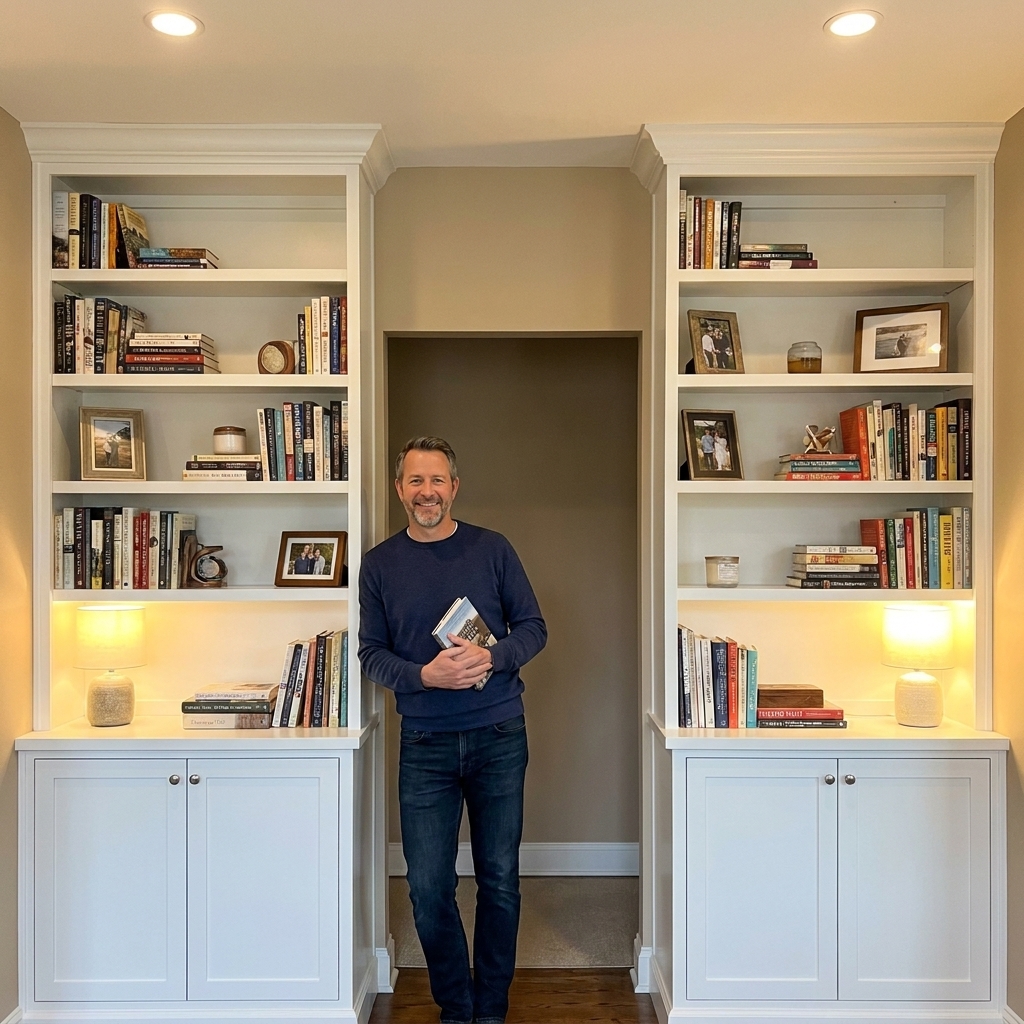
This guide walks you through the approach I use in my own 1970s fixer-upper: base cabinets on the bottom, MDF built-up sides and shelves on top, and a face frame and trim package that hides every “stock cabinet” clue.
Plan like a cabinetmaker
Before you buy a single cabinet, decide what the built-ins need to do. Hold books, hide toys, frame a TV, or all of the above. Then measure the wall three ways, because walls have a habit of being “vintage.” In older homes, that is a polite way of saying “not square.”
Key measurements
- Overall wall width at the floor, mid-wall, and near the ceiling.
- Ceiling height at left, center, and right.
- Baseboard height and thickness (you will likely remove and reinstall or replace around the bases).
- Outlets, vents, and returns you must keep accessible.
- Depth you can live with. Stock base cabinets are typically 24 inches deep (many lines also offer 21 inches). For the upper shelving, 11 to 14 inches deep is usually plenty for books and decor.
Choose your layout
The most forgiving layout for DIY is two tall bookcase towers with base cabinets below. You can do one long run too, but multiple smaller modules are easier to level and hide out-of-plumb walls.
Pro tip: If you are building around a TV, set the TV height first, then build the shelves around that. Do not let the shelves dictate a neck-craning viewing angle.
Materials and tools
You can build this with basic carpentry tools. The “secret sauce” is careful fitting, filling, and finishing.
Common materials
- Stock base cabinets (kitchen base cabinets or ready-to-assemble bases)
- MDF sheets (1/2 inch or 3/4 inch) for side panels, shelf parts, and build-outs
- Plywood (optional) for shelf boxes or stronger shelves if you will load heavy books
- 1x2 or 1x3 (poplar or pine) for face frames
- Trim: baseboard, shoe, crown, and/or cove molding
- 2x4s for a platform base (optional but recommended on uneven floors)
- Fasteners: 2 1/2 inch construction screws, 1 1/4 inch pocket screws or trim screws, 18-gauge brad nails
- Wood glue
- Paintable caulk
- Wood filler (and a separate spackling compound for tiny paint pinholes)
- Primer: a high-adhesion primer for MDF (shellac-based, oil-based, or a dedicated MDF primer)
- Paint: quality cabinet and trim enamel
Tools that help
- Stud finder
- Laser level or 4-foot level
- Circular saw with a straightedge guide (or table saw)
- Miter saw
- Brad nailer (optional, but you will smile every time you use it)
- Drill and impact driver
- Pocket hole jig (optional)
- Jigsaw or oscillating multi-tool for outlet/baseboard cuts
- Sander and sanding blocks

Safety first
A quick, un-fun but important section.
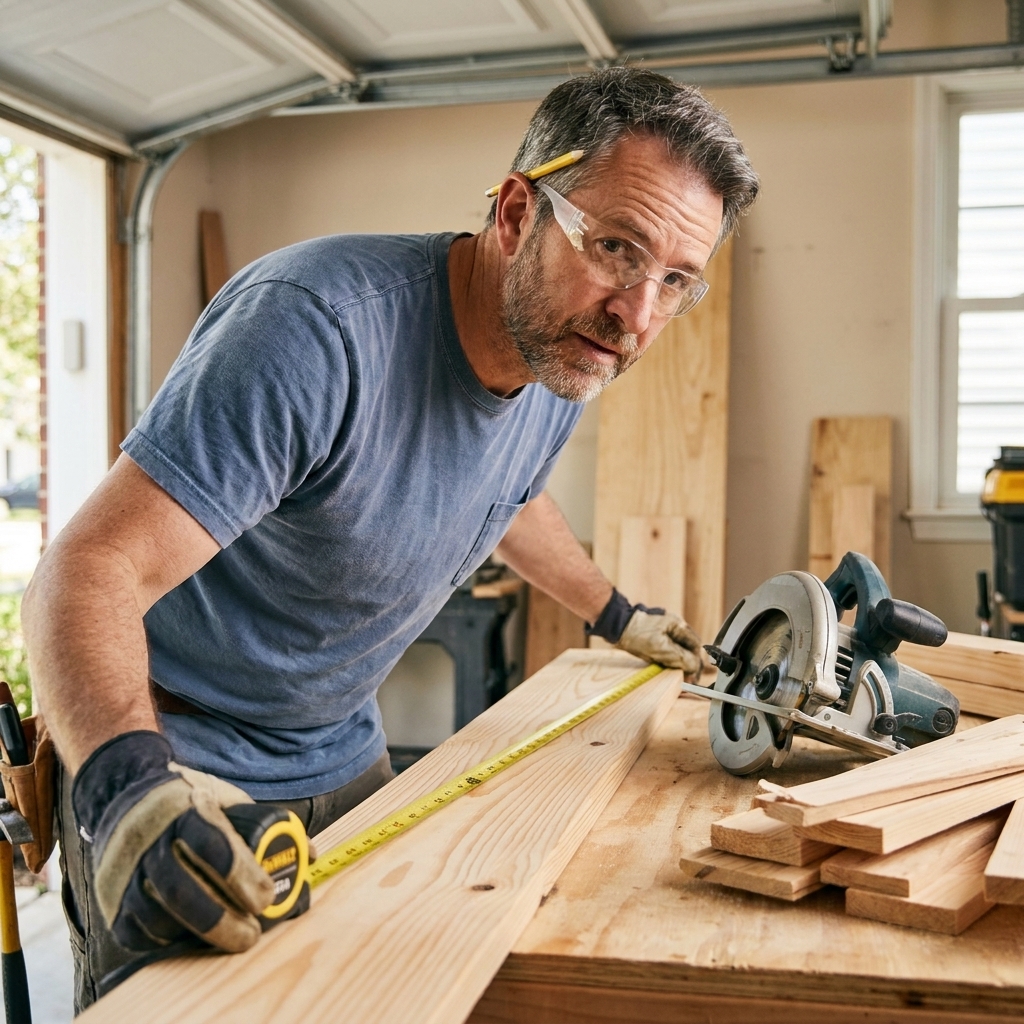
- Wear eye and ear protection, and use a real respirator when cutting or sanding MDF. MDF dust is not the souvenir you want.
- Anchor tall units to studs. Built-ins should not be “mostly stable.”
- Electrical and HVAC: If you are relocating outlets, adding new lighting circuits, or moving vents/returns, follow local code and call a licensed electrician or HVAC pro as needed. Hiding a cord neatly is one thing. Altering house wiring is another.
Step 1: Mark studs and layout
Built-ins are basically big, polite furniture that you bolt to the wall so it never tips over. Start by locating studs across the whole wall. Mark them lightly with pencil up high and low so you can still find them after the cabinets are in place.
- Snap or draw a level line for the top of the base cabinets.
- Mark the outside edges of each cabinet run on the wall.
- If you are doing symmetrical towers, strike a centerline and work outward.
Reality check: If the floor is out of level, your line should be level anyway. We will shim the cabinets to match the line, not the other way around.
Step 2: Build a platform base
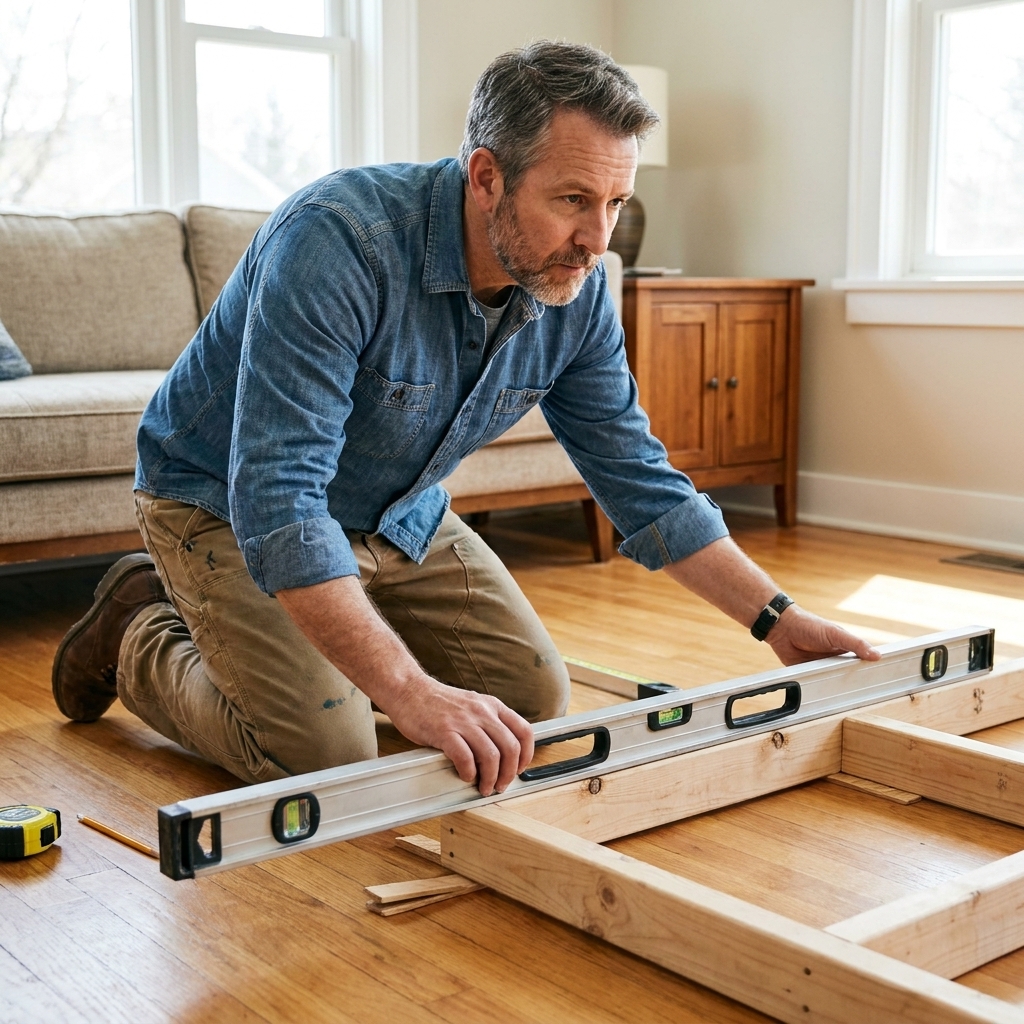
Stock base cabinets want a flat floor. Many floors, especially in older homes, want to tell stock cabinets a story about “character.” A platform base gives you a level, solid foundation and creates a toe-kick recess automatically.
Toe-kick sizing
A “standard-ish” toe-kick is often in the 3.5 to 4.5 inch height range, with about a 3 inch recess. A 2x4 on edge is 3.5 inches tall before you factor flooring, shims, and the cabinet’s own bottom details. The easiest way to nail the look is to decide your target toe-kick height, then build the platform to match it.
How to build it
- Assemble a rectangle frame the footprint of your cabinet run.
- Shim under the frame until it is dead level front-to-back and side-to-side.
- Fasten the platform in a way that matches your floor. Screwing to a wood subfloor can be great. On finished flooring, slab-on-grade, or radiant heat floors, drilling can be a very bad day. When in doubt, fasten to wall studs with brackets, use minimal fasteners, or choose an adhesive that is appropriate for your flooring and situation.
If your floors are very flat, you can skip the platform and shim the cabinets directly. I still like the platform. It is like wearing a belt and suspenders, but for carpentry.
Step 3: Set the base cabinets
Place the base cabinets on the platform (or directly on the floor). Clamp adjoining cabinets together, predrill, and screw through the face frames to create one solid unit. Then attach them to wall studs.
Install tips
- Clamp first, then predrill through the face frame stiles/rails so you do not split anything. Check that the cabinet faces stay flush as you tighten.
- Shim behind cabinet backs if the wall bows. You want the cabinet faces aligned, even if the drywall is doing gymnastics.
- Use cabinet installation screws (often with washer heads) or quality construction screws into studs, not drywall anchors. Choose a length that bites solidly into studs without blasting through somewhere it should not.
- Check level across the full run before tightening everything.
- Leave doors off until after sanding and painting if possible.
Once bases are locked in, you have a straight, repeatable reference for everything above.
Step 4: End panels and build-outs
This is where the “stock cabinet” look starts to disappear. The goal is to make the whole wall read as one built-in unit, not cabinets parked under a shelf.
End panels
If a cabinet run ends in open air, add a finished end panel. You can use matching cabinet panels or cut MDF to fit. Scribe to the wall if needed (more on scribing below).
Build-outs for depth
Often, base cabinets are 24 inches deep while bookcase uppers look best around 12 inches. Create a step-back by adding a vertical “cheek” panel above the base and building a shallower bookcase box above it.
Simple method: Use 3/4 inch MDF side panels for the upper bookcase, set back from the cabinet face by 10 to 12 inches, then bridge the gap with trim and a face frame later.
Step 5: Build the upper boxes
There are two common ways to build the upper shelves:
- Box construction (my favorite): build a plywood or MDF carcass like a cabinet, then add shelves inside.
- Side panels and cleats: install vertical panels, then support shelves on cleats or metal standards.
For DIY built-ins, box construction is sturdy and square. It also installs cleaner because you are lifting one “tower” at a time.
Basic box approach
- Cut two side panels for each tower from 3/4 inch MDF or plywood.
- Add a top and bottom panel to make a rectangle box.
- Fasten with glue and screws or brad nails plus glue (screws are more forgiving).
- Add a back panel (1/4 inch plywood) for anti-rack strength, or leave the back open but add a solid top cleat or mid cleat and anchor it well to studs. An open-back box can work, it just needs a plan for racking resistance.
Fixed vs adjustable shelves
- Fixed shelves make the unit stronger and are easier to keep straight.
- Adjustable shelves are flexible, but shelf pin holes need to be drilled accurately.
If you want adjustable shelves, drill pin holes before you install the towers. Your shoulders will thank you later.

Step 6: Set uppers and anchor
Set the upper boxes on top of the base cabinets. Use shims to plumb them front-to-back and side-to-side. Then screw them into wall studs through the upper back, through a back cleat, or through a concealed cleat at the top.
Make it safe
- Hit studs whenever possible.
- If you cannot hit studs in a spot, add a horizontal cleat that spans multiple studs.
- Clamp adjacent towers together and screw them so they act as one unit.
Dad-level warning: A tall bookcase full of books has the same personality as a refrigerator. It will win a wrestling match. Anchor it like you mean it.
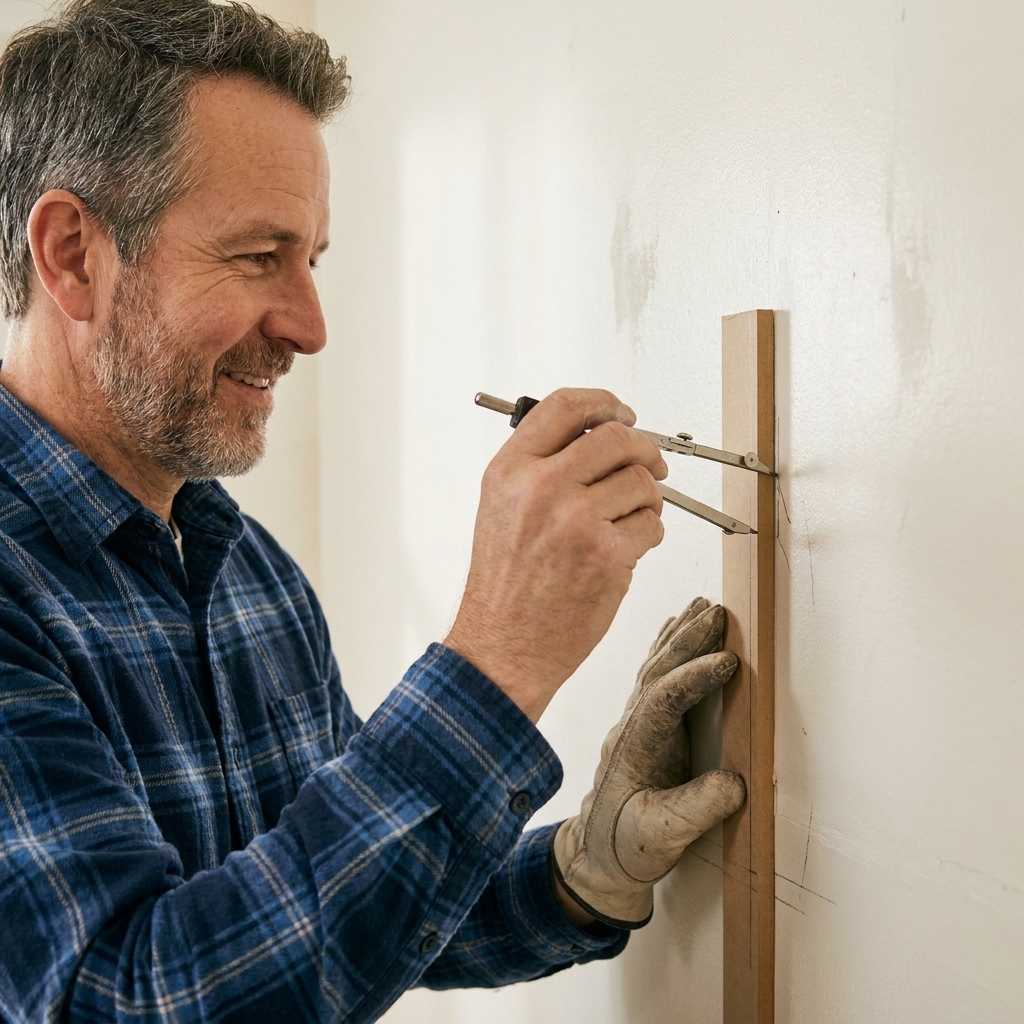
Step 7: Scribe the gaps
Scribing is the difference between “pretty good” and “how did you even do that?” Walls are rarely straight, so instead of forcing a straight panel into a crooked corner, you copy the wall shape onto the panel and trim to match.
Quick scribing method
- Hold your filler strip or side panel in position.
- Set a compass or a simple scribe block to the widest gap.
- Run it along the wall, transferring the wall profile to the panel.
- Cut the line with a jigsaw or belt sander.
- Test fit, tweak, and repeat until it sits tight.
If scribing sounds intimidating, think of it like tracing a cookie cutter. Except the cookie is your wall, and it is a little lumpy.
Step 8: Add face frames
Face frames are the magic trick. They cover cabinet-to-cabinet seams, hide plywood edges, and give you those clean vertical lines you see in high-end built-ins.
Simple face frame
- Use straight 1x2 or 1x3 poplar for the stiles (verticals) and rails (horizontals).
- Plan your verticals so they land over cabinet seams when possible.
- Assemble frames with pocket screws on the back, or glue and brad nails if the frame is supported well.
- Attach with glue and brad nails, then fill nail holes.
Spacing tip: If you have cabinet doors below, align the face frame stiles above with the door reveals below. Your eyes love alignment even if your brain does not know why.
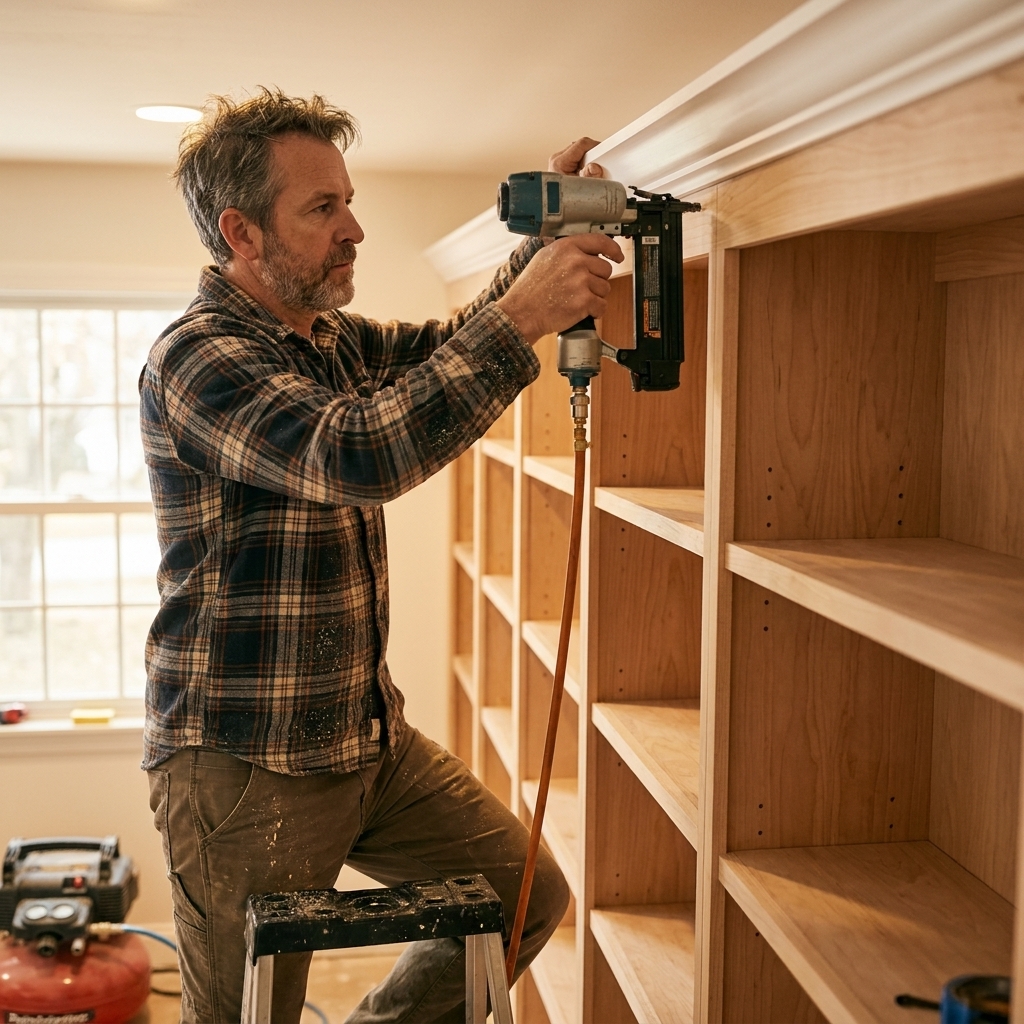
Step 9: Trim it out
Trim is what makes the built-in look intentional. The goal is to connect the unit to the room’s existing details.
Common trim moves
- Baseboard: remove and reinstall around the cabinet bases, or run new baseboard across the cabinet toe-kick area and tie into existing.
- Crown molding: run crown across the top of the built-ins and tie into the room crown if you have it.
- Light rail or small cove: a small molding under a shelf cap can hide puck lights or LED tape channels.
- Edge banding: if any MDF edges remain visible, cap them with trim or a face frame piece.
Dry fit your crown and top trim before you nail anything permanently. Crown molding is fun in the same way that parallel parking is fun. It is satisfying when it is over.
Step 10: Add lighting
Lighting is optional, but it makes built-ins look expensive fast. The simplest DIY-friendly option is low-voltage LED tape or puck lights.
Lighting options
- LED tape light in an aluminum channel under each shelf for an even glow.
- Puck lights installed under the top of each bay.
Plan wiring early
If you want hidden wires, drill pass-through holes in the shelf sides before assembly, or route a channel in the back. If you are not comfortable tying into house wiring, use a plug-in transformer and hide the cord in a back corner. No shame in a smart plug and a clean cord path.
Step 11: Cap the bases
Before you call the lower section “done,” give the base cabinets a proper top. This can be a wood countertop, a stone remnant, or a simple painted MDF top. The point is to create a clean transition between the 24-inch-deep bases and the shallower uppers.
- For a painted look, a layer of 3/4 inch MDF with a nosed front edge works well.
- If you are adding a countertop, confirm your cabinet heights and toe-kick plan early so you do not end up with a counter that feels oddly tall (or weirdly low).
Step 12: Paint MDF like a pro
MDF paints beautifully, but only if you respect its edges. Raw MDF edges can fuzz and drink primer like it is happy hour.
MDF finishing checklist
- Sand everything to 150 to 220 grit.
- Seal MDF edges with a dedicated MDF primer, shellac-based primer, oil-based primer, or a thinned wood glue wipe, then sand smooth. Water-based primers can raise fibers on edges, so plan to sand again if you go that route.
- Fill nail holes with wood filler, let dry, then sand flush.
- Caulk seams where trim meets walls and where face frames meet boxes.
- Prime with a high-adhesion primer.
- Paint with a durable enamel, two coats minimum.
My best paint tip: Use a quality microfiber mini roller for the flats and a good brush for corners. It is the fastest way to get a sprayed-ish look without spraying your entire living room. Ask me how I know.
Step 13: Shelves and details
Once paint is cured, install shelves and hardware.
Prevent shelf sag
- Use 3/4 inch material minimum for shelves.
- As a rule of thumb, spans over about 30 inches are where sag starts showing up fast, especially with MDF and heavy books.
- For longer spans, stiffen shelves with a front hardwood nosing (like a 1x2 glued to the front edge) or build up a thicker shelf.
- If you are planning 36-inch-plus spans loaded with books, consider plywood, fixed shelves, or adding a center support.
Details that sell the custom look
- Simple knobs or pulls that match the room’s finishes
- A consistent shelf spacing pattern
- Back panels painted the same color, or one shade darker for depth
- Hidden cord holes for lamps or speakers

Mistakes to avoid
- Skipping level and plumb checks: If the bases are off, everything above will argue with you.
- Not planning outlet access: Decide early if outlets will live inside cabinets or be relocated. If you are relocating anything electrical, follow code and use a licensed electrician.
- Relying on caulk to hide big gaps: Caulk is for tiny seams, not carpentry problems.
- Underbuilding shelves: Books are heavy. Build accordingly.
- Painting before you are done sanding: Every scratch you leave will introduce itself when the light hits it.
FAQ
Can I skip removing baseboards?
Sometimes, but it usually looks better if you remove the baseboard where the cabinets go. Stock cabinets want to sit tight to the wall. Baseboard pushes them out and creates awkward gaps you end up hiding with extra trim.
Is MDF strong enough for bookshelves?
For side panels, yes. For shelves, MDF can sag on long spans. Use 3/4 inch shelves, keep spans shorter, or stiffen shelves with a hardwood nosing. If you are loading heavy hardcovers, plywood is often a better shelf material. For face frames, stick with solid wood like poplar or pine for a crisper, tougher finish.
How do I handle uneven ceilings?
You can add a top filler strip and scribe it to the ceiling, then cover the transition with crown molding. That combo hides a lot of sins, including the ones your house committed in 1978.
What paint should I use?
A high-quality cabinet and trim enamel in satin or semi-gloss is durable and wipes clean. Prime first, especially on MDF, and let paint cure before loading shelves.
Wrap-up
Built-ins look like a big project because, well, they are. But the process is just a stack of manageable steps: level bases, square boxes, scribed fillers, and a clean trim package. Take your time, measure twice, and remember that caulk is not a structural fastener no matter how much you want it to be.
If you build a set, I hope you enjoy that first moment when you step back and think, “Yep. That looks like it was always here.” That feeling is why we DIY.