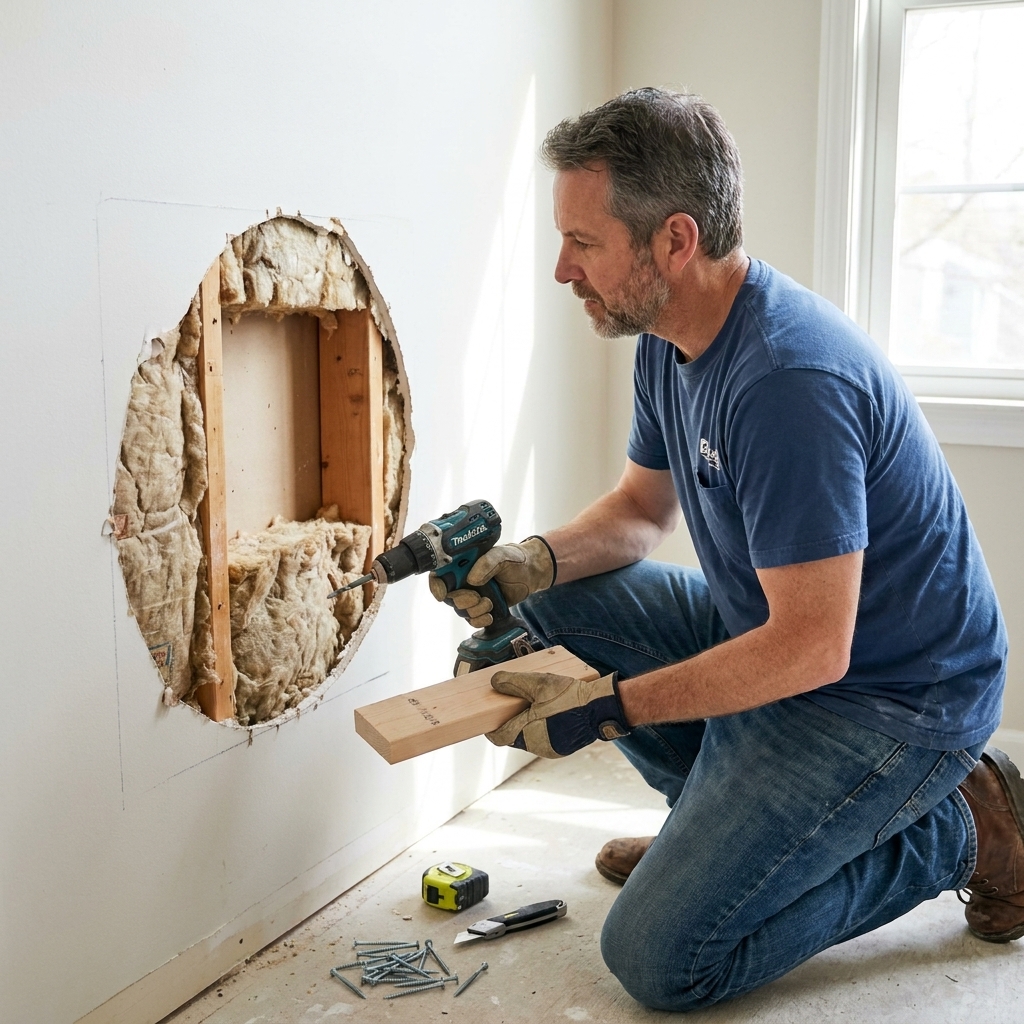
Choosing between acrylic latex caulk and 100% silicone can make or break a bathroom repair. Here’s where each works best, what to buy, and how to apply it ...
home improvement and DIY
DIY Subway Tile Backsplash

Marcus Hayes
Marcus Hayes is a lifelong DIY enthusiast and former residential carpenter who has spent the last decade renovating his 1970s fixer-upper. Through Tinksmith, he shares his hands-on experience to help fellow homeowners tackle repairs, choose the right tools, and build spaces they love without breaking the bank.
Published October 17, 2026
Updated October 17, 2026
I love a subway tile backsplash for the same reason I love a good wrench set: it is classic, it works, and it makes you look like you know what you are doing. The truth is, you do not need a tile apprenticeship to pull this off. You just need solid prep, a calm layout plan, and the willingness to place a spacer 400 times without losing your mind.

This guide walks you through a beginner-friendly installation using standard 3x6 subway tiles, but the same process applies to most ceramic and porcelain wall tile.
Before you start
What you can tile over (and what you cannot)
- Painted drywall (good): As long as it is sound and not peeling. Clean it well and scuff-sand glossy paint.
- New drywall (great): Usually fine as-is if it is clean and dust-free. Prime only if the paper face or patches are very porous, and use a primer that is compatible with your mortar. When in doubt, follow the thinset manufacturer’s guidance.
- Existing tile (sometimes): Only if it is firmly bonded. You will need a bonding primer made for tile-over-tile, plus careful thickness planning at outlets.
- Loose laminate panels, greasy surfaces, crumbling plaster (nope): Remove and start with a proper substrate.
Tile adhesive: thinset vs. premixed
For a kitchen backsplash, you will see two common options:
- Polymer-modified thinset mortar (recommended): Strong, water-resistant, and less likely to soften if it gets wet. Mix it from powder.
- Premixed mastic (okay for small dry areas): Easy to use, but it can soften with heat and moisture. I avoid it behind ranges and near kettles that run hot and steamy.
If you want the “do it once” option, go thinset.
How much tile and mortar to buy
- Tile: Measure square footage (width x height of backsplash areas), then add 10% overage for cuts and breakage. Bump to 15% if you have lots of outlets, corners, or a fancy pattern.
- Thinset: For backsplashes, a typical 50 lb bag is often more than enough for an average kitchen. If your space is small, consider a smaller bag so it does not turn into a lumpy garage relic.
- Grout: Check the grout manufacturer’s coverage chart. Joint width, tile size, and depth all change the math.
Tools and materials
Materials
- Subway tile
- Tile spacers (commonly 1/16 in or 1/8 in, see below)
- Polymer-modified thinset mortar
- Grout (choose based on joint width and tile surface)
- Grout sealer (only if your grout manufacturer recommends it)
- 100% silicone caulk (color-matched if possible) for countertop and corners
- Tile edge trim (optional but clean-looking), or plan for a finished edge strategy
- Painters tape and plastic sheeting
Tools
- Notched trowel (a common range is 3/16 in V-notch up to 1/4 x 1/4 in square notch, depending on tile flatness and the coverage you are getting)
- Margin trowel or putty knife for scooping and mixing
- Bucket and mixing paddle (or hand mix for small batches)
- Level (2 ft is great) and/or laser level
- Tape measure and pencil
- Tile cutter (score-and-snap) and/or wet saw for cleaner cuts
- Tile nippers (for tiny notches)
- Rubber grout float
- Sponges and microfiber towels
- Utility knife
- Outlet spacer kit or extra washers and longer 6-32 outlet screws
- Safety glasses, gloves, and a dust mask for cutting and sanding

Spacer size: 1/16 vs. 1/8
Most classic subway tile looks great with 1/8 inch joints. If your tile edges are very crisp and consistent, 1/16 inch can look sharp, but it is less forgiving. For true beginners, 1/8 inch is the friendly neighbor option.
Step 1: Prep the wall
Remove what needs removing
- Take off outlet and switch covers.
- Turn off power at the breaker for the backsplash circuit and confirm outlets are dead with a tester.
- Remove any backsplash that is coming off easily, plus old caulk at the countertop.
Clean and scuff
Backsplashes live in the land of grease mist and spaghetti sauce. Wash the wall with a degreaser, rinse, and let it dry. If the paint is glossy, scuff-sand lightly so mortar can grip.
Patch and flatten
Tile does not need a museum-perfect wall, but it does need a flat one. Fill dents and holes. Knock down high spots. Your goal is to avoid tiles rocking like a wobbly barstool.
Prime only when it makes sense
If you have very porous drywall paper, lots of joint compound patches, or areas that dust no matter how much you wipe, a compatible primer can help. The key is this: do not create a slick, sealed surface that your thinset cannot bite into. Follow your mortar manufacturer’s instructions if they specify a primer or surface prep.
Step 2: Plan the layout
Tile installation is mostly a layout problem disguised as a sticky-wall problem.
Pick your pattern and starting point
- Classic running bond (offset): Typically a 50% offset. If your tiles have noticeable warpage or the box recommends it, drop to a 33% offset to help reduce lippage.
- Stack bond: Modern and clean, but it shows crooked lines more. Your wall and your layout need to be on their best behavior.
Find your “most visible” zone
Stand in the doorway and look at the backsplash. Where do your eyes land first? Often it is behind the sink or range. Aim to have full tiles and balanced cuts there.
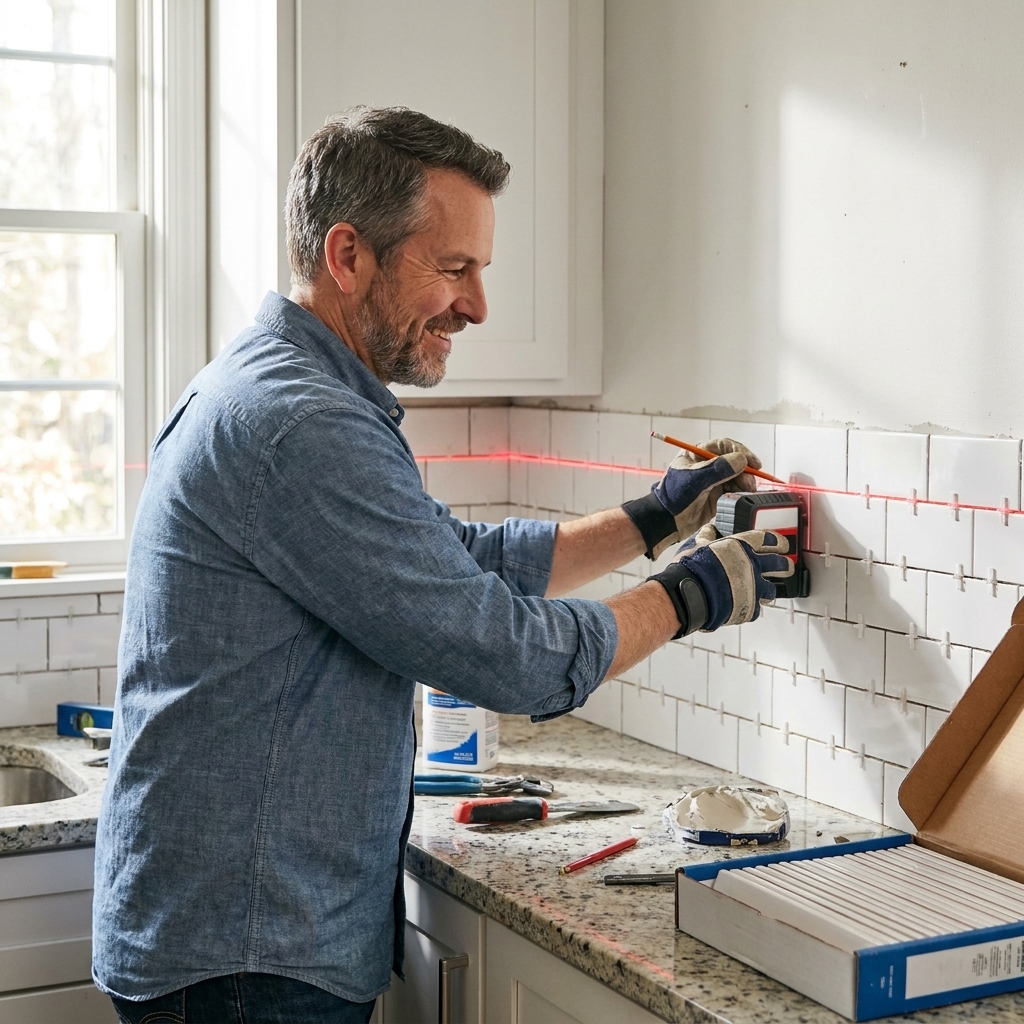
Establish a level reference line
Countertops are not always level. Tile lines should be. Use a level or laser to draw a level line one tile height above the countertop (plus your grout joint). That line is your boss.
Do a dry layout
On the countertop, place a row of tiles with spacers to see where cuts land. Avoid skinny slivers at the ends if you can. If you would end with a 1/2 inch sliver, shift the layout so cuts are more balanced on both ends.
Decide what you will do at edges
- Trim: Metal or PVC tile trim gives a clean edge and is very beginner-friendly.
- Finished tile edge: Some tiles have a matching bullnose piece. If yours does, it is a nice look.
- Wrap to a cabinet or wall: Sometimes you can end at a natural stopping point and avoid an exposed edge.
Plan your movement spots
Any place where surfaces change direction or material, plan to caulk, not grout. That means inside corners, the countertop seam, and transitions. If your backsplash run is long and uninterrupted, treat those transition points seriously. Tile is tough, but it is not psychic. It cannot guess where your house wants to move.
Step 3: Protect the counters
Thinset and grout have a talent for finding the one item you did not want splattered. Tape off countertops with painters tape and cover them with rosin paper or plastic. Keep a bucket of clean water and a sponge nearby for quick wipe-ups.

Step 4: Mix and apply thinset
Mix small batches
Thinset has a working time. If you mix a massive bucket for your first rodeo, you will be racing the clock and inventing new words. Mix smaller batches until you get a feel for your pace.
Key in, then comb
Spread thinset in two passes:
- Key in: Use the flat side of the trowel to press a thin layer into the wall for good contact.
- Comb: Add more mortar, then comb it with the notched side, holding the trowel at a consistent angle. Keep ridges running the same direction.
Work in a small area
Only spread enough thinset for a few square feet at a time. If it skins over (gets dull and tacky), scrape it off and reapply. Tile will not bond reliably once thinset skins over.
Step 5: Set the tile
Start with a support if needed
If your countertop is out of level, consider screwing a straight ledger board along your level reference line and starting on that board, then filling the bottom row later. This keeps everything straight.
Press, wiggle, and check
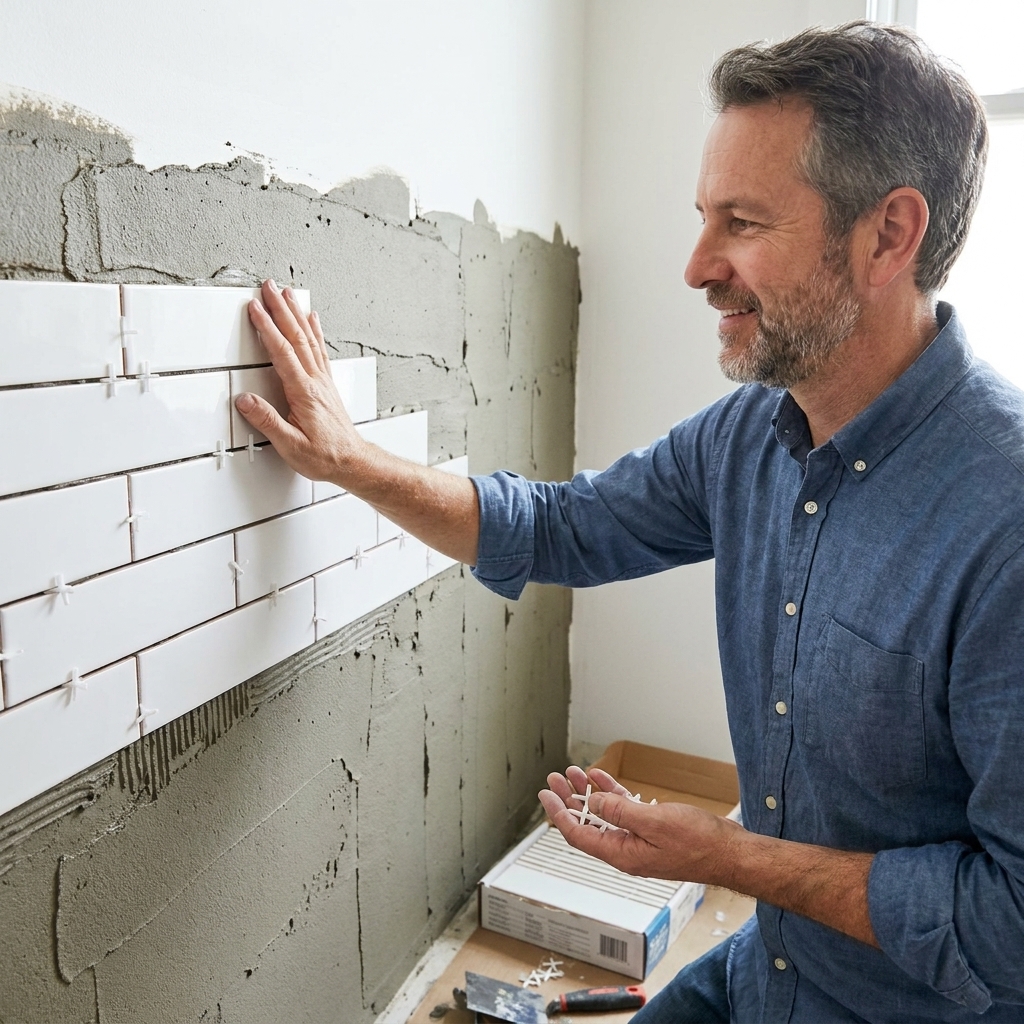
Set the tile into the thinset and give it a slight wiggle to collapse ridges. Use spacers for consistent joints. Every few tiles, hold a level across the face to check for lippage (one tile edge sticking out farther than its neighbor).
Do a quick coverage check
Early on, set a tile, then pull it back off the wall to see how the mortar is transferring. You want solid contact, not a tile that looks like it was introduced to thinset from across the room. If coverage is lacking, adjust your trowel size, your angle, or your pressure.
Keep joints clean
Thinset squeezing into grout lines is normal, but do not let it harden there. Scoop it out with a utility knife or spacer while it is still soft.
Work around outlets
You have two goals: keep tile cuts neat, and keep outlets safely flush with the finished tile surface.
- With the breaker off (and verified), loosen outlet screws and gently pull the device forward.
- Tile around the outlet with careful cuts.
- After tile is installed, use outlet spacers (or stacked washers) and longer 6-32 screws so the device sits flush with the new tile surface.
- Safety detail that matters: Make sure the device is still secured properly to the electrical box and the cover plate sits flat. You do not want an outlet floating in midair on a prayer and two screws.
Cutting tips for clean results
- Score-and-snap cutter: Great for straight cuts on ceramic subway tile.
- Wet saw: Best for porcelain, tiny slivers, or super clean edges.
- Nippers: Good for small notches, but finish with a rubbing stone if needed.
Pro tip: If a cut edge will be exposed, aim to hide the factory edge where people will see it and put cut edges into corners or under trim.
Step 6: Let it cure
Once tiles are set, let the thinset cure. Most installations need at least 24 hours, but always follow the mortar bag. If you grout too soon, you can shift tiles and weaken the bond.
Step 7: Grout cleanly
Choose the right grout
- Unsanded grout: Commonly used for narrower joints and for surfaces that scratch easily.
- Sanded grout: Commonly used for wider joints and can be more durable in those joints.
- Single-component or epoxy grout: Stain-resistant and tough, but can be pricier and less forgiving for beginners.
The old “unsanded under 1/8 inch, sanded at 1/8 inch and up” rule is a decent starting point, but not the final word. Always confirm the joint-size range on the grout label, and if you are worried about scratching, test a small spot on a spare tile first.
Apply grout
- Mix grout to the consistency directed on the bag.
- Use a rubber float to pack grout into joints, holding the float at about a 45-degree angle.
- Scrape excess grout off the tile by pulling the float diagonally across joints.
Wash in stages
Let grout firm up slightly, then wipe with a damp sponge. Rinse frequently and wring the sponge well. Too much water can weaken grout and cause color issues.

Buff the haze
After the grout sets up, a light haze will appear. Buff it off with a dry microfiber towel. If haze lingers the next day, use a grout haze remover that matches your grout type.
Step 8: Caulk corners and seams
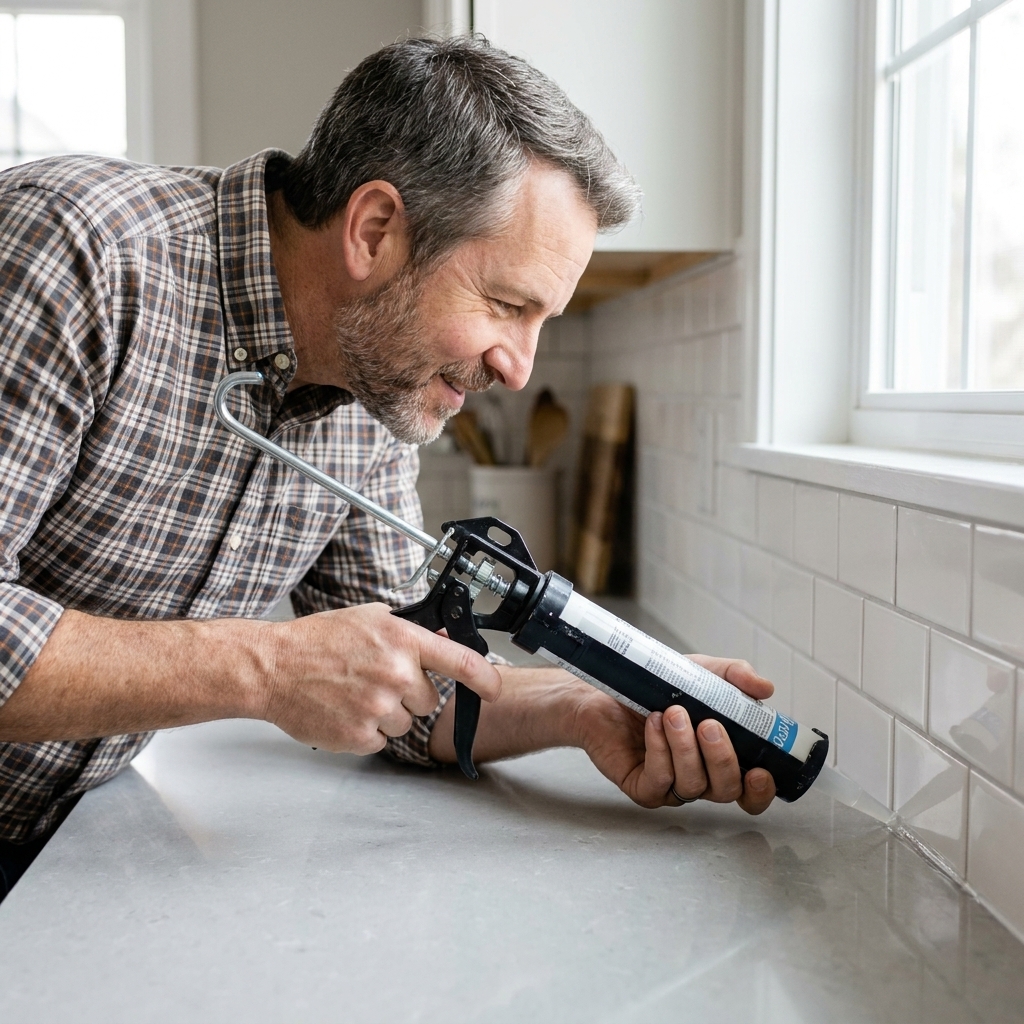
This is the detail that separates “nice DIY” from “why is it cracking already?” Use 100% silicone caulk where materials move:
- Along the countertop to backsplash seam
- Inside corners where two walls meet
- Any transition where tile meets a different material
Do not grout those spots. Grout is rigid. Corners and countertops move a little. Silicone stays flexible and resists water.
Step 9: Seal and finish
If you used a grout that requires sealing, wait the recommended cure time and apply sealer per the label. Many modern stain-resistant cement grouts do not require sealing, so let the grout manufacturer be the referee here. Reinstall outlet covers once everything is cured and clean.
Cleaning and care
- Use a pH-neutral cleaner for routine wipe-downs.
- Avoid harsh abrasives that can scratch glazed tile or wear grout.
- Wipe cooking splatter sooner rather than later. Future-you will appreciate it.
Common beginner mistakes
- Starting off the countertop when it is not level: Use a level reference line and consider a ledger board.
- Spreading too much thinset at once: Work in small sections so it does not skin over.
- Skipping dry layout: You end up with awkward slivers at the ends or around focal areas.
- Letting thinset harden in joints: Clean as you go to make grouting easier.
- Grouting corners and countertop seam: Use silicone caulk instead.
- Not checking coverage: Pull a tile occasionally and confirm you are getting solid contact.
- Not planning outlet depth: Have spacers and longer screws ready, and make sure the device is properly secured to the box.
FAQ
Do I need backer board for a kitchen backsplash?
Usually, no. For a standard kitchen backsplash in a dry area, sound drywall is fine. If the wall is damaged, moldy, or you are tiling a wet zone, upgrade the substrate appropriately.
Can I tile directly over painted drywall?
Yes, if the paint is well-bonded. Clean it, scuff glossy paint, and make sure the surface is solid. If you use any primer, confirm it is compatible with your thinset and does not create a slick film.
What counts as a wet zone?
Think regular direct water spray or frequent soaking, like inside a shower or right around a tub. A typical kitchen backsplash behind a sink gets splashes, not a daily monsoon, so drywall is commonly acceptable if it is in good shape.
How high should a backsplash go?
Most run from the countertop to the underside of upper cabinets. Around a range hood or open shelving, you can go higher for a built-in look. Pick a stopping point that looks intentional, not like you ran out of tile at 4:30 on Sunday.
How long before I can use my kitchen normally?
You can usually use the counters right away if you protected them, but avoid heavy scrubbing near fresh grout. Many grouts are ready for light service in 24 hours, with full cure taking longer. Follow the grout manufacturer’s cure guidance.
What is the best grout color for white subway tile?
Warm light gray is my go-to for a classic look that hides everyday cooking life. White grout looks crisp but shows stains sooner. Dark grout makes the pattern pop but demands straighter layout since every line is highlighted.
My final pep talk
If you can spread peanut butter on bread, you can spread thinset on a wall. The difference is you do not want to eat the thinset, no matter how long your Saturday runs.
Take your time on layout, keep things level, and clean as you go. Your first backsplash will teach you a lot, and your kitchen will look like it got a serious upgrade without the serious contractor invoice.