
Choosing between acrylic latex caulk and 100% silicone can make or break a bathroom repair. Here’s where each works best, what to buy, and how to apply it ...
home improvement and DIY
Remodel a Small Powder Room on a Weekend Budget

Marcus Hayes
Marcus Hayes is a lifelong DIY enthusiast and former residential carpenter who has spent the last decade renovating his 1970s fixer-upper. Through Tinksmith, he shares his hands-on experience to help fellow homeowners tackle repairs, choose the right tools, and build spaces they love without breaking the bank.
Published October 17, 2026
Updated October 17, 2026
Powder rooms are the unsung heroes of the house. They take a beating, they get seen by every guest, and they are usually small enough that you can make a big impact without taking out a second mortgage. The best part is that a half-bath refresh is one of the few projects you can realistically knock out in a weekend if you plan it right, keep your scope in check, and nothing weird is hiding in the walls.
This is the exact kind of project I love: a few smart swaps, some paint, and a handful of details that make the room feel intentionally updated instead of “we tried our best at 11:30 pm on Sunday.” Let’s do it.

Before you start: keep it weekend-sized
If you want this done by Sunday night, focus on changes that move the needle fast:
- Paint (walls, trim, or both)
- Vanity replacement (or at least a new top and faucet)
- New mirror
- Light fixture (optional but high impact)
- Hardware (towel ring, toilet paper holder, cabinet pulls)
- Caulk and touch-ups (the “new room” secret sauce)
Weekend warning: Skip moving plumbing, replacing tile floors, or relocating electrical unless you already have experience, the right permits, and more time than a standard Saturday and Sunday gives you. Also, build in a little humility: one seized shutoff valve can eat an afternoon.
Budget reality check
You can do a convincing powder room glow-up on a tight budget if you shop smart and avoid custom sizes. Prices vary by region, finish, and what is in stock, but these are common DIY ranges:
- Paint + supplies: $40 to $120
- Mirror: $50 to $200
- Light fixture: $40 to $180 (designer finishes can run higher)
- Faucet: $40 to $150 (specialty finishes and heavier builds cost more)
- Vanity (24 to 30 inch): $150 to $600 (stone tops and furniture-style pieces can jump past this)
- Hardware and accessories: $30 to $120
- Misc (shims, caulk, new supply lines, shutoff valves if needed): $25 to $80
If the vanity and faucet are the only “big” purchases, it is very doable to land in the $300 to $800 zone depending on your taste and what you can reuse.
Tools and materials
Tools
- Adjustable wrench and/or channel-lock pliers
- Screwdrivers (Phillips and flat)
- Utility knife
- Putty knife or 5-in-1 tool
- Level (2-foot is plenty)
- Tape measure
- Drill/driver with bits
- Stud finder (helpful for hanging a mirror)
- Caulk gun
- Paint tools: roller, angled brush, tray, painter’s tape
Materials
- Paint (bathroom-friendly satin is common for walls)
- Patch compound and sanding sponge (for little wall dings)
- Paintable caulk (acrylic latex) for trim gaps and corners you plan to paint
- Kitchen and bath silicone for wet joints (sink to top, and typically vanity top to wall if you want a water-tight seam)
- New supply lines (often easier than reusing old ones)
- Plumber’s tape (PTFE), only where the instructions call for it
- Optional: new shutoff valves if yours are ancient or leaky
Safety: Turn off water at the shutoff valves before disconnecting anything. Turn off power at the breaker before changing a light fixture. If you are not 100% sure which breaker feeds the bathroom, confirm with a non-contact voltage tester. Wiring color conventions and grounding details vary by home and era, so follow the fixture directions and local code.
Measure first
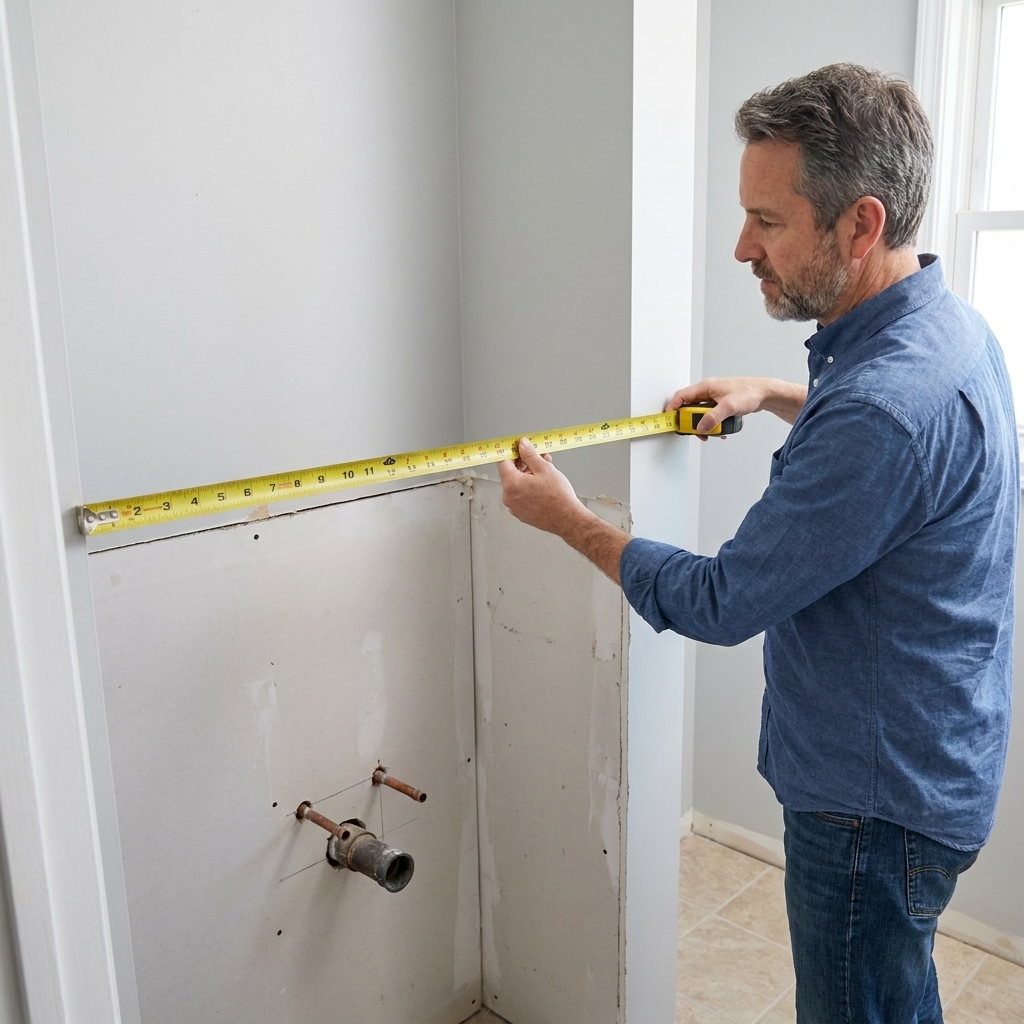
Before you buy a vanity, grab these measurements:
- Vanity width: Most powder rooms use 24, 30, or 36 inches. Stick with what fits.
- Vanity depth: Measure from wall to the front edge of the current sink. In tight rooms, a 16 to 18 inch depth “slim” vanity can save knees and marriages.
- Plumbing location: Note where the drain comes out of the wall and where the hot/cold supply lines are.
- Door swing clearance: Open the door and measure how close it comes to the vanity corner.
- Mirror space: Measure width above vanity and height between vanity top and light.
Pro tip: Take a few photos of the existing plumbing and the light wiring before you touch anything. Your future self will write you a thank-you note.
Weekend schedule
Friday night: stage and prep (30 to 60 minutes)
- Clear everything out of the bathroom and protect the floor with a drop cloth or rosin paper taped at seams.
- Cover the toilet tank and bowl opening with a towel or plastic so you do not rain sanding dust into it.
- Set up a box or table as a temporary sink station in the kitchen if this is your only bathroom sink.
- Lay out all new parts: vanity, faucet, drain assembly, trap, mirror, light.
- Pre-assemble what you can, like attaching the faucet and drain to the sink if it is easier outside the room.
Saturday: demo, patch, first coat
Morning (2 to 4 hours): Remove mirror, light fixture (or at least take it down for painting), accessories, then vanity.
Midday (1 to 2 hours): Patch holes, sand, clean dust, caulk trim gaps with paintable caulk where needed.
Afternoon (2 to 3 hours): Prime patches, then paint the first coat. Run the fan or crack a window for ventilation while painting and caulking.
Sunday: install and finish
Morning (2 to 4 hours): Install vanity, hook up plumbing, and check for leaks.
Midday (1 to 2 hours): Second coat of paint, then install the light and mirror.
Afternoon (1 to 2 hours): Install accessories, touch-ups, final caulk where needed, and clean up.
Step 1: Demo
Remove accessories and mirror
Unscrew towel rings, toilet paper holders, and shelves. For mirrors:
- Clips: Support the mirror, loosen the clip screws, lift out.
- Adhesive: Score around edges with a utility knife. Use wood shims and gentle prying. Adhesive-backed mirrors can be stubborn, so go slow to avoid drywall carnage.
Remove or swap the light fixture
Kill power at the breaker and confirm the wires are dead with a tester. Remove the fixture and cap the wires with wire nuts while you paint. When installing the new light, follow the manufacturer instructions, and remember that older homes can have creative wiring choices.
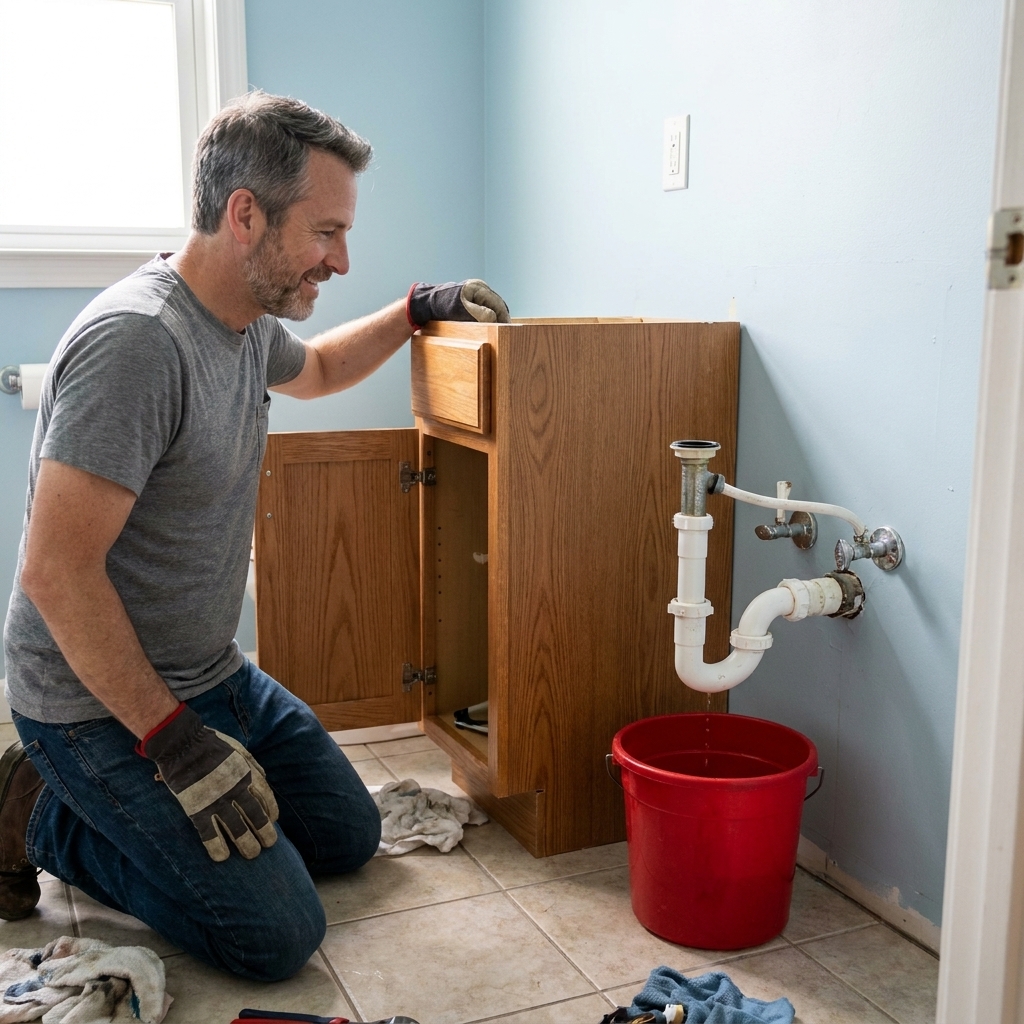
Remove the vanity
- Turn off the hot and cold shutoff valves.
- Open the faucet to relieve pressure.
- Place a bucket under the P-trap, then loosen the slip nuts and remove the trap.
- Disconnect supply lines from shutoffs.
- Cut any caulk line between the vanity top and wall.
- Remove screws holding the vanity to the wall and pull the vanity out.
If the shutoff valves will not fully turn off: You may need to shut off the main water to the house and replace the valves. That can still be a weekend job, but it is a “know your limits” moment.
Step 2: Patch and prep
This is the boring part that makes the “after” photos look expensive.
- Patch holes: Fill old anchor holes and dings with spackle or patch compound. Let it dry.
- Sand smooth: Use a sanding sponge so you do not leave ridges.
- Clean dust: Vacuum and wipe walls. Paint hates dust more than I hate stepping on stray Lego bricks.
- Caulk smart: Use paintable caulk for trim gaps and corners you will paint. Save silicone for wet joints.
Paint note: If the room has glossy paint or unknown mysteries from 1994, a quick scuff-sand and a bonding primer helps a lot.
Step 3: Paint
In a small powder room, paint is your biggest budget flex. A few approaches that look high-end without being hard:
- All walls one color: Fastest and cleanest.
- Moody walls + bright trim: Deep green, navy, or charcoal with crisp white trim looks custom.
- Two-tone: Lighter top, darker bottom. Great if your walls are imperfect.
Order of operations
- Cut in edges first (ceiling line, corners, trim).
- Roll walls.
- Let dry, then do a second coat Sunday.
Sheen tip: Satin is a solid choice for walls in a half-bath. It cleans easily and does not spotlight every drywall ripple like high-gloss can.

Step 4: Install the vanity
Dry-fit and level
Set the vanity in place and check for level side-to-side and front-to-back. Most floors are not as flat as we pretend they are.
- Use shims under the vanity base where needed.
- Find studs if possible and screw the vanity into studs through the back rail.
- If studs are not in a friendly place, use heavy-duty wall anchors rated for the load.
Faucet and drain
If you did not pre-install the faucet, do it now. Follow the manufacturer’s instructions, but the usual flow is:
- Install faucet to sink.
- Install drain body and pop-up assembly.
- Use plumber’s tape where the directions call for it (not on every thread in sight).
Hook up the plumbing
- Connect supply lines from shutoffs to faucet.
- Reconnect the P-trap. Replace it if it is crusty or the wrong size.
- Turn water on slowly and check for leaks at every connection.
Leak-check routine: Dry everything with a paper towel, then run water for a minute. Wipe each fitting with a dry finger. If your finger comes back wet, do not ignore it. Tiny drips become big cabinet problems.

Step 5: Upgrade the heavy hitters
Faucet
A modern faucet can make even a budget vanity look sharper. Matte black and brushed nickel are forgiving finishes for water spots. Chrome is usually the most affordable and easiest to match.
Light fixture
If you are swapping the vanity light, keep it simple:
- Match the finish to the faucet for a cohesive look.
- Choose a warm-white bulb (around 2700K to 3000K) so nobody looks like they are being interrogated.
- Make sure the fixture is rated for damp locations.
Code note: Even “like-for-like” swaps still need to be wired correctly (grounding, proper box, secure connections). If anything looks questionable, call an electrician. Vanity lights are not worth a mystery spark.
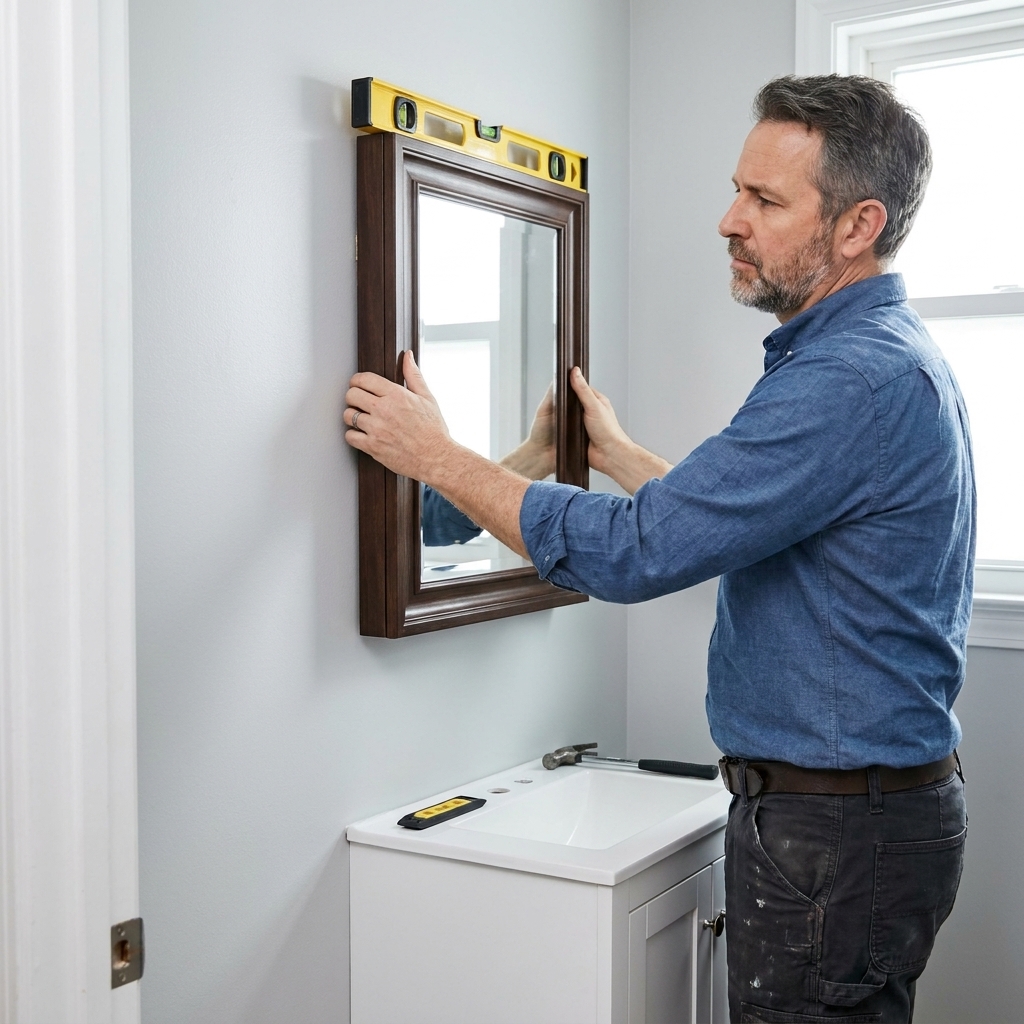
Mirror
Mirrors are a cheat code in small rooms. A slightly larger mirror than what you had before can make the space feel bigger. Just keep at least a couple inches of breathing room above the vanity and below the light.
Step 6: Finish work
- Caulk the vanity seam where the top meets the wall for a clean line (silicone is common here). Let it cure per the tube before heavy use.
- Swap hardware on the vanity if it came with bland knobs.
- Replace accessories (towel ring, toilet paper holder) so finishes match.
- Add a simple shelf or art but keep it proportional to the room.
My favorite low-cost upgrade: A nicer hand towel and a soap dispenser that is not the neon plastic bottle from the big box store. It is the adult version of making your bed.
Common snags
The new vanity does not cover the old paint line
If the old vanity was wider or had a taller backsplash, you might see an outline. Solutions:
- Choose a vanity that matches the old footprint, or
- Plan to paint the whole wall behind it, not just touch up, or
- Add a short backsplash if your vanity top supports it.
The drain does not line up
Minor misalignment is normal. A new P-trap kit or an offset tailpiece can help, but do not force the plumbing into a stressful angle. Flexible drain parts exist, but they are not accepted everywhere, so use only fittings that are code-compliant where you live. If the wall stub-out is way off, that is a bigger fix.
Old shutoffs leak when you touch them
If the packing nut drips, gently snug it. If the valve is shot, replace it. If you are uncomfortable doing that, call a plumber. It is a small service call compared to water damage.
Paint is still tacky Sunday night
Humidity and heavy coats slow drying. Run the fan, crack a window if weather allows, and keep coats thin. Also, try not to reinstall towel bars by leaning your full body weight against freshly painted walls. Ask me how I know.
Simple shopping list
If decision fatigue hits (it happens), pick one finish and stick to it:
- Faucet: brushed nickel
- Light: brushed nickel with opal glass
- Mirror: simple wood frame (white oak tone or painted black)
- Accessories: matching finish, minimal shapes
- Paint: warm white, soft greige, or a bold color if you want personality
The room will feel “designed” even if every item came from the clearance aisle and your patience came from a coffee shop.
Disposal and cleanup
Do not let the old stuff sit in your garage until it becomes part of the garage. If the vanity is in decent shape, donate it. If it is rough, most areas will take it as bulky trash. Mirrors can be donated too, but adhesive-backed mirrors can crack during removal, so wrap them in cardboard and tape before transport or disposal.
Final checklist
- Run water for a few minutes and check every connection for leaks.
- Come back after an hour and check again. Slow drips love to show up late.
- Confirm the light works, the switch works, and the box is secure.
- Press the bathroom GFCI test and reset if your vanity light or outlets are on a GFCI circuit.
- Make sure the fan runs and vent the room while paint and caulk finish curing.
- Let caulk cure per the label before scrubbing or soaking the area.
FAQ
Can I remodel a powder room in two days?
Yes, if you keep the scope to paint, a vanity swap, and fixture upgrades. The key is buying everything ahead of time, not changing plumbing locations, and doing prep on Friday night. Also, expect surprises. Older shutoffs, uneven floors, and stripped screws do not care about your Sunday plans.
Do I need a permit to replace a vanity and light fixture?
It depends on where you live. Simple like-for-like swaps often do not require a permit, but electrical rules vary. If you are moving wiring, adding a new circuit, altering an electrical box, or changing plumbing locations, expect permits and inspections.
What paint is best for a half-bath?
A quality interior paint in satin is a safe bet for walls. Semi-gloss works too, especially if the bathroom gets steamy. If your powder room rarely sees showers (most do not), you are mostly choosing for durability and wipe-ability.
What is the easiest way to make a small powder room look bigger?
Good lighting, a larger mirror, and a vanity with a lighter color or open feel. Keeping the countertop clear also helps more than you would think.
One last dad-neighbor tip
If you are on a tight budget, spend your money where hands and eyes go most: faucet, mirror, light, and paint. Nobody has ever walked into a powder room and said, “Wow, those were some premium drywall anchors.”
Plan your weekend, stage your parts, and keep your scope honest. You will be shocked what two days and a fresh roller sleeve can do.