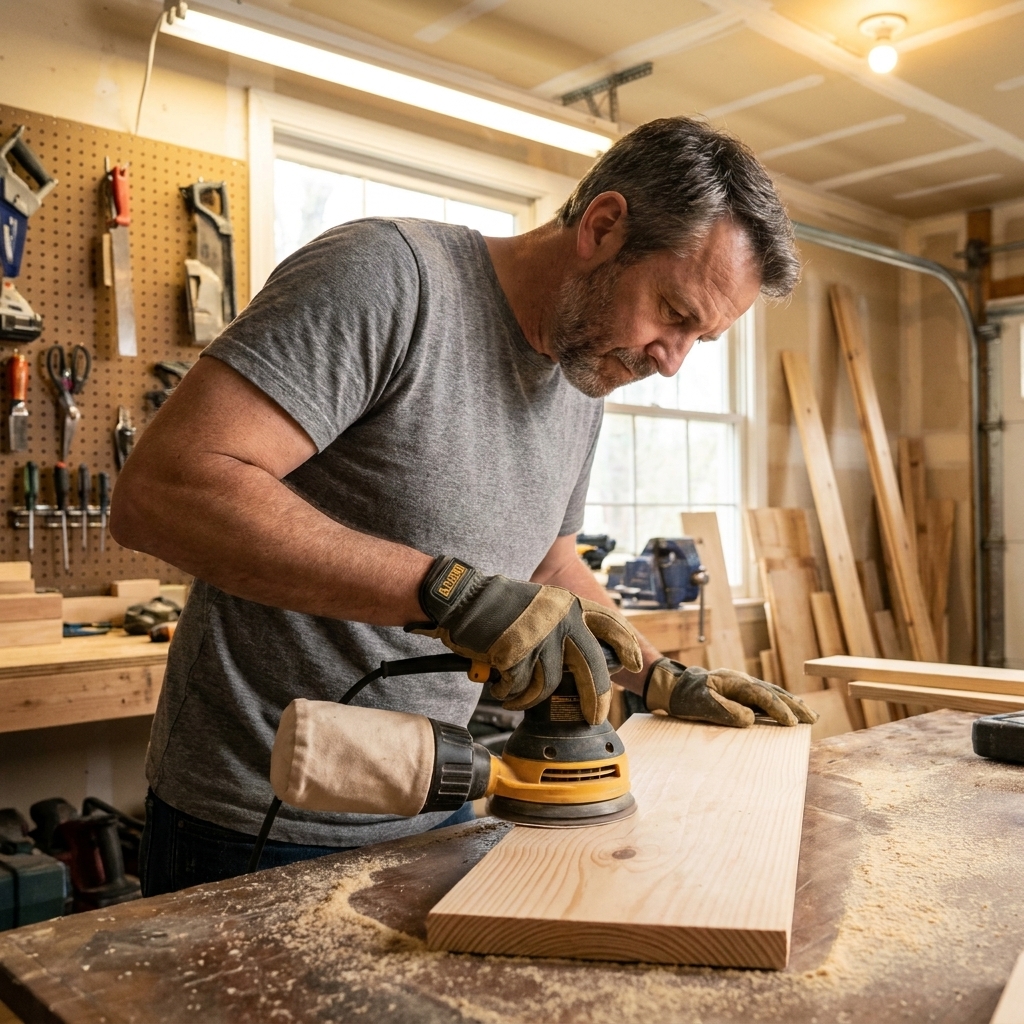
A homeowner-friendly guide to choosing a random orbital sander, selecting the right grits, and sanding wood to a flawless finish without swirl marks.
home improvement and DIY
Oscillating Multi-Tool Blades and Uses

Marcus Hayes
Marcus Hayes is a lifelong DIY enthusiast and former residential carpenter who has spent the last decade renovating his 1970s fixer-upper. Through Tinksmith, he shares his hands-on experience to help fellow homeowners tackle repairs, choose the right tools, and build spaces they love without breaking the bank.
Published October 17, 2026
Updated October 17, 2026
If you have ever looked at an oscillating multi-tool aisle and thought, “Why are there 47 versions of the same tiny saw blade?” you are not alone. The tool itself is simple. The magic is in the blade choice and a few technique tweaks that keep your cuts straight, your sanding controlled, and your knuckles away from drywall screws.
This guide covers the blades and attachments you will actually use, what each one is good at, and the little tricks that make an oscillating tool feel less like a vibrating mystery box and more like a problem-solver.

How an oscillating multi-tool works
Oscillating tools do not spin like a circular saw. The accessory swings side-to-side in a tiny arc, thousands of times per minute. That motion lets you:
- Plunge cut straight into material without a starter hole.
- Flush cut tight to a surface, like trimming a shim at a door jamb.
- Control the cut in awkward spots where a bigger saw would kick or simply not fit.
The tradeoff is speed. A multi-tool is rarely the fastest way to cut something. It is often the cleanest, most controlled, or simply the most practical option when you need precision in a tight spot.
Blade mounts: know your tool
Before you buy a pile of blades, make sure they fit your tool. Most modern tools use one of these:
- Starlock (Starlock, StarlockPlus, StarlockMax): Often tool-free on compatible models, with a very solid connection. In many setups it can reduce vibration and blade wobble compared with looser interfaces, but it still depends on the tool and the blade quality. Blades cost more, but they often feel more planted in the cut.
- OIS-style (often labeled “universal fit”): The common 12-pin pattern you see everywhere. It is widely available and fits a lot of tools, but it is not truly universal. Some brands have quirks, and some tools need an adapter. Check your tool manual or the blade packaging compatibility list before stocking up.
- Tool-specific mounts: Less common now, but older tools may need an adapter.
If it “almost fits,” do not force it. That is a quick way to strip a mount or introduce a fun new rattle.
Blades and attachments you will use
Wood and drywall blades (HCS)
Best for: trim, softwood, drywall, underlayment, PVC (light duty)
High-carbon steel (HCS) blades are the basic workhorses. They cut cleanly in wood, but they hate nails. One hidden brad can turn a fresh blade into a butter knife.
- Use this blade when you are undercutting door jambs for flooring, notching baseboards, or cutting drywall openings for old-work boxes.
- Avoid this blade when you suspect nails, screws, or staples in the cut line.

Bi-metal blades
Best for: wood with nails, trim removal, rough-in openings, old lath, thin non-ferrous metal
If I could only keep one cutting blade type around, it would be bi-metal. It is not indestructible, but it survives the “surprise fastener” moments far better than HCS.
Real-world uses: cutting out old window trim nails, trimming a stud that has a couple of drywall screws you missed, or slicing through a stuck shim.
Japanese tooth wood blades
Best for: cleaner wood cuts, plunge cuts in hardwood, finish work
These have a finer tooth pattern and tend to cut smoother in wood than a standard coarse blade. They are great when you care about the edge of the cut, like a notch in cabinetry or a visible trim cut.
Tip: Let the blade do the work. If you shove hard, you generate heat and burn the wood, which makes the cut uglier and the blade dull faster.
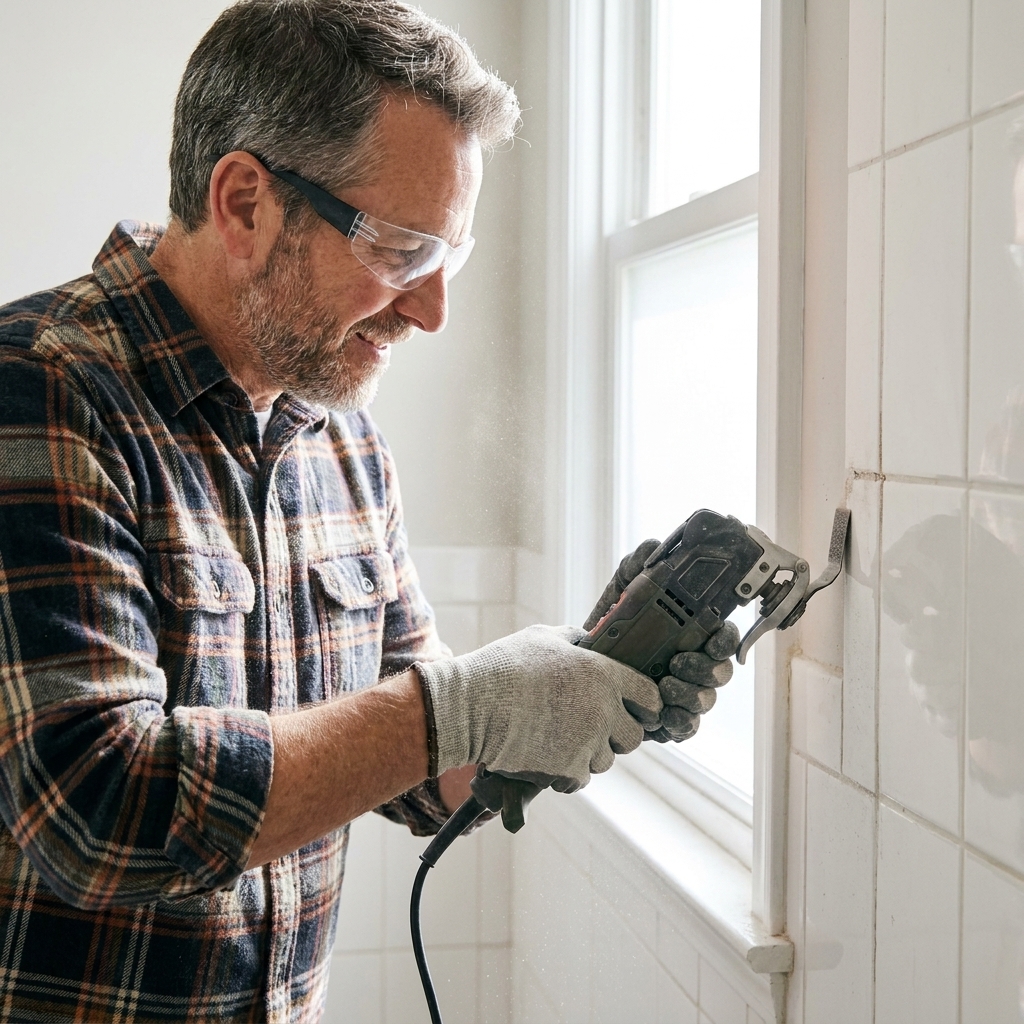
Carbide grit blades (tile, grout, masonry)
Best for: grout removal, backer board touch-ups, thinset cleanup, small masonry cuts
Carbide grit is not toothed like a saw. It grinds. That makes it ideal for abrasive materials that would demolish regular teeth.
- Grout removal: Use a narrow grout blade for control, especially on wall tile.
- Thinset cleanup: Great for knocking down ridges where you need a flatter surface.
Quick note on carbide vs diamond: Some brands also sell diamond grit accessories aimed at harder tile, including porcelain. Carbide grit still works for many grout jobs, but if you are fighting very hard material, diamond is worth a look.
Safety note: Tile and grout dust may contain silica. Use a vacuum, wear a good mask or respirator, and vent the room if you can. Your lungs are not a rental tool.
Metal cutting blades (fine-tooth bi-metal)
Best for: nails, screws, thin steel, light metal trim, EMT in a pinch
For metal, choose a fine-tooth bi-metal blade. Coarse teeth chatter and can grab. A fine-tooth blade cuts more predictably.
Where a multi-tool shines: Cutting off protruding nails, trimming a screw that is in the way, or making a careful cut in a tight cavity.
Copper pipe? It can be done with the right blade and patience, but it is rarely the cleanest option. A tubing cutter is usually faster and leaves a nicer edge. If you do use a multi-tool, go slow, support the pipe to reduce vibration, and deburr the cut edge afterward.
Heads up: Cutting thick metal is slow and heats blades fast. If you have lots of metal to cut, a recip saw, angle grinder, or dedicated cutter is usually the better play.
Flush-cut blades (straight and offset)
Best for: trimming shims, cutting casing in place, slicing caulked trim, cutting drywall close to studs
Flush-cut blades are the reason oscillating tools live in my grab-first pile. Straight blades are general use. Offset blades help when the tool body bumps into something and you need the blade to reach a little farther.
Pro move: For trimming shims, lay the blade flat to the surface and take light passes. If you torque the tool, the blade can flex and chew the surrounding finish.
Segment (half-moon) blades
Best for: longer flush cuts, flooring undercuts, cutting along edges
The half-moon shape gives you a longer cutting edge and makes it easier to keep a consistent depth along a line.
Common use: Undercutting baseboard and door casing for laminate or hardwood. The segment blade is easier to steer flat along the floor than a narrow plunge blade.
Scraper blades (rigid and flexible)
Best for: adhesive removal, silicone caulk, paint drips, flooring glue, underlayment residue
Scrapers are where the multi-tool earns its keep on ugly jobs.
- Rigid scraper: Best for stubborn gunk like old mastic or thick adhesive.
- Flexible scraper: Better for delicate surfaces where you want to reduce gouging, like scraping caulk off a tub flange or removing vinyl residue from a painted surface.

Sanding pad (triangular)
Best for: corners, tight edges, small patches, detail sanding
The triangular pad is not a replacement for a random orbital sander. It is a specialist. It gets into corners, along trim edges, and into spots where you do not want to remove half the room to sand one spot.
Choose the right grit:
- 60 to 80 grit: paint removal and shaping (be careful, it is aggressive)
- 100 to 150 grit: smoothing filler, blending edges
- 180 to 220 grit: prep for paint, light finish sanding
Blade width and shape
When you are staring at two blades that look identical except for width, here is the shortcut:
- Narrow plunge blades: Better control and less collateral damage for cutouts, notches, and precise plunge cuts. They also fit between fasteners and into tight cavities.
- Wide plunge or segment blades: Better for keeping a consistent depth and making longer cuts feel steadier, like undercutting trim or shaving down edges.
Plunge cutting technique
Plunge cutting is the move everyone buys the tool for, and the move most people struggle with at first. Here is what works reliably.
1) Mark, then pick a depth
If you are cutting drywall, a stud notch, or an opening for an electrical box, mark your lines and decide your depth. Multi-tools are great, but they will happily cut wires and pipes just as accurately as they cut wood.
- Drywall: You only need to cut through 1/2 inch or 5/8 inch.
- Door jamb undercut: Use a scrap of your flooring plus underlayment as a height guide.
2) Start shallow, then tip in
Touch the front edge of the blade to the surface at a slight angle. Let it bite a shallow kerf. Once it has a track, slowly pivot the tool until the blade is square to the surface and sinks to depth. This reduces bouncing and wandering.
3) Let speed do the work
Push lightly. If you force it, you create heat, dull blades faster, and make the tool harder to control. A steady hand beats a strong arm here.
4) Use short passes for clean lines
For clean edges, especially in trim, take short controlled passes and check your line. You can always remove more material. Putting it back requires wood filler and a story you will have to tell your spouse.
Sanding technique
Oscillating sanding can feel jumpy compared with a random orbital. These tips keep it civilized.
- Use a light touch: Pressing hard increases heat and makes the pad dig at corners.
- Keep the pad flat: If you tilt it, the point of the triangle will carve little trenches.
- Work through grits: Skipping from 80 to 220 sounds efficient, but it usually means you sand longer and still see scratches under paint.
- Replace worn hook-and-loop pads: When the hooks wear out, paper slips, and the tool turns into a tiny belt sander in the worst way.

Scraping technique
Scraping is all about angle and patience.
- Start with medium speed: Too fast can chatter, especially on flexible scrapers.
- Keep the blade shallow: A low angle lifts caulk and adhesive while reducing gouges.
- Soften what you can: Warm silicone with a hair dryer, or use an adhesive remover where appropriate. Less force equals fewer scratches.
- Watch edges: The corners of a rigid scraper will happily dig into plywood or fiberglass tubs. If you keep catching, switch to a flexible scraper.
Quick blade cheat sheet
- Trim a door jamb for new flooring: segment blade or flush-cut wood blade
- Cut drywall for an outlet box: narrow wood/drywall blade, shallow depth
- Cut wood that may have nails: bi-metal plunge or flush-cut blade
- Cut door casing nails during demo: fine-tooth bi-metal blade
- Trim laminate flooring in place: fine-tooth wood blade, light passes
- Remove grout: carbide grit grout blade (diamond grit for very hard material)
- Cut off a protruding screw: fine-tooth bi-metal metal blade
- Remove old flooring adhesive: rigid scraper
- Remove silicone around a sink or tub: flexible scraper, medium speed
- Detail sand in corners: triangular sanding pad
Settings and accessories
Variable speed
If your tool has a dial, use it. Higher speeds cut faster in wood. Medium speeds often feel more controlled for scraping and sanding. Lower speeds can help prevent melting plastics and reduce overheating on some metals.
Vibration control
Some tools vibrate more than others, but you can help any of them:
- Use two hands when precision matters.
- Choke up closer to the head for control, not at the very back of the tool.
- Take breaks on long sessions. Numb hands make dumb cuts.
Dust extraction
Sanding drywall compound or cutting grout without dust control turns your project into a snow globe. If your tool supports a vacuum attachment, use it. If it does not, hold a shop vac nozzle nearby or have a helper play vacuum for a few minutes.
Safety reminders
- Eye protection: Always. Multi-tools fling tiny chips in creative directions.
- Hearing protection: Especially on metal and tile. The pitch can be brutal in a small room.
- Dust protection: Grout and tile dust may contain silica. Older paint may contain lead. When in doubt, wear a proper respirator and control dust aggressively.
- Assume there is something behind the wall: Before plunge cuts, scan for studs and live AC where possible, and consider making a small inspection hole first. If you are anywhere near electrical or plumbing, shut off power and water when it makes sense for the job.
- Let blades cool: Metal cutting heats accessories fast. A hot blade can melt nearby plastic or burn you during a quick adjustment.
Make blades last longer
- Match the blade to the job: HCS for clean wood, bi-metal for nail risk, carbide or diamond grit for abrasive materials.
- Do not force it: Pressure dulls blades faster than normal use.
- Use fresh blades for finish work: A dull blade wanders and tears fibers. Save older blades for demolition and rough cuts.
- Avoid fasteners when possible: Use a magnet for nails, pull trim carefully and inspect, and cut where you can see what you are doing.
- Store blades dry: Rust is a silent performance killer, especially on cheaper steel.
Common mistakes (I have made most of these)
- Using a wood blade on nail-filled trim: It cuts great until it does not.
- Trying to make long straight cuts like a circular saw: Multi-tools are for controlled, shorter cuts and flush work.
- Sanding with the tip of the triangle: That point will gouge like it has a personal vendetta.
- Running full speed for everything: Speed is a tool, not a lifestyle.
- Skipping dust control on grout: You will find that dust for weeks, including in places you did not know your house had.
FAQ
What is the most useful multi-tool blade?
For most homeowners, a bi-metal plunge-cut blade is the best all-around option because it handles wood and survives occasional nails and screws. Pair it with a scraper and a triangular sanding pad and you can handle a surprising number of repairs.
Can an oscillating tool cut nails and screws?
Yes, with a fine-tooth bi-metal metal blade. Expect it to be slower than an angle grinder, but it is easier to control in tight areas. Keep pressure light to avoid overheating.
Is it okay to use an oscillating tool to remove grout?
Yes. Use a carbide grit grout blade, take your time, and keep the blade centered in the grout line to avoid chipping tile edges. Wear a good mask or respirator and use dust control.
Why does my blade burn wood?
Usually it is a dull blade, too much pressure, or moving too slowly in one spot. Switch to a fresh blade, lighten up on pressure, and keep the cut moving.