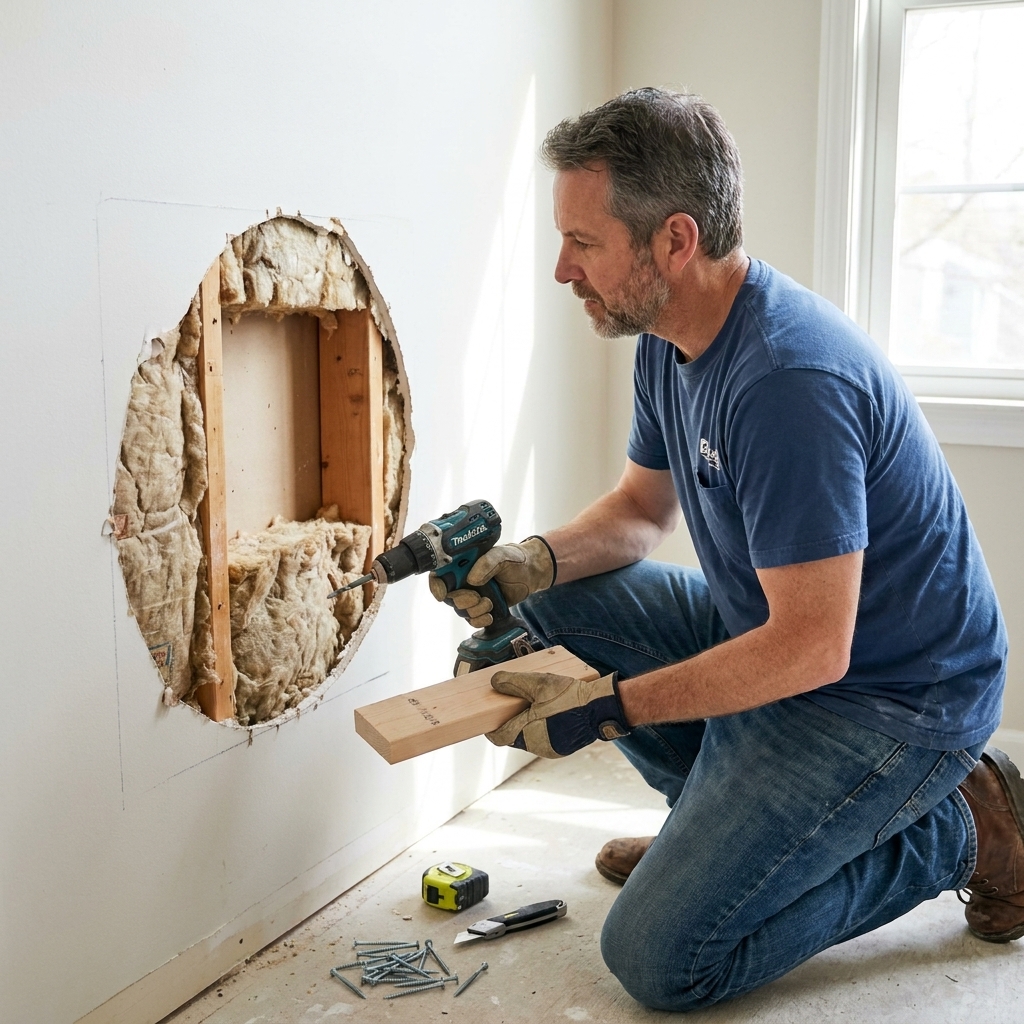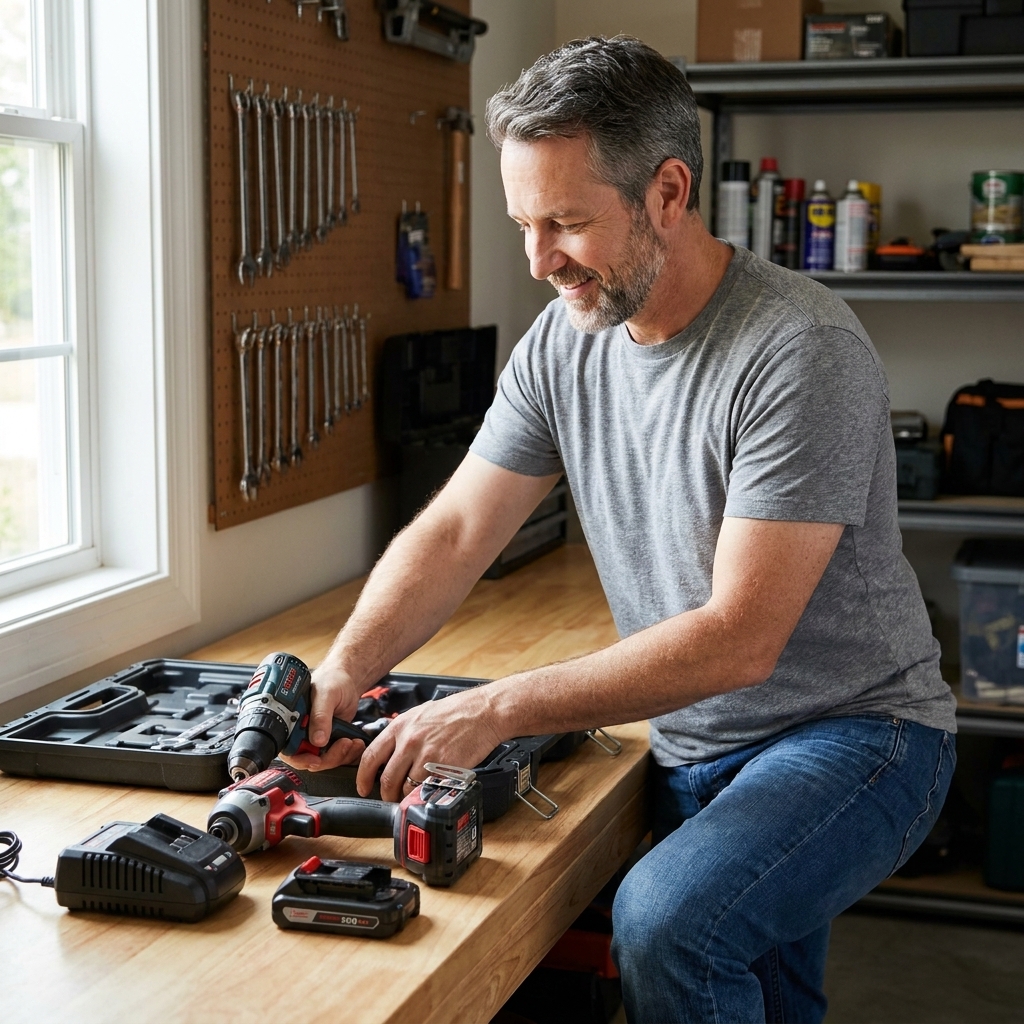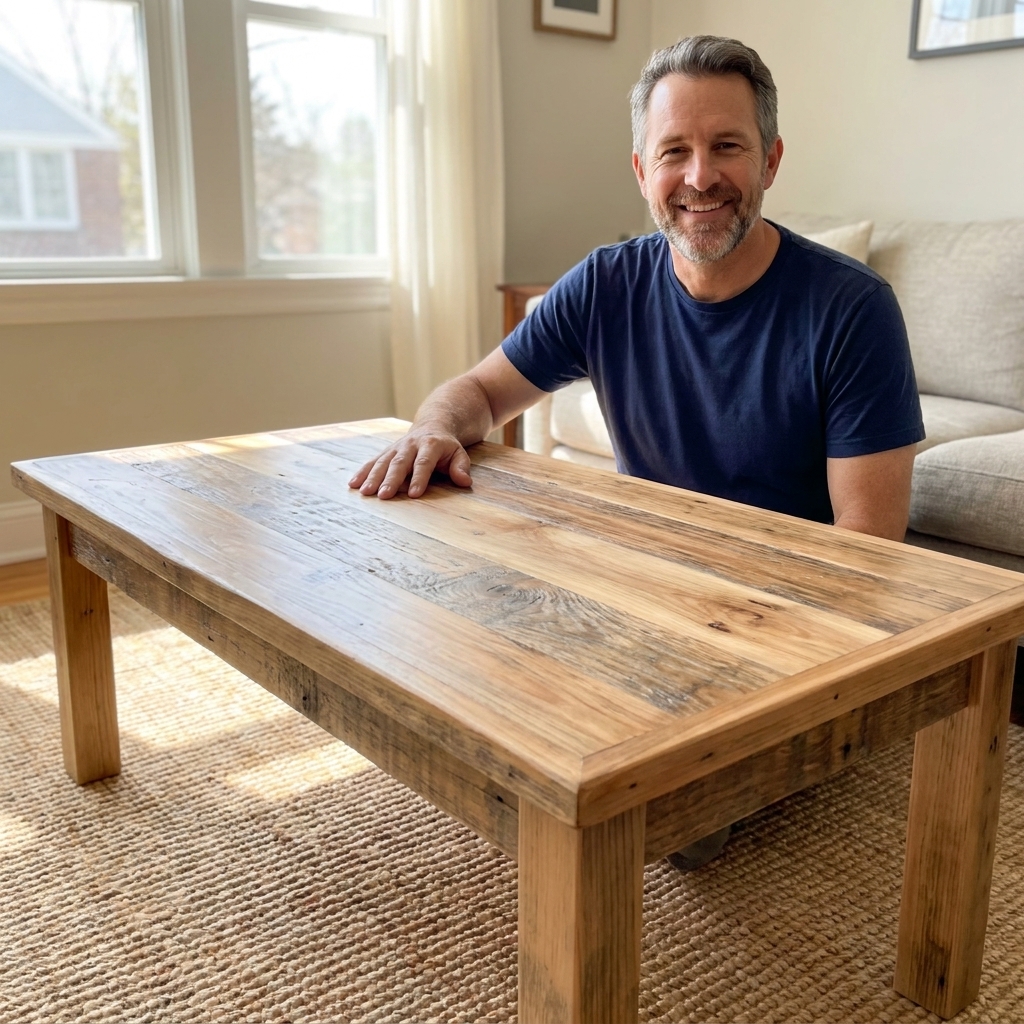
A step-by-step build for a pallet coffee table, including pallet safety, smart dismantling, sanding, assembly, and finishing tips for a durable result.
home improvement and DIY
Random Orbital Sanders: Buy Smart, Sand Smooth

Marcus Hayes
Marcus Hayes is a lifelong DIY enthusiast and former residential carpenter who has spent the last decade renovating his 1970s fixer-upper. Through Tinksmith, he shares his hands-on experience to help fellow homeowners tackle repairs, choose the right tools, and build spaces they love without breaking the bank.
Published October 17, 2026
Updated October 17, 2026
If you have ever painted a room and spent more time staring at the wall than painting it, you already know the truth: prep work is the whole game. For wood projects, a random orbital sander is one of the best “prep work multipliers” you can buy. It turns rough lumber into a touchable surface, flattens minor imperfections, and helps finishes look like you knew what you were doing the whole time.
I have used random orbital sanders on everything from beat-up 1970s trim to furniture flips. When you use the right sander, the right grit, and the right technique, you get a smooth surface with far fewer swirl marks than a basic palm sander. When you do not, you get dust everywhere, clogged paper, and a finish that highlights every mistake like it is under stadium lights.
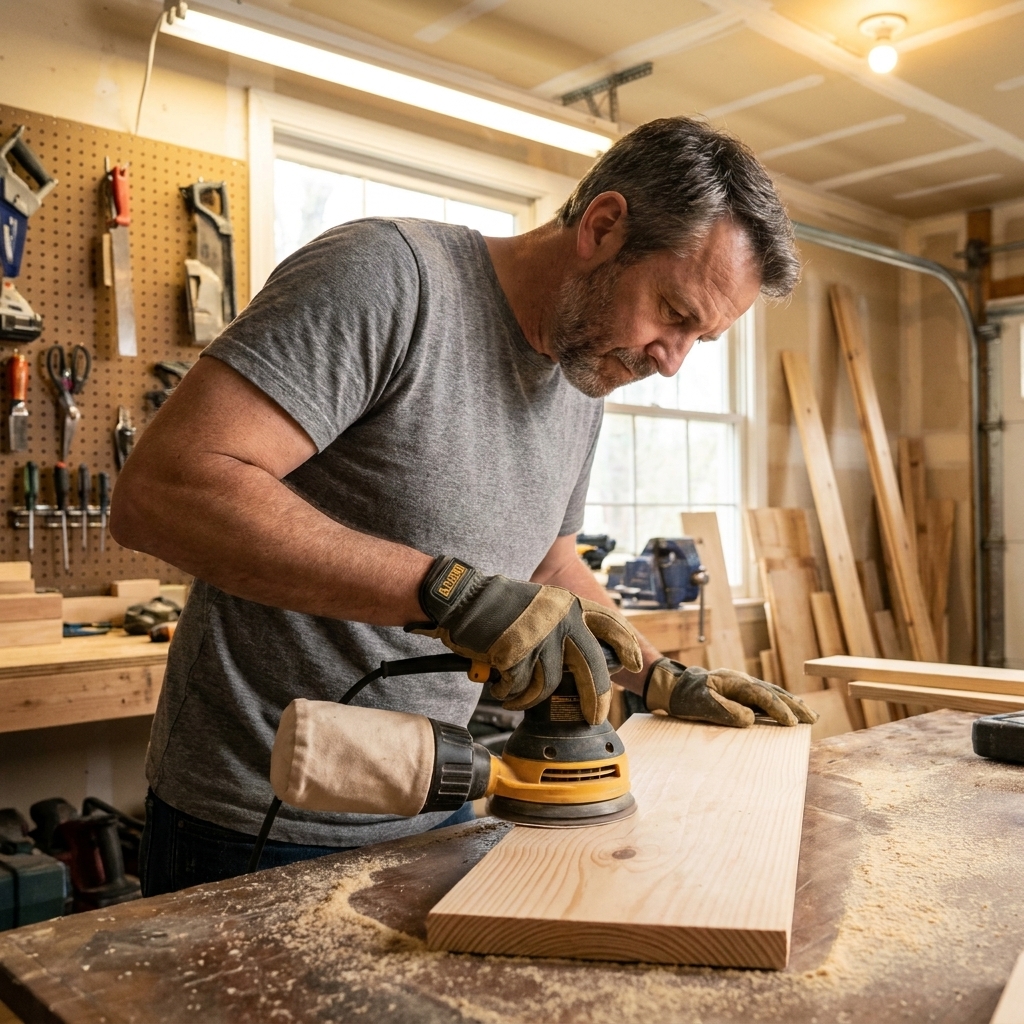
What a random orbital sander does
A random orbital sander spins the sanding disc while also moving it in a small off-center orbit. That “random” motion helps prevent obvious sanding tracks and reduces the classic circular swirl marks you see with simple orbit sanders.
It does not magically make swirl marks impossible. Clogged paper, too much pressure, or a little chunk of grit trapped under the disc can still scribble on your work like it has a grudge.
Random orbital vs other sanders
- Random orbital sander: Best all-around choice for furniture, trim, doors, and most flat-ish surfaces. Great balance of speed and finish quality.
- Sheet/palm sander: Uses quarter or half sheets. Fine for light smoothing and between-coat sanding, but slower and more likely to leave visible patterns if you are not careful.
- Belt sander: Fast material removal. Great for flattening and stripping, but easy to gouge. Usually a “use with respect” tool.
- Detail sander: Triangular pad for corners and tight spots. Not a replacement for a random orbital sander, more like a sidekick.
My rule: if you only buy one sander for DIY, make it a 5-inch random orbital sander.
How to choose one
The “best” sander is the one that fits your projects, your hands, and your tolerance for noise and dust. Here is what matters most.
1) Disc size: 5-inch vs 6-inch
- 5-inch: The sweet spot for most homeowners. Discs are widely available and cheaper. The tool is usually lighter and easier to control on vertical surfaces.
- 6-inch: Faster coverage and often better for big tabletops or cabinet batches. Discs cost more. Sanders tend to be larger and heavier.
If you are sanding furniture, trim, and the occasional tabletop, go 5-inch. If you are building a lot of cabinets or refinishing big slabs, consider 6-inch.
2) Orbit size: the scratch pattern decision
Orbit size is how far the pad moves in its tiny circle. Specs vary by model and are often listed in millimeters.
- Smaller orbit: Finer scratch pattern, better for finish sanding. Common sizes are around 2.5 to 3.0 mm (roughly 3/32-inch).
- Larger orbit: Removes material faster, slightly rougher scratch pattern. Common sizes are around 5.0 mm (roughly 1/8-inch).
For general DIY, either works. If you do lots of furniture finishing, a smaller orbit is friendlier at the end of the grit progression.
3) Variable speed is worth it
Variable speed helps you:
- Sand veneers and softwoods without chewing through
- Reduce swirl marks on tricky grain
- Control dust better with a vacuum hooked up
I use lower speed for finish passes and higher speed for early grits when I am flattening and shaping.
4) Corded vs cordless
- Corded: Lighter for the power you get, no battery management, consistent performance. Great if you sand for longer stretches.
- Cordless: Excellent freedom for sanding a door in place, working outside, or bouncing around a remodel. Heavier and pricier once you factor batteries.
If you already own a battery platform and do lots of on-site work, cordless is convenient. If you mainly sand at a bench, corded is a budget-friendly workhorse.
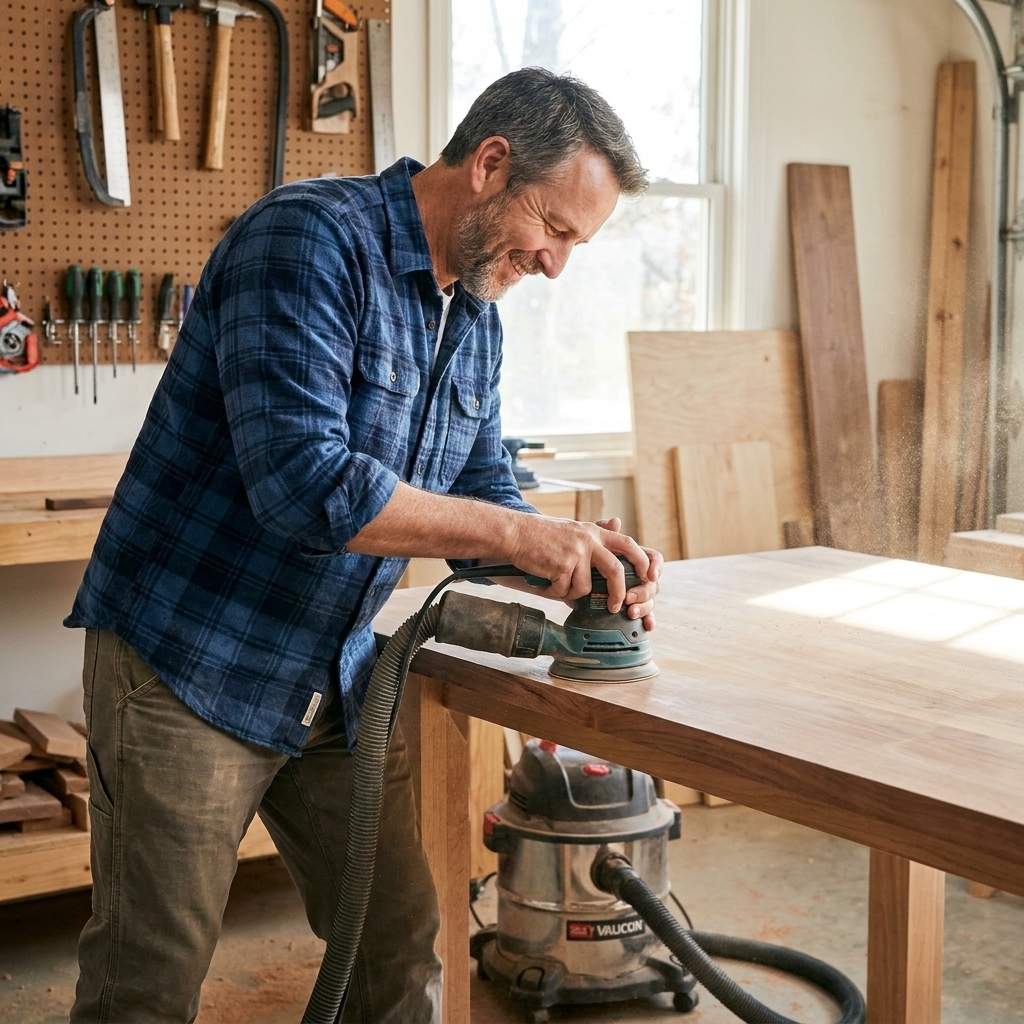
5) Dust collection: not optional
Sanding dust is not just messy. Fine wood dust is a respiratory irritant, and some species can be sensitizers. A sander with good dust collection is safer, keeps paper cutting longer, and makes your finish cleaner.
- Best: Sander connected to a shop vac (ideally with a HEPA filter and a bag).
- Good: Sander with a well-designed dust bag or canister.
- Not great: Weak collection that leaves dust caked on the surface and floating in the air.
Sandpaper basics
Sandpaper is where the magic happens. The tool is the engine, but the paper is the tire tread.
Grit numbers: what they mean
Lower number equals bigger abrasive particles (more aggressive). Higher number equals smaller particles (finer scratch pattern).
- 40 to 60 grit: Heavy stock removal, flattening, stripping stubborn finishes. Easy to create deep scratches you will chase later.
- 80 grit: Shaping, leveling glue squeeze-out, removing milling marks.
- 100 to 120 grit: General smoothing and pre-finish sanding for many paint-grade projects.
- 150 grit: Great all-around “getting close” grit for many hardwoods.
- 180 grit: Common pre-finish grit for hardwoods with many film finishes.
- 220 grit: Often used for between-coat sanding and for some pre-finish prep, depending on the wood and finish. Too fine can reduce stain absorption on some species, so test first.
- 320 grit and up: Between-coat sanding, polishing cured finishes, very light touch-ups.
A grit progression that works
You usually want to step through grits in sensible jumps. If you jump too far, the finer grit cannot remove the deeper scratches efficiently, and you end up sanding forever.
- For rough boards: 80 → 120 → 180
- For hardwood furniture: 100 → 150 → 180 (sometimes to 220 depending on finish)
- For paint-grade trim: 120 → 150 (stop there; paint needs a little tooth)
- For stripping and refinishing: 60 or 80 → 100 → 120 → 150 → 180
Pro tip from a guy who has re-sanded more projects than he will admit: write your grit sequence on a scrap of painter’s tape and stick it to the sander. It saves you from “I think I already did 150” syndrome.
Paper types and backing
- Aluminum oxide: Great general-purpose abrasive for wood. Affordable and widely available.
- Zirconia: Tougher, longer-lasting, good for heavy removal and hardwoods.
- Ceramic: Premium option, cuts fast and lasts long, especially for serious sanding sessions.
- Film discs: Often give very consistent scratch patterns and resist tearing. Excellent for finish sanding.
Hook-and-loop discs and hole patterns
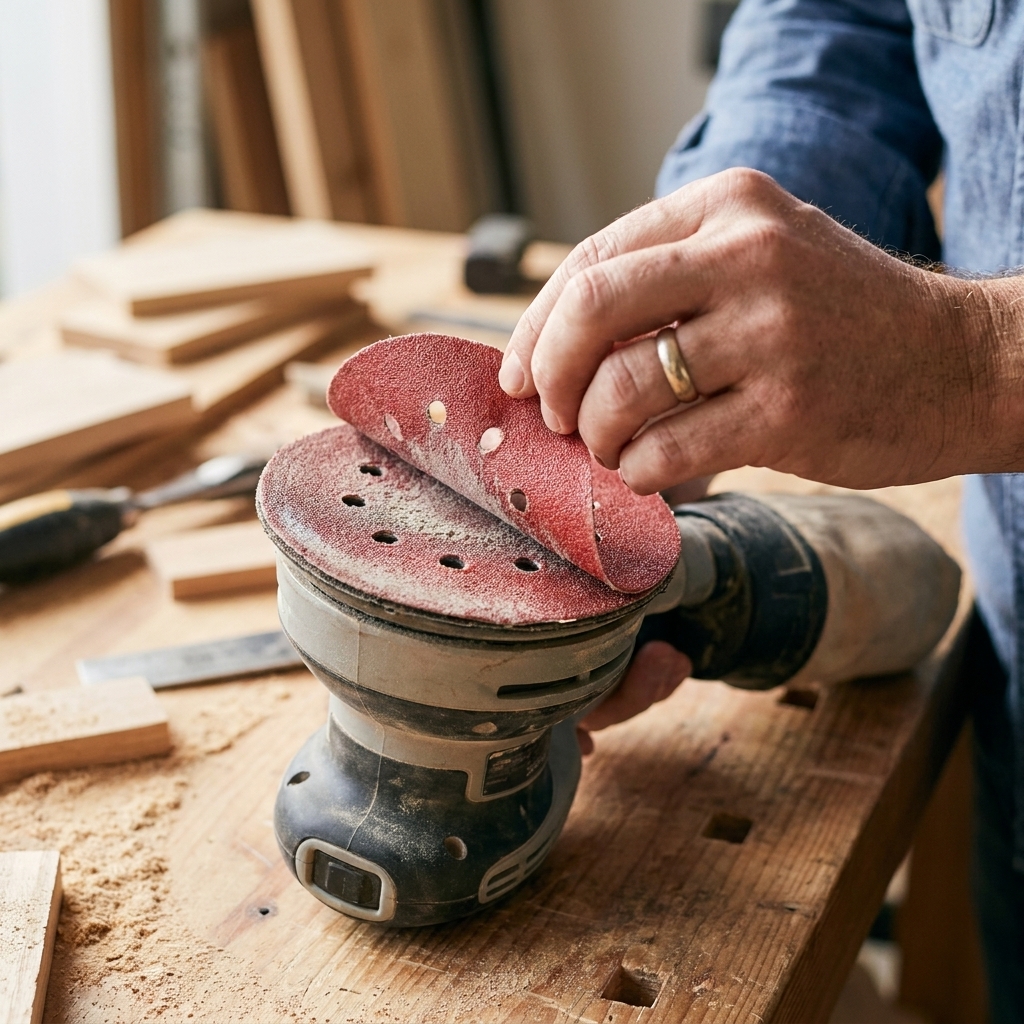
Most random orbital sanders use hook-and-loop (Velcro-style) discs. Match the disc to your sander’s hole pattern for dust extraction. If it is close but not perfect, dust collection suffers and the disc can clog faster.
How to avoid swirl marks
Swirl marks are not a moral failing. They are usually a technique problem, a grit problem, or a clogged paper problem. Fix those three and you are most of the way there.
Step by step
- Start with the right grit. Use the least aggressive grit that still removes the defects you need gone. Starting too coarse creates extra work later.
- Mark the surface lightly with pencil. A few scribbles act like a “progress meter” so you can see where you have sanded evenly.
- Set the sander flat before you pull the trigger. Starting on an edge can create a divot fast.
- Let the tool do the work. Use light to moderate pressure. Pressing hard can slow pad rotation and create pigtails and swirls.
- Move slowly and overlap passes. Think “mowing the lawn” speed, not “scrubbing a pan.” Overlap each pass about 50 percent.
- Keep it moving. Pausing in one spot, especially with coarse grits, makes low spots.
- Vacuum between grits. Leftover coarse grit can get trapped under the disc and scratch the surface during the next step.
- Inspect under raking light. Shine a light across the surface at a low angle. Scratches and swirls show up clearly.
Pad rotation: a quick sanity check
Most random orbital sanders have a free-spinning pad. While sanding on a flat surface, you should generally see the disc rotating as it orbits. If it is mostly vibrating in place, you are usually pressing too hard, the paper is clogged, or your vacuum suction is too high and is “sticking” the sander down. Any of those can lead to pigtails.
How much pressure is too much?
A good mental check: with the sander running, you should still be able to nudge it around without fighting it. If you are white-knuckling the tool, you are probably pressing too hard. Lighten up, and your paper will last longer too.
Edge control
Random orbital sanders can round edges quickly. Sometimes that is fine, sometimes you want crisp lines.
- Keep the pad flat and avoid tipping.
- Do not linger on edges.
- If you want crisp edges, do most of your sanding on the field, then very lightly kiss the edges at the end.
Interface pads: helpful, with a catch
A soft interface pad (the squishy layer between the sander and the disc) can help on gentle curves and slightly uneven surfaces. The catch: it also makes it easier to roll over edges, so use an even lighter touch and watch your corners.
Grit picks for common jobs
New pine and other softwoods
Softwoods sand fast and dent easily. Start around 120 if the boards are already fairly smooth, or 80 if there are milling marks. Work up to 150 or 180. Going too fine can burnish the surface and sometimes leads to uneven stain, so do not assume higher grit is always better.
Hardwoods like oak, maple, and walnut
For most hardwood furniture parts: 100 → 150 → 180 is a reliable path. If you are using a film finish like polyurethane, 180 is often enough before finishing. If you are staining, 180 to 220 can work depending on the species and stain behavior, but test on scrap. On some woods, sanding too fine can make stain look weaker or patchier.
Plywood and veneers
This is where you sand like you are handling a sleeping kitten. Veneers are thin. Start at 150 or 180 unless you truly need heavier correction, and use light pressure. If you see a different color or a fuzzy core layer, you just learned about sanding through the hard way.
Paint prep
If you are painting, you are sanding for adhesion and smoothness, not to make it glassy.
- Scuff sanding glossy paint: Often 150 to 220 is the safe zone for pure deglossing. Drop to 120 to 150 if you need to level brush marks or rougher defects, but expect more visible scratches unless you follow up finer.
- Between coats of paint: 220 to 320 (very light)
Refinishing furniture
If the piece is already flat and you are removing finish, you can start at 80 or 100 and work up. If there are details, profiles, or thin veneer, consider chemical stripping or careful hand sanding rather than grinding away with a coarse disc.
Dust and safety
Sanding is basically making tiny particles on purpose. Treat it like the messy job it is.
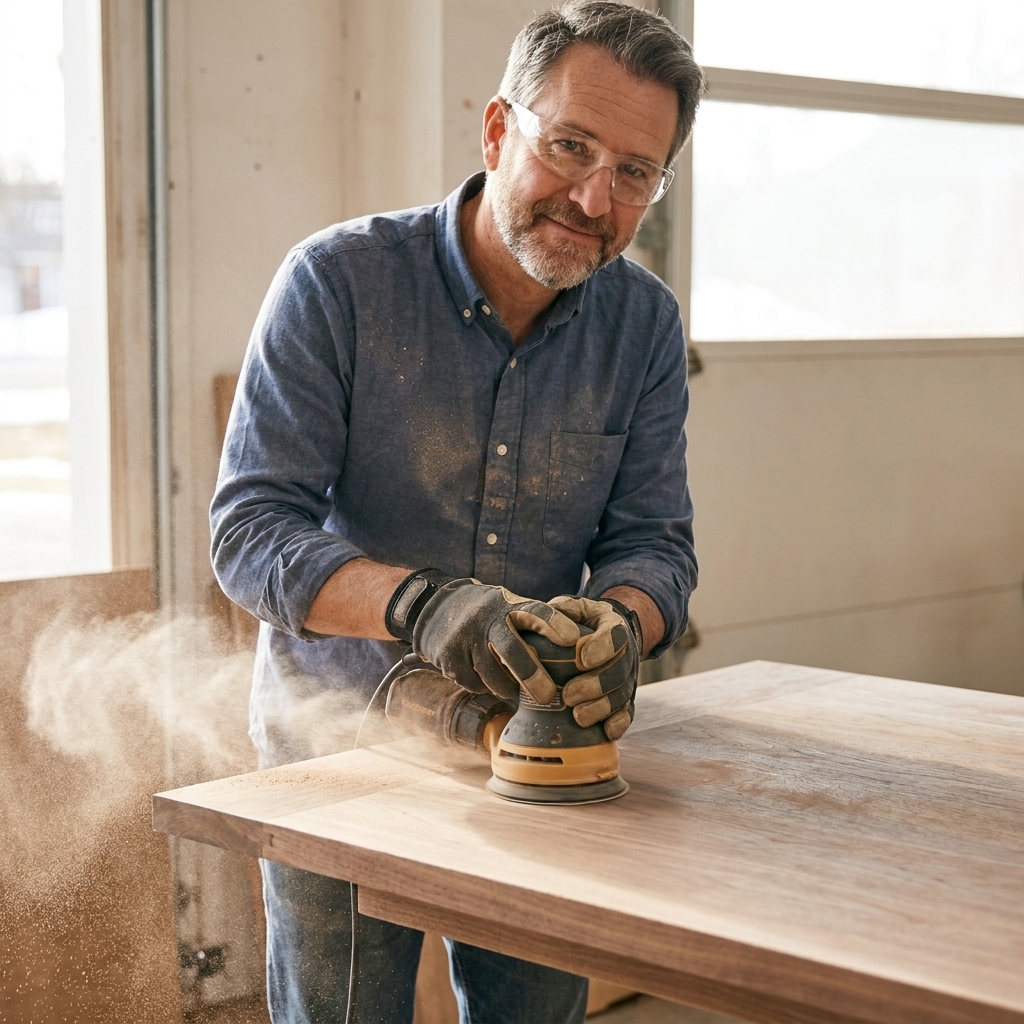
- Wear a respirator or a good dust mask. A N95 is better than nothing. A properly fitted respirator is better for long sessions, especially with unknown dust (old finishes, fillers, or mystery shop crud).
- Eye protection. Dust finds eyeballs like it has a GPS.
- Hearing protection. Sanders are not jet engines, but long sessions add up fast.
- Secure your work. Clamp boards or use a non-slip mat. Chasing a board around the bench is cardio, not craftsmanship.
- Watch cords and hoses. Keep them from dragging across your freshly sanded surface.
Lead paint warning: If you are sanding painted surfaces in a home built before 1978 in the U.S., assume lead paint may be present unless testing proves otherwise. Dry sanding can aerosolize lead. Follow EPA Renovation, Repair and Painting (RRP) guidance, use proper containment and cleanup, and use the right respirator and vacuum filtration.
Clean habits that save finishes
A lot of ugly scratches come from cross-contamination, not “bad sanding.” Keep your process clean.
- Do not reuse discs across jobs. A disc that just sanded old paint or gummy finish has no business touching bare wood you plan to stain.
- Keep your bench clean. A single stray screw or chunk of dried glue under a panel can dent the surface while you sand.
- Vacuum the work and your pad. Quick cleanup between grits prevents a rogue coarse particle from carving new scratches.
Maintenance
Random orbital sanders are pretty low maintenance, but a little care keeps them running smoother and longer.
- Replace worn hook-and-loop pads. If discs stop sticking, your pad surface may be worn. Many sanders let you replace just the pad.
- Keep vents clear. Blow out dust with compressed air occasionally (wear eye protection and a mask).
- Use clean paper. If the disc is clogged or glazed, swap it. Fighting dull paper is like trying to mow with a butter knife.
- Check the dust bag or canister. Empty it often. A packed bag reduces suction and increases dust in the air.
Troubleshooting
Problem: swirl marks show up after finish
- Cause: Skipped grits, sanding too fast, too much pressure, or clogged paper.
- Fix: Go back one grit and re-sand evenly, then progress again. Vacuum between grits. Use lighter pressure and slower movement.
Problem: the sander “walks”
- Cause: Too much pressure, high speed on a small piece, high vacuum suction, or pad not flat.
- Fix: Lighten pressure, reduce speed, clamp the work, keep the pad flat, and if it feels stuck to the surface, dial back suction or crack a bleed valve on your hose.
Problem: sandpaper keeps clogging
- Cause: Sanding soft resinous wood, finish that is gumming up, or poor dust collection.
- Fix: Improve dust extraction, try a different abrasive type, and consider stripping finishes instead of grinding them into goo.
Problem: uneven surface or dips
- Cause: Lingering in one area or starting with too coarse a grit.
- Fix: Use wider, even passes. Mark with pencil and sand until the marks disappear uniformly.
My go-to workflow
If you want a repeatable process that works on most hardwood projects, try this:
- Flatten and remove defects: 100 grit (or 80 if needed)
- Refine scratches: 150 grit
- Final pre-finish: 180 grit
- Vacuum thoroughly, then wipe with a clean microfiber cloth
- If using a film finish, sand lightly at 220 to 320 between coats as needed
Always test your full schedule on offcuts from the same wood. It is cheaper to learn on scraps than on a tabletop you already bragged about.
FAQ
Do I need to sand with the grain?
The random motion helps, but grain still matters. I sand with steady, overlapping passes and finish with a light, controlled final pass. For woods with dramatic grain, slowing down and using a finer grit helps keep scratches from telegraphing under finish.
Should I wet the wood to raise the grain?
If you are using a water-based finish, raising the grain can be a smart move. Lightly mist the surface with water, let it dry, then sand very lightly with 220 to knock down the fuzz. Do not soak it.
Can I use a random orbital sander to remove paint?
You can, but it is often messy and can gum up discs. For thick or old paint, stripping, scraping, or using a heat gun (carefully) is often more efficient. If you sand paint, use strong dust extraction and wear a proper respirator. If the home may be pre-1978 in the U.S., treat it as a potential lead situation and follow EPA RRP practices.
Why does my sander leave pigtails?
Usually it is a chunk of debris stuck under the disc, a damaged disc, a worn pad, or too much downward pressure stopping the pad from rotating freely. Change the disc, vacuum the surface, check your pad, and ease up on pressure.
Is a more powerful motor always better?
Not always. Smooth control, low vibration, and good dust collection matter just as much. A sander that is comfortable and balanced will produce better results than a beast that makes your hand go numb in five minutes.
Bottom line
A random orbital sander is one of the most satisfying tools in the shop because the results are immediate. Choose a 5-inch model with variable speed and solid dust collection, buy decent discs in a sensible grit range, and focus on light pressure with patient, overlapping passes.
Do that, and you will get the kind of finish that makes people run their hand across your project and say, “Wow, this is smooth.” And you can casually say, “Oh this old thing?” like you did not spend your Saturday making sawdust on purpose.