Practical, low-cost patio projects you can complete in a weekend. Paint, lighting, planters, privacy, seating, and more, with tool lists, steps, and safety t...
home improvement and DIY
Install Low-Voltage Landscape Lighting Like a Pro

Marcus Hayes
Marcus Hayes is a lifelong DIY enthusiast and former residential carpenter who has spent the last decade renovating his 1970s fixer-upper. Through Tinksmith, he shares his hands-on experience to help fellow homeowners tackle repairs, choose the right tools, and build spaces they love without breaking the bank.
Published October 17, 2026
Updated October 17, 2026
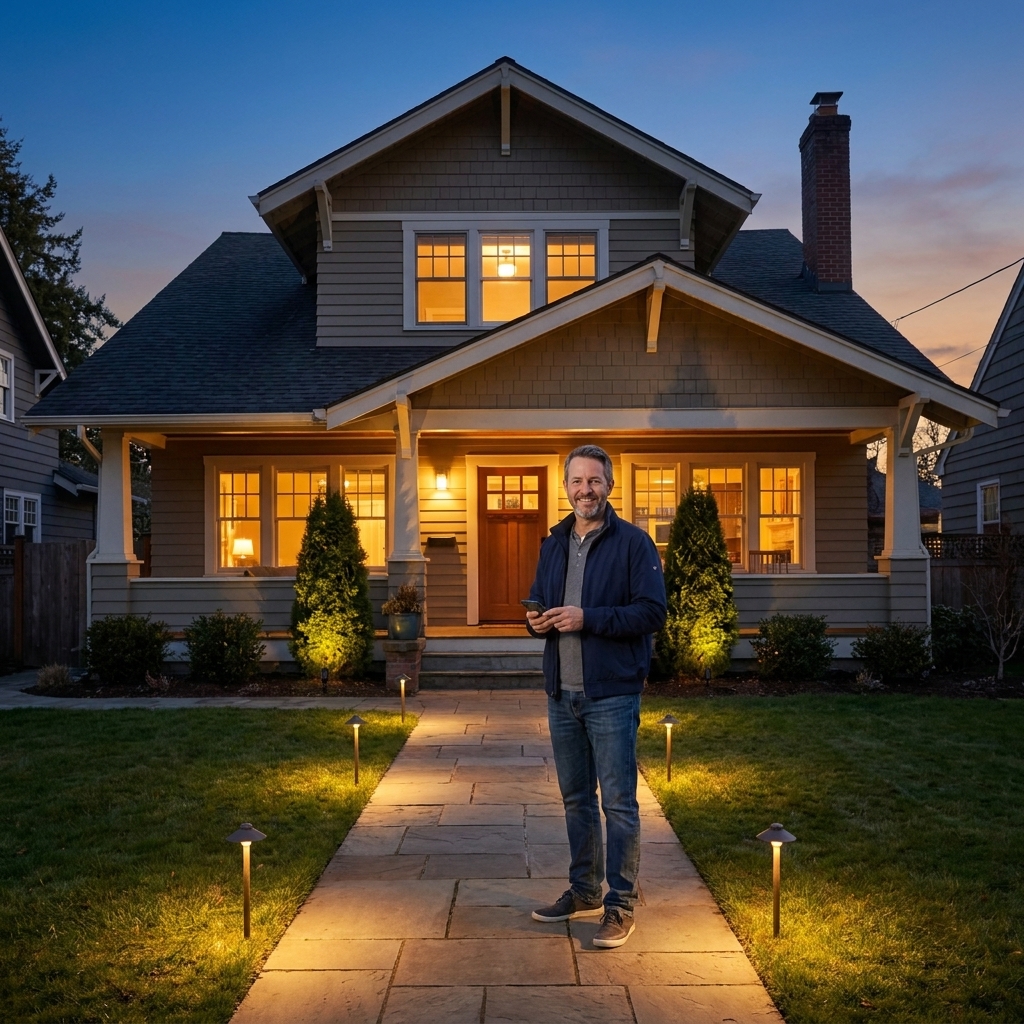
Low-voltage landscape lighting is one of those rare weekend projects that feels like cheating. You spend a little time in the dirt, twist a few connectors, and suddenly your house looks like it belongs in the “after” photos of a real estate listing. The best part is it’s forgiving. You’re typically not running 120-volt wiring out into the yard, and many setups are as simple as plugging a transformer into an outdoor outlet.
I’ve installed and tweaked more of these systems than I care to admit, usually after realizing I put a spotlight exactly where it can blind me while taking out the trash. Let’s do it right the first time, with clean wiring, sensible zones, and a transformer that isn’t begging for mercy.
Quick reality check: rules vary. Plug-in low-voltage kits are often DIY-friendly, but permits or inspections can still apply in some areas, especially if you’re adding a new outdoor receptacle, running a new circuit, or hardwiring a transformer. When in doubt, check your local AHJ (the authority having jurisdiction) or ask an electrician.
How low-voltage lighting works
A low-voltage landscape system has four main parts:
- Transformer (often with a timer, photocell, or smart controls) that converts 120 volts household power to a low-voltage output.
- Low-voltage cable (usually 12/2 or 14/2) that runs around the yard.
- Fixtures like path lights, spotlights, well lights, and step lights.
- Connectors that splice fixtures into the cable.
Most landscape systems are 12 volts nominal. Many transformers offer multi-tap outputs (often 12/13/14/15 volts) to help manage voltage drop on longer runs. (Some specialty systems use other voltages, but 12 volts is the one you’ll see most often in big-box and homeowner installs.)
You plug the transformer into a GFCI-protected outdoor receptacle (or hardwire it if you buy a hardwired model and local rules allow). The transformer feeds low-voltage power out to the yard, which is why this is DIY-friendly and generally safer than line-voltage lighting.
Plan first: zones, goals, and a sketch
“Winging it” works until you realize you have one blinding spotlight, three dim path lights, and a transformer that’s maxed out. Spend 15 minutes planning and you’ll save hours later.
Pick your lighting goals
- Safety: steps, changes in grade, dark corners of walkways.
- Wayfinding: driveway edges, path turns, house numbers.
- Curb appeal: uplight a tree, wash a textured wall, graze a stone column.
- Security: gentle light near gates and side yards. Low-voltage isn’t a replacement for motion floods, but it helps.
Map your zones
A “zone” is just a group of lights controlled together. You can create zones with multi-tap transformers (multiple voltage outputs), separate runs, and smart transformers or accessories that allow multiple circuits.
My rule: split zones by purpose and location. Common zones include:
- Front walk zone: path lights and step lights on the main approach.
- Feature zone: uplights for a tree or architectural highlights.
- Side yard zone: gates, trash can runway, driveway side path.
Even if everything turns on at once today, wiring in distinct runs makes it easier to adjust brightness, fix issues, or upgrade to smarter controls later.
Practical example: Put your front path lights on a short 12-volt run, then put those far-back shrub or tree uplights on their own longer run and feed them from a 13-volt or 14-volt tap if they look sleepy at the end.
Choose fixtures that look natural
Modern LED fixtures are bright. That’s good, until you blast your walkway like a landing strip.
Common fixture types
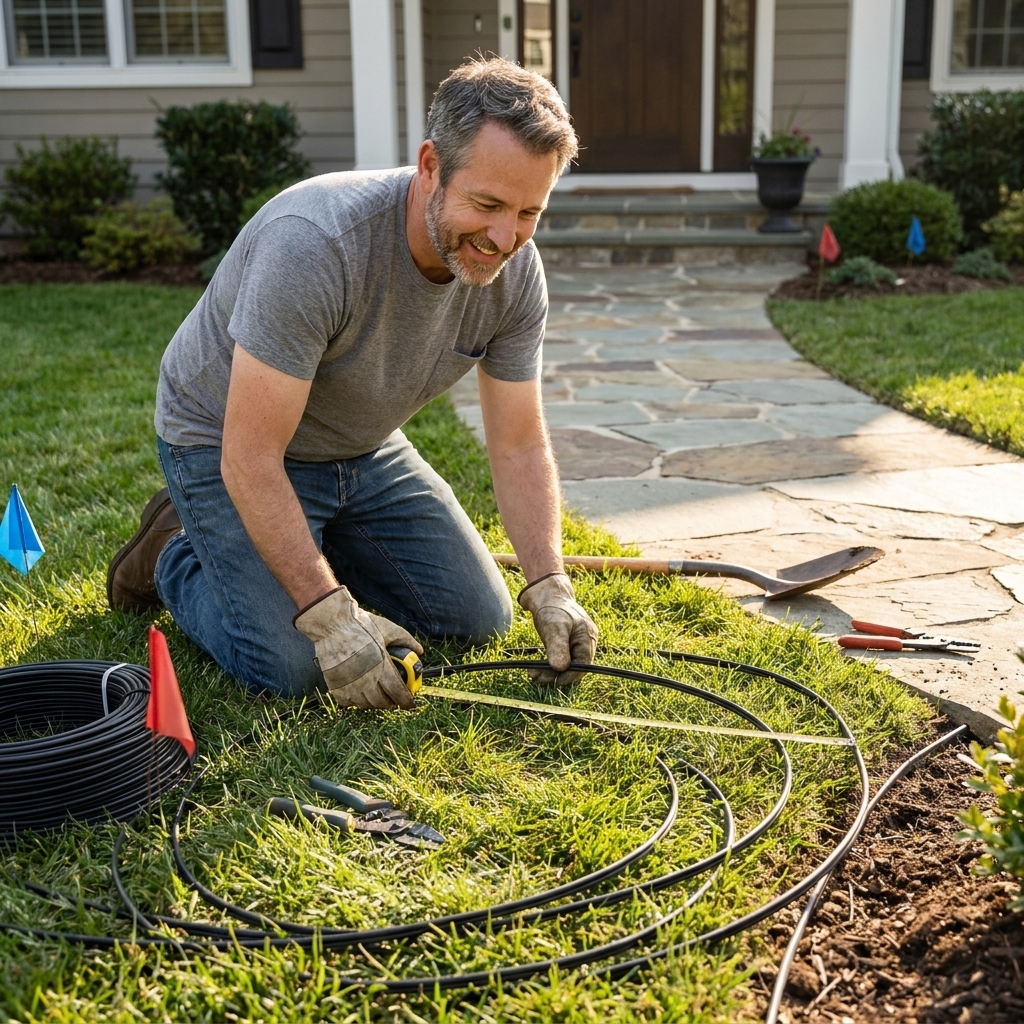
- Path lights: Great for walkways. Aim for soft pools of light that overlap slightly.
- Spotlights/uplights: For trees, columns, and focal points. Use glare shields if needed.
- Well lights: In-ground, good for uplighting without visible fixtures. Make sure they’re rated for foot traffic if near paths.
- Step and deck lights: Subtle safety lighting that looks high-end when done right.
- Wall wash lights: Spread light across a surface. Great on stone or textured siding.
Color temperature and brightness
For most homes, 2700K to 3000K looks warm and inviting. 4000K and up tends to look stark outdoors unless you’re going for a modern commercial vibe.
If you can choose lumen output, start modest. It’s easier to add a fixture or bump a transformer tap than to un-bake an overlit yard.
Durability: materials and weather ratings
Outdoor lighting lives a hard life. If you want this to look good for years, not months, pay attention to what the fixture is made of and how it’s rated.
- Fixture materials: Brass and copper tend to hold up best and age gracefully. Aluminum can be fine in mild climates, but cheap finishes can pit and flake faster, especially near salt air.
- Weather protection: Look for solid gasket seals and a meaningful IP rating. IP65 or higher is a good target for fixtures that will get direct spray from sprinklers or weather.
- Corrosion zones: If you’re coastal, near a pool, or you fertilize heavily, prioritize corrosion-resistant materials and better seals.
Integrated LED vs replaceable bulbs
Integrated LED fixtures can look sleek and are often efficient, but when the LED or driver fails, you may be replacing the whole head. Fixtures that use a replaceable bulb or module can be easier to service long-term. Neither is “right” for everyone, but it’s worth deciding before you buy 12 matching fixtures.
Size the transformer
Transformer sizing is simple math with one important habit: leave headroom.
Step 1: Add up wattage
List every fixture and its wattage (printed on the lamp/LED module or the spec sheet). Add them up for each zone and for the whole system.
Step 2: Add 20 to 30 percent capacity
Transformers run happier with breathing room. If your fixtures total 96 watts, a 120-watt transformer is the minimum I’d consider. If you want room to expand, bump to 150 watts or 200 watts.
Step 3: Consider multi-tap outputs
Longer wire runs cause voltage drop. A transformer with 12, 13, 14, or 15-volt taps lets you feed a long run with slightly higher voltage so the far fixtures don’t look like they’re falling asleep.
Some smarter transformers also offer multiple independent outputs or zone control. It costs more, but it’s a clean upgrade if you want different on/off schedules.
Tools and materials
- Low-voltage transformer (plug-in or hardwired)
- Landscape lighting cable (typically 12/2 for longer runs, 14/2 for short runs)
- LED fixtures and stakes or mounting hardware
- Waterproof connectors (gel-filled or heat-shrink style preferred)
- Wire strippers and side cutters
- Flat shovel or trenching spade, or a manual edger for slicing turf
- Measuring tape
- Outdoor-rated cable staples (only where allowed and never through the wire)
- Multimeter (optional but very helpful for troubleshooting)
- Silicone grease for O-rings (for well lights and fixtures with gaskets)
Safety note: If you’re plugging into an outdoor receptacle, confirm it’s GFCI-protected and has a weatherproof in-use cover. If you’re hardwiring a transformer, follow the manufacturer instructions and local electrical rules, or hire an electrician.
Call before you dig: If you’re trenching deeper than a shallow tuck-under in mulch, use your local utility-marking service so you don’t find a wire or gas line the exciting way.
Step-by-step install
1) Set fixtures at night before you bury anything
This is the move that separates “DIY installed” from “professionally tuned.” Place fixtures on the ground with stakes loosely set, run temporary cable on top of the soil, and turn the system on after dusk.
- Adjust spacing.
- Aim spotlights away from windows and eyeballs.
- Hide fixtures behind shrubs where possible, while still letting light do its job.
Once you like what you see, you’re ready to make it permanent.
2) Mount the transformer
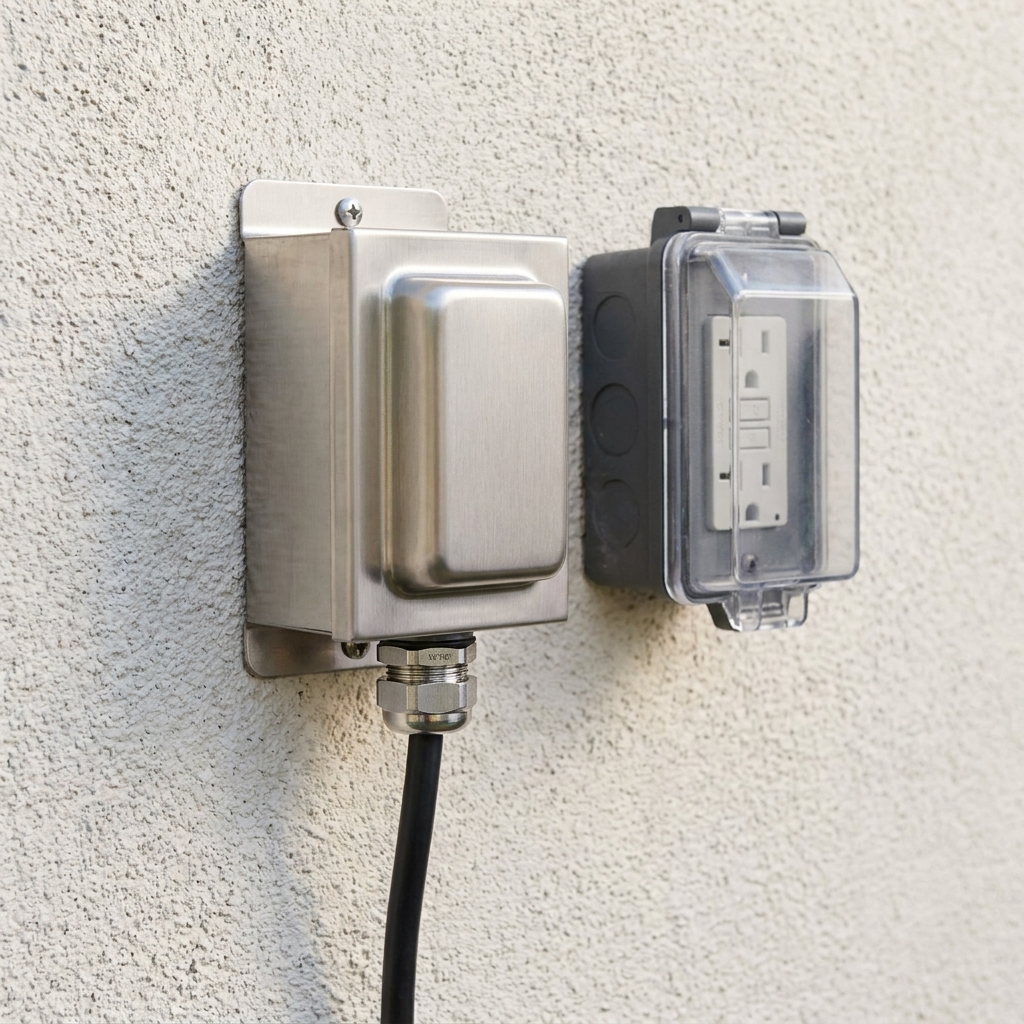
Pick a spot close to power and somewhat sheltered from direct sprinkler spray. Typical placement is on an exterior wall, garage side, or a sturdy fence post.
- Mount at the manufacturer-recommended height.
- Use exterior-rated fasteners and anchors appropriate for siding or masonry.
- Route cable out of the bottom through a proper strain relief if required.
3) Run your cable in logical runs
You have a few wiring patterns to choose from:
- Daisy chain: One run that hits each fixture in order. Simple, fine for short runs with few lights.
- T method: A main run splits into branches. Good for front yards where paths fork.
- Hub method: Several runs start near the transformer and feed different areas. This is my go-to for easy troubleshooting and fewer dim end-of-line fixtures.
Try to keep splices accessible. Not “on top of the lawn” accessible, but “I can find it again without excavating the entire yard” accessible.
4) Bury the wire
Typical guidance is to bury low-voltage cable roughly 6 inches in soil. In mulch beds, it’s often tucked just below the surface. The right answer is whatever your cable and transformer manufacturer specifies, plus any local requirements. Deeper is wise anywhere you edge, aerate, shovel, or expect future digging.
- In turf: Use a flat shovel or manual edger to slice a seam, pry it open, tuck cable in, then step it closed. It disappears like you were never there.
- In beds: Pull back mulch, trench lightly, lay cable, then re-cover.
- Across driveways or sidewalks: Do not run cable across the surface and hope for the best. Use an existing expansion joint, sleeve under the edge if possible, or reroute around. If you must go under, a conduit sleeve is a smart move.

5) Make waterproof connections
Most kits include quick connectors. Some are fine, some are future trouble. Moisture is relentless outdoors, so treat every connection like it will get wet, because it will.
- Strip wire cleanly without nicking copper.
- Use gel-filled or heat-shrink waterproof connectors when possible.
- Leave a small service loop of extra cable near fixtures so you can pull them up later.
- Keep splices out of places that collect water (low spots) whenever you can.
6) Connect to the transformer and set taps
Connect each cable run to the transformer terminals. If you have multi-tap outputs, start with 12 volts for short runs and a higher tap for longer runs. You’re aiming for consistent brightness from the first light to the last.
If you want to get technical, most 12-volt LED landscape fixtures are designed to operate within a range (often roughly 9 to 15 volts, depending on the fixture and driver). For consistent output, many people aim for roughly 11 to 12 volts at the fixture, but the fixture specs win if they say otherwise. A multimeter makes this much less mysterious.
7) Aim, lock, and tidy
After everything is connected, turn it on at night and fine-tune:
- Angle spotlights so the light hits the target, not your neighbor’s bedroom window.
- Rotate path light hats so they shield glare from the sidewalk.
- Push stakes straight down so fixtures stand plumb.
- Hide slack wire under mulch or tuck it along hardscape edges.
Spacing path lights
Everyone asks, “How far apart should path lights be?” It depends on lumen output and mounting height, but a solid starting range is 6 to 10 feet apart. I like starting wider, checking at night, and adding a fixture only where the path truly feels dark. Fewer, better-placed lights almost always looks more expensive than a bright, evenly spaced runway.
Voltage drop: what it is and fixes
Voltage drop is why the lights at the end of a long run look dimmer than the ones near the transformer. It depends on cable length, cable gauge, and load (watts).
Fixes that work
- Use thicker cable: 12/2 has less voltage drop than 14/2.
- Shorten runs: Use the hub method with multiple shorter home runs.
- Use multi-tap outputs: Feed long runs with 13 to 15 volts if needed.
- Balance the load: Put fewer fixtures on the longest run.
If you do all four, you’ll have that “every light looks identical” pro finish.
Timers and smart control
Most homeowners want lights that turn on at dusk and off late at night, without daily babysitting.
- Built-in photocell: Easiest. Turns on at dusk automatically.
- Digital timer: More control, reliable schedules, often combined with dusk-to-dawn logic.
- Smart transformer: App control, multiple zones, schedules, and sometimes voice assistant integration.
One practical tip: avoid running landscape lights all night unless you truly need it. You’ll extend fixture life, save energy, and keep your yard from looking like it’s hosting a midnight cookout without you.
Common mistakes
- Overlighting the walkway: Fewer fixtures with better placement beats a runway. Space path lights farther apart and aim for gentle overlap.
- Using flimsy connectors: Cheap connectors cause flicker and outages. Spend a little more on waterproof splices.
- No zones: Mixing path lights and dramatic uplights on one run makes tuning hard. Separate them.
- Burying before testing: Lay it out, test at night, then bury. Your knees will thank you.
- Too-small transformer: Add capacity headroom from day one.
- Putting splices in low spots: Standing water finds connections like it has a map.
Troubleshooting
Some lights are dim
- Check for voltage drop. Try a higher tap for that run, thicker cable, or fewer fixtures per run.
- Inspect connectors for a poor pierce or loose splice.
A whole run is out
- Confirm the transformer is powered and the GFCI is not tripped.
- Check the transformer’s internal breaker or fuse if it has one.
- Look for a cut cable near edging, aeration, or recent digging.
Lights flicker
- Replace suspect quick connectors with gel-filled or heat-shrink waterproof connectors.
- Check for corrosion in fixture sockets or loose wire nuts inside fixtures.
Maintenance tips
- Clean lenses and hats a couple times a year. Dirt reduces brightness fast.
- Re-aim after storms or after you prune shrubs.
- Check connections each spring, especially in areas that stay damp.
- Keep well lights clear of mulch buildup so you do not block the beam, trap heat around the fixture, or bury the lens and seals.

FAQ
How deep should I bury low-voltage landscape wire?
Typical practice is around 6 inches in soil, and shallower in mulched beds. Check your cable and transformer instructions and any local guidance. Deeper is wise anywhere you edge or aerate.
Should I use 12-gauge or 14-gauge cable?
For most front yards with longer runs or multiple fixtures, 12/2 is the safer bet for reducing voltage drop. 14/2 can work for short runs with small loads. If you’re on the fence, go 12/2.
Can I add lights later?
Yes, as long as your transformer has capacity and the run can handle the added load without noticeable dimming. This is why I like leaving 20 to 30 percent headroom.
Do I need conduit for low-voltage wire?
Not usually in soil or beds, but conduit is a smart idea for protection when you pass under hardscape edges, cross areas prone to digging, or want a cleaner route along a structure.
Why do my farthest lights look dimmer?
That’s voltage drop. Fix it by shortening the run, using thicker cable, splitting the load into multiple runs, or using a higher transformer tap for that specific run.
My pro look checklist
- Test placement at night before burying.
- Separate path lights and accent lights into different runs.
- Use 12/2 cable for most installs.
- Use waterproof connectors, not bare-bones quick taps.
- Leave service loops at fixtures.
- Hide fixtures and wires, not the light.
Do those six things and your yard will look intentionally lit, not accidentally electrified.