A sturdy, low-cost raised bed build with rot-resistant lumber, simple joinery, and a few smart longevity upgrades. Beginner-friendly steps and cut list inclu...
home improvement and DIY
5 Easy DIY Garden Edging Techniques

Marcus Hayes
Marcus Hayes is a lifelong DIY enthusiast and former residential carpenter who has spent the last decade renovating his 1970s fixer-upper. Through Tinksmith, he shares his hands-on experience to help fellow homeowners tackle repairs, choose the right tools, and build spaces they love without breaking the bank.
Published October 17, 2026
Updated October 17, 2026
If your yard has that “where does the lawn end and the garden begin?” vibe, edging is the fastest way to make everything look intentional. A clean border also keeps mulch where it belongs, discourages grass from invading your flower beds, and makes mowing way less of a rodeo.
Below are five DIY-friendly edging techniques I’ve used (or helped neighbors use) around my own 1970s fixer upper. We’ll cover natural stone, poured concrete, and steel edging, plus two classic options that stay affordable and forgiving for first-timers.
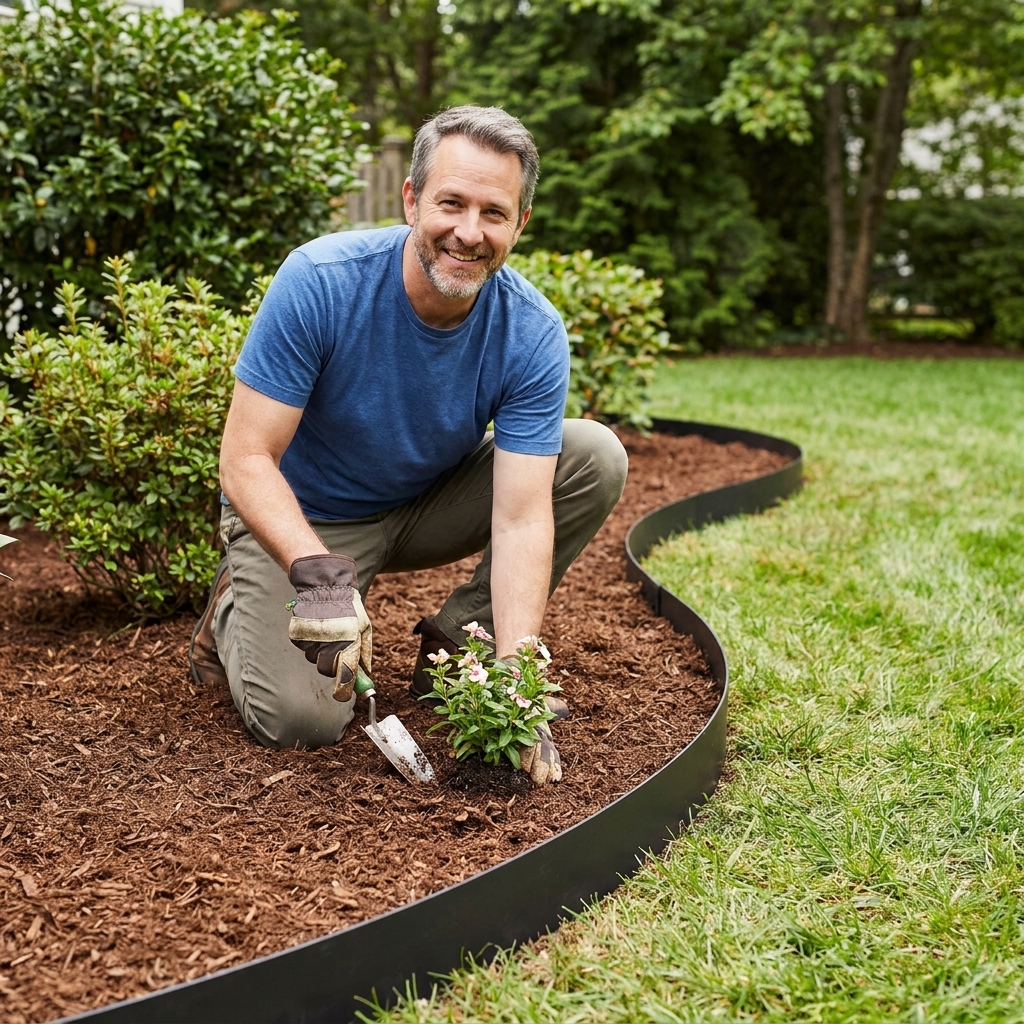
Before you start: get the line right
Edging only looks “pro” if the layout is clean. Spend 15 minutes here and you save yourself two hours of grumbling later.
Quick layout checklist
- Mark the edge: Use marking paint, a garden hose, or a length of rope. A hose is great for smooth curves.
- Think mower: If you want easy mowing, aim for a hard edge that a wheel can ride on (pavers, brick, concrete). For steel edging, plan on trimming the edge.
- Check drainage: Don’t build a border that dams up water against your foundation or creates a low spot in the bed.
- Call before you dig: Utility locates are free and way cheaper than “surprise sprinkler line repair day.”
My go-to tools: flat spade, trenching shovel (nice but not required), hand tamper, level, rubber mallet, string line, and a bucket for soil you’ll definitely swear you won’t need but somehow keep moving around.
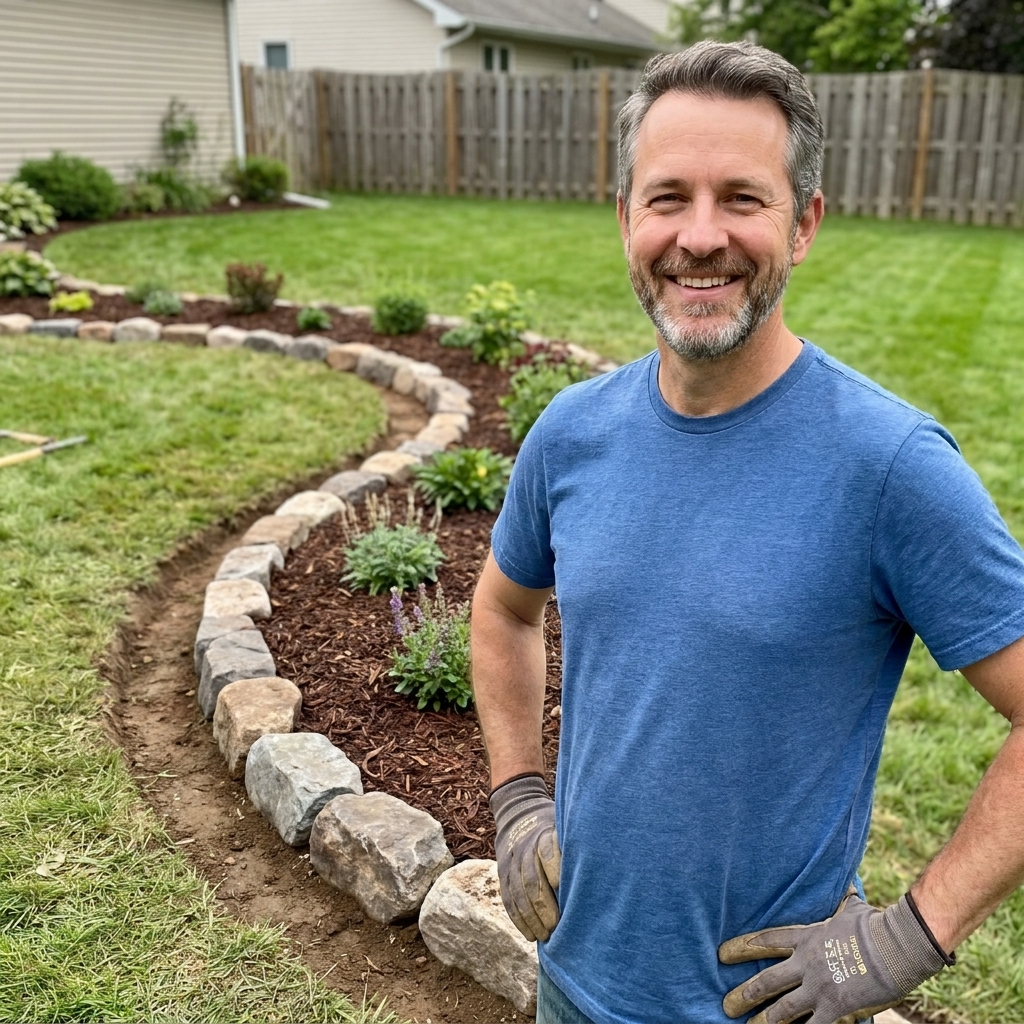
1) Natural stone trench edging (the “looks like it grew there” option)
Natural stone edging is a great middle ground: it’s more polished than a bare trench edge, but it still feels organic. It’s also forgiving. If one stone sits a hair high, nobody calls the homeowner association.
Best for
- Cottage-style gardens, mixed perennials, and natural landscapes
- Curves and flowing shapes
- Homeowners who want a durable edge without mixing concrete
Materials
- Fieldstone, cobbles, or flat stone (flagstone pieces work well)
- Optional: 1 to 2 bags of leveling sand or stone dust
- Optional: landscape fabric behind the stone to reduce soil washout
How to do it
- Dig a shallow trench along your line, typically 3 to 5 inches deep. Make the trench slightly wider than your stones.
- Add a thin leveling layer of sand or stone dust if your soil is lumpy or clay-heavy. Tamp it lightly.
- Set stones tightly like a puzzle. Rotate each stone until it sits stable. A rubber mallet helps.
- Keep the height consistent by eye. I like stone to sit 1 to 2 inches above grade so mulch stays put.
- Backfill and tamp soil on both sides to lock everything in.
Pro tip: Mix stone sizes. A few larger “anchor” rocks every couple feet make the whole run feel solid and intentional.
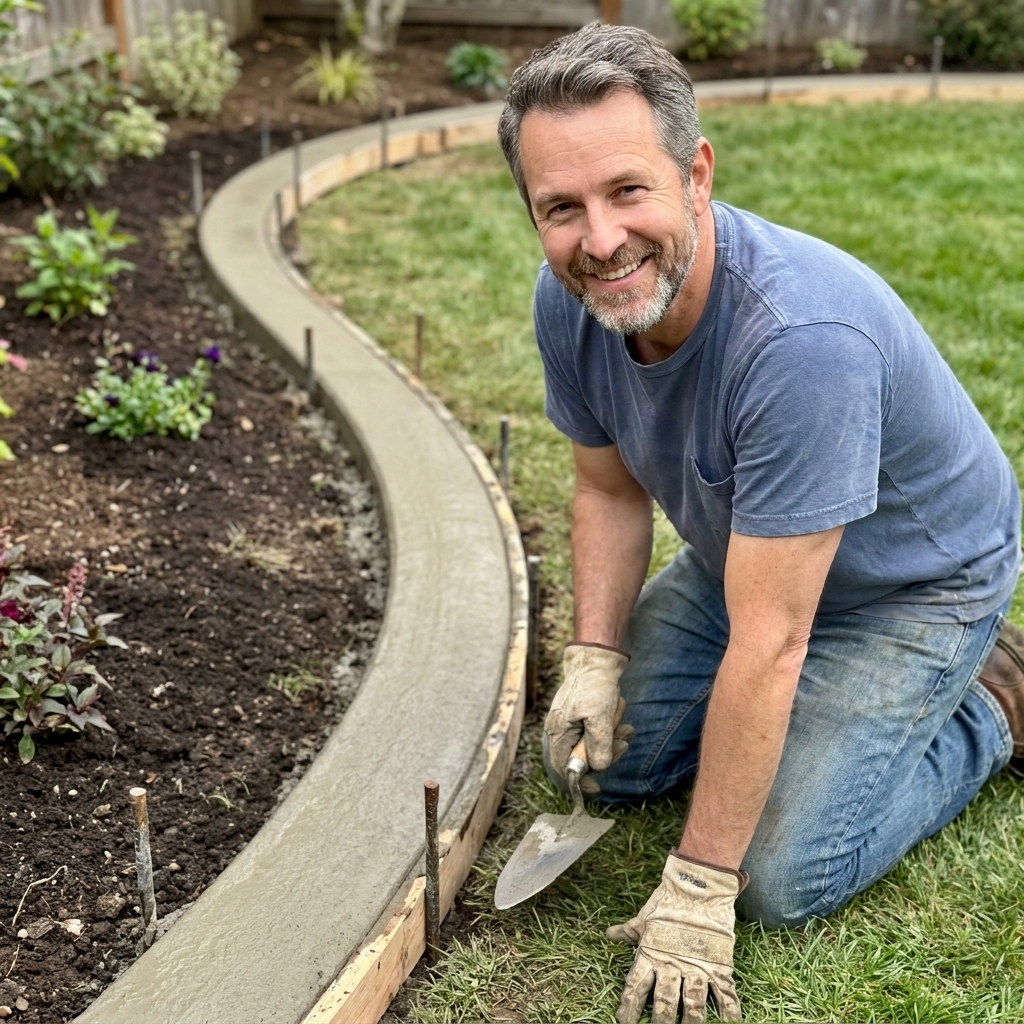
2) Poured concrete mowing edge (clean, modern, and basically permanent)
A poured concrete edge gives you that crisp landscape line you see in higher-end yards, and it doubles as a mower guide. The key is keeping the pour small and manageable. You’re not building a sidewalk to the moon here.
Best for
- Straight runs or gentle curves
- Low maintenance edging that won’t shift
- Anyone who wants an easy mowing boundary
Materials
- Concrete mix (standard bag mix works fine)
- Form material: flexible bender board or 1x lumber for straight sections
- Stakes and screws
- Optional: fiber reinforcement (often included in mixes labeled “fiber reinforced”)
How to do it
- Excavate the edge trench about 4 inches deep and 4 to 6 inches wide. Remove roots and loose soil.
- Set your forms along the outside edge. Use stakes every 2 to 3 feet so the line doesn’t bow.
- Level and compact the base. A hand tamper is worth its weight in gold here.
- Mix and place concrete to the top of your forms. Work in short sections so you can finish before it starts setting.
- Strike off and smooth with a straight board, then finish with a trowel. For a safer edge, slightly round the top with an edging trowel or even a damp sponge once it firms up.
- Cure it by keeping it lightly damp for a day if weather is hot and dry. Avoid heavy foot traffic for at least 24 to 48 hours.
Budget note: A narrow concrete edge uses less material than you think. Your biggest costs are usually the form boards and the time spent getting the line perfect.
Safety note: Wear gloves and eye protection. Wet concrete is rough on skin, and splashes happen the second you get confident.
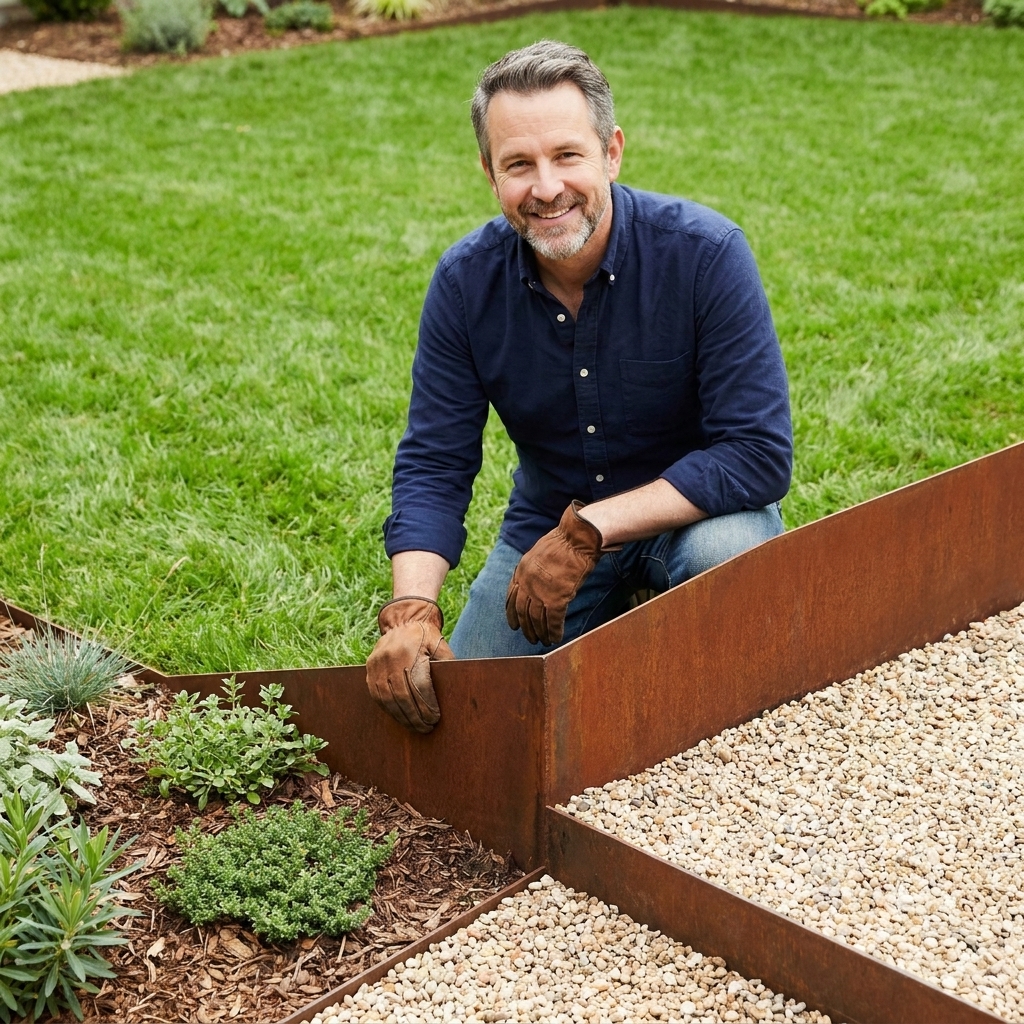
3) Steel edging (thin, tidy, and great for sharp lines)
Steel edging is my go-to when I want a super clean border without a lot of bulk. It’s especially good for modern landscaping and for keeping gravel paths from migrating into your lawn like they pay rent.
Best for
- Modern yards, gravel paths, and crisp bed lines
- Tight curves and clean transitions
- Projects where you want minimal visible material
Choose your steel
- Powder-coated steel: Clean look, good corrosion resistance.
- Corten steel: Designed to rust to a stable patina. Great if you like the warm, weathered look.
How to do it
- Cut a guide trench with a flat spade along your layout line. Even a 2 inch slit helps the edging slide in without bending.
- Set sections in place and connect them per the manufacturer’s system (tabs, plates, or sleeves).
- Stake or anchor where required. Don’t skimp on stakes at curves. Curves are where edging tries to get creative.
- Tap to height using a rubber mallet and a scrap block of wood to avoid denting the top edge.
- Backfill and compact on both sides. Soil compaction is what actually keeps steel edging straight long-term.
Pro tip: Aim to leave about 1/2 inch to 1 inch of steel above grade. Too high becomes a toe-stubber. Too low disappears and lets grass creep over.
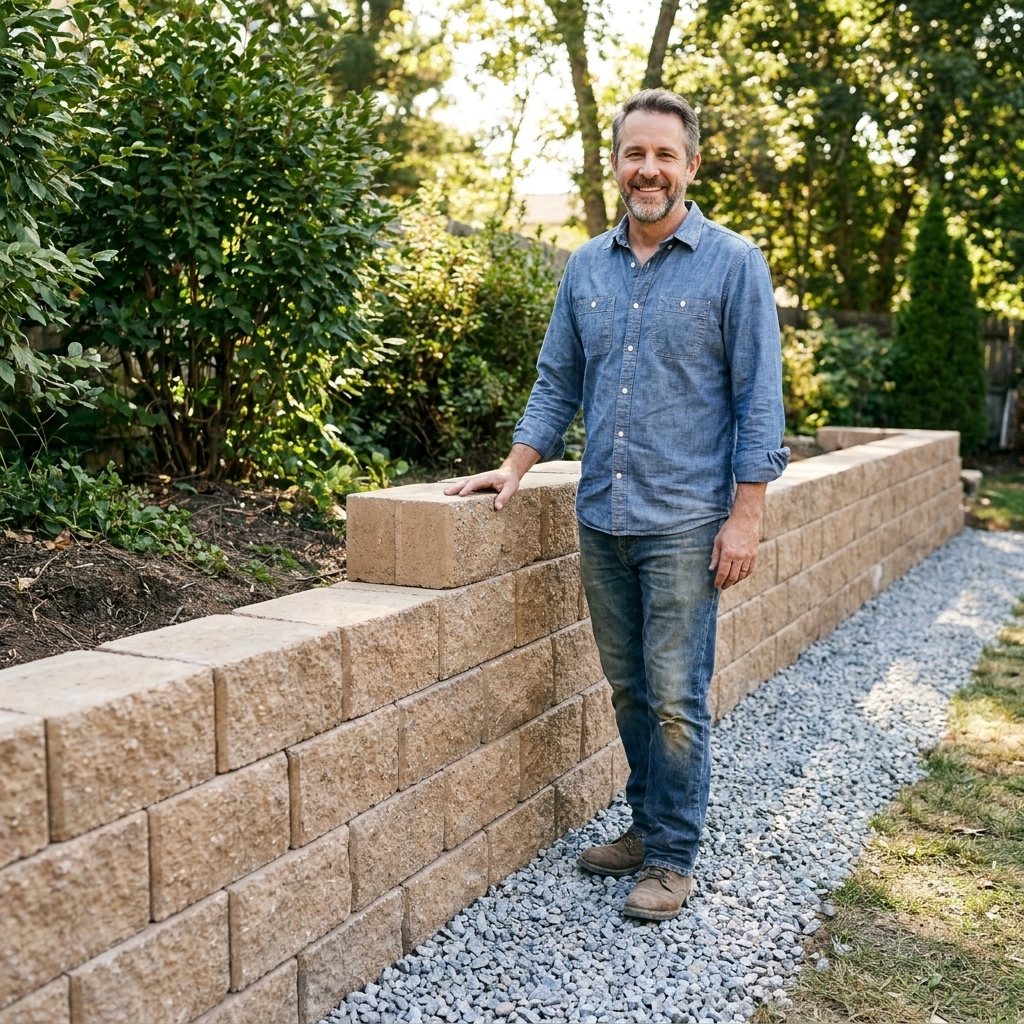
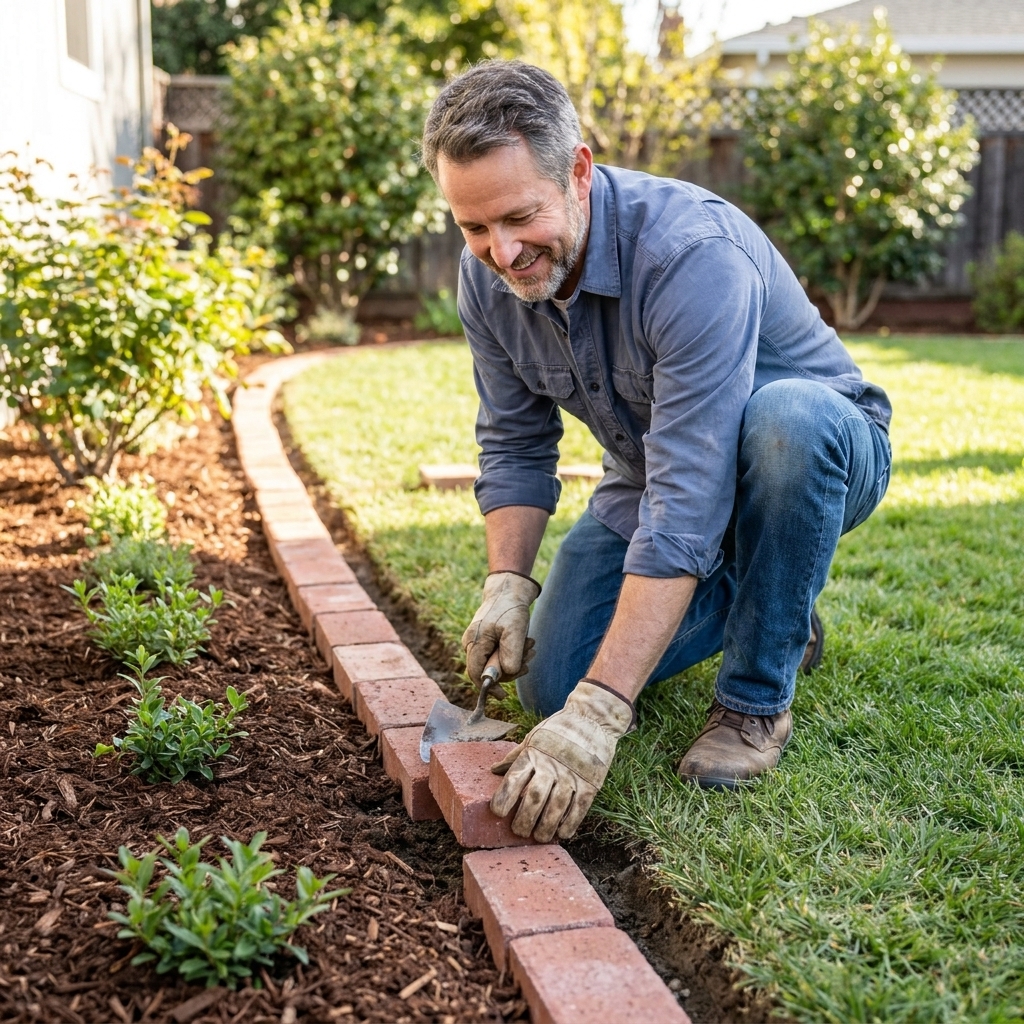
4) Brick or concrete paver edging (classic, repairable, mower-friendly)
Brick and pavers are hard to beat for a traditional look, and they’re easy to adjust later if roots heave or soil settles. Set them right and your mower wheels can run along the edge like it’s on rails.
Best for
- Front yard beds and paths where curb appeal matters
- Homeowners who want a firm mowing edge
- Straight runs and gentle curves
Materials
- Brick or concrete pavers (edgers work well)
- Paver base (crushed stone) and leveling sand
- Optional: plastic paver edging on the outside for extra lock-in
How to do it
- Dig a trench wide enough for the brick plus 2 to 3 inches, and deep enough for base, sand, and the paver thickness.
- Add base and compact in thin layers. A hand tamper works. A plate compactor is nicer if you have a lot to do.
- Screed a sand layer (about 1 inch) and set bricks/pavers to your string line.
- Check level and alignment every few feet. Small errors multiply like rabbits.
- Backfill and lock with soil or more base material on the outside edge.
Pro tip: If you want the cleanest mowing edge, set pavers flush with the lawn grade, not proud of it.
5) Pressure-treated or cedar timber edging (simple, warm, and budget-friendly)
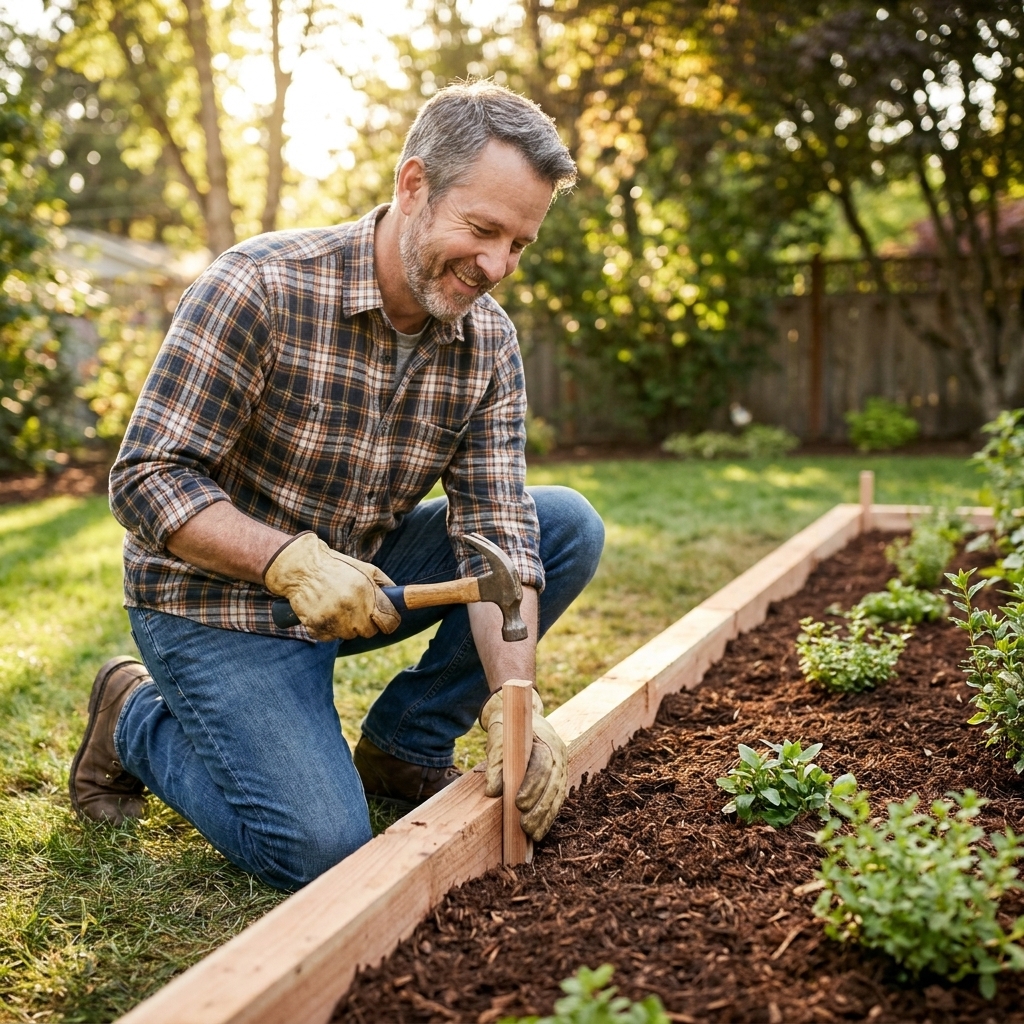
Wood edging is approachable, easy to cut with basic tools, and it gives beds a cozy, framed look. I lean toward cedar because it holds up well outdoors and looks good even as it ages. Pressure-treated lumber also works, especially for straight lines and raised edges.
Best for
- Quick weekend makeovers
- Straight borders or simple rectangles
- Gardeners who want a slightly raised bed edge
Materials
- Cedar 2x4s, 2x6s, or landscape timbers
- Exterior screws (deck screws) or galvanized spikes
- Stakes (wood or rebar) for anchoring
How to do it
- Mark and dig a shallow trench so the board sits partly below grade. This helps prevent shifting and reduces gaps.
- Cut boards to length. For corners, butt joints are fine, but mitered corners look sharper if you have a miter saw.
- Anchor with stakes on the inside of the bed every 3 to 4 feet, then screw the board to the stakes.
- Backfill and tamp along both sides to support the wood.
Pro tip: If you expect string trimmer abuse (and who doesn’t), set the top edge of the board slightly higher than the lawn and mulch side. It gives you a visual target and keeps mulch from spilling.
Picking the right edging for your yard
If you’re torn, here’s the quick-and-honest breakdown.
- Most natural look: natural stone
- Cleanest, most permanent: poured concrete
- Sleekest profile: steel edging
- Best for mowing without trimming: pavers or poured concrete
- Fastest on a budget: timber edging (especially if you already have scrap lumber)
Common mistakes (so you don’t repeat my early “learning experiences”)
- Skipping compaction: Loose soil means your edge will wiggle, heave, and look tired fast.
- No trench for steel edging: Trying to force steel into hard ground usually ends with bent sections and new vocabulary words.
- Making curves too tight: Gentle curves look more professional and are easier to build with every material on this list.
- Setting hard edging too high: Anything proud of grade becomes a tripping hazard and a mower blade temptation.
- Not planning for maintenance: If you hate trimming, prioritize pavers or a concrete mowing strip.
FAQ
How deep should garden edging be?
It depends on the material. For steel edging, a shallow slit plus 3 to 4 inches in the ground is typical, with about 1/2 inch to 1 inch showing. For pavers, plan on several inches for compacted base plus sand, so your trench is often 6 inches or more. Stone varies, but setting 3 to 5 inches down helps stability.
Do I need landscape fabric behind edging?
Not always. Fabric can help reduce soil washout behind stone and keep gravel from mixing with soil near paths. For planting beds, I usually skip fabric unless I’m trying to separate gravel from soil. Mulch and regular weeding tend to work better long-term than fabric buried under a bed.
Will steel edging rust?
Powder-coated steel resists rust well if it’s not constantly scratched. Corten steel is meant to develop a rust patina that helps protect it. Standard bare steel can rust faster, especially in wet climates.
What’s the most DIY-friendly edging for a first timer?
Timber edging and natural stone are the easiest to install with basic tools and forgiving tolerances. Steel edging is also beginner-friendly if you take time to trench and compact properly.
Wrap-up
Edging is one of those projects that makes your whole yard look like you “have it together,” even if you’re still storing three half-used bags of mulch behind the shed. Pick one technique that matches your style and maintenance tolerance, take your time with layout, and you’ll get a border that looks sharp for years.
If you want my personal nudge: go steel for sleek lines, stone for natural charm, and pavers or concrete if you want the mower to do most of the work.