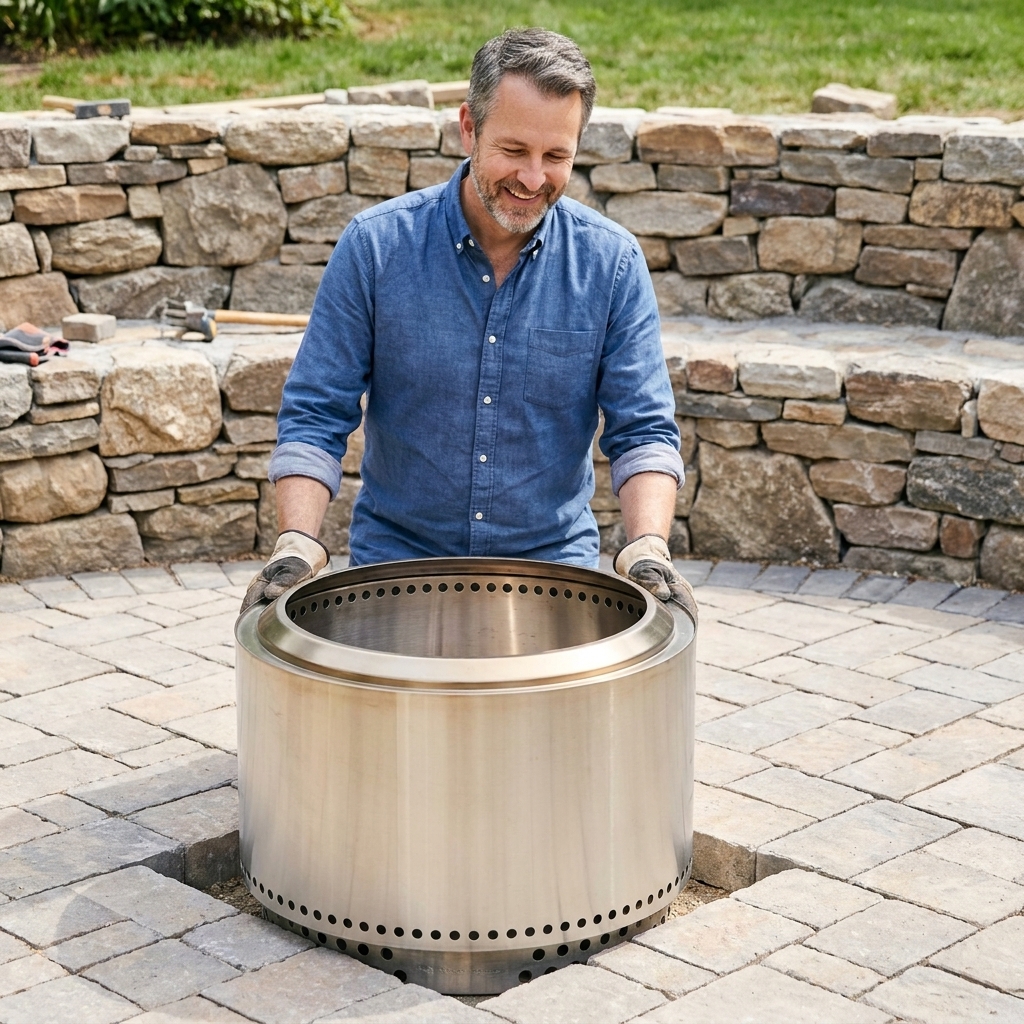
A practical, weekend-friendly guide to building a smokeless stone fire pit using pavers, a steel insert, and simple masonry tools, plus safety and airflow tips.
home improvement and DIY
10 Budget-Friendly DIY Patio Upgrades You Can Finish This Weekend

Marcus Hayes
Marcus Hayes is a lifelong DIY enthusiast and former residential carpenter who has spent the last decade renovating his 1970s fixer-upper. Through Tinksmith, he shares his hands-on experience to help fellow homeowners tackle repairs, choose the right tools, and build spaces they love without breaking the bank.
Published October 17, 2026
Updated October 17, 2026
If your patio is looking a little… "builder beige," you do not need a full rip-and-replace to make it feel like an outdoor room you actually want to use. A weekend and a modest pile of supplies can go a long way. Below are 10 budget-friendly upgrades I have either done at my own 1970s place or helped neighbors knock out in an afternoon.
Ground rule: prioritize safety, aim for improvements you can finish, and stop buying “patio furniture sets” that cost as much as a used car. Your future self will thank you.
One more grown-up note before we start: if you rent, live in an HOA, or share walls, check the rules for anything visible from the street (privacy screens, lights, and fire features especially). It is way more fun to build once.
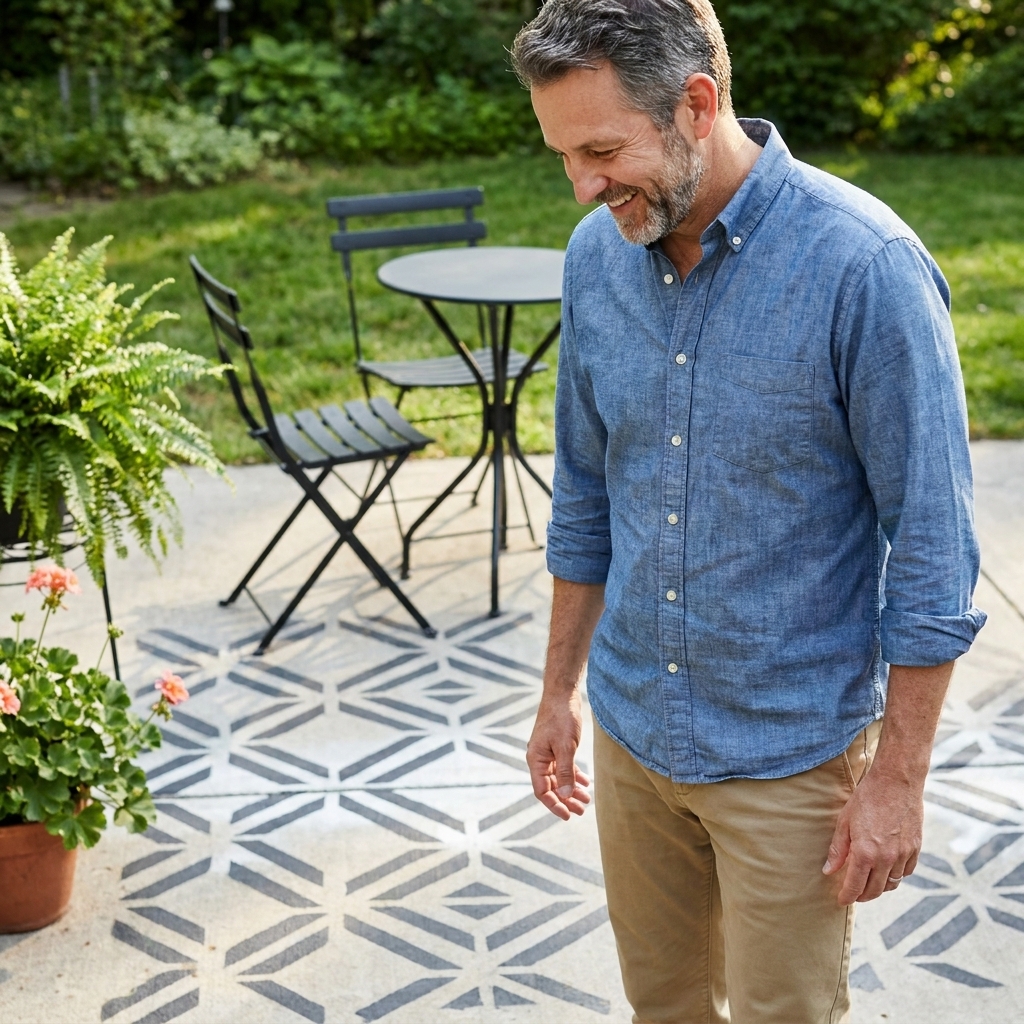
Before you start: a 30-minute patio reset
Do this first, even if you plan to paint, stain, or build. It is the difference between “nice project” and “why is everything peeling already?”
- Clear and sweep: Move furniture, sweep grit, and pull weeds from cracks.
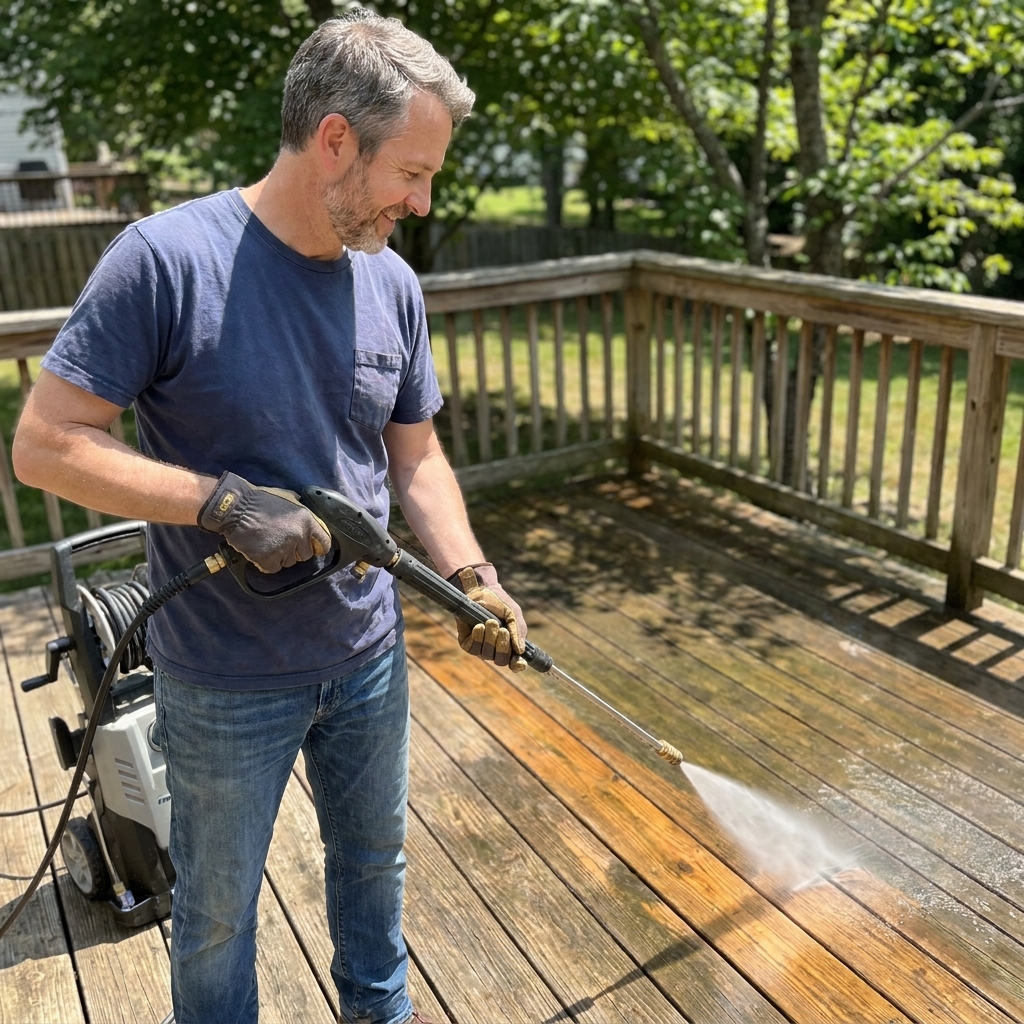
- Wash: Hose and scrub with a stiff broom and mild detergent. Use a pressure washer carefully if you have one. Keep the wand moving, use a wider fan tip, and keep a little distance so you do not carve grooves in concrete or blow out mortar joints.
- Check drainage: After rinsing, look for puddles that sit more than an hour in sun. Flag those areas so you do not trap water under a rug or furniture.
- Quick repair pass: Tighten loose pavers, set wobbly furniture aside for later, and note any trip hazards.
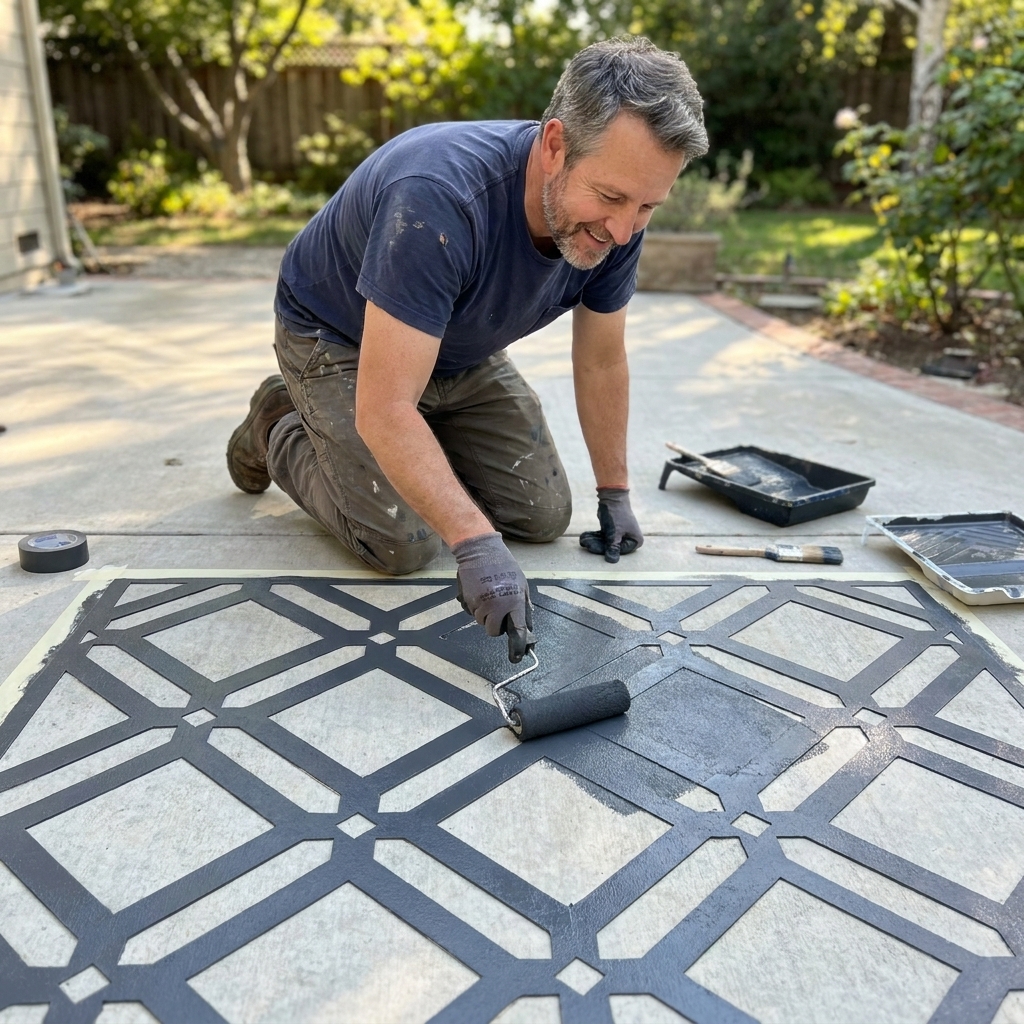
1) Stencil your concrete like it is fancy tile
If you have a plain concrete slab, stenciling is one of the biggest visual upgrades per dollar. Done right, it reads like high-end patterned tile from 10 feet away. Done wrong, it reads like… well, a craft fair. We are aiming for the first one.
Quick reality check: this section is for bare, porous concrete. If your slab is sealed, super smooth, or previously coated, you will need the right prep and compatible products or you will be back here later, scraping.
Budget range
$40 to $120 depending on paint and sealer.
What you need
- Concrete cleaner or degreaser
- Masonry primer (often optional, but helpful on older chalky slabs)
- Concrete porch and patio paint (or masonry paint)
- Stencil sheets and painter’s tape
- Small foam rollers and a stencil brush
- Clear sealer rated for foot traffic (only if the paint system calls for it and is compatible)
Weekend steps
- Saturday AM: Clean thoroughly and let dry.
- Saturday PM: Roll on base coat.
- Sunday AM: Tape stencil, use a nearly dry roller for the pattern (less paint = less bleed).
- Sunday PM: Topcoat or seal only if the paint label allows it, and only within the manufacturer’s recoat window.
Important: “Dry to the touch” is not the same as “ready for a sealer,” and cure times vary. Follow the label. Many porch and floor paints want more time before topcoats, rugs, or heavy furniture, and full cure can take several days.
Pro tip: If your patio is in full sun, pick lighter colors. Dark paint gets hot fast, especially barefoot.
Maintenance note: Expect touch-ups in traffic lanes over time. A little extra paint stored in a jar saves your future self.
2) Refresh pavers with polymeric sand (and cut down weeds)
Got pavers? Then you have weeds. It is basically a law of nature. Polymeric sand hardens when activated with water, locking joints and helping deter ants and seedlings.
Not a miracle, though: weed seeds can still sprout in windblown debris that collects on top of joints. The win is fewer weeds, not zero weeds.
Budget range
$25 to $60 for most small patios.
What you need
- Polymeric sand rated for your joint width
- Push broom
- Leaf blower (nice to have)
- Garden hose with a gentle spray setting
Weekend steps
- Dig out loose sand and weeds from joints.
- Sweep polymeric sand into the joints until full.
- Blow or sweep excess off the surface.
- Mist with water in multiple light passes (do not blast it out of the joints).
Dad-neighbor warning: Any sand left on the paver surface can haze when it cures. Take your time on cleanup.
Maintenance note: A quick sweep every week or two goes a long way. Less debris on top means less opportunity for weeds.
3) Hang string lights that do not sag
Lighting changes how a patio feels at night more than almost anything else. The trick is hanging them like you meant it.
Budget range
$25 to $100.
What you need
- Outdoor-rated LED string lights
- Guide wire (stainless steel) and turnbuckles, or a premade hanging kit
- Screw eyes or wall anchors (rated for exterior)
- Outdoor GFCI outlet access, or a plug-in GFCI adapter
Weekend steps
- Plan your attachment points. Aim for a slight slope so water drips off, not into sockets.
- Install the guide wire and tension it with turnbuckles.
- Clip lights to the wire so the weight is on the cable, not the bulbs.
Safety note: Use only outdoor-rated lights and cords. If your outlet is not GFCI protected, fix that first or use a GFCI plug adapter.

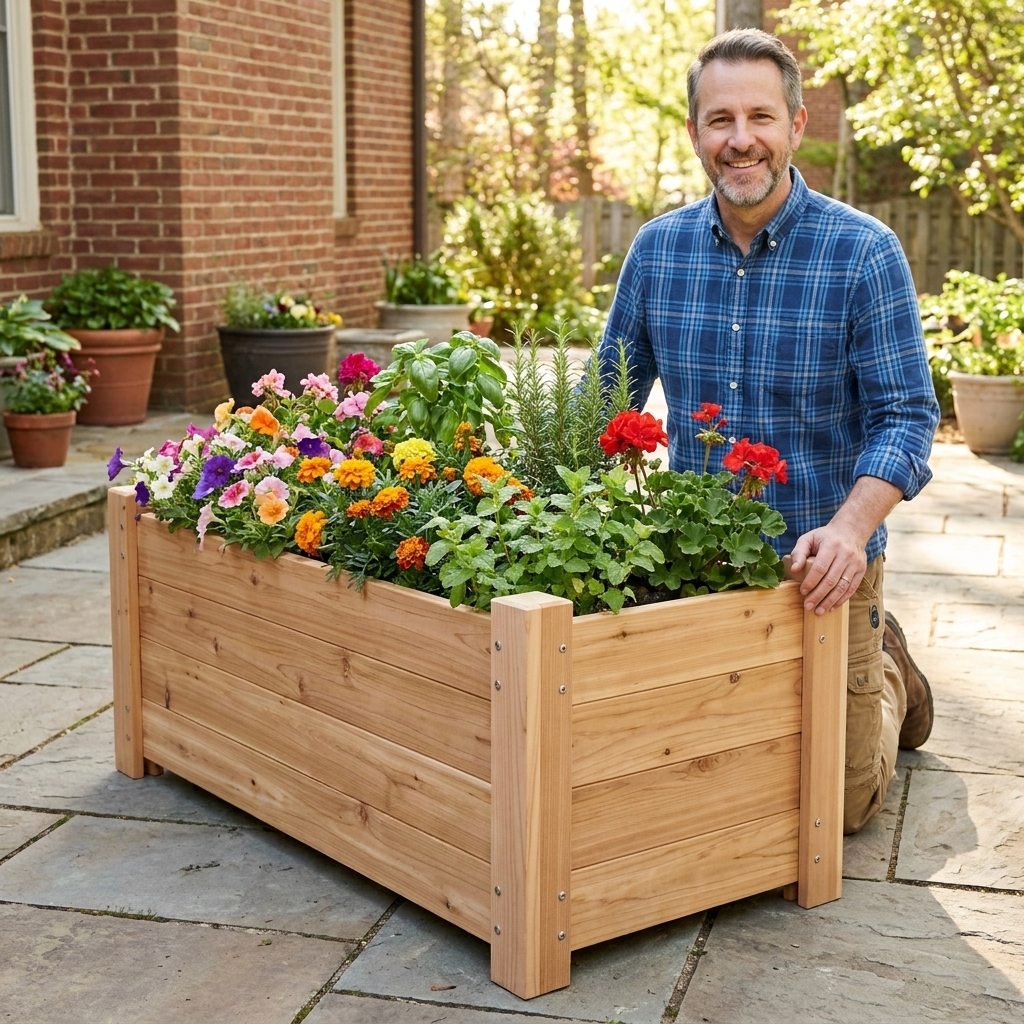
4) Build a simple planter box from fence pickets
Planter boxes add height, color, and a clean border. Fence pickets are my go-to budget lumber for outdoor builds: easy to find, easy to cut, easy on the wallet.
Budget range
$30 to $90 per box.
What you need
- Cedar fence pickets (or pressure-treated, sealed properly)
- 2x2s or 2x4s for corner posts
- Exterior screws
- Landscape fabric and staples
- Drill/driver, saw, tape measure
Weekend steps
- Cut four corner posts to height (18 to 24 inches is a nice patio size).
- Screw pickets to the posts to form the sides.
- Line with landscape fabric as a soil liner, not a waterproofing layer. Leave drainage paths so you are not trapping moisture against the wood.
- Fill with potting mix and plants.
Budget move: Plant with a few larger “thriller” plants and fill the rest with smaller annuals. It looks intentional without costing a fortune.
5) Paint or stain a tired border or step
Sometimes the patio itself is fine, but the steps or perimeter look dingy and patched. A fresh coat of masonry stain or porch paint can make the whole space feel maintained.
Budget range
$25 to $80.
What you need
- Masonry etcher or cleaner (as needed)
- Concrete bonding primer (especially if previously painted)
- Porch and floor paint or concrete stain
- Non-skid additive (worth it on steps)
Weekend steps
- Degrease and rinse. Let it dry fully.
- Prime if required by the product.
- Paint two thin coats. Add non-skid grit to the final coat on steps.
My rule: Any surface you might step on with wet feet gets traction. Pretty is great. Not slipping is better.
6) Add a gravel patio extension for less per square foot
If your patio feels cramped, you can create an adjacent gravel sitting zone for far less per square foot than pouring concrete. It also solves muddy transitions between lawn and slab.
Budget range
$80 to $250 for a small extension (size-dependent, and delivery can change this fast).
What you need
- Weed barrier fabric
- Edging (metal, plastic, or paver border)
- Base stone (like 3/4 inch minus or decomposed granite, depending on what is common in your area)
- Optional top layer: pea gravel (if you want the look) or a finer “minus” material (if you want it to feel firmer)
- Rake, tamper (hand tamper works)
Weekend steps
- Mark the area and remove sod. Depth depends on your soil and how firm you want it, but 3 to 6 inches is a more realistic starting point for a seating area than a quick skim.
- Install edging to keep gravel from migrating into your lawn.
- Lay fabric, then add base stone in lifts, tamping as you go for a stable surface.
- Top with your finish gravel if you want, rake level, then tamp lightly.
Pro tip: Crushed “minus” material compacts more firmly than round pea gravel. If you plan to place chairs, compactable base stone under your finish layer is your best friend.

7) Roll out an outdoor rug with the right pad
An outdoor rug is the fastest “outdoor living room” trick in the book. The secret is airflow underneath so you do not trap moisture on concrete or stain decking.
Budget range
$30 to $150.
What you need
- Outdoor rug (polypropylene is common and durable)
- Outdoor rug pad that allows drainage
- Utility knife and straightedge for trimming
Weekend steps
- Clean the patio first so grit does not grind into the surface.
- Cut pad slightly smaller than the rug.
- Lay pad, then rug, and square it up with the patio edges.
Moisture check: Every couple weeks, flip a corner and look underneath. If you see algae, you need more airflow or a different pad.
Maintenance note: Roll the rug back after big storms or during long damp stretches. Your patio will stay cleaner, and the rug will last longer.
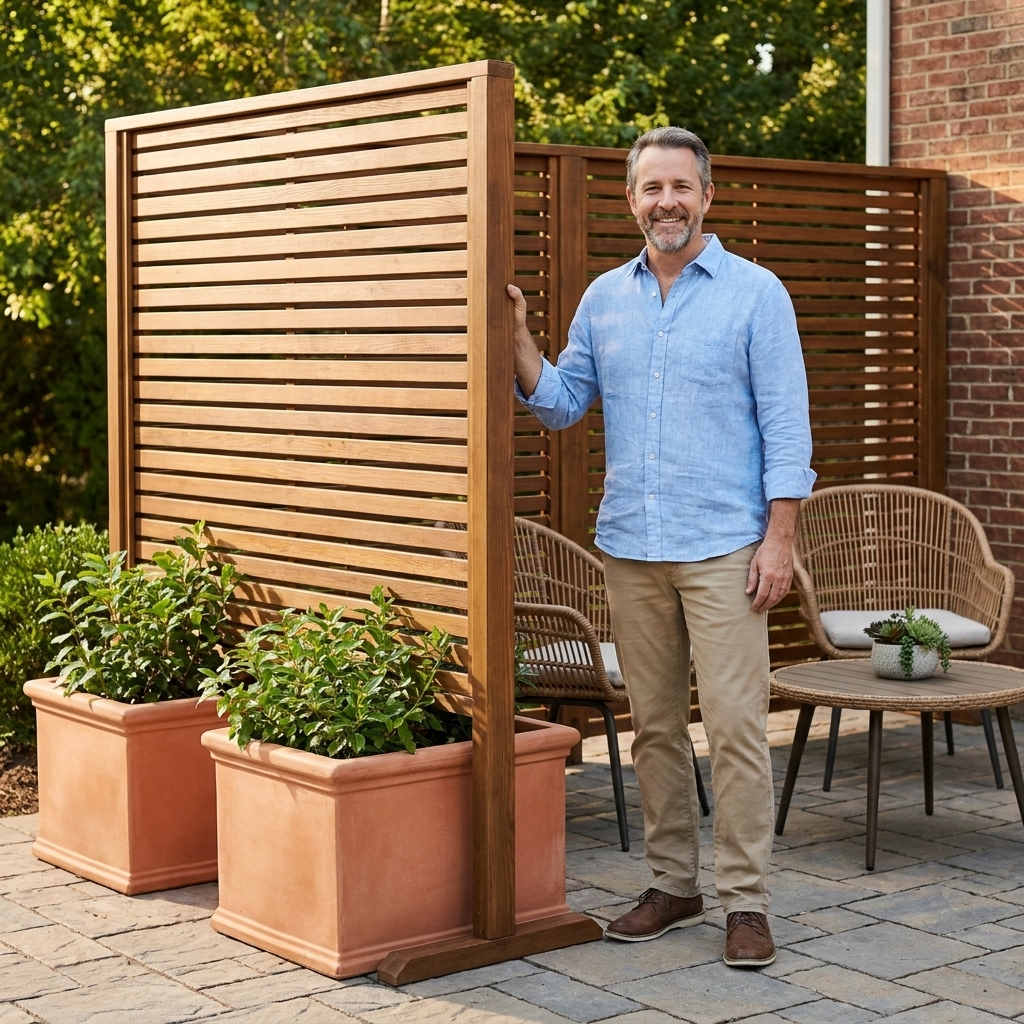
8) Make a privacy screen with simple slats
If your patio backs up to a neighbor’s kitchen window, you do not need to move. A simple freestanding screen can block views, define your space, and give you a place to hang string lights or plants.
Budget range
$60 to $200 depending on size.
What you need
- 2x3s or 2x4s for the frame (2x2s can work for shorter screens, but they like to warp if you buy the twisty ones)
- Fence pickets, lattice strips, or 1x2 slats
- Exterior screws
- Concrete deck blocks or planters for ballast
Weekend steps
- Build a rectangular frame on the ground. Pick the straightest boards you can find.
- Attach slats with consistent spacing (use a scrap block as a spacer).
- Mount the screen to deck blocks or set it into large planters filled with gravel and soil.
Wind note: Solid panels act like sails. Slats with gaps let wind pass through and stay put.
9) Upgrade seating with cushions and simple fixes
You do not have to buy new furniture to get comfortable. Most “old patio set” problems are fixable with cleaning, new feet, and fresh cushions.
Budget range
$20 to $120.
What you need
- Spray paint designed for metal or plastic (optional)
- Sandpaper or a wire brush
- Replacement chair feet or glides
- Outdoor cushion covers, or outdoor fabric and a stapler for re-covering
Weekend steps
- Tighten fasteners and scrub everything down.
- Sand rust spots, prime, then spray paint in light coats.
- Replace worn glides so chairs stop scraping.
- Refresh cushions with new covers or simple re-wrap and staple.
Comfort hack: If you have deep chairs but thin cushions, add a cut-to-size piece of high-density foam under the existing cushion. Instant upgrade.
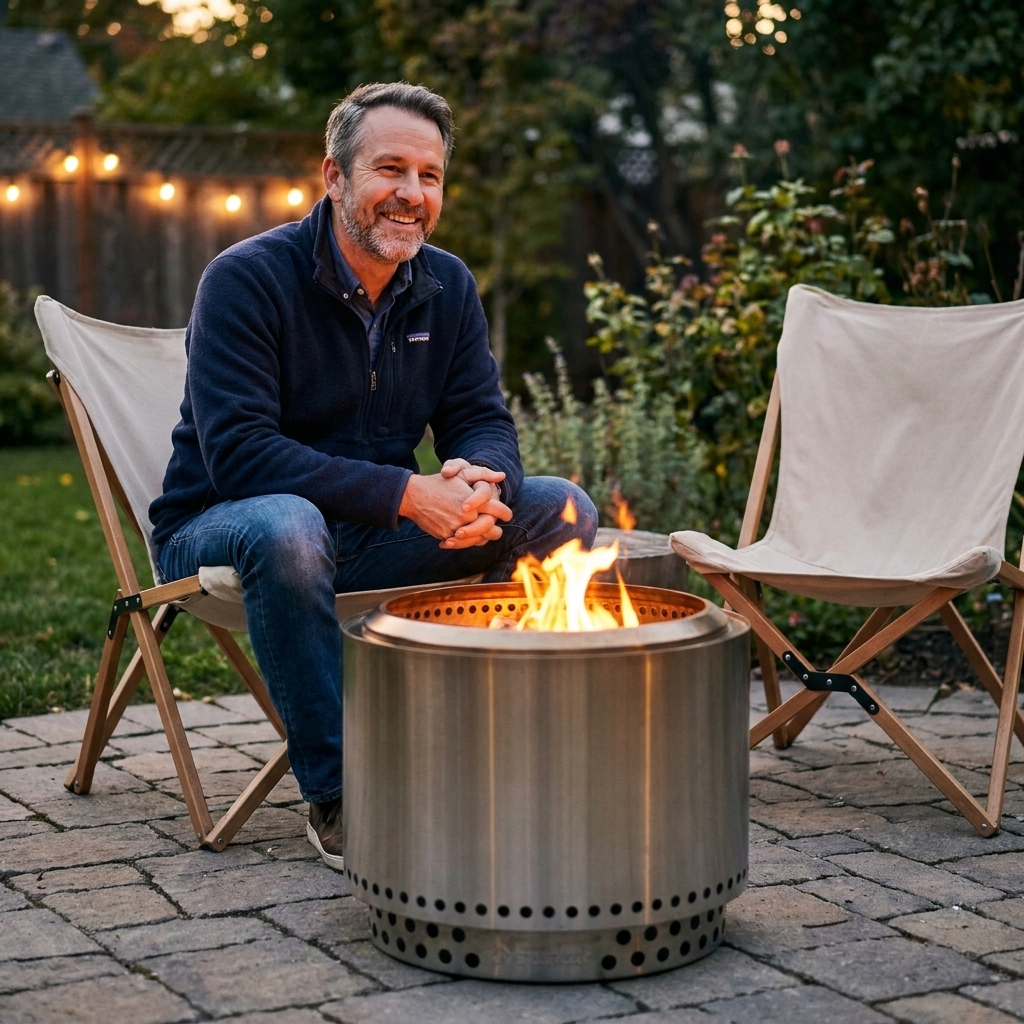
10) Build a simple fire pit area that stays friendly
Fire features are patio magnets. You can keep it budget-friendly by focusing on a tidy, code-friendly setup rather than a massive masonry project.
Budget range
$60 to $250.
What you need
- Metal fire ring or a portable fire pit
- Paver stones or crushed stone for a non-combustible base
- Shovel, level, tamper
- Bucket of water or extinguisher nearby
Weekend steps
- Check local rules: Some areas restrict open fires, distances, or burn times. If you are in an HOA, check that too.
- Read the manufacturer’s clearance requirements for your specific pit. Common guidance is often 10 to 25 feet from structures, but your local rules and your product come first.
- Pick a spot away from structures, low branches, and fences.
- Create a level base with pavers or compacted crushed stone.
- Place the ring or pit, then add seating with safe clearance.
Safety note: Never place a wood-burning fire pit directly on a wood deck unless it is specifically designed and rated for that use with proper heat shielding and clearance.
My finish-it-Sunday shopping list
If you want the highest impact with the least running back to the hardware store, combine these:
- Lighting + rug: Instant cozy.
- Planter box + fresh joints: Looks intentional and maintained.
- Stencil or border paint + seating refresh: Biggest visual lift.
Quick FAQ
What is the cheapest patio upgrade that looks expensive?
String lights on a properly tensioned guide wire, plus a clean outdoor rug. It changes the vibe immediately and reads “designed,” not “random chairs on concrete.”
Can I stencil concrete if it has hairline cracks?
Usually, yes. Clean well, consider a concrete patch or crack filler for anything that catches a fingernail, then use paint and sealer rated for patios. Cracks that move or grow need a different fix.
Should I seal painted concrete?
Only if your paint system recommends it and the sealer is compatible. Sealing can help durability and cleanup, but the wrong combo can peel. Follow the manufacturer guidance on recoat windows and cure times, especially if you have hot sun, heavy furniture, or anything with rubber feet.
How do I keep gravel from ending up in my lawn?
Edging. Even the basic plastic edging helps, but metal edging holds a cleaner line and lasts longer.
Pick one project, finish it, then stack the wins
The best weekend upgrade is the one you actually complete. Choose one or two projects above, knock them out, then enjoy your patio like you paid a designer. If you get stuck, remember my father’s sacred garage rule: measure twice, cut once, and when in doubt, make a sandwich and come back with fresh eyes.