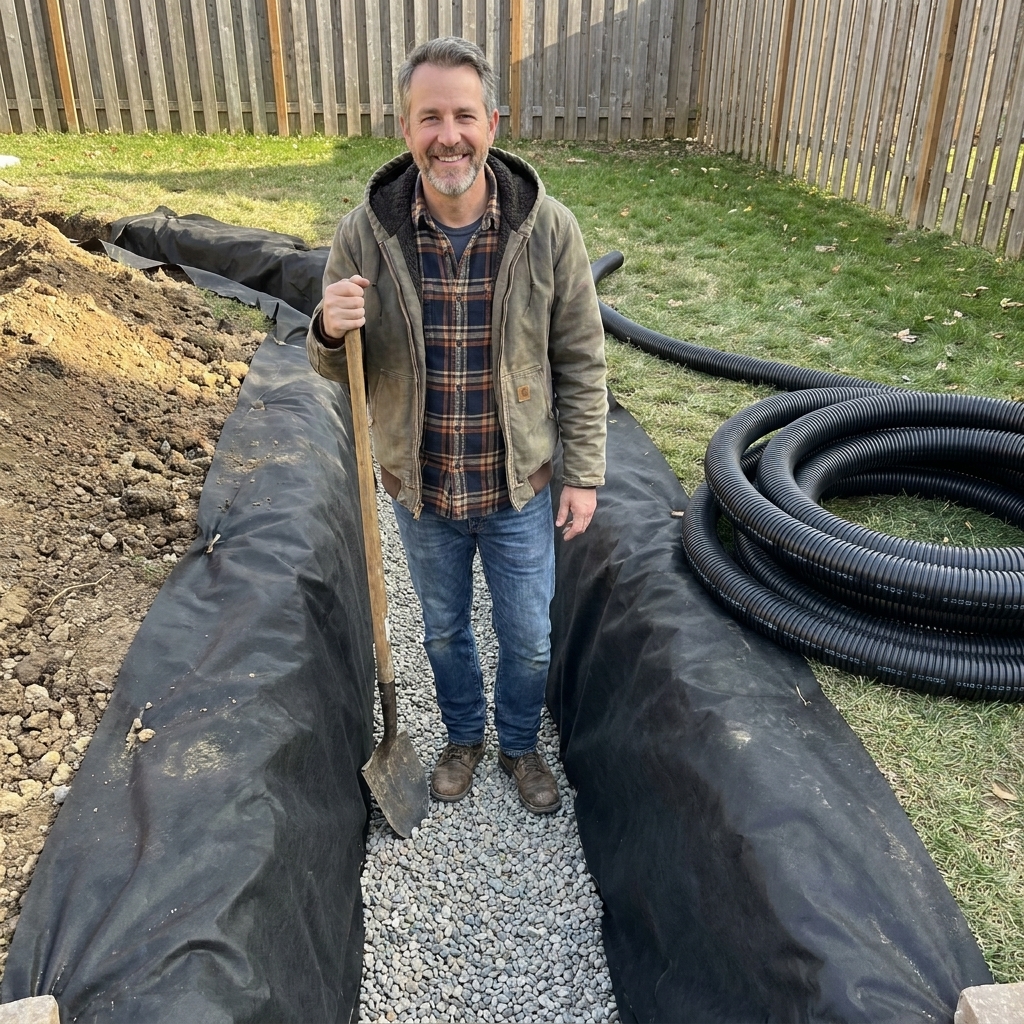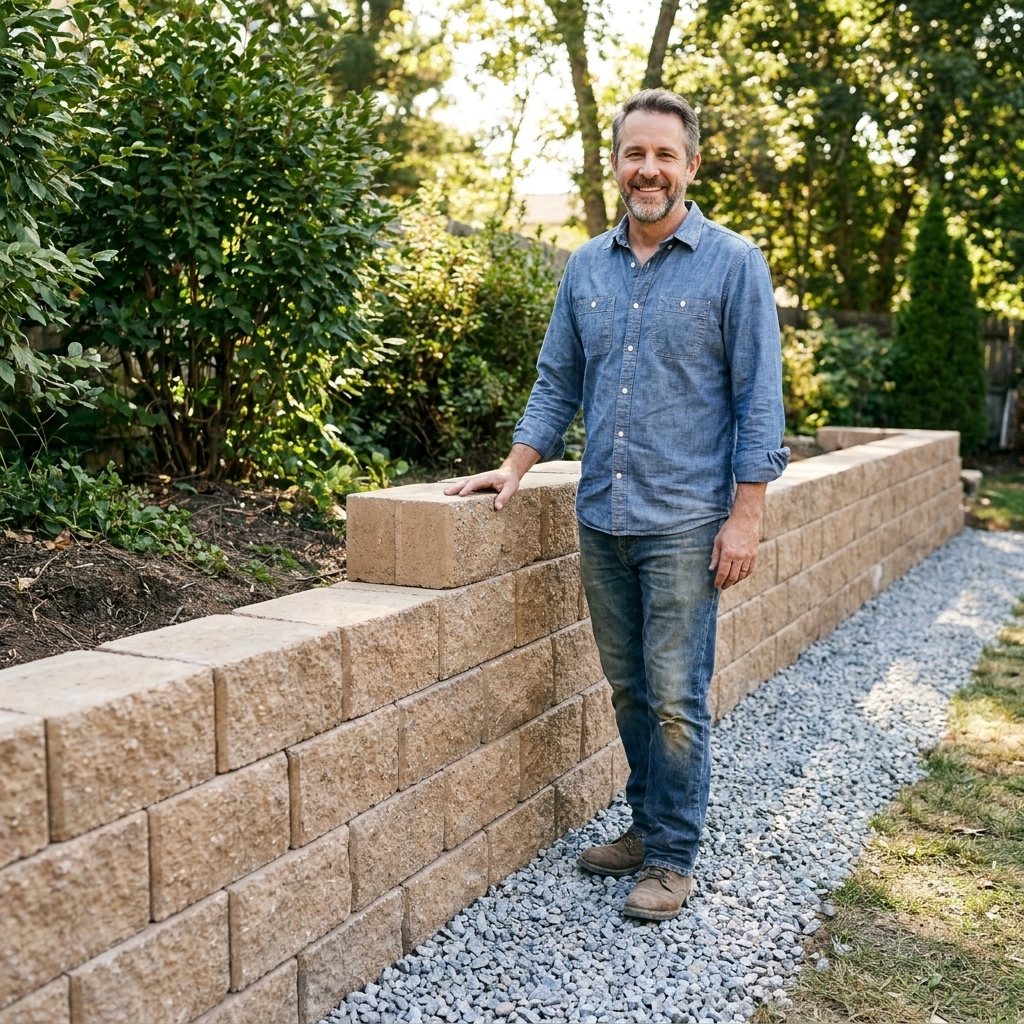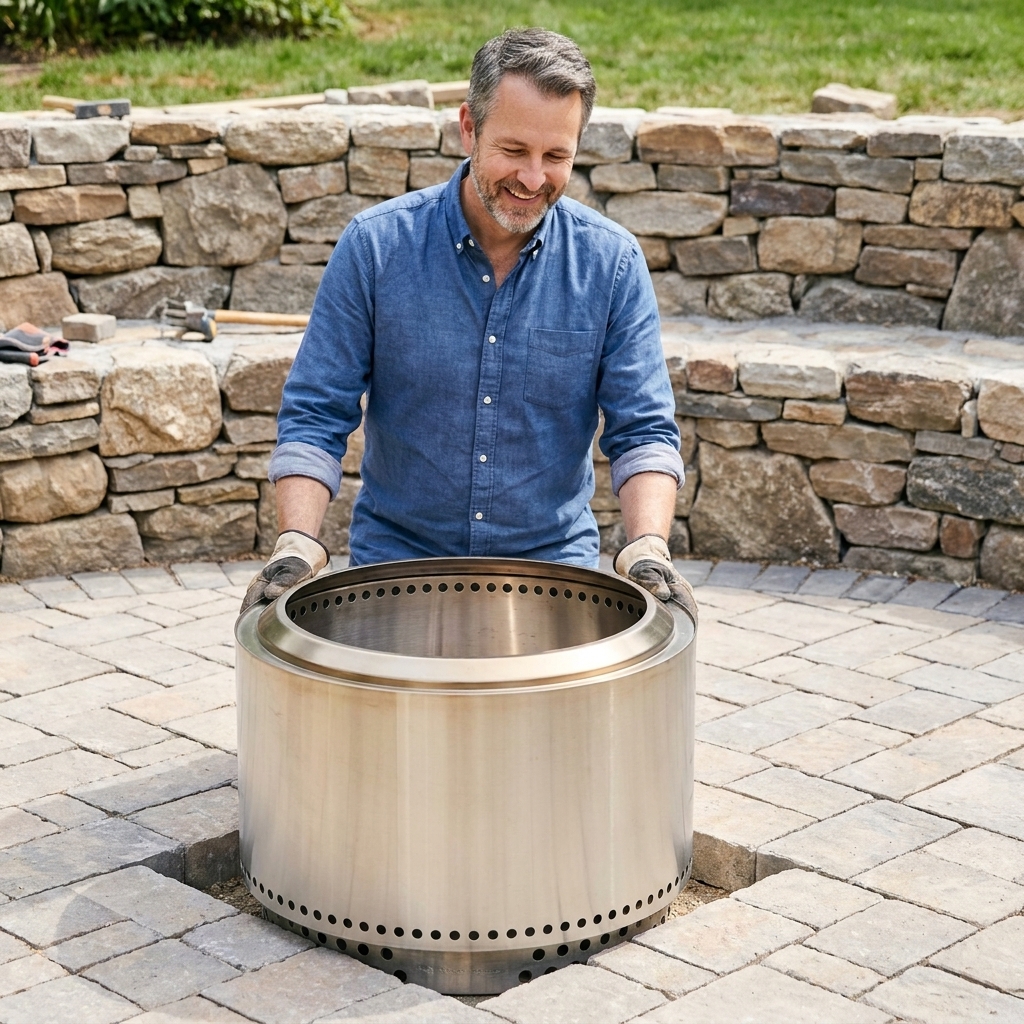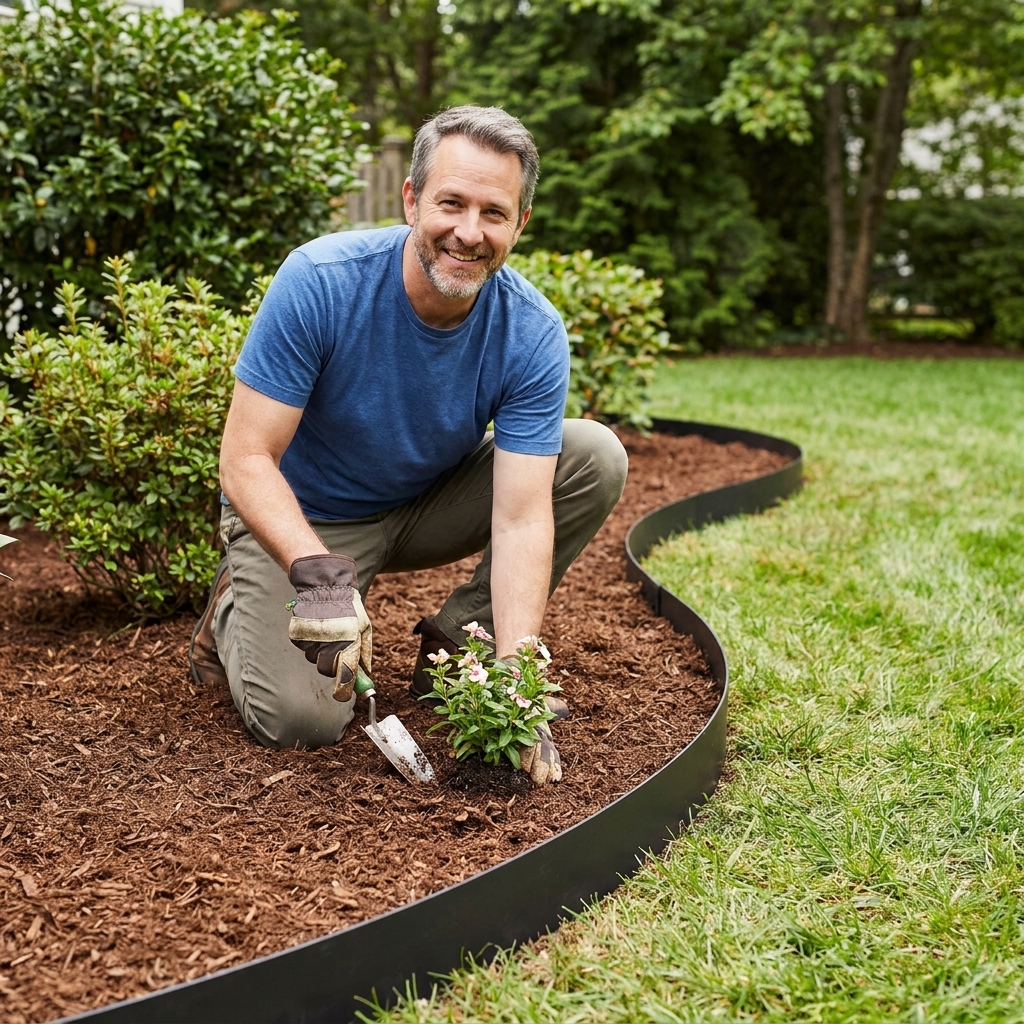
Clean, crisp garden borders are a weekend win. Here are five DIY edging methods using stone, concrete, and steel, plus a few budget-friendly classics.
home improvement and DIY
How to Lay a Sand-Set Paver Walkway

Marcus Hayes
Marcus Hayes is a lifelong DIY enthusiast and former residential carpenter who has spent the last decade renovating his 1970s fixer-upper. Through Tinksmith, he shares his hands-on experience to help fellow homeowners tackle repairs, choose the right tools, and build spaces they love without breaking the bank.
Published October 17, 2026
Updated October 17, 2026
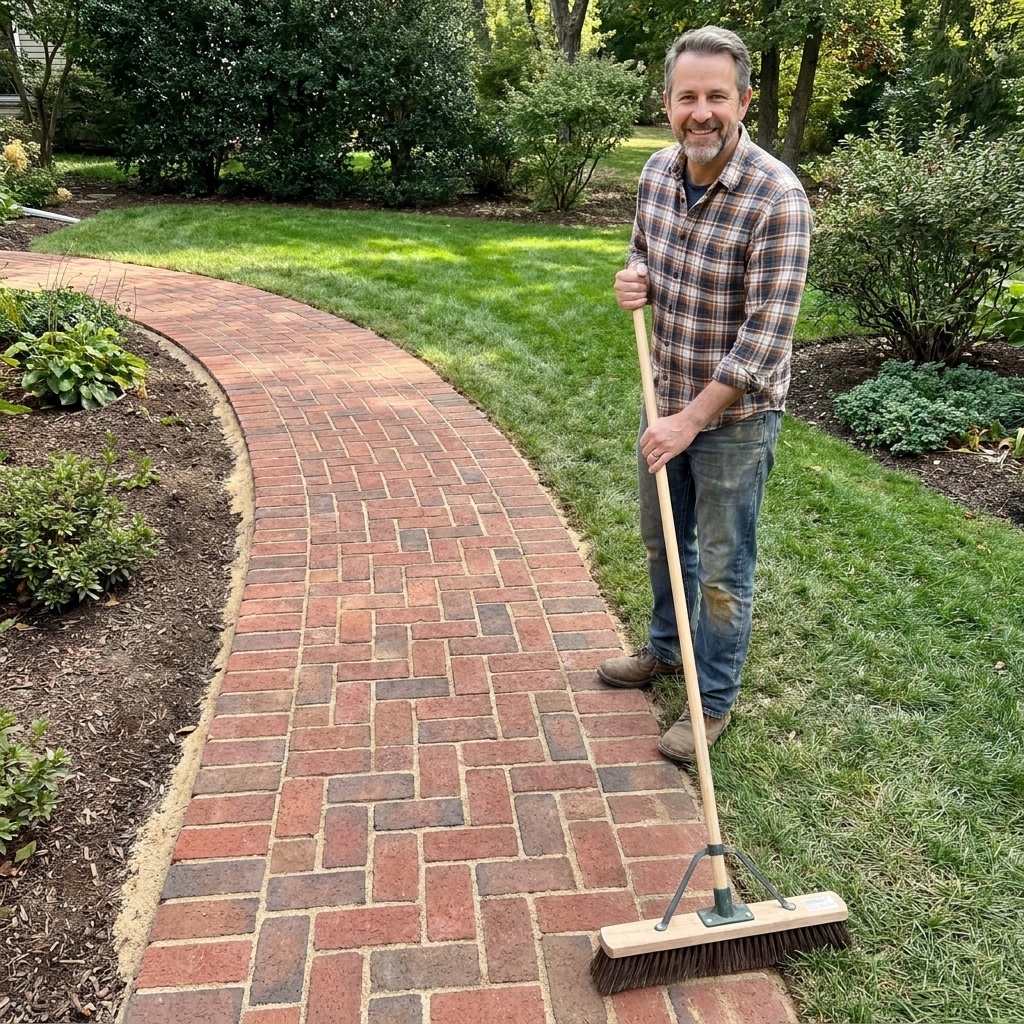
A sand-set paver walkway is one of my favorite weekend warrior projects because it feels like magic: you start with an ugly strip of lawn or mud and end with a clean, solid path that looks like it came with the house. No concrete truck. No mortar. Just good prep, a level base, and a little patience.
This guide walks you through doing it from scratch, including the parts people love to skip, like compaction and edge restraint. Spoiler: skipping those is how you get the “wave pool walkway” effect after the first winter.
Sand-set vs. mortar-set
Sand-set pavers sit on a compacted gravel base with a thin bedding layer of sand underneath. The joints are filled with sand, often polymeric sand for better lock-up. This approach is ideal for:
- Walkways and patios with light foot traffic
- DIY builds where you want adjustable, forgiving installation
- Freeze-thaw climates since the system can flex a bit instead of cracking like rigid mortar
Skip sand-set if you are building a steep slope, supporting vehicle traffic (unless you design and compact a proper driveway base), or have chronic water issues you cannot redirect.
Planning basics
Pick a width
For a comfortable walkway, I like 36 inches minimum. If two people regularly walk side by side, consider 42 to 48 inches.
Decide where water goes
Your walkway should shed water, not dam it. Aim for 1/8 to 1/4 inch drop per foot (roughly 1 to 2 percent slope) away from your house or toward a planting bed or yard. The right number depends on rainfall, surface texture, and how much you hate puddles. More slope drains better, but too much can feel awkward to walk on. Find the sweet spot for your site.
Also, do not pitch water toward your foundation. If the walkway ties into a threshold, steps, or a tight landing, take a minute to think through where runoff goes so you do not build yourself a nice little moat by the door.
You can build slope along the length of the path, across the width, or both, as long as water does not pool.
Estimate materials
- Measure area: length × width = square feet.
- Add 5 to 10 percent for cuts and waste.
- Pavers: use the manufacturer’s coverage rate, or calculate based on paver size.
- Gravel base: typical walkway base is 4 to 6 inches compacted. In colder climates, clay soils, poor drainage, or severe freeze-thaw, it is not unusual to go thicker. Some regions and specs push 8 inches or more. If you want a walkway that survives winters without drama, check local frost depth guidance and your paver manufacturer’s recommendations.
- Bedding sand: about 1 inch loose screeded. After you compact the pavers later, it typically seats down a bit (often closer to 3/4 inch). That is normal.
- Joint sand: depends on paver thickness and joint width, but buy a little extra. You will use it.
If you want a simple way to control grade, set string lines at your planned finished height (or just above it), then measure down to keep your base and sand thickness consistent as you work.

Tools and materials
Tools
- Measuring tape
- Marking paint and stakes with mason line
- Flat shovel and spade shovel
- Rake
- Wheelbarrow
- Hand tamper or, preferably, a rented plate compactor
- 4-foot level or a straight 2x4 with a level
- Rubber mallet
- Broom
- Wet saw or angle grinder with a diamond blade (for cuts)
- Safety glasses, hearing protection, dust mask, gloves
Materials
- Pavers (plus 5 to 10 percent extra)
- Base gravel: “paver base,” “road base,” or 3/4-inch minus crushed stone (angular, compactable)
- Bedding sand: coarse concrete sand. Avoid play sand or mason sand for bedding unless your local spec says otherwise.
- Edge restraint: plastic or aluminum paver edging plus spikes, or a concrete edge
- Joint sand: polymeric sand recommended for better lock-up and less maintenance
- Geotextile fabric (optional, depends on soil and site conditions)
Dad-level reminder: if a store employee recommends pea gravel for the base, smile politely and back away slowly. Pea gravel is round and does not compact into a stable base.
Step-by-step
1) Mark the path
Use a garden hose to “sketch” curves, then paint the outline. For straight runs, use stakes and mason line. Mark both sides of the walkway, not just the centerline. This saves you from accidentally building a 29-inch walkway when you planned for 36.
2) Excavate to depth
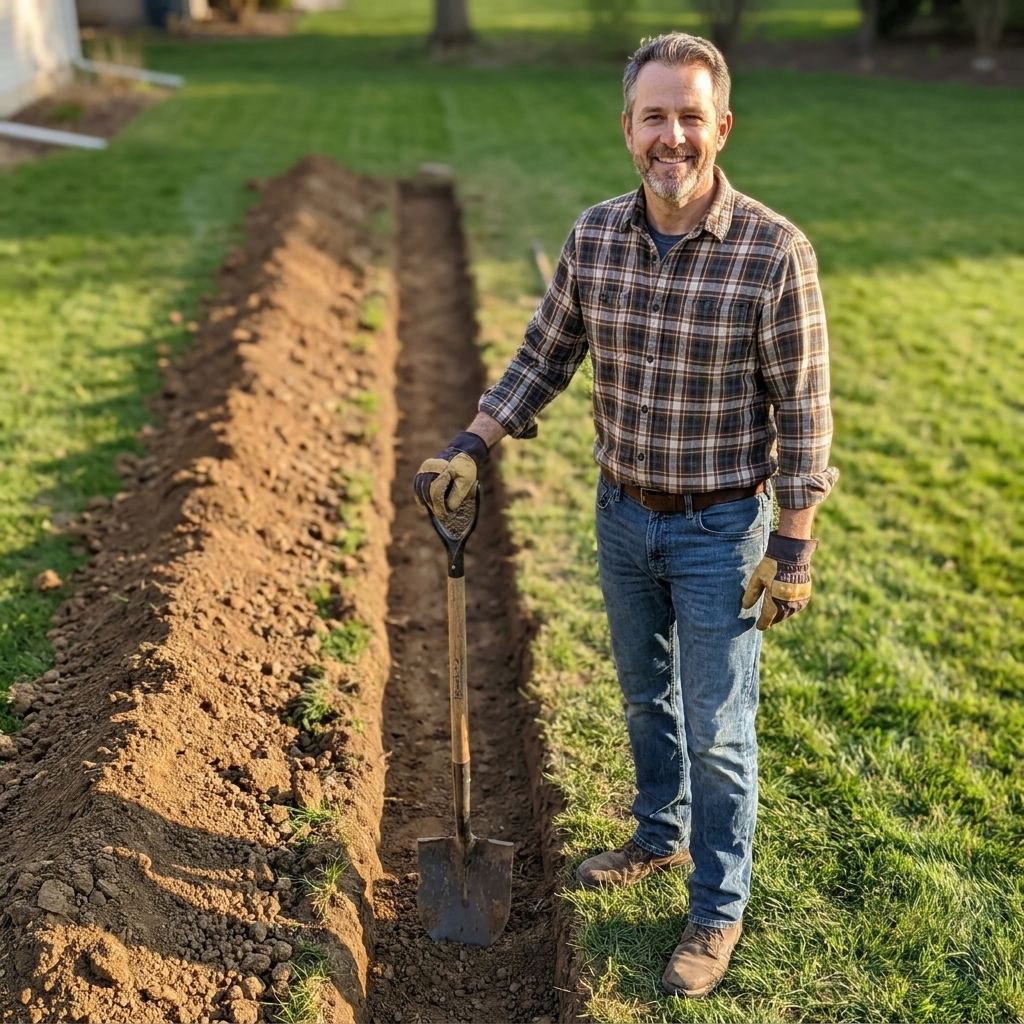
You are digging for:
- Paver thickness (often 2 3/8 inches)
- About 1 inch bedding sand
- 4 to 6 inches compacted base (or more if your site and climate demand it)
In real life, that usually means excavating about 8 to 10 inches below your finished height. You are rounding up on purpose so you have room to correct grade, hit your slope cleanly, and not end up with the pavers sitting proud of the lawn. If your walkway will meet an existing patio, driveway, or step, set your finished paver height to match those surfaces.
Pro tip: call 811 before you dig. Hitting a line is a terrible way to meet your neighbors.
3) Shape the subgrade
The bottom of your excavation is the “subgrade.” Rake it reasonably smooth and build in your intended slope now. If the subgrade is lumpy, your base thickness will be lumpy, and then your pavers will do the backyard wave later.
If your soil is soft or you dug after rain, let it dry a bit. Compacting mud just makes compacted mud, which is not the same thing as a stable foundation.
4) Add and compact base in lifts
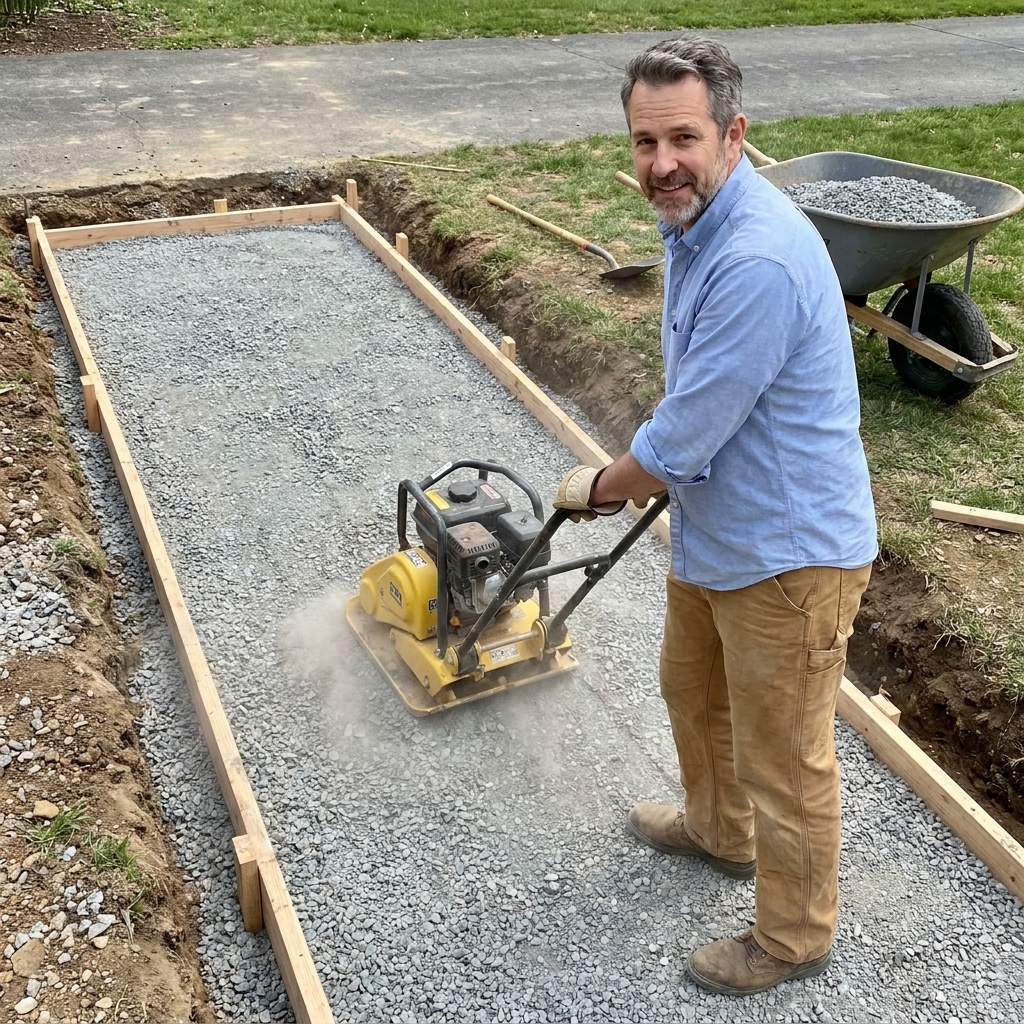
This is the make-or-break step. Spread the gravel in 2-inch lifts, then compact each lift before adding the next. Repeat until you reach your target base thickness.
- Use a plate compactor if you can. For anything longer than a few feet, it is worth the rental.
- Lightly mist the gravel with water before compacting if it is dusty. Not soaked, just damp.
- Check grade often with a straightedge and level, or measure from string lines you set earlier.
When you are done, the base should feel hard and tight underfoot, not crunchy or squishy. And yes, keep your slope consistent. Your base is not supposed to be level if the finished walkway is not level.
5) Add geotextile if needed
Geotextile is not required everywhere, but it can be a lifesaver in the right spot. It helps keep the base from slowly mixing into soft soil (and losing thickness over time).
- It helps most in silty soils, clay, areas that stay wet, or anywhere the ground feels soft underfoot.
- You can often skip it in well-draining, firm, granular soils that do not pump mud up into your base.
If you use it, choose a separation geotextile made for hardscape and install it between soil and base, not between the base and bedding sand.
6) Install edge restraints
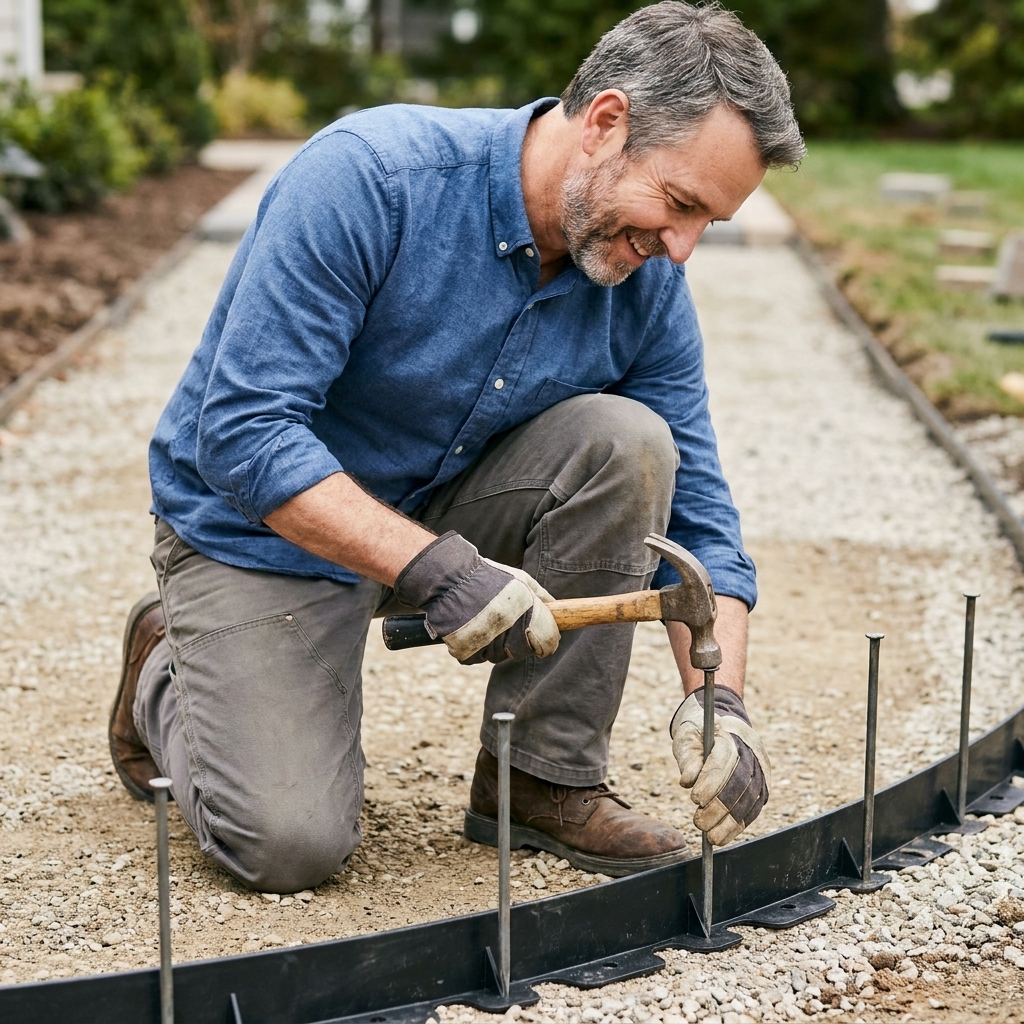
Edge restraint keeps the pavers from slowly migrating outward. Without it, joints open up, corners loosen, and you will be out there in a year muttering at your own past self.
You can install edging now (on the compacted base) or after you lay the pavers, depending on the product. Follow the edging manufacturer’s instructions, but the general idea is:
- Edging sits on the compacted base, tight to the pavers.
- It is anchored with long spikes driven through the edging into the base.
- Curves need more spikes than straight sections.
7) Screed the bedding sand
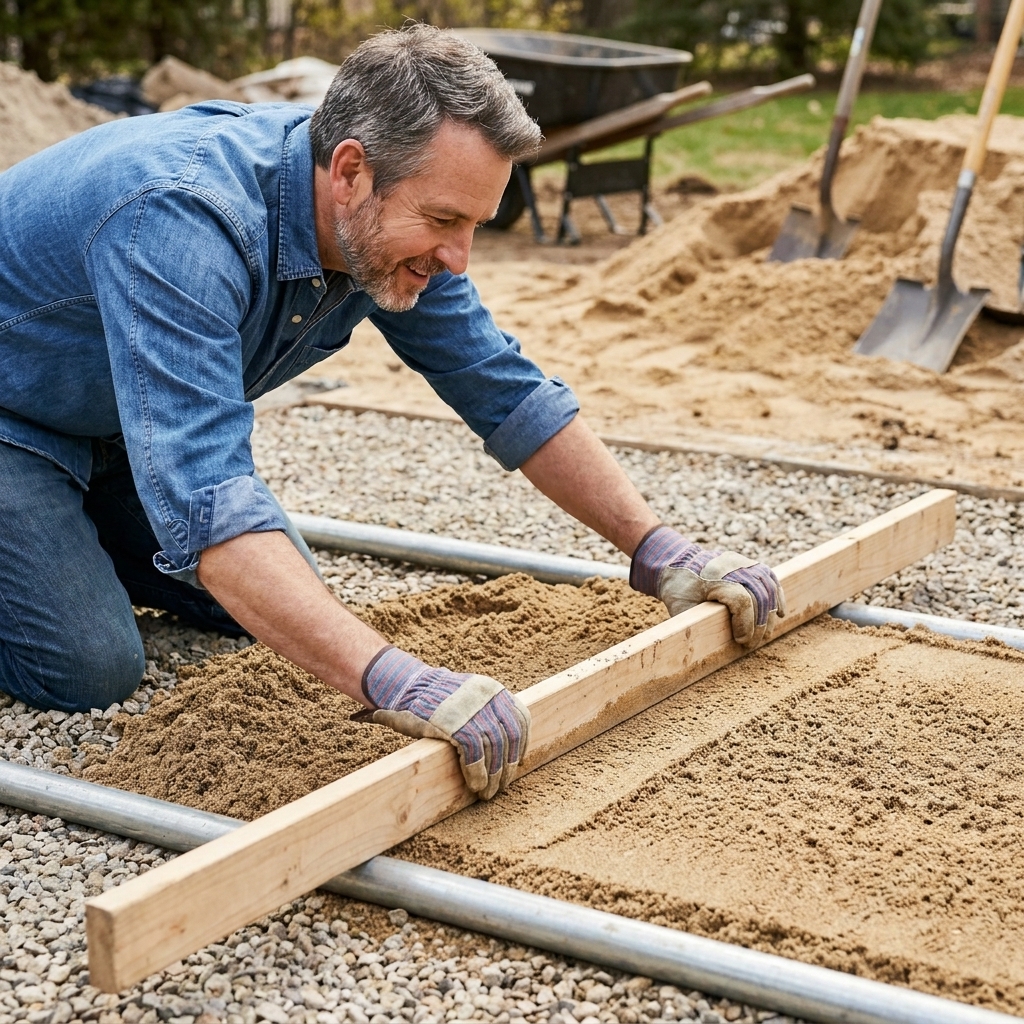
Spread about 1 inch of bedding sand over the compacted base. Then screed it flat.
The easiest screed method:
- Lay two 1-inch pipes or straight rails on the base, parallel to each other.
- Shovel sand between them.
- Pull a straight 2x4 along the rails to level the sand.
- Remove rails and fill the grooves with sand.
Important: do not compact the bedding sand before laying pavers. You compact the base, screed the sand, then compact after the pavers are down. Also, do not walk all over your perfectly screeded sand. Treat it like a birthday cake you just frosted.
One more easy-to-miss detail: the bedding sand should follow the same slope as the base. Do not “level it out” just because it looks nice. If the base slopes and the sand is level, your pavers will tell on you later.
8) Lay pavers
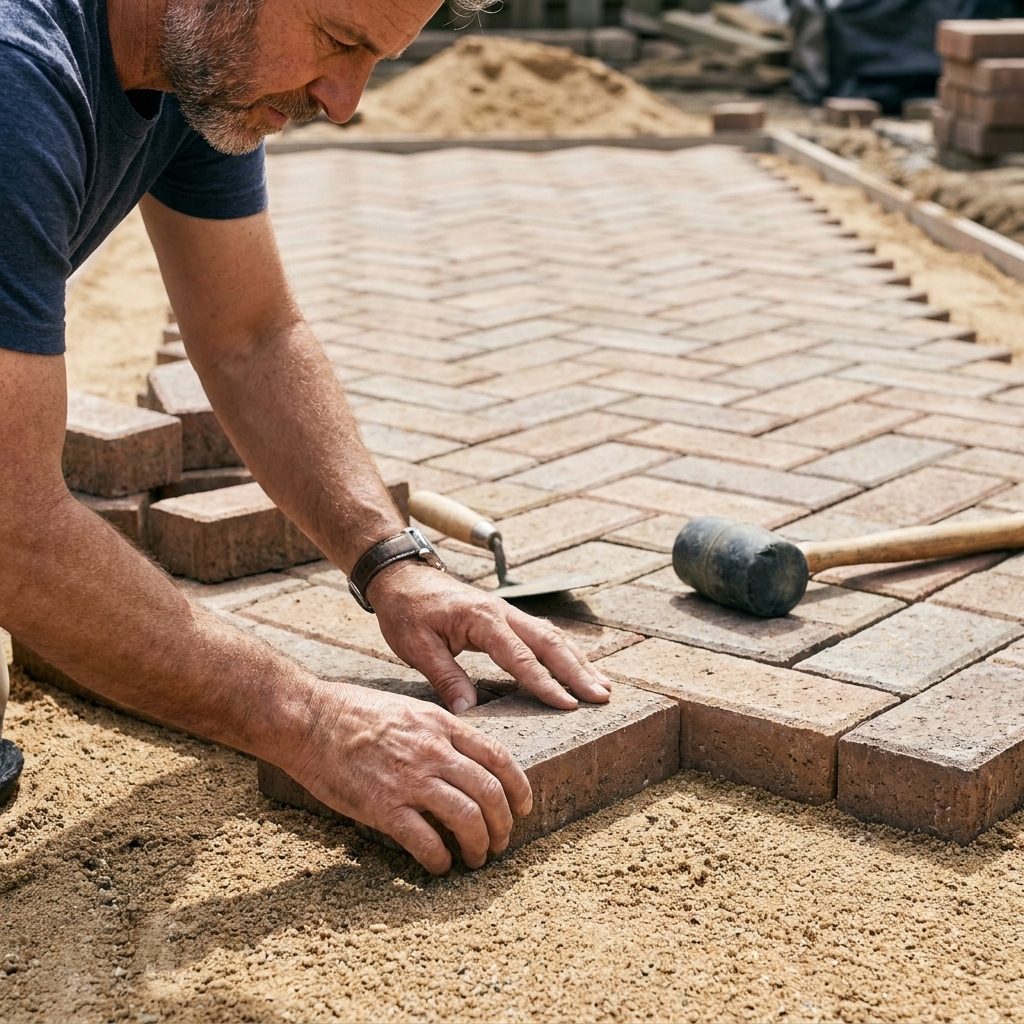
Start from a straight edge when possible, like a patio, driveway, or a snapped line. Place pavers gently onto the sand, then snug them up to the previous paver without shoving so hard you mess up your screed.
- Work from the laid pavers, not from the sand.
- Set, do not slide. If a paver needs persuasion, lift it, reset it, and tap it down with a rubber mallet.
- Keep joints consistent. Many pavers have built-in spacers. If yours do not, use small spacers or eyeball carefully.
- Check alignment every few rows with a string line or straightedge.
If you are doing a running bond or herringbone pattern, commit to it early and keep your lines true. Patterns are like toddlers. Give them an inch and they take a mile.
9) Cut pavers at the edges
Once the field is laid, mark your cut pieces. A wet saw makes the cleanest cuts with the least dust, but an angle grinder with a diamond blade works too.
- Wear eye and hearing protection.
- Use a respirator or dust mask, especially with a grinder.
- If you want a tight fit, cut slightly oversized, test-fit, then trim a hair at a time.
Install cut pieces as you go, and avoid slivers thinner than about 1 inch. Tiny cuts love to wiggle loose later.
10) Lock in the edges
If you did not install edge restraint earlier, do it now, snug against the pavers. This is not optional if you want the walkway to stay tight.
Once edging is in, backfill along the outside with soil or gravel and tamp it lightly to support the edging.
11) Compact the pavers
Run a plate compactor over the pavers to seat them into the bedding sand. This is where everything firms up and becomes one surface. It also compresses that bedding layer down from “loose screeded” to its final working thickness.
- Use a protective pad on the compactor (many rentals have one) to avoid scuffing or chipping pavers.
- Some softer, tumbled, or higher-profile pavers can be more prone to surface scuffing. Manufacturer specs rule here. If the paver maker says “no plate compactor,” believe them and follow their method.
- Make a few passes in different directions.
- Re-check for low spots as you go.
If you find a low paver, pull it up, add a little sand, re-set it, and compact again.
12) Sweep in joint sand
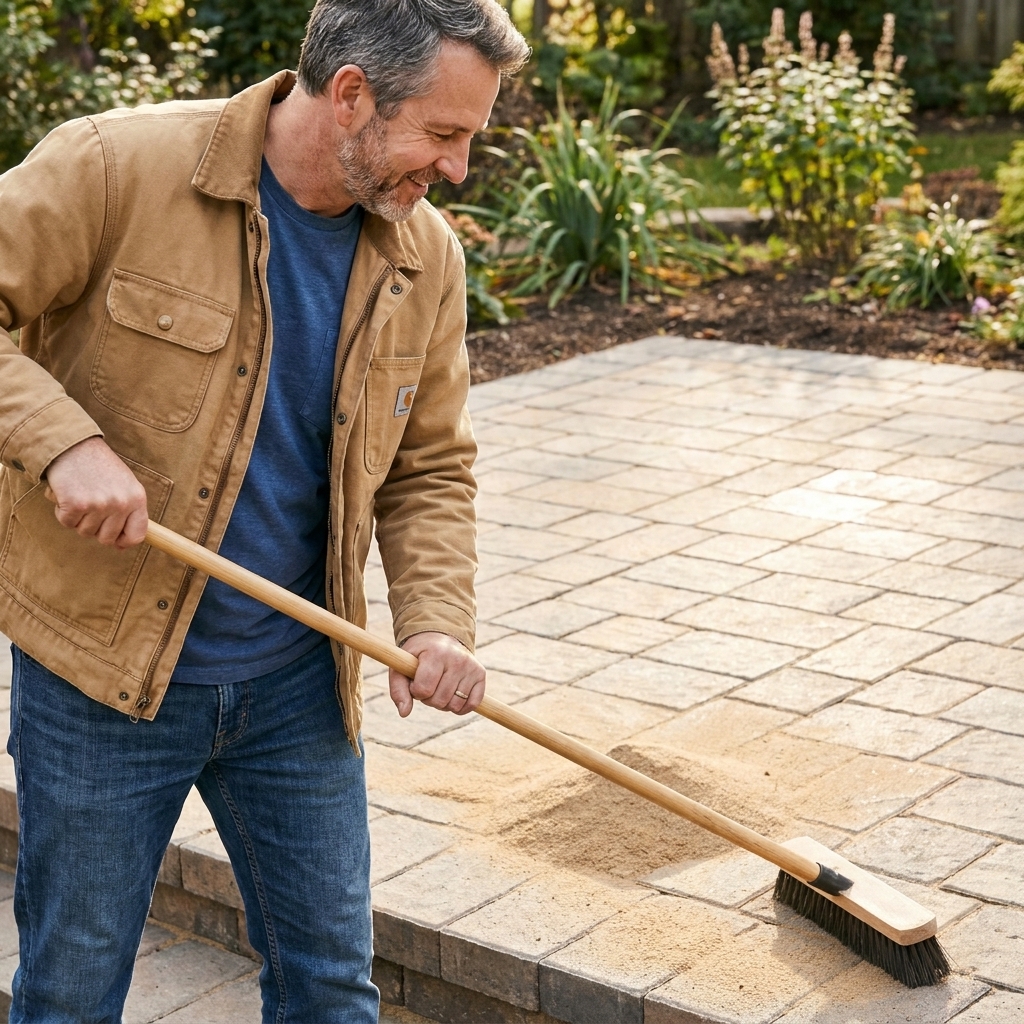
Now the satisfying part. Sweep joint sand across the surface until all joints are full. If you are using polymeric sand:
- Make sure the pavers are dry before you start.
- Sweep it into joints thoroughly.
- Blow or sweep excess off the paver faces carefully.
- Follow the bag directions for watering. Usually it is a gentle mist, in passes, not a firehose.
Polymeric sand helps reduce weeds and ants, but it does not make them impossible. Most weeds that show up later are basically freeloaders growing in windblown dirt on top of the joints.
If you are using regular joint sand, expect to top it off after a few rains as it settles.
13) Final cleanup and first-week care
- Keep foot traffic light for 24 to 48 hours if you used polymeric sand, or per product directions. Avoid carts, wheelbarrows, and aggressive sweeping until it sets up.
- Do a final sweep after the first rain to check joints.
- Watch for puddles. Minor low spots can be corrected early by lifting pavers and adjusting sand.
Common mistakes
- Not digging deep enough: results in a thin base that settles. Dig for the full base depth your site needs.
- Using the wrong base material: choose angular crushed stone that compacts.
- Skipping compaction lifts: compact in layers, not all at once.
- No edge restraint: pavers spread, joints open, walkway loosens.
- Too much bedding sand: more than about 1 inch loose screeded can shift and rut.
- Bad drainage: any water that sits will eventually move your pavers.
- Breaking the slope: a sloped base with level sand (or level pavers) is a recipe for puddles and settling.
FAQ
Do I need landscape fabric?
Sometimes. Fabric can help separate gravel from soft soil and reduce base contamination, especially in clay or silty soils. It is not a substitute for proper base thickness and compaction. If you use it, place it between the soil and the gravel base, not between gravel and bedding sand. Use a geotextile intended for separation under aggregate.
How deep should the base be?
For most foot-traffic walkways, 4 inches compacted is a common minimum. In freeze-thaw climates, soft ground, or poorly draining soils, 6 inches or more is often worth it. Local conditions and manufacturer specs can push this higher, including 8 inches plus in some areas.
Can I lay pavers on sand only?
You can, but it is more likely to settle, shift, and grow weeds. The compacted gravel base is what keeps everything stable long-term.
Polymeric sand or regular sand?
For walkways, I prefer polymeric sand because it locks joints better and usually means fewer weeds and less joint washout. It costs more, but it is one of those “buy once, cry once” upgrades that often pays you back in less maintenance.
How do I fix a low paver later?
Pop the paver out with two flat screwdrivers, add or remove a bit of bedding sand, set it back, and re-seat it with a rubber mallet. Then re-sweep joint sand into the gaps.
Last advice
If you only have the energy to do one part perfectly, make it the base. Pavers are basically fancy hats for your gravel foundation. Build the foundation right and your walkway will look crisp for years. Build it sloppy and you will get very familiar with the phrase “I can fix that next weekend.”