
A beginner’s step-by-step guide to installing subway tile: prep, layout, thinset, cuts, grout, and caulk, plus practical tips to avoid rookie mistakes.
home improvement and DIY
Best Laser Levels for Tiling, Framing, and Hanging Cabinets

Marcus Hayes
Marcus Hayes is a lifelong DIY enthusiast and former residential carpenter who has spent the last decade renovating his 1970s fixer-upper. Through Tinksmith, he shares his hands-on experience to help fellow homeowners tackle repairs, choose the right tools, and build spaces they love without breaking the bank.
Published October 17, 2026
Updated October 17, 2026
If you have ever stepped back from a tile wall and noticed a slow, sneaky drift, you already understand the magic of a good laser level. Same story with cabinets: once that run is up, your eyes will find every wobble forever. The right laser does not just project a line. It buys you confidence, speed, and fewer “well, it is close” compromises.
This guide is how I’d explain laser levels to a neighbor leaning on the fence: which types actually help for tiling, framing, and cabinet installs, and which features matter in the real world, not just on the box.
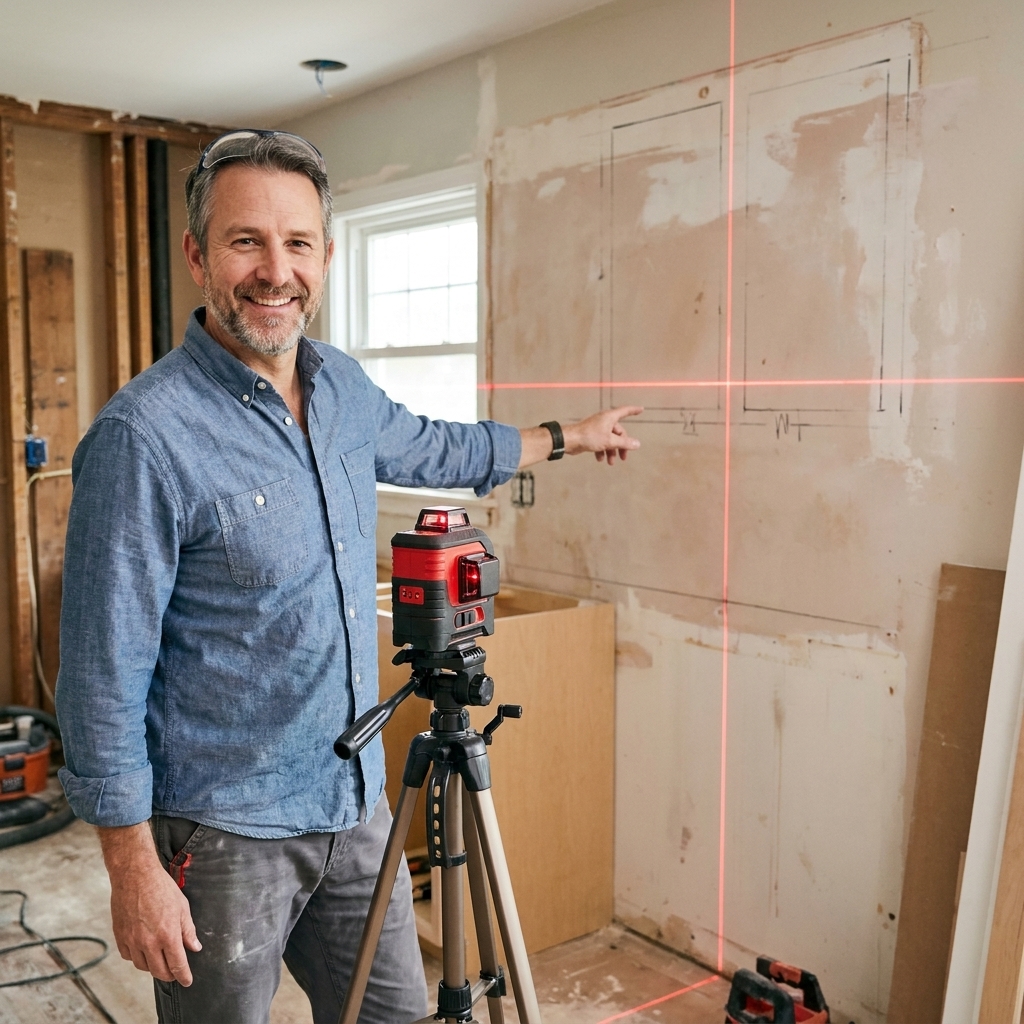
Quick picks by project
- Best for hanging cabinets and trim: DeWalt DW088K cross-line (simple, tough, accurate for indoor layout)
- Best for tiling big walls and floors: A true 3x360 green multi-plane laser (full-room reference lines, verify receiver support before you buy)
- Best for framing and remodel layout: A 3x360 green laser on your battery platform (fast transfers, jobsite-friendly)
- Best value for DIY weekend projects: Huepar 3x360 kits (verify the exact model) (features-first option, but confirm plane count and included accessories)
- Best for exterior work and bright rooms: A receiver-ready laser plus the matching receiver (do not guess, detect)
- Best budget cross-line: Any reputable red cross-line with a pendulum lock (fine indoors, especially in smaller or dimmer rooms)
My rule of thumb: For cabinets, a rock-solid cross-line is usually enough. For tile layout, 360-degree planes are a huge quality-of-life upgrade. For framing, durability plus fast setup wins.
Fast decision helper
- One wall, one job: cross-line (cabinets, trim, shelving).
- Multiple walls, turning corners: 3x360 (tile, whole-room layout, remodel marking).
- Outdoors or sun-soaked spaces: receiver-ready (or step up to a rotary laser for big elevation work).
Pick the right type
If you want the quickest way to self-select, think in terms of how many reference lines you need at once, and how often you turn corners.
- Cross-line: best when you just need one level line and one plumb line for a single wall, like cabinets, shelving, wainscoting, and trim.
- 3x360 (three-plane): best when you want a full-room grid. Typically that means one 360-degree horizontal line plus two 360-degree vertical lines at 90 degrees to each other.
- Rotary laser: best for outdoor leveling and long distances where you care about elevation across a yard, driveway, or site.
Important: “Receiver-ready” is not a separate body style. It is a feature. You can find it on some line lasers and most rotary setups, and it is the difference between “I can kind of see it” and “I can measure with it” in bright conditions.
On spec sheets, receiver support is often described as pulse mode, outdoor mode, or receiver mode. Different words, same idea: a receiver can only help if the laser is built to work with one.
How to choose a laser level
1) Line type: cross-line vs 360
Cross-line lasers project one horizontal and one vertical line. They are perfect for cabinets, shelves, wainscoting, pictures, and basic layout.
360-degree (multi-plane) lasers throw a line all the way around the room. For tile, framing layouts, ceiling grid, chair rail, and aligning multiple walls, they are a massive time saver.
2) When a cross-line beats 3x360
I like 3x360 lasers a lot, but cross-line still wins in a bunch of real projects: they cost less, the controls are usually simpler, they tend to feel less fussy on a cramped job, and there are fewer lines to accidentally reference when you are tired. If you are working on one wall at a time, a good cross-line is often faster than overthinking a full-room grid.
3) Color: green vs red
Green looks brighter to the human eye at similar power, which makes it easier to see indoors, especially in bright spaces. It usually costs more and often uses more power, which can mean shorter runtime depending on the tool and battery type.
Red is usually cheaper and still totally workable indoors, particularly in smaller rooms or dimmer light.
4) Self-leveling range and lock
Most self-leveling lasers correct themselves within about ±3 to ±4 degrees (check the spec). Outside that, they blink or beep to tell you to stop kidding yourself and move the tripod.
Look for a pendulum lock. Locking the pendulum protects the internal mechanism during transport and lets you intentionally set lines at an angle for stair rails or accent tile patterns. (Most do have a lock, but it is worth confirming.)
5) Accuracy (the spec that matters)
Manufacturers list accuracy a few different ways, but as a practical rule of thumb, typical consumer and prosumer lasers often land around ±1/8 inch at 30 feet, while many higher-end pro models advertise closer to ±1/16 inch at 30 feet.
One catch: brands may quote 30 feet vs 33 feet (10 m) and sometimes list separate horizontal and vertical specs. Compare like-for-like at the same distance and axis.
Also, stable setup matters just as much. A laser on a wobbly stack of paint cans is like putting racing tires on a shopping cart.
One more thing, especially in small bathrooms: when you are working at 3 to 8 feet, line thickness and a clean, sharp beam matter more than the “maximum range” headline.
6) Mounting: magnets, 1/4-20, 5/8-11, and the underrated pole
- 1/4-20 is the standard camera tripod thread.
- 5/8-11 is the beefy construction tripod thread.
- Magnetic brackets are great if you are working around steel studs or ductwork, less helpful in most homes.
- Laser pole (floor-to-ceiling) is my favorite for cabinets and tile because it is fast, stable, and does not hog floor space.
7) Receiver compatibility for bright conditions
This is where people get burned. In sun-blasted rooms or outdoors, the line can wash out hard. The fix is not squinting harder. It is using a receiver-ready laser paired with its compatible receiver.
Important: many indoor cross-line lasers are not receiver-compatible. Also, a receiver only helps if the laser has a receiver or pulse mode designed for it. If you think you will need a receiver, make sure the laser explicitly supports one and buy the receiver model the manufacturer lists for that laser.
8) Real-world visibility vs stated range
That “100 feet” or “165 feet” range on the box is often an optimistic lab number. In normal indoor light, many line lasers are clearly usable across a typical room, and in my experience that often means something like 20 to 40 feet of comfortable visibility depending on wall color and ambient light. Direct sunlight can erase the line fast, even at shorter distances. If you care about distance, plan for a receiver, or plan to work closer than the marketing suggests.
9) IP rating and jobsite toughness
Remodel dust finds everything. If you are doing framing, demo, or tile work, an IP rating (dust and water resistance) is not just nice, it is cheap insurance. If the brand does not list it, assume minimal sealing and treat it like a tool that wants to be kept clean and dry.
10) Batteries: AA vs rechargeable packs
AA-powered lasers are convenient and easy for occasional DIY use. Rechargeable and platform-based lasers (like the ones that run on the same batteries as your drill) are great when you are using a laser all day. Either way, keep spare power on hand. The battery always dies right when you are holding a cabinet in place. It is a law of physics.
11) Calibration and service
Lasers are measuring tools. If it takes a drop, treat it like a tape measure that just got stepped on. Many brands have service centers or calibration programs, and a good warranty is worth caring about if you do paid work.
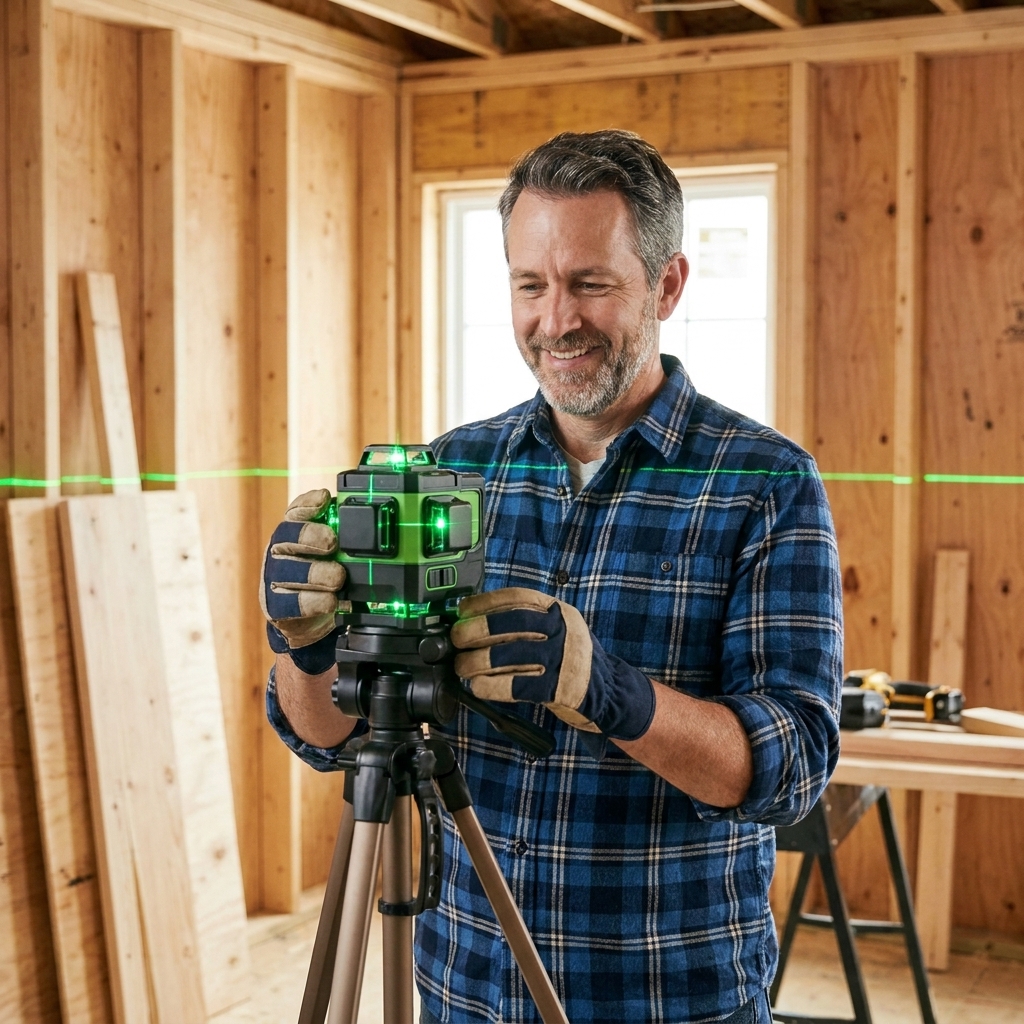
Best lasers for cabinets
DeWalt DW088K (Best for cabinet installs)
This is the kind of laser I like for kitchen work: straightforward, durable, and bright enough to see while you are juggling shims and trying not to ding cabinet doors. A simple cross-line laser is often all you need for setting a consistent cabinet height line and keeping a tall pantry run plumb.
- Type: Red cross-line
- Power: Commonly AA-powered in many kits, but verify the package contents before you buy
- Great for: Upper cabinet height line, keeping face frames plumb, lining up crown and light rail
- Why I like it: Easy setup, less fiddly than multi-plane lasers
- Watch for: Red is harder to see in bright rooms, and receiver compatibility is uncommon in this class. Also, kit contents vary, so confirm what mount and case you are actually getting
Cabinet tip I swear by
Instead of trusting the floor, shoot your laser around the room and find the highest point of the floor. Start your base cabinet layout from there. Floors lie. Lasers tattle.
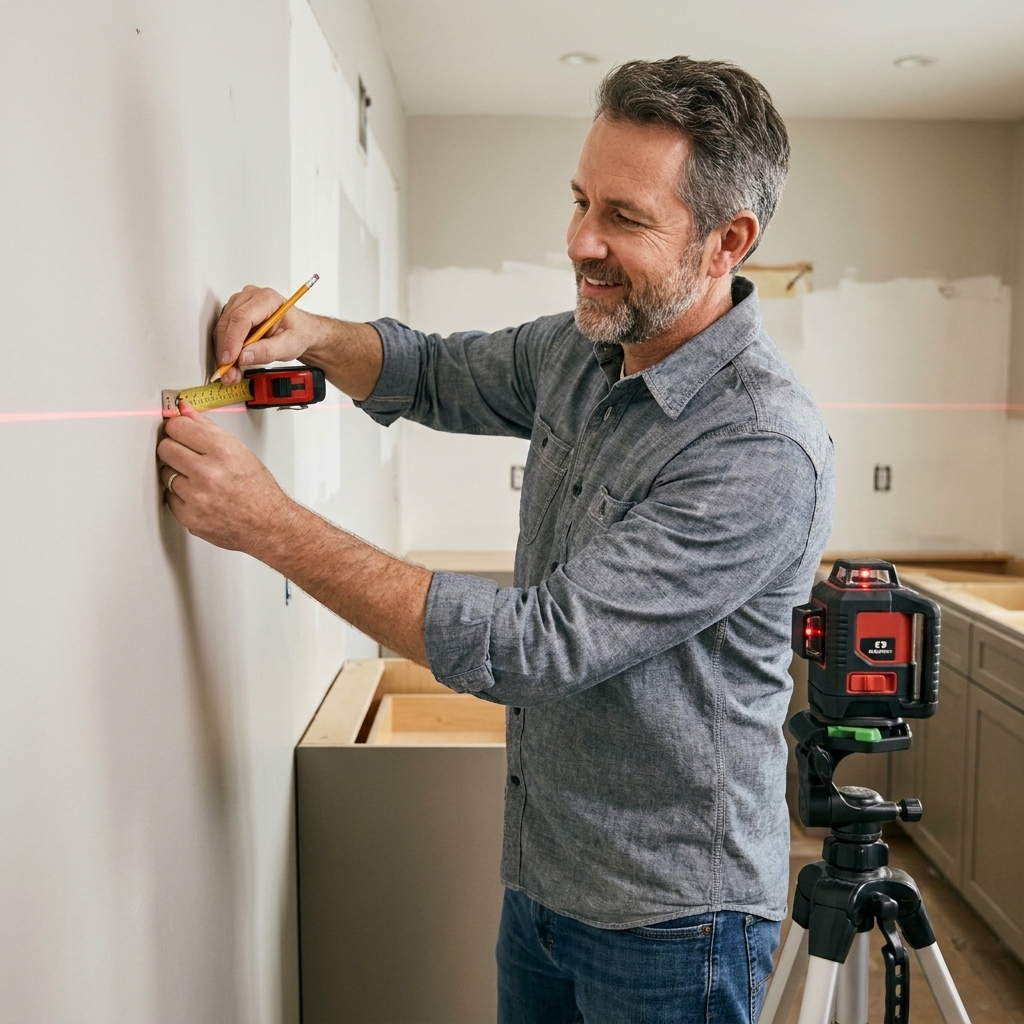
Best lasers for tile
A true 3x360 green laser (Best for serious tile layout)
For tile, I want full-room reference lines that do not quit when I turn a corner. A three-plane 360-degree laser lets you establish level and plumb references across surfaces quickly, and the intersections help you keep your layout honest as you wrap corners and hit niches.
- Type: Green three-plane 360-degree laser (commonly described as 3x360). Confirm the spec sheet shows one 360 horizontal plane and two 360 vertical planes if true 3x360 is what you are after.
- Great for: Shower surrounds, full bathrooms, kitchen backsplashes that wrap corners, aligning niches and accent bands
- Why I like it: Continuous reference lines speed up layout and reduce drift
- Watch for: Costs more than cross-line models, and you will want a decent tripod or pole to match. Also, do not assume any three-plane laser is receiver-ready. If you need a receiver for bright conditions, confirm this exact model supports a receiver (often listed as pulse or outdoor mode) and that you are buying the receiver the manufacturer lists for that unit.
Huepar 3x360 lasers (Best value multi-plane option for DIY tiling)
Huepar has earned a spot in the DIY world because you can get the big features, especially multi-plane layout, without paying premium-brand pricing. For homeowners doing a bathroom refresh or a backsplash marathon, it can be a smart buy if you want the convenience of wraparound lines without making your wallet cry.
- Type: Green multi-plane. Confirm it is truly 3x360 if that is what you want, since naming varies across sellers and bundles.
- Great for: Bathroom floors, shower walls, backsplashes
- Why I like it: Strong feature set for the money
- Watch for: Quality control and long-term durability can be less consistent than top-tier pro brands. Also confirm warranty support and receiver compatibility if you think you will need it.
Tile workflow tip
My favorite simple workflow: establish a level datum line around the room first, then check plumb on the back wall before you commit to your first course. Straight is great. Straight plus smart starting points is what keeps you from ending the job with a one-inch sliver cut in the corner.
Tile layout tip that saves rework
Use the laser to check level and plumb, but still dry-lay a few tiles and measure your cuts at both ends. Walls bow. Corners are rarely 90 degrees. The laser tells you what is straight. Your dry layout tells you what is going to look best.

Best lasers for framing
A 3x360 green laser (Best for remodel layout)
Framing and remodel work is where you appreciate a laser that feels like it can survive being tossed in the back of a truck. A three-plane green laser is ideal for laying out walls, transferring points from floor to ceiling, and staying plumb over longer distances.
- Type: Green three-plane, often sold as “3x360”
- Great for: Interior wall layout, soffits, aligning posts, transferring marks
- Why I like it: Faster layout and fewer helper-holding-the-tape moments
- Watch for: Brands use confusing names and changing kit numbers. Before you buy, confirm it is truly three 360-degree planes if that is what you want, and confirm what batteries it uses.
Receiver-ready laser plus matching receiver (Best for bright rooms)
If you frame additions, set posts, or do layout in spaces with lots of daylight, you will run into the visibility wall. A receiver-ready laser with a compatible receiver is the grown-up solution. You are no longer trying to “see” the line. You are detecting it.
- Great for: Long runs, bright ambient light, exterior-adjacent work
- Why I like it: Extends practical range and reduces squinting
- Watch for: Receiver model compatibility is specific, so do not mix and match unless the manufacturer says it works. Also make sure the laser has the correct receiver mode, often called pulse or outdoor mode.
When a rotary laser is the better tool
If you are doing big outdoor leveling jobs like grading, long fence lines, or setting elevations across a yard, a rotary laser is often the right move. A line laser with a receiver can help in bright conditions, but rotary lasers are built for distance and outdoor leveling work. The usual setup is a rotary laser spinning a level plane, plus a receiver on a grade rod, so you can walk the site and read elevation changes without trying to see a line.
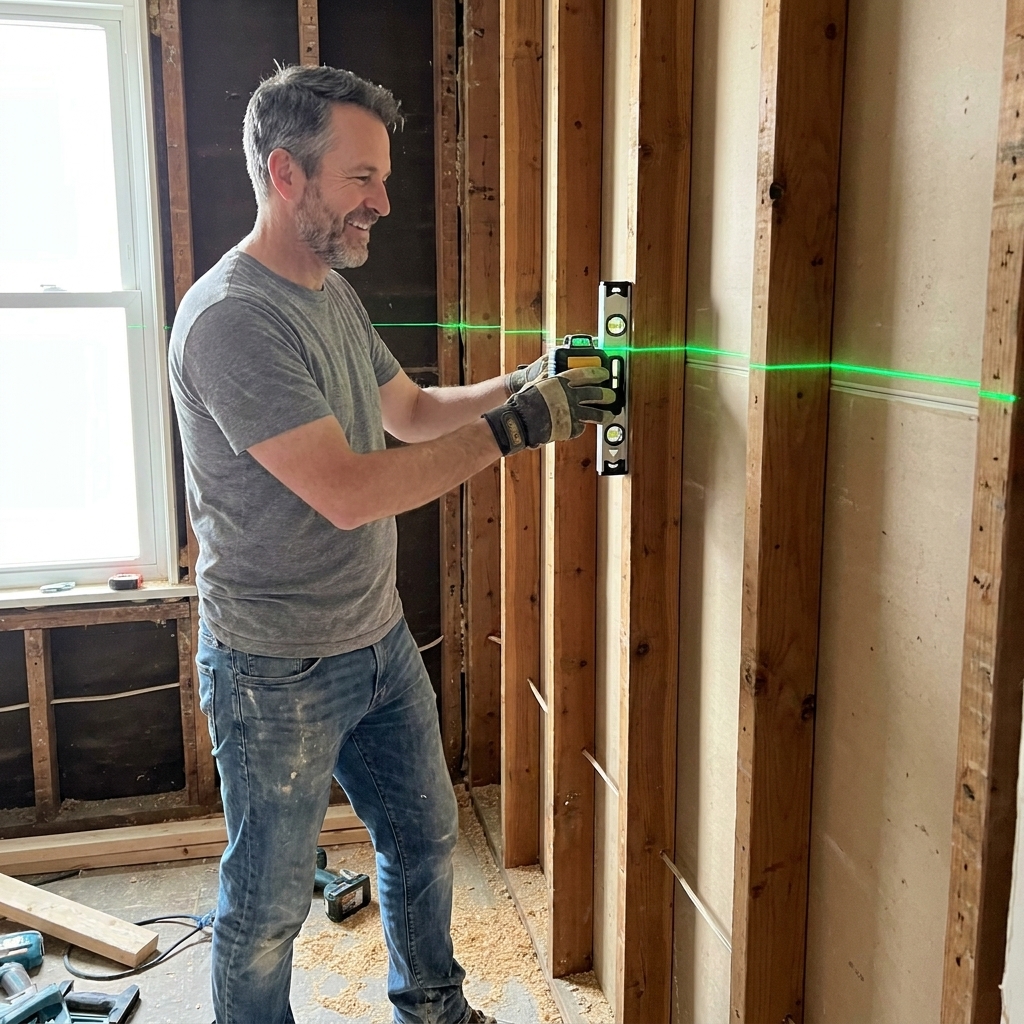
Accessories I do not regret
- Laser pole: Fastest way to set a stable line for cabinets and tile without a tripod footprint.
- Decent tripod: If your laser moves when you breathe, your “level” line becomes interpretive art.
- Target plate: Helps you see the line at distance or in brighter rooms. It does not replace a receiver, which helps you locate and center on the beam for measuring.
- Fine-adjust mount: Micro adjustments are gold for aligning to a mark without bumping everything out of place.
- Spare batteries or a charger: See law of physics above.
How to use a laser level
Set it up right
- Mount the laser on a stable surface, tripod, or pole.
- Let it self-level fully before marking.
- Confirm you are not outside the leveling range if it is blinking or beeping.
Mark points, not just a line
Especially for cabinets and long tile runs, I like to mark a few pencil ticks along the laser line, then turn the laser off and connect the dots as needed. That way, if someone bumps the tripod, you do not lose your whole layout.
Do a quick accuracy check
Any laser can take a hit. When I start a fussy project, I do a quick sanity check that is simple, repeatable, and hard to talk yourself out of.
- Horizontal check: Project a level line onto a wall about 15 to 20 feet away and mark it. Without shifting the tripod or stand, rotate the laser 180 degrees around its vertical axis while keeping it in the same spot over the tripod head, and mark the center of the line again. The two marks should be very close. If they are off by more than what the tool’s spec would allow at that distance, it needs calibration or service.
- Vertical check: Project a plumb line and compare it to a verified plumb reference, like a plumb bob, or a quality long level held against a straightedge you trust. Door jambs and old trim can be charming, but they are not always plumb.
Safety note
Do not stare into the beam, and keep it out of kids’ reach. Many DIY lasers are Class 2, but not all. Check the label on the tool and follow the manufacturer guidance.
FAQs
Do I need a 360 laser to hang cabinets?
No. A cross-line laser is plenty for most cabinet installs. A 360-degree horizontal line is a nice upgrade if your cabinet run wraps around corners or you want a reference line visible from anywhere in the room.
Will a laser level replace a bubble level?
It replaces a lot of bubble-level work, but I still keep a 2-foot or 4-foot level handy for checking faces, verifying a cabinet box, and confirming surfaces where the laser cannot easily project.
Green or red for indoor DIY?
If your home has lots of windows and bright light, go green. If you mostly work evenings, in basements, or in smaller rooms, red is a solid budget choice.
What features matter most for tile?
For tile, prioritize 360-degree planes, good accuracy, and a stable mounting setup. A laser that is easy to position precisely will save more time than one with flashy modes you never use.
What is the most common mistake with laser levels?
Mounting it on something wobbly. Second place is trusting a level line without first deciding where you want cuts to land. Straight is good, but straight and good-looking is better.
Bottom line
If you mainly hang cabinets, trim, and shelves, buy a dependable cross-line laser and spend the leftover cash on a stable mount. If you tile bathrooms or do whole-room layout, a true 3x360 laser is the upgrade that feels like cheating in the best way.
Whichever model you choose, treat it like a measuring tool, not a toy. Set it up solid, verify it occasionally, and it will pay you back with straighter lines and fewer redo Saturdays.