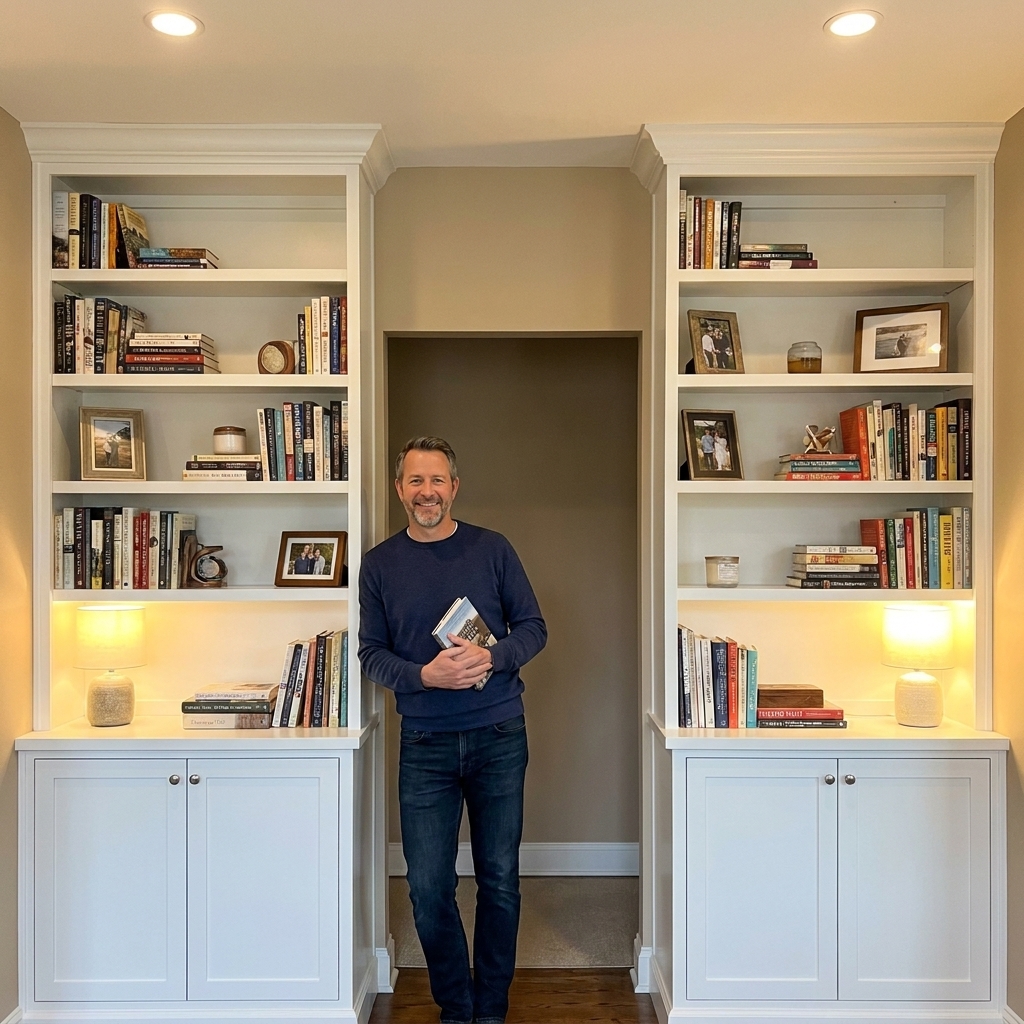
A practical, weekend-friendly method to build custom-looking built-in bookshelves using stock base cabinets, MDF panels, and trim. Includes layout, scribing,...
home improvement and DIY
DIY Built-In Living Room Shelves With Stock Cabinets

Marcus Hayes
Marcus Hayes is a lifelong DIY enthusiast and former residential carpenter who has spent the last decade renovating his 1970s fixer-upper. Through Tinksmith, he shares his hands-on experience to help fellow homeowners tackle repairs, choose the right tools, and build spaces they love without breaking the bank.
Published October 17, 2026
Updated October 17, 2026
There is something magical about built-ins. They make a living room feel finished, they hide the cable spaghetti, and they add storage without eating up floor space. The best part is you do not need a custom cabinet shop budget to get that crisp, furniture-grade look.
This is my favorite approach after a decade of renovating my own 1970s “why is this wall textured like a potato” fixer-upper: use stock base cabinets for the bottom, then build the shelves above from MDF and a simple face frame. You get straight, square cabinet boxes where it matters most, and you only custom-build the part that is basically rectangles stacked on a wall.
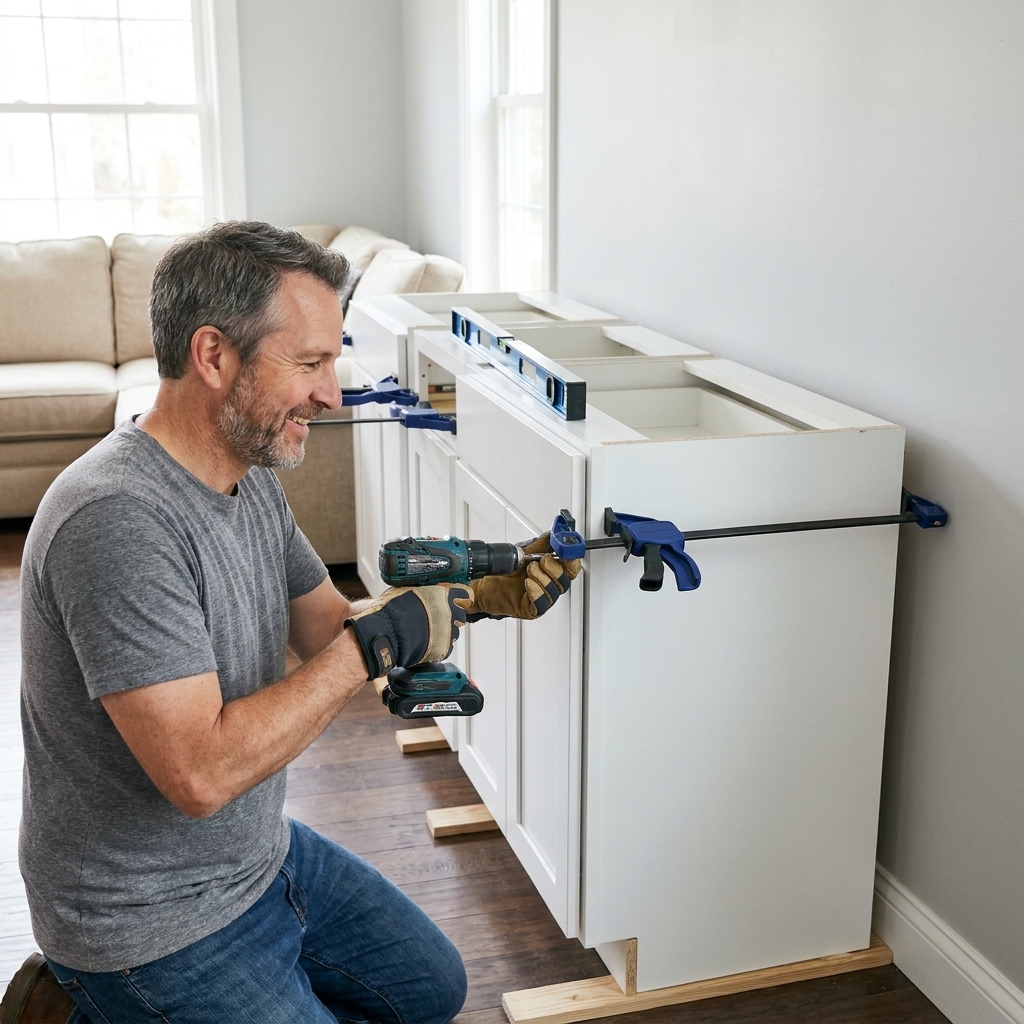
Plan it like a built-in
Before you buy anything, decide what your built-ins are actually doing. Are they flanking a fireplace? Wrapping a TV? Filling an empty wall? Your layout drives everything: cabinet sizes, shelf spacing, trim choices, and where you can hide outlets and cords.
Key decisions up front
- Overall width: Measure wall to wall, then subtract any side clearances you want for casing, returns, or baseboard quirks.
- Base cabinet depth: Most kitchen base cabinets are 24 inches deep. If you want a more “bookcase” vibe (and better traffic flow), 15 to 18 inches can look great if you can find stock cabinets in that depth.
- Built-in height: Many people go to the ceiling for a truly custom look. If your ceiling is wavy (hello, 1970s), you can still do it, but plan for scribing or crown molding.
- TV niche or center section: If a TV is involved, confirm viewing height and plan ventilation for components.
- Lighting: Decide now if you want puck lights, tape light, or picture lights. It is much easier to run wire before everything is boxed in.
Pro tip from the guy who once “eyeballed it” and regretted it: Draw it on graph paper or use painter’s tape on the wall to outline the cabinet run and shelf uprights. Ten minutes of tape can save you ten hours of muttering later.
Tools and materials
You can build this with basic carpentry tools. Fancy tools make it faster, not necessarily better.
Tools
- Tape measure, pencil, straightedge
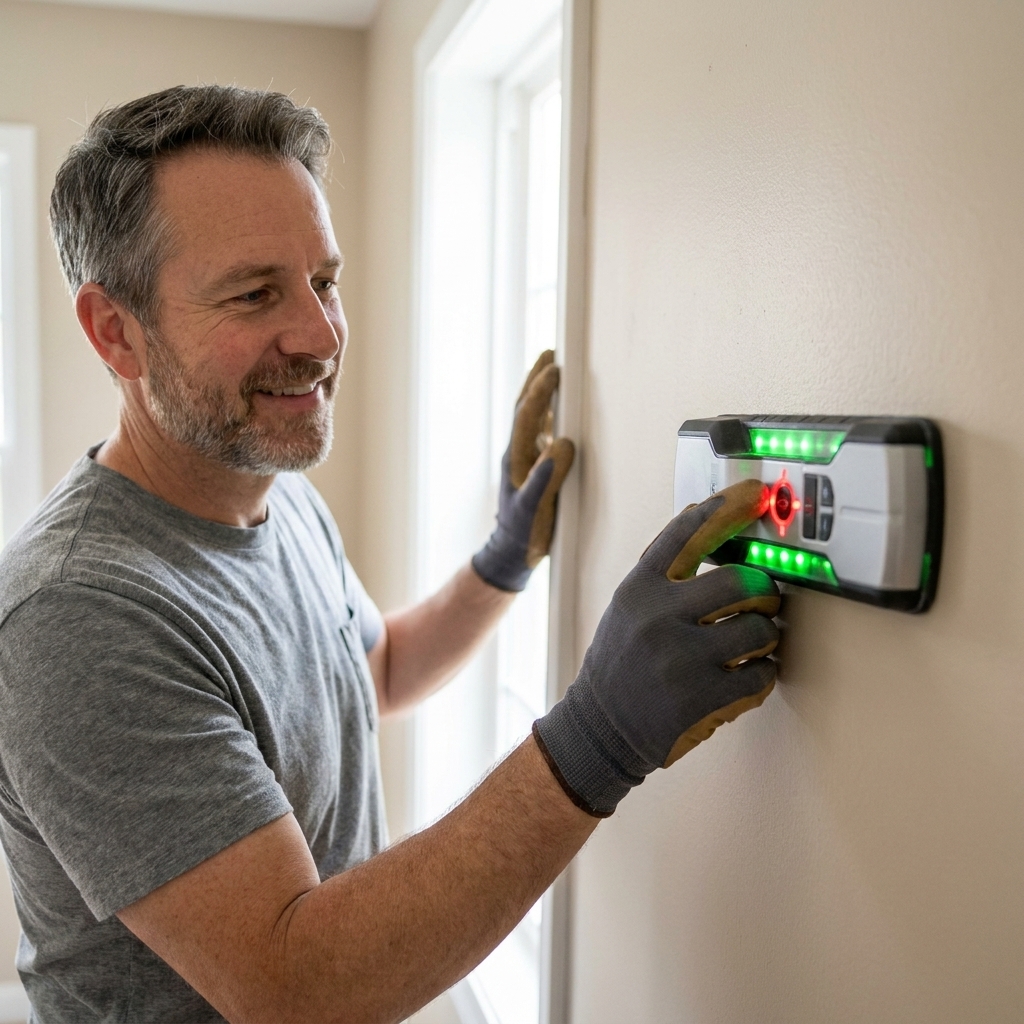
- Stud finder
- 4 ft level or laser level
- Drill and impact driver
- Miter saw (or a miter box if you enjoy suffering)
- Circular saw with a straightedge guide, or a table saw
- Brad nailer (18 gauge) and compressor or cordless nailer
- Clamps (at least two 24-inch clamps)
- Oscillating multi-tool (helpful for baseboards and notching)
- Caulk gun and putty knife
Materials
- Stock base cabinets: RTA or pre-assembled. Choose full overlay doors for a modern look.
- Countertop: Butcher block, plywood with trim, or a stone remnant.
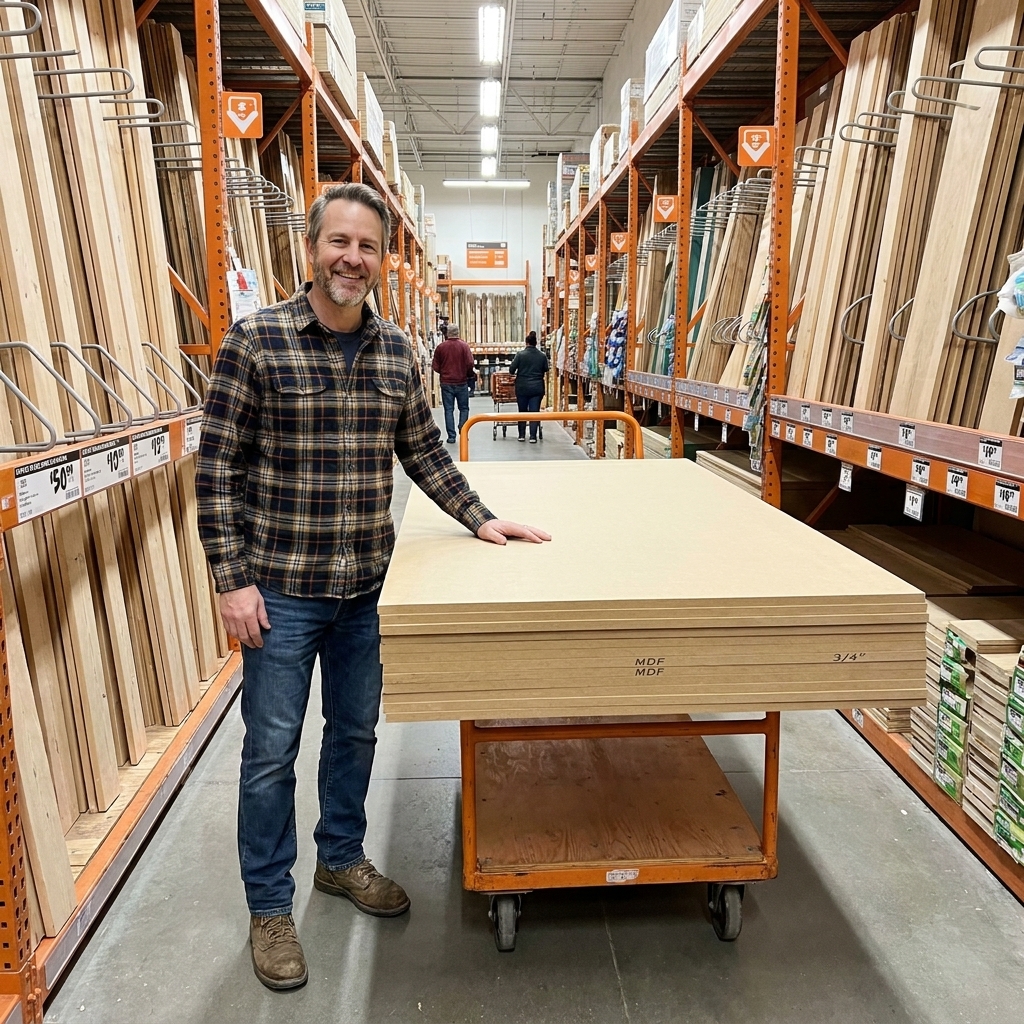
- MDF for shelves and vertical panels: Typically 3/4 inch. For long spans, plan reinforcement.
- Face frame material: 1x2 or 1x3 poplar is paint-friendly and straight.
- 3 inch cabinet screws or structural screws for studs
- 1-1/4 inch screws for assembling MDF parts (coarse-thread work best)
- Wood glue
- Shims
- Trim: baseboard, shoe, crown (optional), and scribe molding
- Primer and paint (more on that below)
- Spackle or wood filler, paintable caulk, sandpaper
MDF reality check: It paints like a dream, but it is heavy, it does not love moisture, and it does not forgive lazy screwing. Predrill near edges, use coarse-thread screws, and do not leave raw MDF sitting on a damp slab floor.
Step 1: Level line and studs
Built-ins live or die by layout. Floors are rarely level. Walls are rarely plumb. The trick is to choose one reference line and build everything to it.
How I do it
- Locate studs across the entire wall and mark them lightly with painter’s tape.
- Find the high spot on the floor along the cabinet run. Easiest method: set a laser level line a few inches up the wall, then measure down to the floor every 12 to 16 inches. The smallest measurement is your high spot. No laser? Lay a long straightedge or level on the floor and use a tape measure to check gaps underneath. The spot with the smallest gap is the high point.
- Mark a level line on the wall for the top of your base cabinets (or the top of your platform if you are using one). A laser level makes this feel like cheating, which is my favorite kind of cheating.
This line is your “truth.” You shim cabinets up to it rather than trying to force the room to behave.
Step 2: Platform or no platform
Many stock cabinets include an integrated toe-kick. Others look better sitting on a separate platform, especially if you are mixing cabinet brands or building a continuous toe-kick across multiple boxes.
If your floor is noticeably out of level across the run, a platform can make life easier. Think of it as doing the hard leveling work once, then setting cabinets on top like you are stacking confidence.
Simple platform recipe
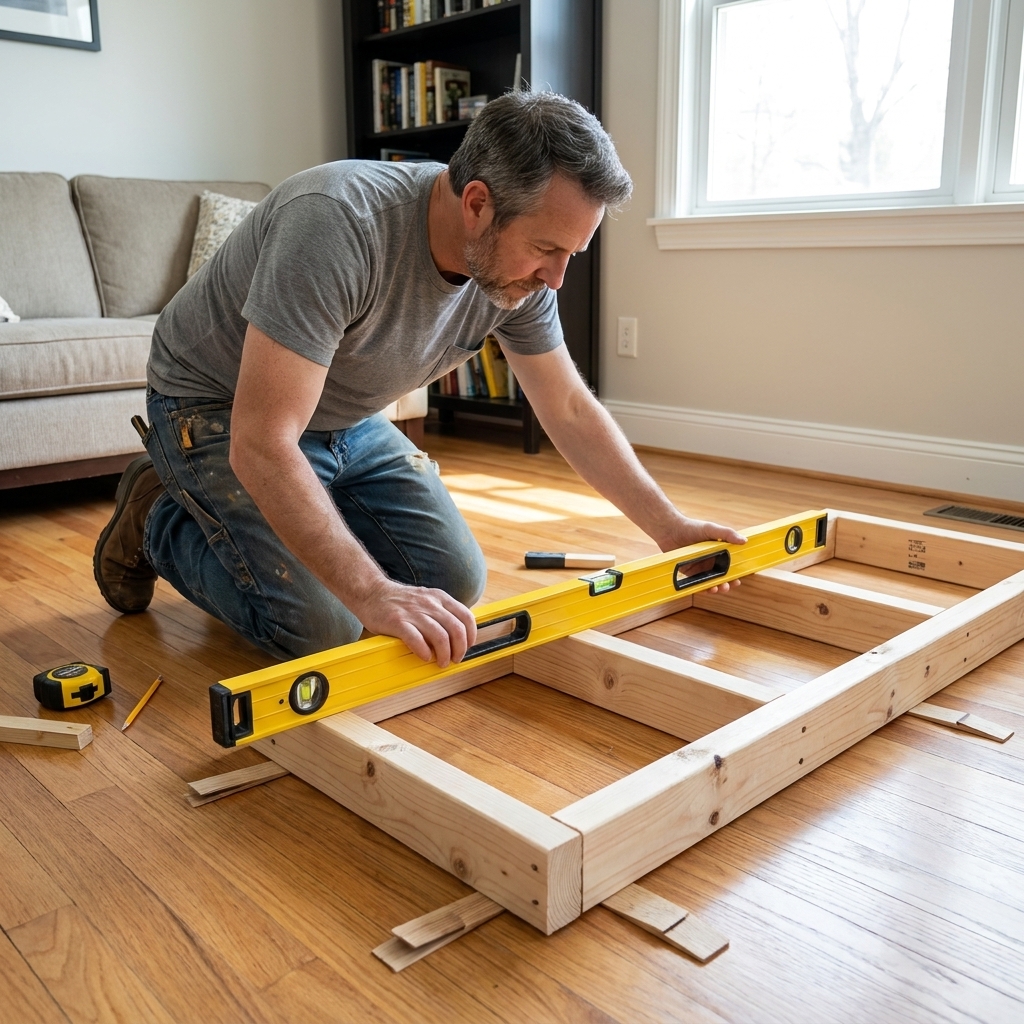
- Build a ladder frame from 2x4s (or 2x3s if you want a slightly shallower toe-kick).
- Anchor it to the floor and studs where possible.
- Shim until the top of the platform hits your level reference line.
If your cabinets already have a toe-kick and your floor is decent, skip the platform and shim under the cabinets instead.
Step 3: Install base cabinets
This is where stock cabinets earn their keep. You get square boxes and real hinges, which is a nice change from my early DIY years when I thought “I can build cabinet doors” was a reasonable weekend plan.
Set cabinets in this order
- Lighten the load: Pull doors and drawers before you wrestle cabinets into place. Your back will thank you.
- Start at one end (or the center if you are building symmetrical built-ins around a fireplace).
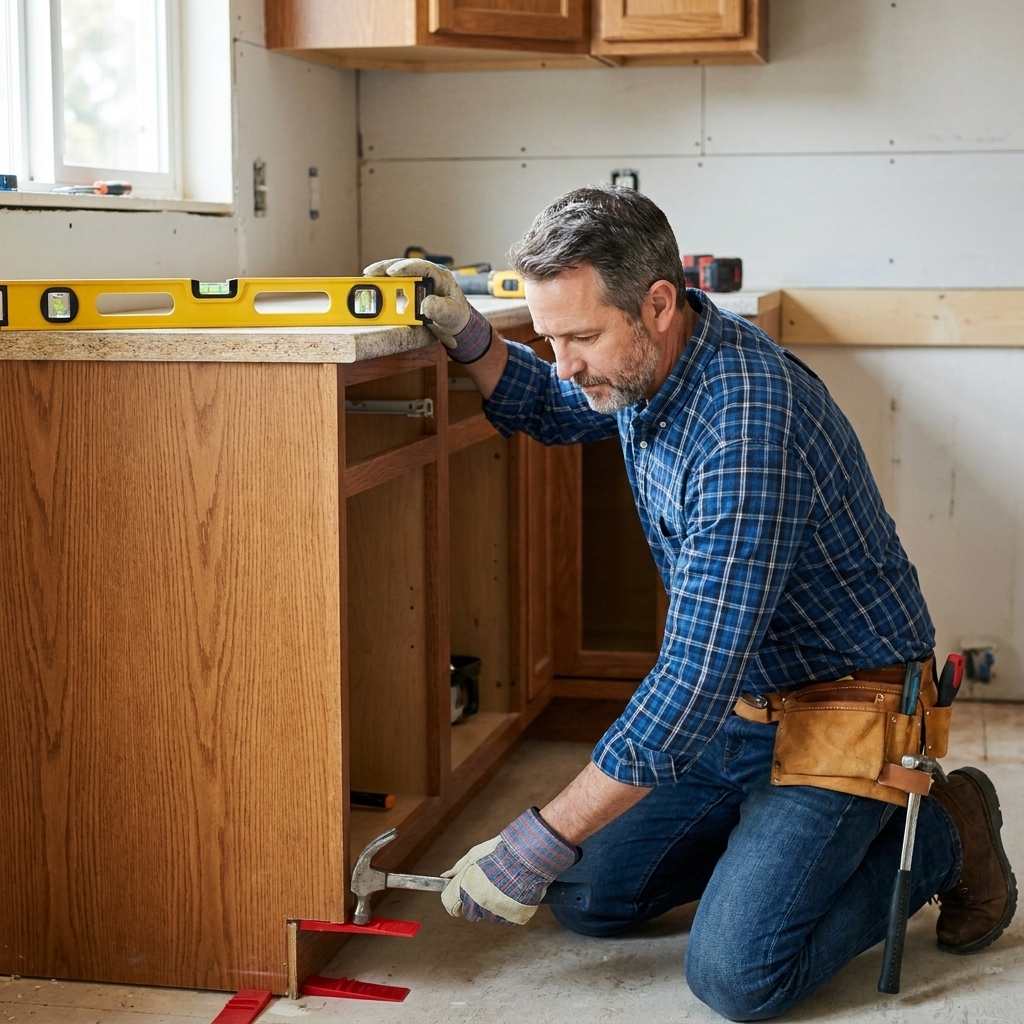
- Shim to level front-to-back and side-to-side. Do not rush this.
- Clamp neighboring cabinets together, align the face frames or front edges, then predrill and screw them together through the stiles.
- Fasten to studs through the back rail using cabinet screws. Hit studs whenever possible.
Gap alert: Old walls can bow. If you end up with a small gap between cabinet backs and the wall, that is normal. You will hide sins later with trim, like all good renovations.
Step 4: Add the countertop
The countertop is the visual break between “base” and “bookcase.” It also gives you a sturdy surface for lamps, plants, and the occasional cup of coffee that absolutely will get set down without a coaster.
Budget-friendly top options
- Butcher block: Warm, durable, easy to cut. Seal it well.
- Plywood build-up: 3/4-inch plywood with a hardwood edge band or trim profile. Paint it for a seamless built-in look.
- Stone remnant: Sometimes surprisingly affordable for a short run.
Fastening notes that save headaches
- Wood tops (butcher block): Allow seasonal movement. Figure-8 fasteners or countertop clips are ideal. If you screw up through cabinet stretchers, use elongated holes and do not over-tighten.
- Plywood tops: Screws up through the cabinet stretchers work well. Predrill.
- Stone tops: Usually get set in silicone dabs or manufacturer-approved adhesive. Do not try to “screw it down.”
Install the top level, secure it from underneath (so you are not staring at screw heads forever), and check for overhang consistency.
Step 5: Build the uppers
For the shelves above, you have two common paths:
- Modular “box” carcasses: Build left and right towers on the floor, then lift into place.
- Site-built frames: Install vertical panels first, then add shelves in place.
I like modular towers if the room allows it. They stay square more easily, and you can work comfortably. If your ceiling height is tight or the space is awkward, build in place.
Recommended MDF thickness
- Vertical sides: 3/4-inch MDF
- Shelves: 3/4-inch MDF minimum
- Back panel (optional): 1/4-inch MDF or hardboard if you want a clean painted interior
Make shelves look thicker (and fight sag)
A 3/4-inch shelf can look skimpy and can sag on long spans. Two easy upgrades:
- Build-up edge: Glue and nail a 1x2 poplar to the front edge of each shelf. It looks thicker and stiffens the shelf.
- Torsion-style shelf: For spans over about 36 inches, depending on load and shelf depth, consider a hollow build-up (a top and bottom skin with internal strips), or add a center divider.
Sag reality check: A 48-inch span loaded with books is a shelf’s version of leg day. If you are a heavy-reader household, plan shorter spans, add a center stile, or use a taller front stiffener (a 1x3 lip beats a 1x2 when shelves get deep).

Step 6: Anchor the uppers
Once your upper towers are built or your side panels are cut, it is time to make everything one solid unit.
Anchoring checklist
- Find studs again and confirm your marks are correct. Drywall has a way of humbling you.
- Fasten through solid material (not just a flimsy MDF edge). Use cleats or blocking strips inside the carcass where your screws will land.
- Anchor to studs first: Get the uppers locked into studs with cabinet screws through a top rail, cleat, or back blocking.
- Tie uppers to the base safely: Screw down into a structural cleat or cabinet stretchers, not into a stone top. If you have a wood top, predrill and keep fasteners in solid material.
- Shim behind panels where walls bow so your face frame will sit flat later.
Anti-tip note: Tall built-ins need real anchoring. If a curious kid can climb it, assume they will. Tie the whole unit into studs and do not rely on gravity and good intentions.
If you are going to the ceiling, leave a small intentional gap at the top (about 1/4 inch) that you can cover with crown or scribe. Ceilings love to wave at you. Do not wave back.
Step 7: Face frames
This is the step that makes stock-plus-MDF look like a real built-in. A face frame covers MDF edges, hides minor gaps, and creates consistent reveals.
Simple face frame approach
- Rip or buy straight poplar 1x2s (paint grade) for stiles and rails.
- Plan a consistent overhang on cabinet sides and shelf openings, often 1/8 to 1/4 inch depending on style.
- Assemble frames with glue and pocket screws, or build in place with glue and brad nails.
- Dry fit first, then commit.
Dad-joke reality: Measure twice, cut once. Also measure a third time if your helper is a golden retriever with a wagging tail near your miter saw. Safety first.
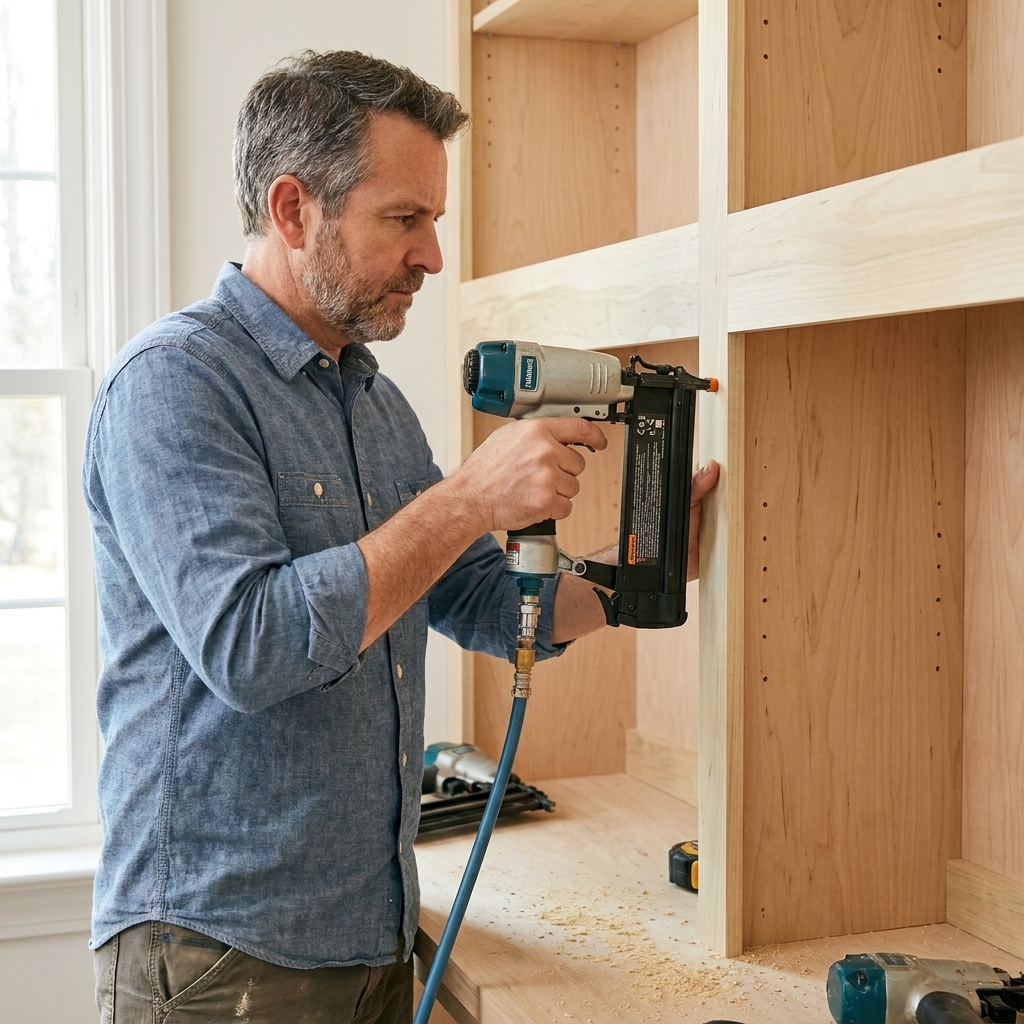
Step 8: Trim it in
Trim is where built-ins stop looking like furniture and start looking like architecture.
Baseboard integration
- If your cabinets sit proud of the existing baseboard, you can remove baseboard behind the cabinets for a flush fit.
- Then run matching baseboard across the cabinet toe-kick and around any exposed ends.
Side scribe strips
If there is any gap between the built-in and the wall, add a narrow scribe strip (often 1/2 inch to 1 inch). You can plane or sand it to match a wavy wall, then caulk for a seamless paint finish.
Crown molding (optional)
Crown at the ceiling hides uneven gaps and makes the whole thing look like it has been there since the house was built. If crown scares you, start with a simple cove molding. Same idea, less math.
Step 9: Shelf style
Adjustable shelves are flexible. Fixed shelves are sturdier and easier to make look perfectly built-in. Choose based on what you are storing.
Adjustable shelf options
- Shelf pin holes: Drill with a shelf pin jig for consistent spacing.
- Metal standards: Easy and strong, but more visible.
Fixed shelf options
- Dadoes in side panels: Strong and clean if you have the tools.
- Cleats: Screw cleats to the sides and back, then set the shelf on top and nail it. Very DIY-friendly.
If you are building for books, fixed shelves with a front stiffener are my go-to.
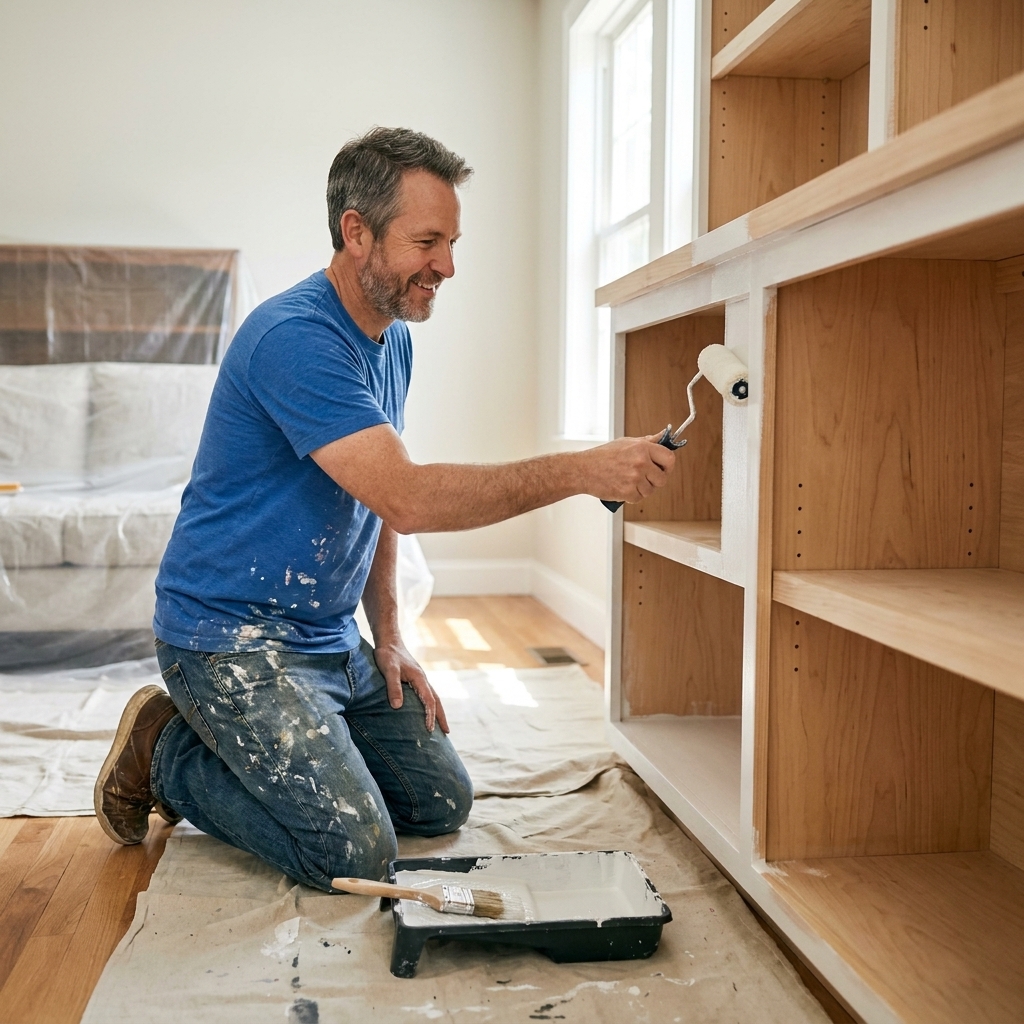
Step 10: Prime and paint
Paint is what turns MDF and trim into “custom millwork.” It is also where shortcuts show up under every lamp in your living room.
MDF finishing rules
- Seal cut edges: MDF edges drink paint. Prime them with a high-quality primer, or skim with joint compound, sand smooth, then prime.
- Fill and sand: Fill nail holes and seams. Sand between coats. For most paint-grade work, 150 to 220 grit is the sweet spot.
- Caulk small gaps: Use paintable caulk where trim meets wall and at tight joints. Do not caulk big gaps, fix big gaps.
- Dust control: Vacuum, then wipe down before you paint. If you have a tack cloth, this is its moment.
Primer and paint choices
- Primer: A quality bonding primer is worth it, especially if you have any raw MDF or knots in trim.
- Paint type: Cabinet-grade enamel (alkyd or acrylic-alkyd) levels beautifully and holds up to real life.
- Paint sheen: Satin or semi-gloss is common for built-ins because it cleans easily and looks crisp.
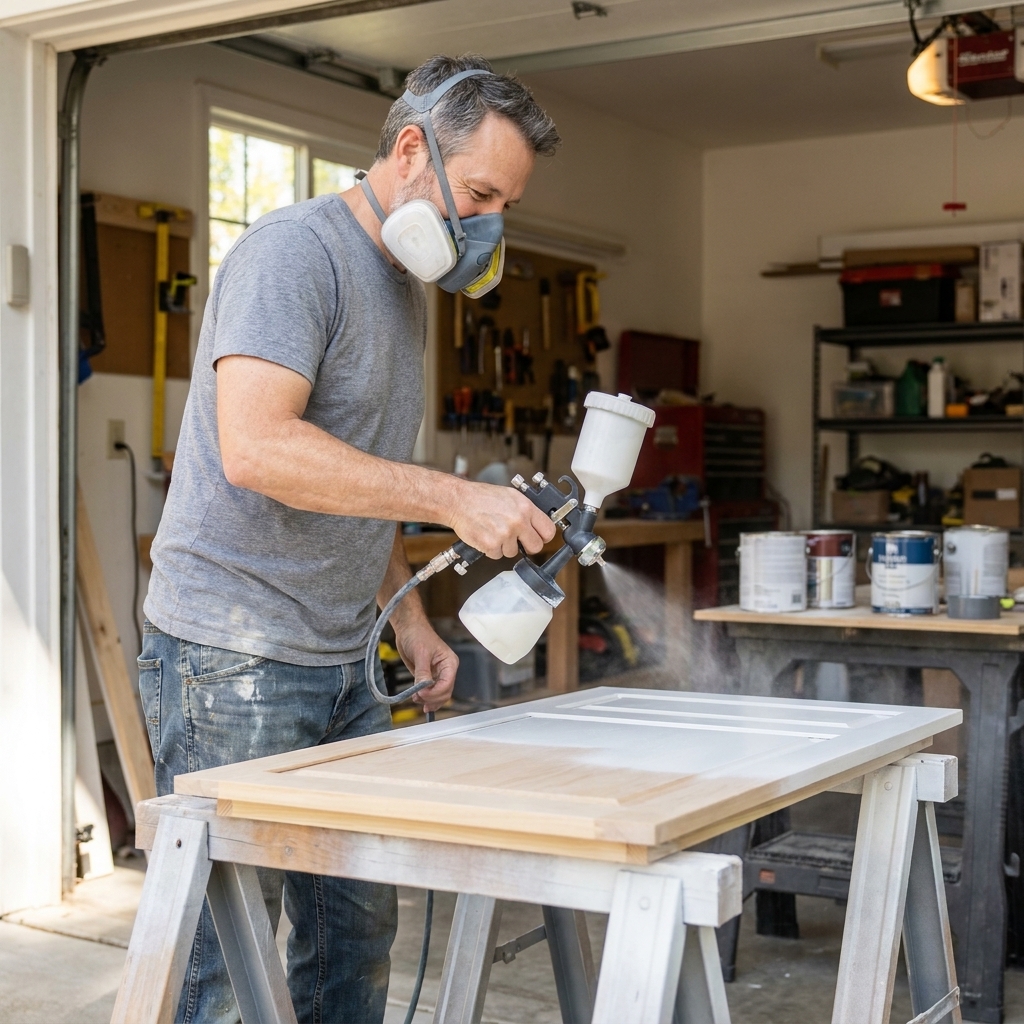
- Application: A foam roller works. A sprayer is even better if you have one and you like masking.
Electrical and lighting
The most high-end built-in in the world can be ruined by a visible power strip and cords dangling like jungle vines.
Cord management upgrades
- Add an outlet inside the base cabinet: Great for Wi-Fi routers, game consoles, or a subwoofer connection. If you are not comfortable with electrical work, hire an electrician. Follow local code and permitting rules, and use the right protection (GFCI and AFCI as required).
- Drill grommet holes in the countertop or shelf backs for lamp cords. Sand the edges so cords do not get chewed up.
- Use listed in-wall power kits for TVs if you are routing cords behind drywall. Do not run a regular extension cord inside a wall. Install listed products per the manufacturer instructions.
Lighting ideas
- LED tape light under shelves: Soft glow, modern look.
- Recessed puck lights: Great for highlighting decor.
- Picture light above a center art piece: Instant “I hired a designer” vibe.
Common mistakes
- Skipping the level line: If the base is not level, everything above will look “off” forever. Shim patiently.
- Over-spanning shelves: Long shelves sag. Add dividers, stiffeners, or shorten spans.
- Forgetting baseboard strategy: Decide if you are removing baseboard behind the cabinets before you start setting cabinets.
- Not planning for outlets: If you want power inside cabinets, plan it before everything is boxed in.
- Rushing MDF edge prep: Unsealed edges telegraph through paint and look fuzzy.
FAQ
What stock cabinets work best?
Look for cabinets with solid boxes (plywood is great, but good particleboard is acceptable if kept dry), full overlay doors, and adjustable legs or an integrated toe-kick. The biggest “must” is that the cabinet run can be leveled and securely fastened to studs.
Can I skip the countertop?
You can, but a countertop makes the transition look intentional and provides a strong surface. If you skip it, at least add a thick “cap” board across the base cabinets.
Is MDF okay for shelves?
Yes, especially when painted, but plan spans wisely and stiffen long shelves. If you want stained wood shelves, MDF is not the right material.
How do I make it look truly built-in?
Go to the ceiling (or add crown), use face frames, integrate baseboard, and scribe to walls. Then do careful caulk and paint prep so the seams disappear.
Final checklist
- All cabinets are level, clamped, and screwed together
- Base is fastened into studs
- Uppers are anchored to studs and tied into the base
- Shelves are stiff enough for what you plan to store
- Trim is integrated with baseboard and ceiling details
- All seams are filled, sanded, primed, and caulked
- Cords have a plan (and a place to hide)
Take your time on layout and finishing, and you will end up with built-ins that look like they came with the house, not like they showed up in a flat-pack box with an attitude.