A step-by-step, weekend-friendly guide to measuring, calculating spacing, and installing a board and batten feature wall, plus corner tips, safety notes, cau...
home improvement and DIY
10 DIY Bedroom Upgrades You Can Finish in One Weekend

Marcus Hayes
Marcus Hayes is a lifelong DIY enthusiast and former residential carpenter who has spent the last decade renovating his 1970s fixer-upper. Through Tinksmith, he shares his hands-on experience to help fellow homeowners tackle repairs, choose the right tools, and build spaces they love without breaking the bank.
Published October 17, 2026
Updated October 17, 2026
Your bedroom should feel like a landing pad, not a to-do list. The good news is you do not need a full remodel to get a big before-and-after. With a little planning and a Saturday morning coffee that means business, you can knock out upgrades that make the room look cleaner, feel calmer, and function better.
I have spent a decade renovating a very committed-to-the-1970s house, and if there is one lesson I keep re-learning, it is this: small upgrades stack up fast. Pick one or two projects from this list, gather materials ahead of time, and you will be sleeping in a better space by Sunday night.

Before you start: weekend game plan
- Friday night: Measure, buy materials, and clear the room. If you are painting, patch and sand so Saturday is for primer and paint.
- Saturday: Messy work first (patching, sanding, cutting, nailing, painting). Let paint and caulk set up overnight.
- Sunday: Install hardware, hang curtains, mount shelves, style the room, and do touch-ups.
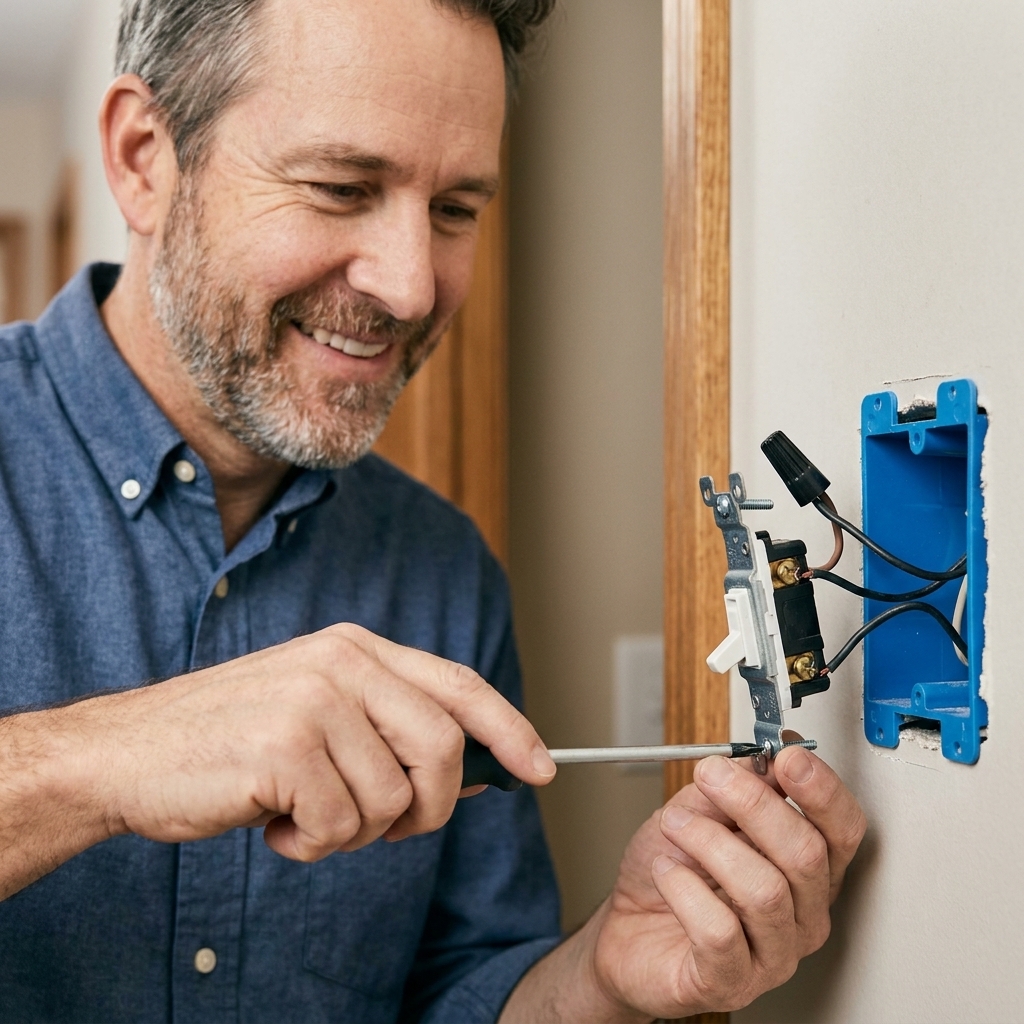
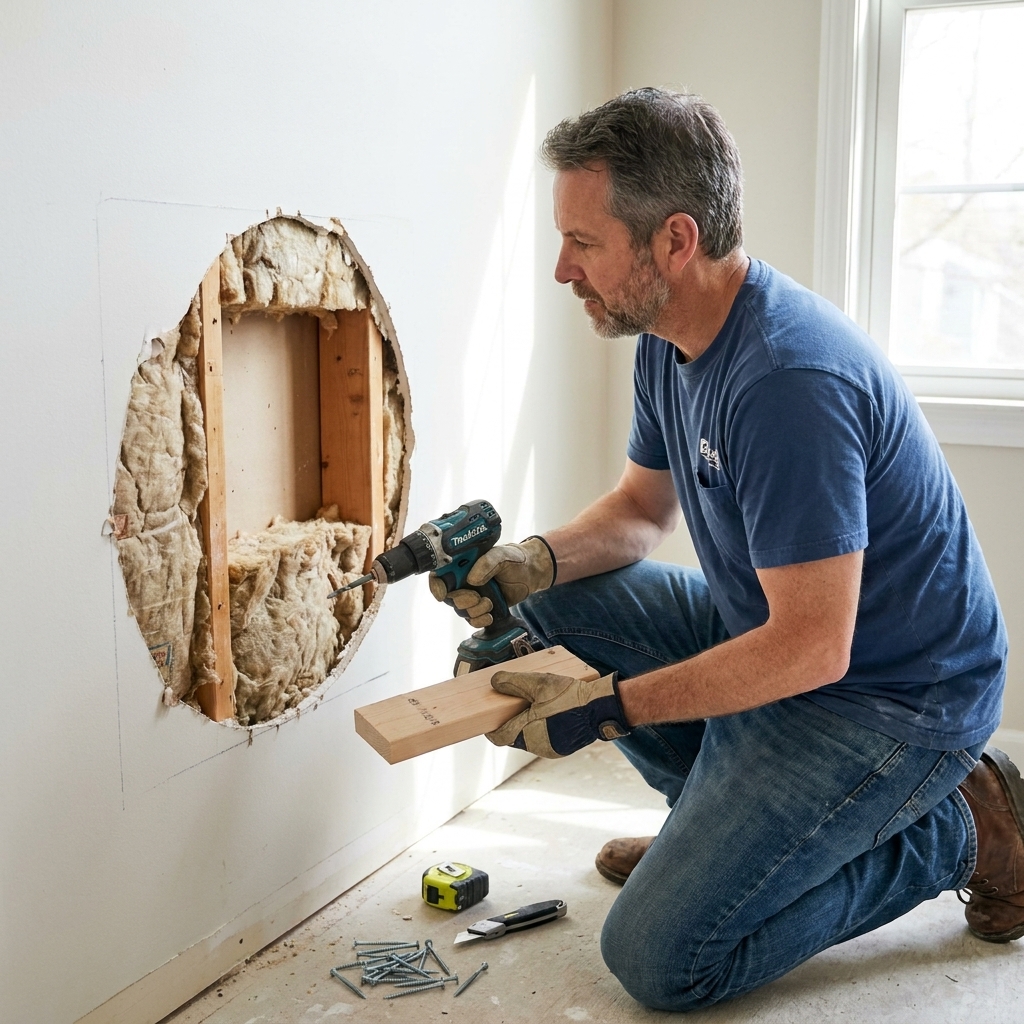
Quick safety notes: If you are touching electrical, shut off the breaker and confirm with a non-contact voltage tester. If you are drilling into walls, know what is behind them. Studs are your friend, plumbing lines are not.
Air it out: Open windows, run a fan, and check labels for ventilation and dry times. Even low-odor products still benefit from fresh air, especially if you plan to sleep in the room the same weekend.
1) Add a board and batten accent wall
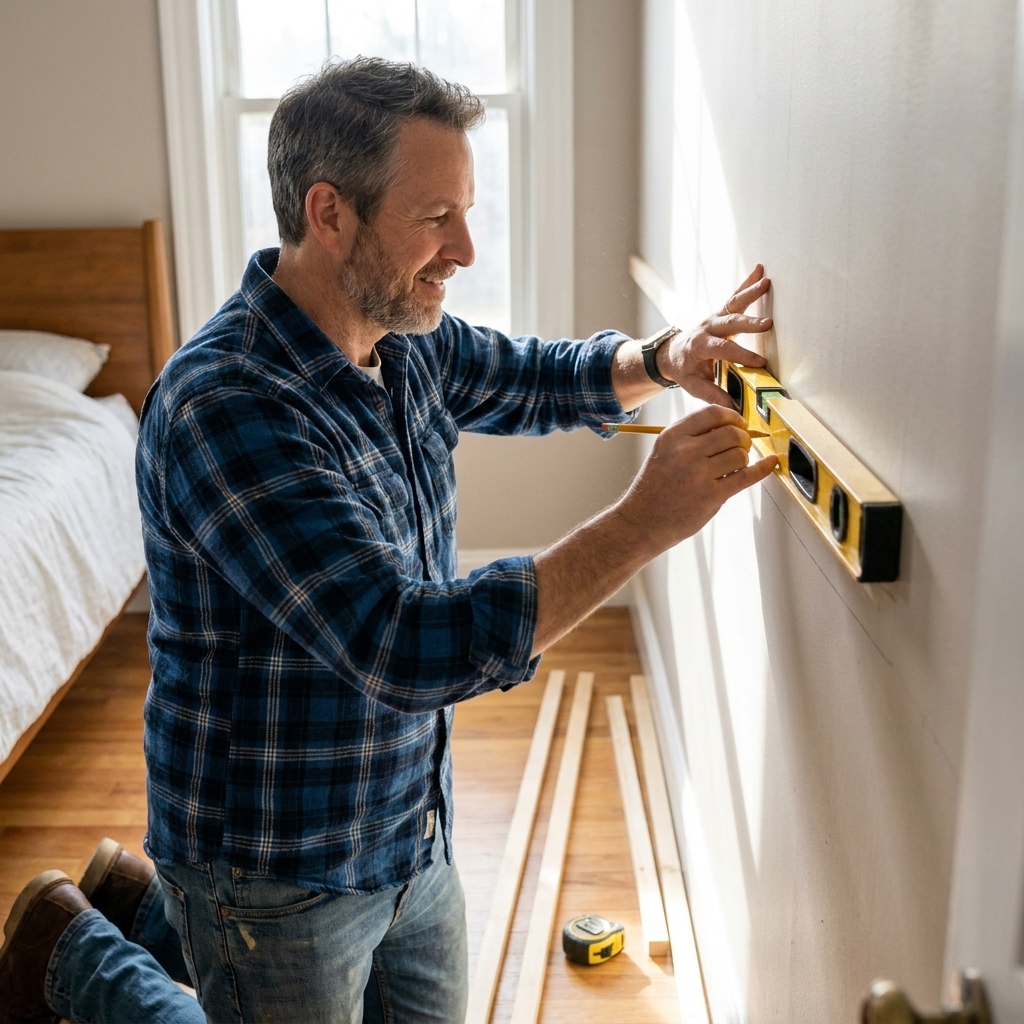
This is my go-to “it looks expensive” upgrade. Board and batten brings structure and shadow lines that make the room feel finished, especially behind the bed.
Best for
Plain drywall that needs personality, especially a headboard wall.
Materials and tools
- MDF or primed pine strips (common picks: 1x2 and 1x3). Note: these are nominal sizes, so the actual dimensions are a bit smaller.
- Construction adhesive, brad nails (or finish nails)
- Caulk, wood filler, sandpaper
- Primer and paint (satin is a safer wall sheen, semi-gloss is usually best for trim)
- Stud finder, level, miter saw, nailer (or hammer and finish nails)
How to do it (high level)
- Lay out your spacing with painter’s tape first. Adjust until it looks balanced with the bed placement.
- Find studs for any pieces you want extra secure, but adhesive plus brads can work well on drywall for decorative trim.
- Install the top horizontal rail level, then vertical battens, then base rail if you are adding one.
- Fill nail holes, caulk seams, sand lightly, then prime and paint.
Marcus tip: Adhesive choice matters. Use an adhesive labeled for trim and paneling, and know that future removal can take drywall paper with it. If you think you might change it later, go lighter on adhesive and rely more on nails into studs where you can.
Marcus tip: If your walls are wavy (welcome to homeownership), caulk is the magic trick that makes trim look like it grew there naturally.
2) Swap in a modern ceiling light fixture
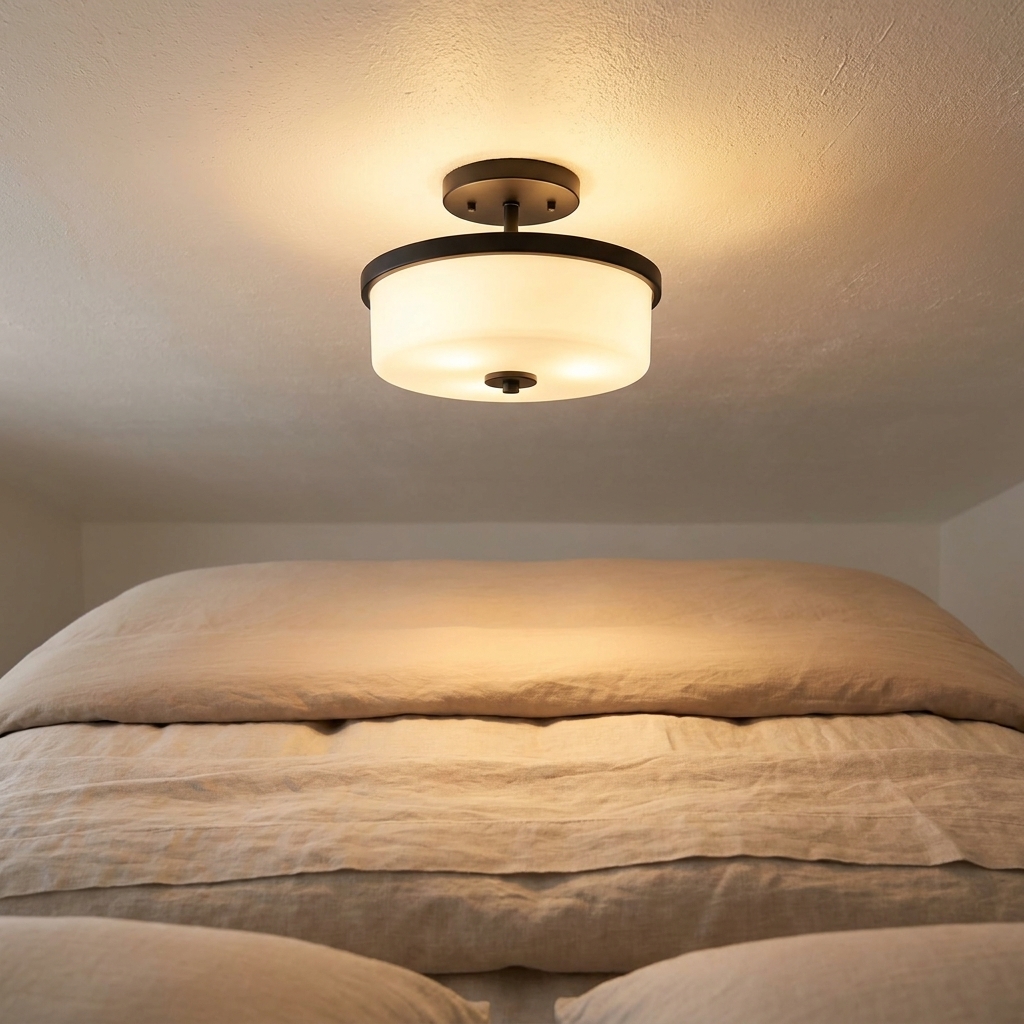
Lighting is a mood setter. A dated builder-grade dome light can make an otherwise nice room feel like a time capsule.
Best for
Bedrooms with a central ceiling light or fan that is too dim, too loud, or too dated.
Materials and tools
- New fixture rated for your ceiling box
- Wire nuts, electrical tape (optional), mounting hardware
- Screwdriver, wire stripper, non-contact voltage tester
- Step stool or ladder
How to do it (safely)
- Turn off the breaker and verify power is off at the fixture.
- Take a photo of the existing wiring before disconnecting.
- Mount the new bracket, connect wires color-to-color, secure with wire nuts.
- Install the canopy, add bulbs, restore power, test.
Code and pro note: Fixture swaps are often DIY-friendly, but local rules vary. If you see aluminum wiring, brittle insulation, scorched wires, or anything that looks like an attic mystery from 1959, call a licensed electrician.
Budget win: A semi-flush mount with a warm 2700K LED bulb gives that cozy hotel vibe without hotel pricing.
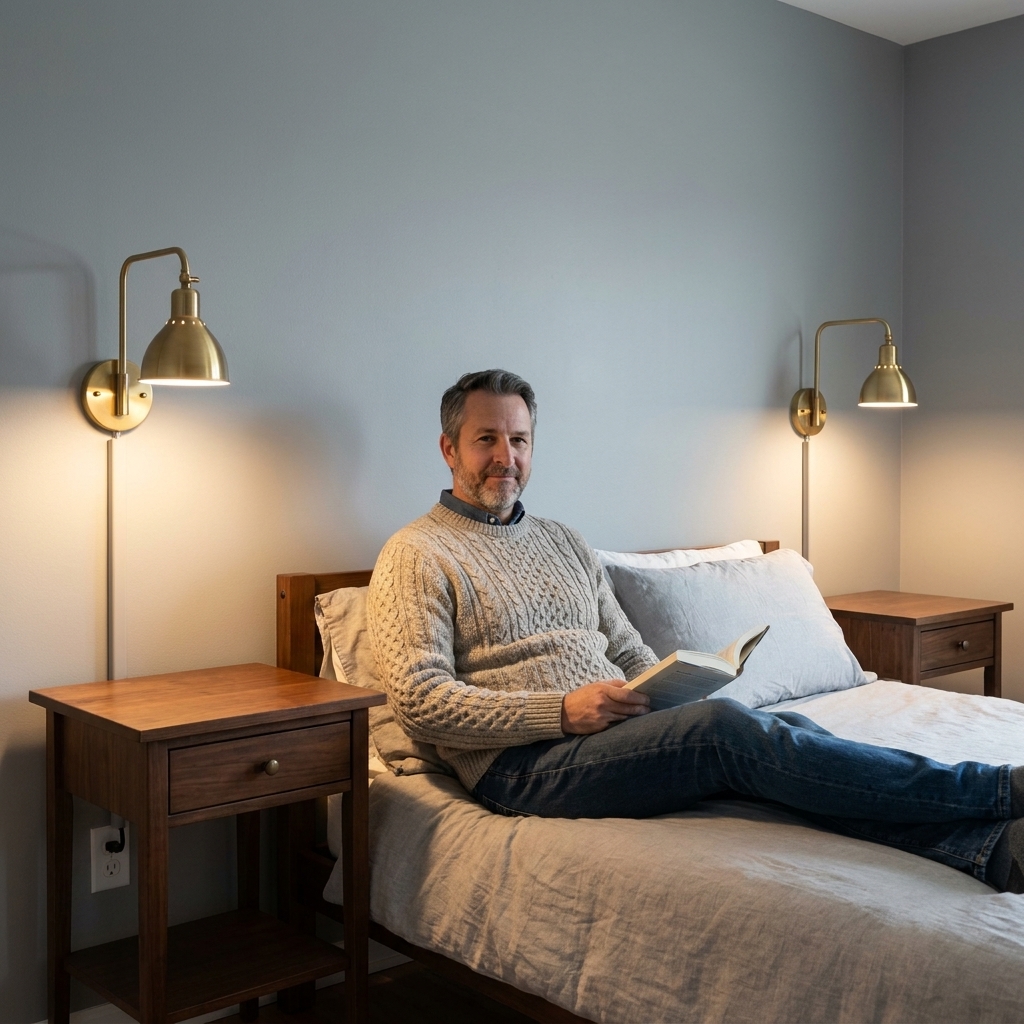
3) Install wall-mounted bedside sconces
Nothing frees up a nightstand like getting lamps off it. Sconces look custom and make reading in bed a lot nicer.
Two ways to do it
- Hardwired sconces: Cleanest look, more work.
- Plug-in sconces: Weekend-friendly and renter-friendly if you hide the cord with a paintable cord cover.
Placement starting point
Use these as a starting point, then adjust for your headboard and how you actually sit up:
- Height: Aim for the center of the light source (or the center of the shade) around 60 to 66 inches from the floor. If you like to sit up high to read, go a little higher. If your bed sits tall or you want softer light, go a little lower.
- From the bed: About 6 to 12 inches outside the edge of the nightstand so you are not bumping it with your shoulder.
- Mental check: You want light on your book, not a bare bulb in your eyes. If you can, tape a paper template to the wall and test it at night before drilling.
4) Upgrade your closet with a simple system
You do not need a full custom build to get a closet that behaves. A weekend closet upgrade is often just: add a second hanging rod, add a shelf, and fix the layout so it stops fighting you.
Quick wins that matter
- Add a second rod: Double your hanging space for shirts and pants.
- Install a continuous top shelf: Great for bins and off-season items.
- Swap to sturdy rod brackets: No more bowing rods and sad plastic anchors.
Marcus tip: If you are anchoring into drywall, use toggle bolts for shelves. But whenever you can, hit studs. Studs never “mysteriously loosen up” at 2 a.m.

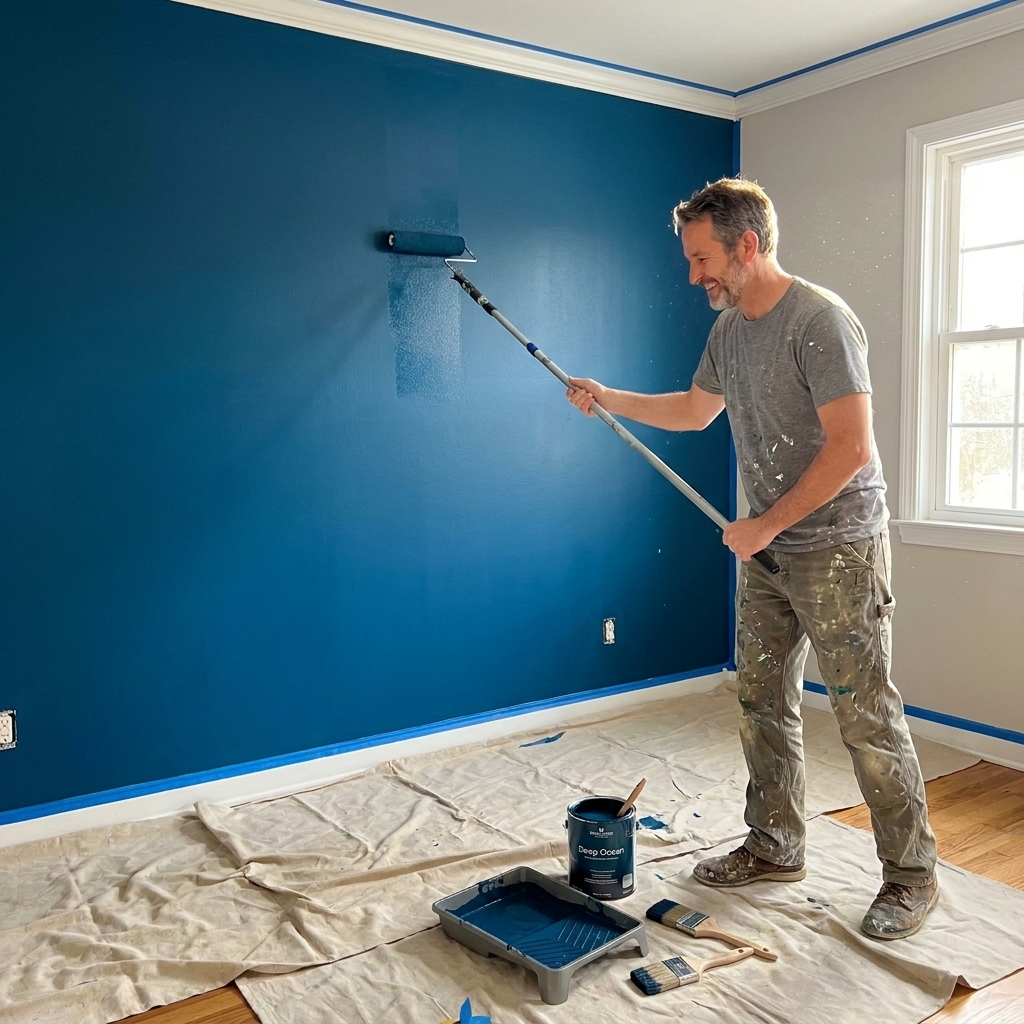
5) Paint the room, or just paint what matters
If you only do one thing this weekend, paint will deliver the biggest change per dollar. If painting the whole room feels like too much, paint one high-impact surface.
Fast paint options
- Whole room: Best full refresh.
- Accent wall: Great behind the bed or on the wall you see first.
- Ceiling: A fresh flat white makes everything feel brighter.
- Trim and doors: Crisp semi-gloss trim can make old walls look intentional.
Do not skip these steps
- Patch holes and sand smooth.
- Clean shiny spots and dusty trim. Paint sticks better to clean surfaces.
- Prime stains and raw patches so they do not flash through.
Sheen reality check: Higher sheen is tougher and more wipeable, but it can also highlight wall texture and dings. For most bedrooms, satin on walls is the sweet spot. Save semi-gloss for trim, doors, and anything that gets touched a lot.
Dad-joke warning: Painting is like pancakes. The first one teaches humility. The second one gets eaten with confidence.
6) Replace outlet and switch plates (and consider dimmers)
This is the easiest upgrade on the list and it is weirdly satisfying. Yellowed plates and mismatched covers quietly drag a room down.
What to do
- Swap all plates to matching styles and colors.
- Replace cracked or painted-over plates.
- Consider adding a dimmer for overhead lighting or bedside sconces (use dimmable bulbs).
Safety: Turn off the breaker before replacing a switch or installing a dimmer. If the wiring in the box looks like a science fair project from 1978, call an electrician. No shame in that game.
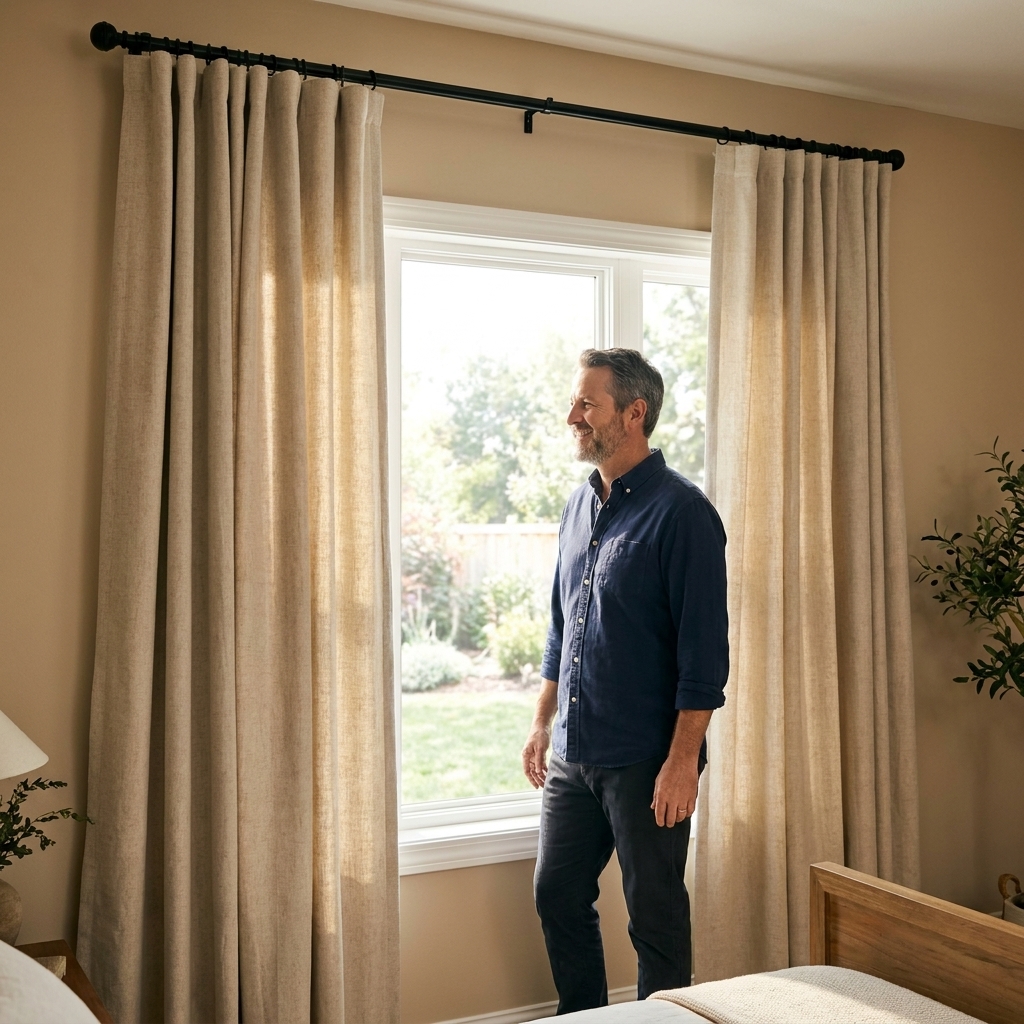
7) Hang curtains the right way (higher and wider)
Properly hung curtains make ceilings feel taller and windows feel bigger. It is one of those design tricks that feels like cheating.
Simple placement rules
- Mount the rod 4 to 8 inches above the window trim, or halfway between trim and ceiling if you have room.
- Extend the rod 8 to 12 inches past each side of the window so the panels can stack off the glass.
- Use wall anchors rated for the rod and fabric weight, or mount into studs.
Do not forget curtain width
For curtains that look full (not skimpy), aim for total panel width of about 1.5 to 2 times the width of the window or the rod span you want covered. More width looks more luxe, especially with blackout panels.
Budget tip: If you want blackout function without the “cave” look, pair light-colored blackout panels with a simple rod and rings so they glide easily.
8) Refresh doors and hardware
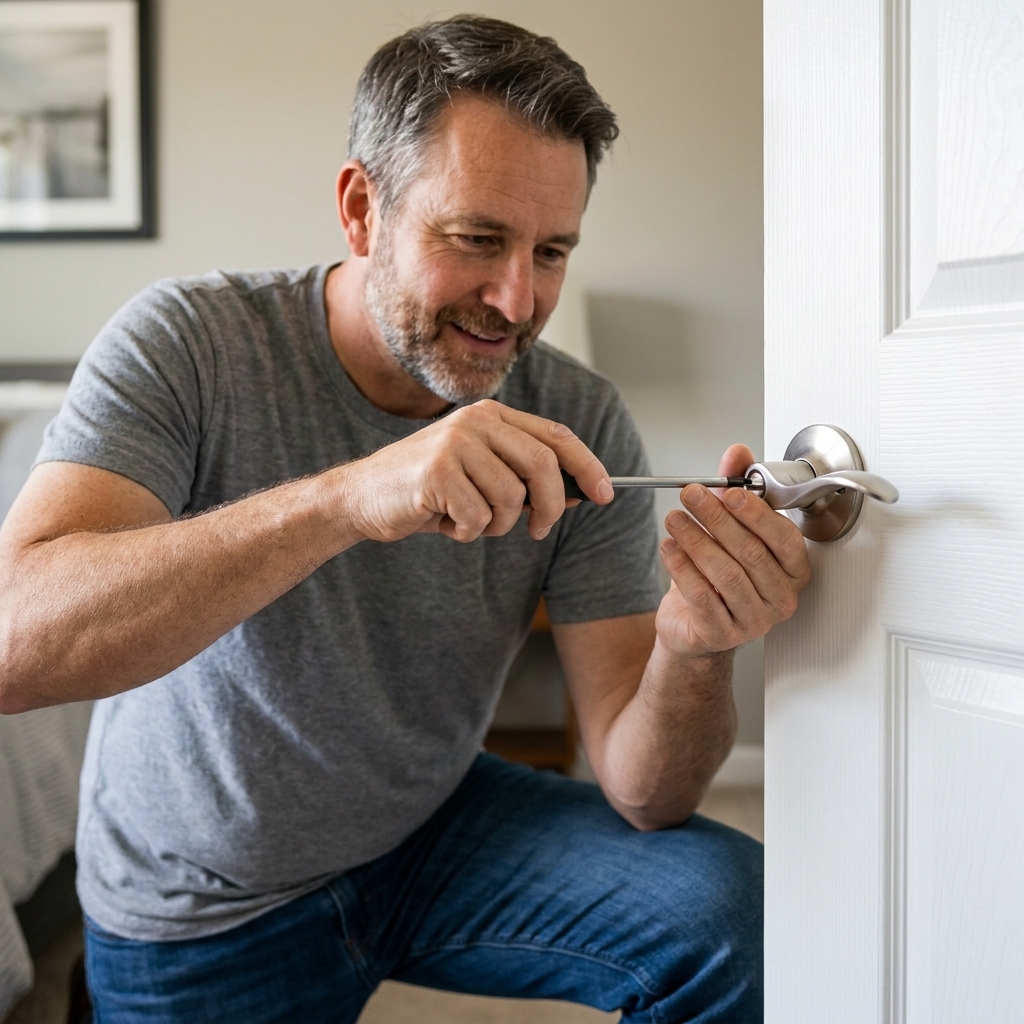
Old brassy knobs, sticky latches, and saggy hinges make a bedroom feel worn out. New hardware is cheap, fast, and very noticeable in daily use.
Weekend checklist
- Replace the bedroom door knob with a modern lever or knob.
- If the door is sagging, swap one hinge screw at a time for a longer 3-inch screw to pull the jamb back tighter.
- Replace closet door pulls, especially on bypass doors.
- Lubricate squeaky hinges with a tiny drop of dry lube or a dab of light oil, then wipe excess.
Marcus tip: Predrill for those longer hinge screws and aim for the framing stud behind the jamb. If you miss framing, you get all the effort with none of the magic.
Marcus tip: Take the old knob with you to the store to match backset and door thickness. Hardware shopping is way more fun when it does not include a second trip.
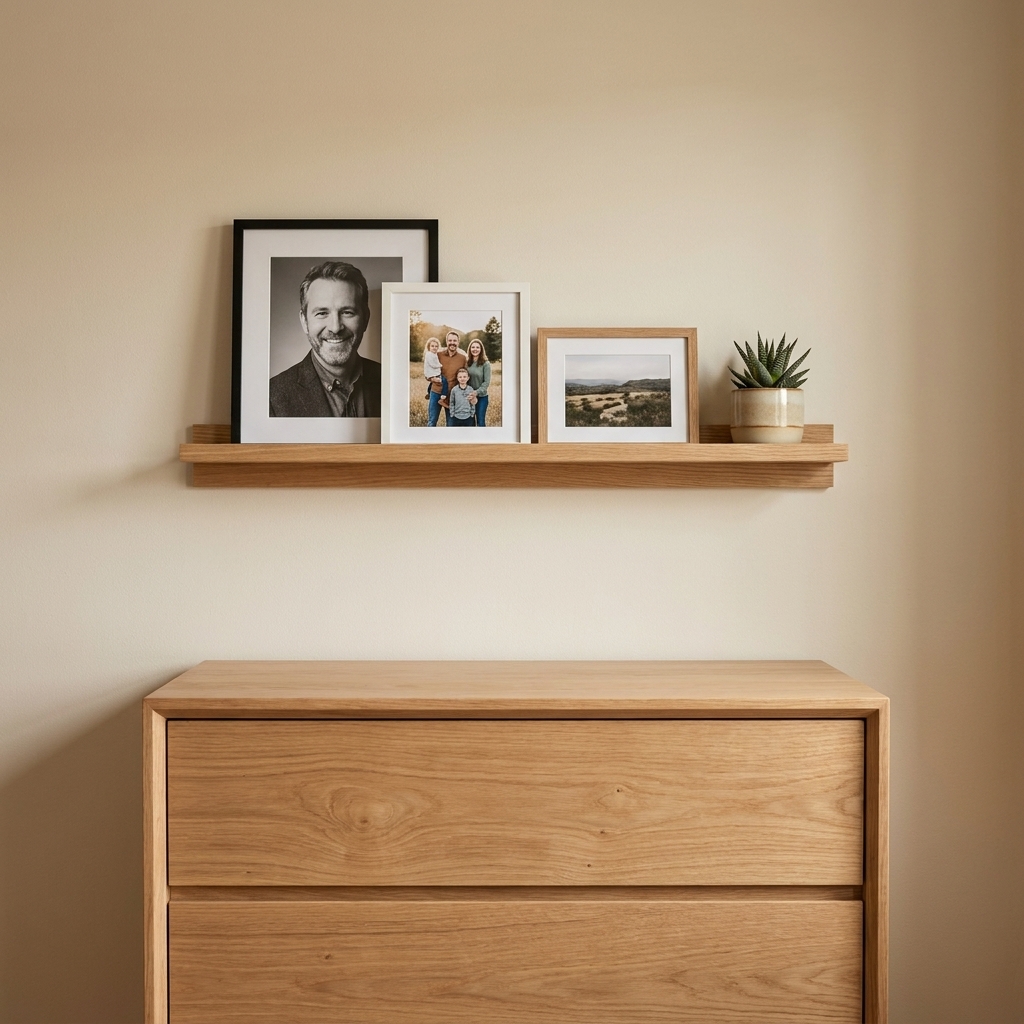
9) Build a simple floating shelf or picture ledge
A small shelf above a dresser or as a mini headboard ledge adds storage without taking floor space. Great for books, framed photos, and plants that you will totally remember to water.
Two easy options
- Picture ledge: A shallow shelf with a lip to hold frames.
- Floating shelf: A thicker shelf mounted with a bracket system.
Mounting basics
- Find at least one stud when possible.
- If you cannot hit studs, use heavy-duty drywall anchors rated for the expected load and follow the manufacturer instructions.
- Level it carefully. A shelf that slopes will haunt you every time you walk by.
Over-the-bed note: If you are mounting anything above where heads will be, do it like you mean it. Hit studs, use hardware rated for the load, and keep heavy items somewhere else.
10) Upgrade your headboard, or fake one with trim
A headboard anchors the room. If yours is flimsy or nonexistent, you can upgrade without buying a giant piece of furniture.
Three weekend-friendly approaches
- Buy a headboard only: Attach to your existing bed frame if compatible.
- DIY plywood headboard: Upholster with foam, batting, and fabric, then mount to the wall or frame.
- Painted “headboard”: Tape off a rectangle or arch on the wall behind the bed and paint it. Bonus points if you pair it with a picture ledge.
Budget note: A painted headboard plus wall-mounted sconces reads custom for the price of paint and a little patience.

Weekend supply list
- Painter’s tape, spackle, sanding sponge
- Caulk and caulk gun
- Stud finder, level, measuring tape
- Assorted screws, anchors, and a bit set
- Drop cloths, roller covers, angled brush
- Non-contact voltage tester for any electrical work
Pick your two-project combo
If you want maximum payoff with minimal chaos, these pairings work great in one weekend:
- Board and batten + paint (do the trim first, paint second)
- New light fixture + dimmer
- Closet system + new door hardware
- Curtains hung high and wide + wall sconces
Choose your upgrades, shop once, and give yourself permission to stop at “done.” Perfection is just procrastination wearing a tool belt.