
Weekend-friendly DIY upgrades that make your home look newer, cleaner, and more valuable without blowing the budget.
home improvement and DIY
Build a Floating Deck in a Weekend

Marcus Hayes
Marcus Hayes is a lifelong DIY enthusiast and former residential carpenter who has spent the last decade renovating his 1970s fixer-upper. Through Tinksmith, he shares his hands-on experience to help fellow homeowners tackle repairs, choose the right tools, and build spaces they love without breaking the bank.
Published October 17, 2026
Updated October 17, 2026
If you want “new outdoor living space” without the commitment of a full-blown, permit-heavy attached deck, a floating deck is the sweet spot. It is freestanding, it can sit low to the ground, and it is absolutely doable in a single weekend if you plan ahead and keep the design simple.
I built my first floating deck behind our 1970s fixer-upper after realizing our “patio” was basically a lumpy patch of weeds with a few pavers playing hide-and-seek. Two days later we had a flat, solid platform for a grill and a couple chairs. No magic. Just careful layout, solid supports, and a frame that stays square.

Below is the approach I recommend for a classic, low-profile, freestanding floating deck built with standard dimensional lumber. I will show you how to plan it, build it, and finish it so it looks like it belongs there.
What a floating deck is
A floating deck is a freestanding deck that is not attached to your house. It typically “floats” on concrete deck blocks, precast pier blocks, or footings with post bases.
The key details are:
- No ledger board fastened to your home
- Loads transfer to the ground through blocks, piers, or footings
- Often built low as a rule of thumb (many DIY floating decks stay under common guardrail trigger heights, but the exact threshold varies by code and how height is measured)
- Permits may be simpler than an attached deck in some areas, but many jurisdictions still require permits and inspections
Floating does not mean flimsy. A freestanding deck can feel rock-solid, but stiffness comes from spans, support spacing, connections, and bracing, not whether it is attached to the house.
Before you buy lumber
Check codes and setbacks
Even low decks can be regulated. Call your building department or check their website for rules on:
- When guards and handrails are required (requirements vary)
- Footing depth (many areas require frost-depth footings, even for freestanding decks)
- Setbacks from property lines and easements
- Approval requirements for electrical (lighting, outlets, hot tubs)
If your plan is truly a single weekend, build the simplest version first and add bells and whistles later. Benches and pergolas have a way of turning “Saturday project” into “seasonal hobby.”
Call before you dig
Any time you will dig or even drive stakes deeply, call 811 in the US (or your local utility marking service). It is free, and it keeps your weekend from becoming a neighborhood fireworks show.
Pick a size that matches lumber
Weekend success is mostly about avoiding custom cuts and weird spans. Great starter sizes:
- 10 ft x 10 ft (simple and compact)
- 10 ft x 12 ft (fits many furniture layouts)
- 12 ft x 12 ft (roomier, still manageable)
Design tip: plan your deck dimensions so your decking boards land with minimal waste. Most decking comes in 8, 10, 12, 14, 16, or 20 foot lengths.
A realistic weekend plan
You can usually build the platform in a weekend if:
- Materials are delivered or picked up Friday
- You are using code-allowed deck blocks or shallow footings (where permitted)
- The deck is low and the site is reasonably level
- You have a helper for framing and decking
If your area requires deep footings, inspections, or cure time, you can still do this quickly, but it might be a “two weekends plus curing time” situation. That is not failure. That is concrete being concrete.
Tools and materials
Tools (minimum)
- Measuring tape, pencil, marker
- String line and stakes
- 4 ft level (a long straight 2x4 also helps)
- Speed square
- Circular saw (or miter saw if you have it)
- Drill and impact driver
- Shovel and hand tamper (or a heavy 4x4 offcut)
- Clamps (optional, but helpful)
- Safety glasses and hearing protection
Quick safety notes
- Wear eye and hearing protection when cutting and driving fasteners.
- Pressure-treated lumber dust is not a snack. Cut outdoors and consider a dust mask if you are making a lot of cuts.
- Lift smart. Framed platforms get heavy fast, especially with wet treated lumber.
Materials (typical)
Exact quantities depend on size, but most floating decks include:
- Pressure-treated lumber for the frame: commonly 2x8 or 2x10 for rims and joists
- Decking boards: pressure-treated 5/4x6, cedar, or composite
- Supports: code-approved deck blocks, precast piers, or poured footings with post bases
- Gravel: for leveling pads and drainage
- Connectors: joist hangers, post bases, structural ties as needed
- Fasteners: exterior structural screws or nails for framing, plus decking screws or hidden fasteners
- Weed barrier fabric and additional gravel (optional, but nice under low decks)
Hardware compatibility
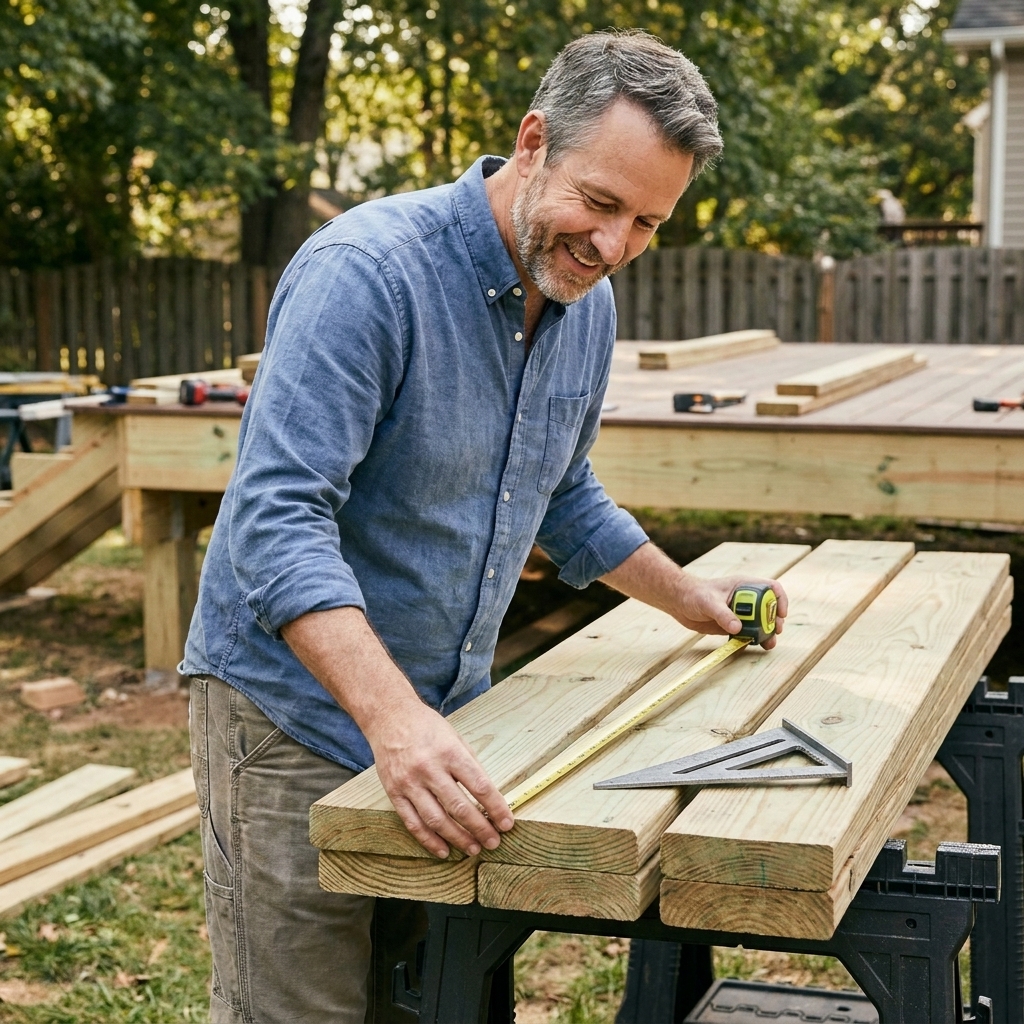
Modern pressure-treated lumber (often ACQ or similar) can be tough on metal. Use connector-rated fasteners and corrosion-resistant hardware, typically hot-dip galvanized or stainless. Match the hanger nails or structural screws to the hanger manufacturer requirements. Mixing random screws with joist hangers is how perfectly good hangers become decorative.
Spans and support spacing
This is the part that keeps a “weekend deck” from becoming a “why does this bounce” deck.
- Use IRC span tables or local code tables for joist spans, beam spans, and footing spacing. If you are not sure, ask your building department. They would rather answer questions than red-tag your project.
- Composite decking often needs closer joist spacing, sometimes 12 inches on center, depending on the brand and board orientation. Follow the manufacturer specs.
If you want a simple, DIY-friendly guardrail against over-spanning: keep spans conservative. Shorter spans feel stiffer, hide mistakes better, and are friendlier to furniture loads.
Sample block layout (common, not universal)
Every soil, code, and design is different, so treat this like a starting sketch, not gospel.
- 10 ft x 10 ft low deck: many DIYers use a 3x3 grid of supports (9 total), roughly 5 ft spacing. Some builds need more, especially with heavier decking or softer soils.
- 10 ft x 12 ft low deck: often a 3x4 grid of supports (12 total), roughly 4 ft to 6 ft spacing depending on joist direction, span tables, and beam strategy.
If that sounds like “a lot of blocks,” remember: decks rarely fail because they were supported too well.
Plan the build
Choose location and height
Floating decks work best when they are:
- Close to level ground
- High enough to keep wood out of constant splash and puddles
- Low enough that stairs and railings are not required (depending on local rules)
Rule of thumb: aim for at least a few inches of clearance under the frame for airflow and drying. More clearance is easier to maintain. Do not bury framing in soil. Pressure-treated wood can still have a bad time if it stays wet.
Mind drainage
Your deck surface should be level. Your yard probably is not. That is normal. The goal is to create level support points for the frame while keeping water moving around and away from the deck area.
Keep a gap near the house
You can build a floating deck near the house, but give it breathing room. Leave a small gap so debris and water do not get trapped against siding or a foundation, and consider a gravel strip for drainage. The deck should be freestanding. Do not fasten it to the house unless you are building an attached deck to code with proper flashing.
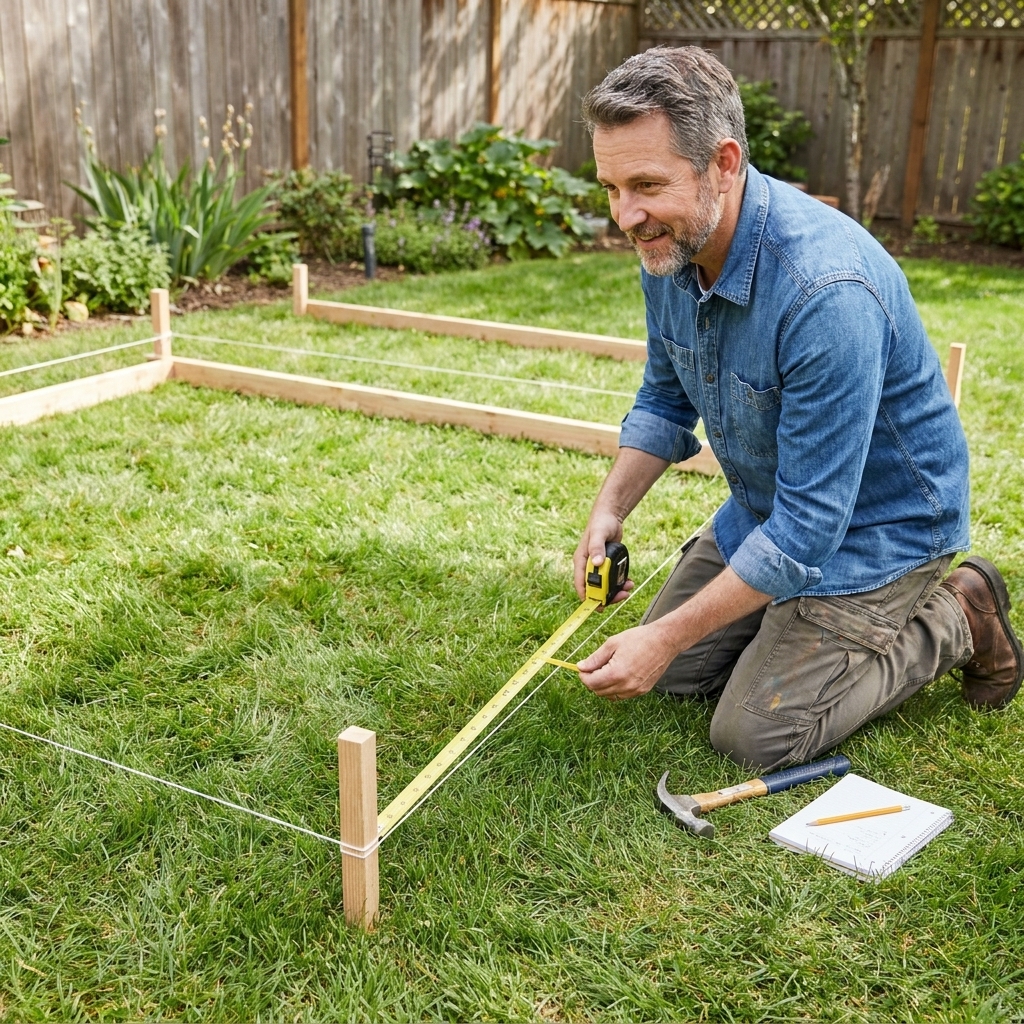
Square the layout (3-4-5 method)
To avoid building a very expensive parallelogram, square your layout:
- Establish one baseline edge with string
- Measure 3 ft along the baseline and mark it
- From the baseline corner, measure 4 ft in the perpendicular direction
- The diagonal between those marks should be 5 ft when the angle is square
Scale it up (6-8-10, 9-12-15) for easier accuracy in the yard.
Deck blocks vs footings
Precast deck blocks are fast for very low decks, and they work well where allowed. Poured footings are more universally accepted and more robust in freeze-thaw climates.
- Deck blocks: fastest, no mixing, best for small, low platforms on well-drained soil. Many jurisdictions do not accept them for anything beyond very low, light-duty decks, and frost heave can move them.
- Poured footings: slower, more digging, generally best for long-term stability and code compliance, especially where frost depth matters.
If you are unsure, call your local building department. That phone call is cheaper than rebuilding.
Fast framing plan
For a weekend build, I like a simple approach for low decks:
- Build a rectangular frame (rim joists) on the ground
- Square it using diagonal measurements
- Install joists at 16 inches on center (or per your decking specs)
- Set the framed platform onto leveled supports
- Add blocking where required for stiffness and board support
It is faster than setting posts, building beams, then hanging joists for a small, low deck. If your deck needs to sit higher, or your ground is very uneven, a beam-and-post layout may be the better option.
Joist direction
Run joists so your decking boards span across them. Plan the board direction based on looks and waste:
- Deck boards running away from the house often look clean
- Deck boards running parallel to a fence line can make the deck feel “built in”
Step-by-step build
Friday night (or early Saturday)
- Confirm your plan and dimensions
- Stage lumber near the build area on scrap blocks to keep it off wet ground
- Pre-cut rim joists if you can
- Pull permits if required and schedule inspections if applicable
Step 1: Clear and prep
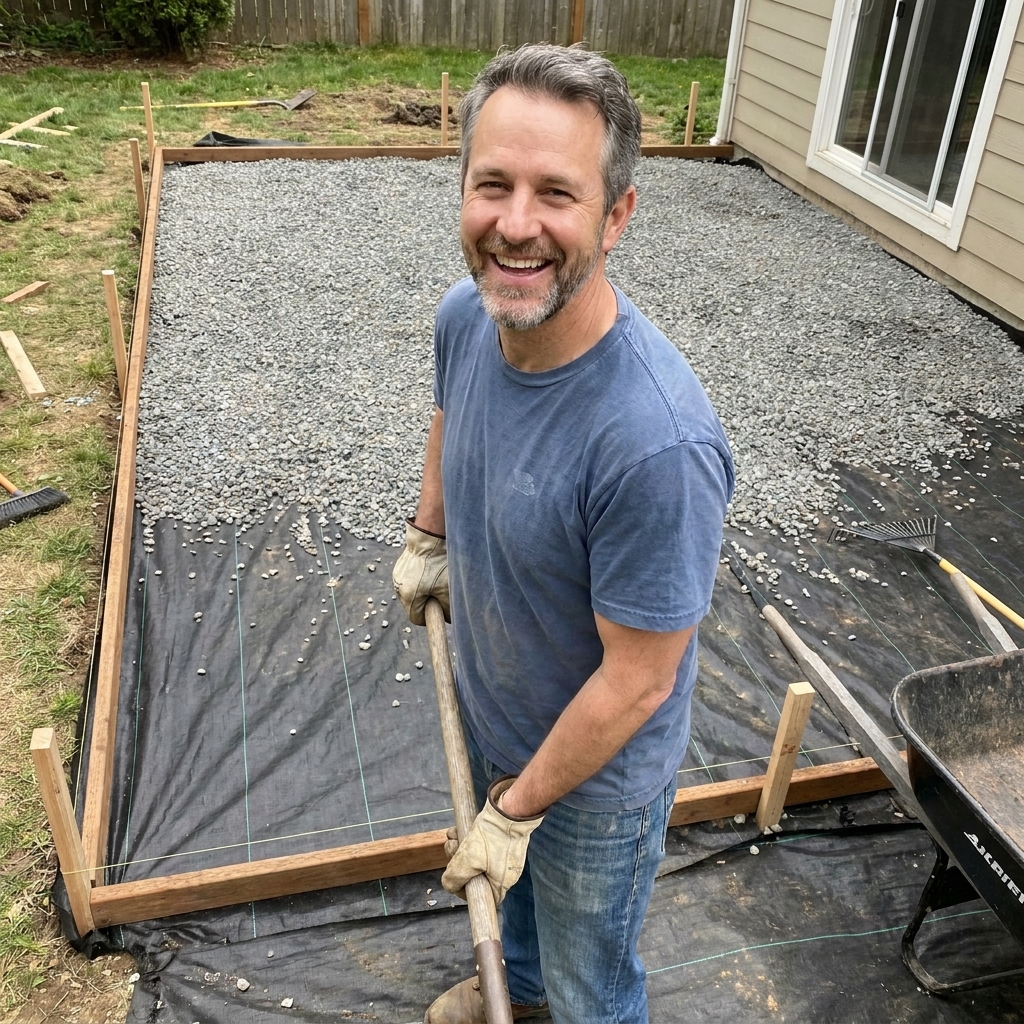
Remove sod and high spots where supports will sit. You do not need to excavate the whole area like a patio, but you do want stable support pads.
Optional but recommended for low decks: lay weed barrier fabric and add a thin layer of gravel under the deck area. It helps with mud, weeds, and drainage.
Step 2: Build the outer frame
On a flat area (driveway is great), assemble the rectangle. A simple butt-joint rectangle is typical for DIY builds.
- Cut two rim joists to the deck length and two to the deck width
- Fasten corners with connector-rated structural screws or nails approved for framing
- Measure corner-to-corner diagonals. Adjust until both diagonals match
Pro tip: clamp corners while you fasten to keep things from skating around.
Step 3: Mark joist layout
Mark joists at 16 inches on center along the rim joists (or per decking specs). Use a speed square and keep your marks consistent:
- Mark an “X” on the side where the joist will sit
- Account for hanger thickness if you are using hangers
Accuracy here is the difference between “decking goes down smooth” and “why does every board fight me like a raccoon in a trash can.”
Step 4: Install joists and blocking
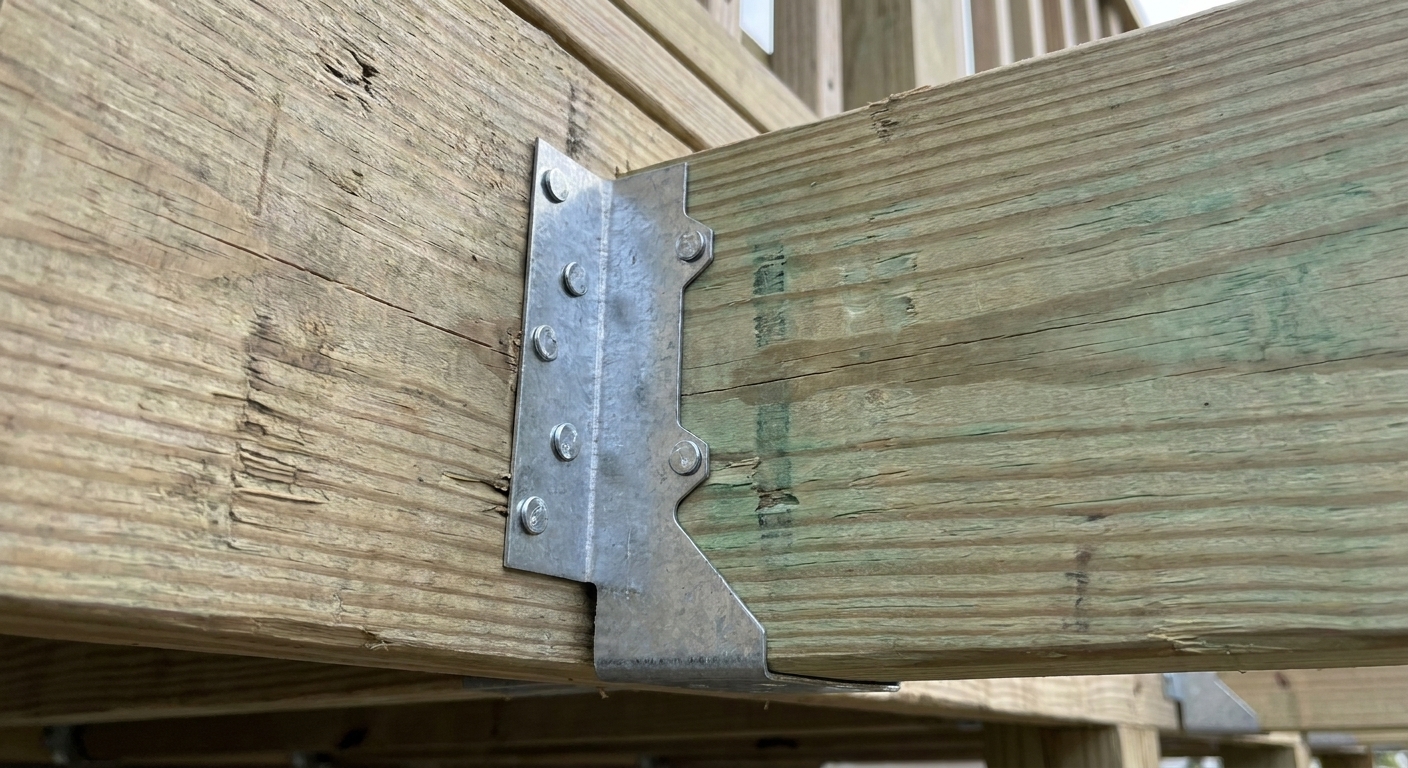
Use code-typical bearing details. In plain English: joists should sit on something solid and be fastened with approved hardware.
- Preferred: joist hangers with the correct hanger nails or approved structural screws
- Also common: joists bearing on a beam or ledge with approved connectors
Avoid relying on toe-screws alone unless your local code explicitly allows it for your specific detail. Hangers are usually stronger, cleaner to inspect, and easier for DIYers to get right.
- Cut all joists to the same length
- Install the outermost joists first, then fill in
- Add mid-span blocking on longer spans for stiffness
- Add blocking anywhere you will have decking seams that need support, and around the perimeter if you plan a picture-frame border
Step 5: Set and level supports
This is the part that makes the deck feel professional. Take your time.
If using deck blocks:
- Lay out block locations under corners and at planned interior support points
- Dig shallow pads for each block and compact the soil
- Add a few inches of gravel, compact again, and set the block
- Use a long straightedge and level to get all blocks in the same plane
If using poured footings:
- Dig below frost depth if required
- Use forms as needed, add gravel at the bottom, and pour concrete
- Set post bases aligned and level (or install after cure if your system requires it)
- Let concrete cure per the bag instructions before loading it
Support spacing depends on joist spans, decking type, soil conditions, and code. If you are unsure, use span tables and build conservatively.
Step 6: Set the frame and re-check
With a helper, move the framed platform onto your leveled supports. Then:
- Check that the frame is level in both directions
- Re-check diagonal measurements for square
- Shim only with materials rated for outdoor structural use, and avoid stacking a tower of tiny shims
Step 7: Lock in lateral stability
Freestanding decks can shift if they are not designed for lateral loads. What works depends on height, support method, and local code.
- Very low decks on blocks: keeping the deck low, well-supported, and tightly framed with blocking helps. Some jurisdictions still require specific connectors or an engineered detail for lateral restraint.
- Post-and-beam decks: diagonal bracing or code-approved lateral load connectors may be required.
Do not treat this as “add a couple brackets and call it good.” Ask your building department what they expect for a freestanding deck in your area, especially in high-wind or seismic zones. If you ever felt a deck “walk” when people dance on it, this is what was missing.
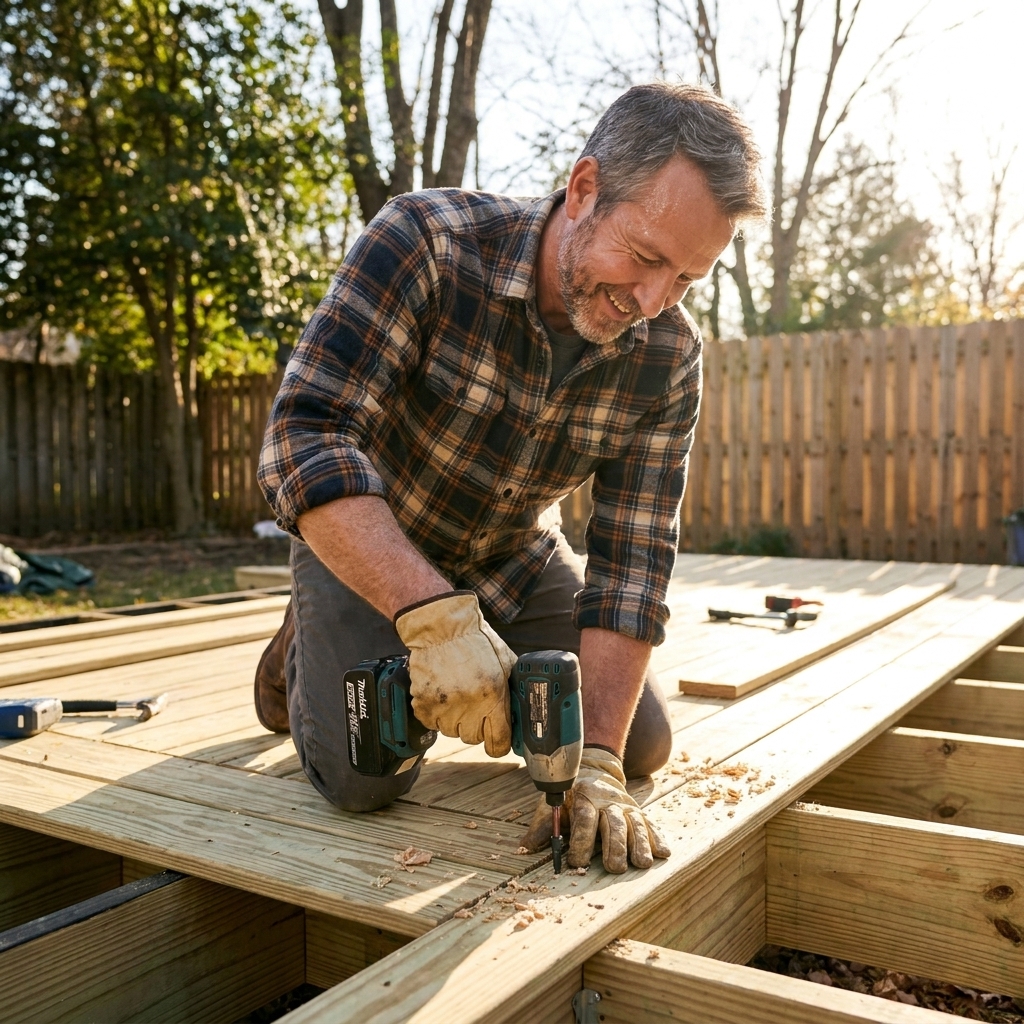
Step 8: Install decking
Start with your straightest board. You are setting the tone for the whole surface.
- Snap a chalk line for the first board if needed
- Maintain consistent gaps (wood decking often uses a small gap, composite uses manufacturer specs)
- Stagger butt joints if you have them, and keep them landing on solid support
- Use two fasteners per joist per board (unless using a hidden system)
Leave a small overhang (often 1/2 inch to 1 inch), then trim flush with a circular saw and a straightedge for a clean perimeter.
Step 9: Clean edges and add a step (optional)
For a clean look:
- Add a picture frame border if you like that style (plan blocking for it)
- Cover the rim with a fascia board for a tidy edge
If the deck sits more than a few inches above grade, a simple step makes it feel intentional and prevents the “hop up” entry that ages your knees prematurely.
Step 10: Seal or stain (later, usually)
Pressure-treated lumber often needs time to dry before staining or sealing. If water beads on the boards, wait. If it soaks in, you are usually good to apply a deck sealer.
- For a weekend build, focus on construction first
- Plan sealing or staining a few weeks later (weather permitting)
Weekend timeline
Saturday
- Morning: layout, clear footprint, prep support pads
- Midday: assemble rim frame, mark layout
- Afternoon: install joists and blocking
- Late afternoon: level supports and set the frame
Sunday
- Morning: final level and square checks, lateral stability requirements
- Midday: lay decking boards
- Afternoon: trim edges, add fascia or step, cleanup
If you only hit one goal each day, make it these: Saturday ends with a solid, level frame. Sunday ends with decking down and edges cleaned up.
Common mistakes
- Skipping square checks: measure diagonals early and often.
- Setting blocks on loose soil: compact, add gravel, compact again.
- Using the wrong fasteners: use exterior-rated, corrosion-resistant hardware and match connector requirements.
- Over-spanning joists: use span tables and keep spans conservative.
- Assuming deck blocks are always allowed: many places restrict them, and frost heave is real.
- Poor ventilation under a low deck: do not trap moisture against framing.
- Inconsistent deck board gaps: use spacers and follow decking manufacturer guidance.
Budget tips
- Keep it rectangular: angles and curves eat time and waste lumber.
- Use pressure-treated decking: it is heavier and not as fancy, but it is budget-friendly and lasts when sealed.
- Buy longer boards strategically: fewer seams can mean faster install, but do not overpay for lengths you cannot transport.
- Rent specialty tools: if you need a plate compactor or laser level, renting for a day is often cheaper than buying.
FAQ
Do floating decks need frost-depth footings?
Sometimes. In freeze-thaw climates, many jurisdictions require frost-depth footings for any structural deck, even freestanding. Some allow deck blocks for very low, small platforms. Your local building office is the final word.
How low can a floating deck be?
Low decks are common, but you still want airflow and drainage. Avoid wood touching soil, and consider gravel and weed barrier under the deck to reduce moisture and weeds. If you cannot keep framing dry, raise the design or switch to a different surface solution.
Can I build a floating deck near my house?
Yes, as long as it is truly freestanding and you maintain clearance so water and debris do not get trapped against your siding or foundation. Do not fasten a ledger to the house unless you are building an attached deck to code with proper flashing.
What is the easiest decking for a weekend build?
Pressure-treated 5/4x6 is usually the fastest and most budget-friendly. Composite is also straightforward, but it can require tighter joist spacing and specific fasteners.
How long does a floating deck last?
With proper supports, good drainage, correct hardware, and periodic sealing (for wood), a floating deck can last many years. Most early failures come from ground contact, poor drainage, over-spanning, or hardware that corrodes.
Final neighbor advice
If you want a one-weekend win, keep it simple: a low rectangle, solid supports, joists spaced to match your decking, and boards installed clean and straight. Spend your patience on leveling the supports and squaring the frame. Everything else goes faster when those two are right.
And if you catch yourself saying, “Eh, close enough,” take a breath, grab the tape measure, and remember: wood has a long memory.