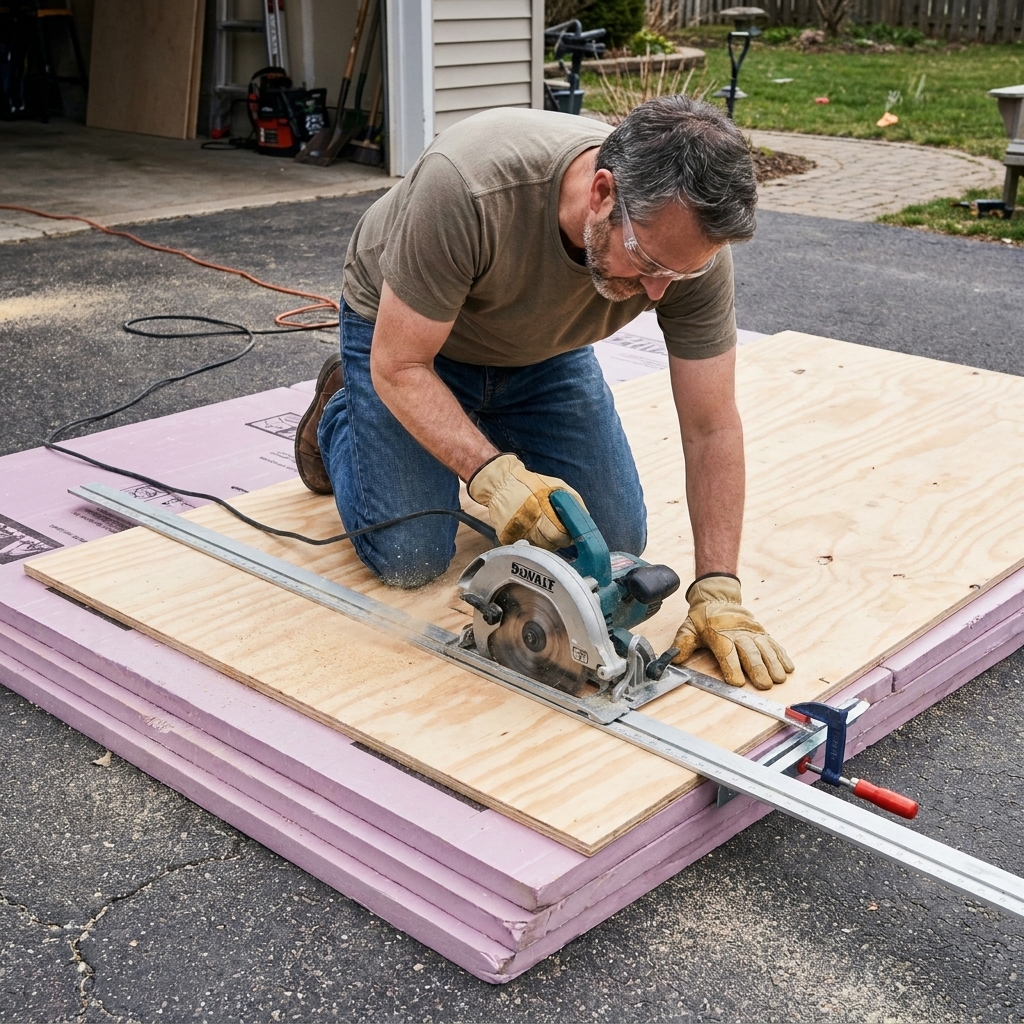
A homeowner-friendly guide to choosing a random orbital sander, selecting the right grits, and sanding wood to a flawless finish without swirl marks.
home improvement and DIY
Upcycling Wood Pallets: Rustic Coffee Table

Marcus Hayes
Marcus Hayes is a lifelong DIY enthusiast and former residential carpenter who has spent the last decade renovating his 1970s fixer-upper. Through Tinksmith, he shares his hands-on experience to help fellow homeowners tackle repairs, choose the right tools, and build spaces they love without breaking the bank.
Published October 17, 2026
Updated October 17, 2026
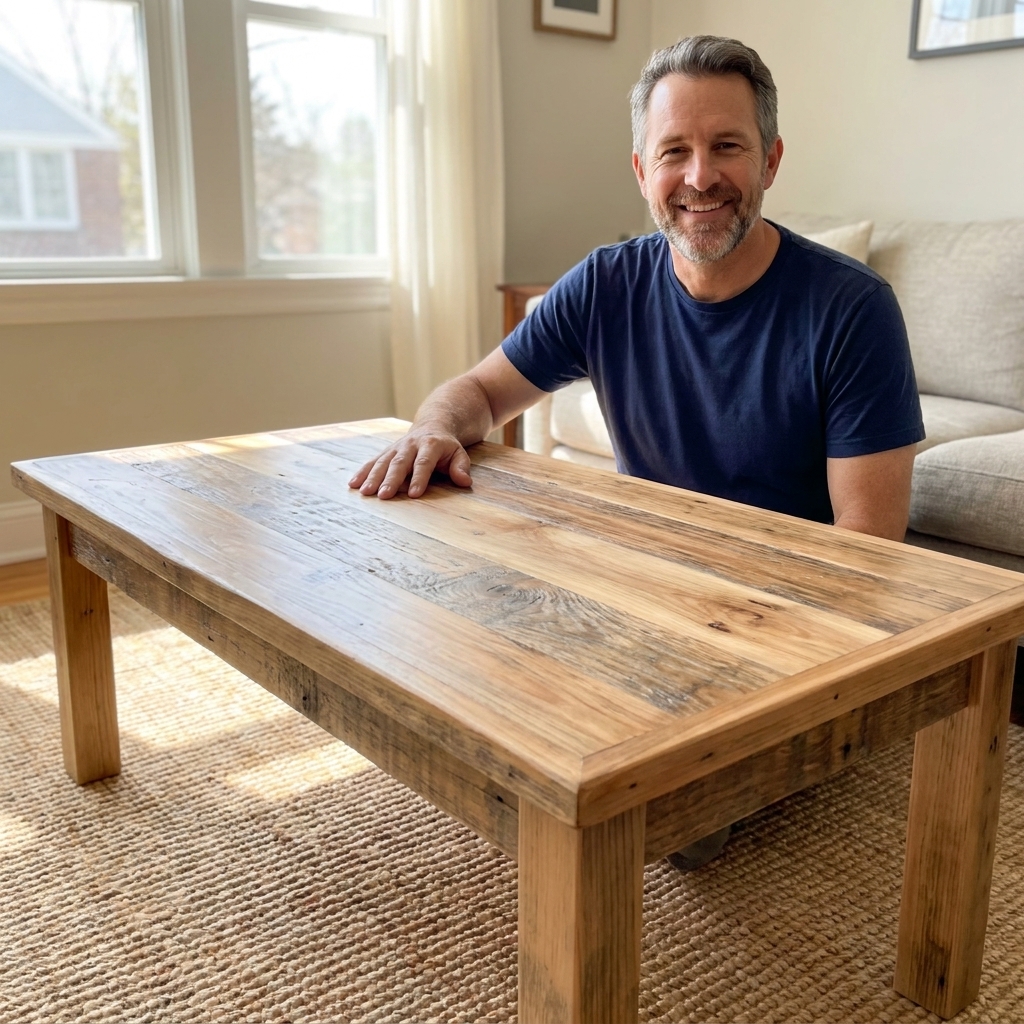
There are two kinds of pallet projects: the ones that look charming and rustic, and the ones that look like you parked a splintery shipping dock in your living room. Today we are building the first kind.
A pallet coffee table can be budget-friendly, tough as nails, and genuinely good-looking if you start with safe wood and take the time to dismantle it cleanly and sand it right. I have built plenty of rough-and-ready shop furniture from pallets, and I can tell you this: the difference between “rustic” and “regret” is prep work.
Pick safe pallets first
Before you touch a pry bar, make sure the pallet you found is actually suitable for indoor furniture. Pallets live hard lives. Some are perfectly fine, others have been exposed to chemicals, spills, or pests. When in doubt, pass.
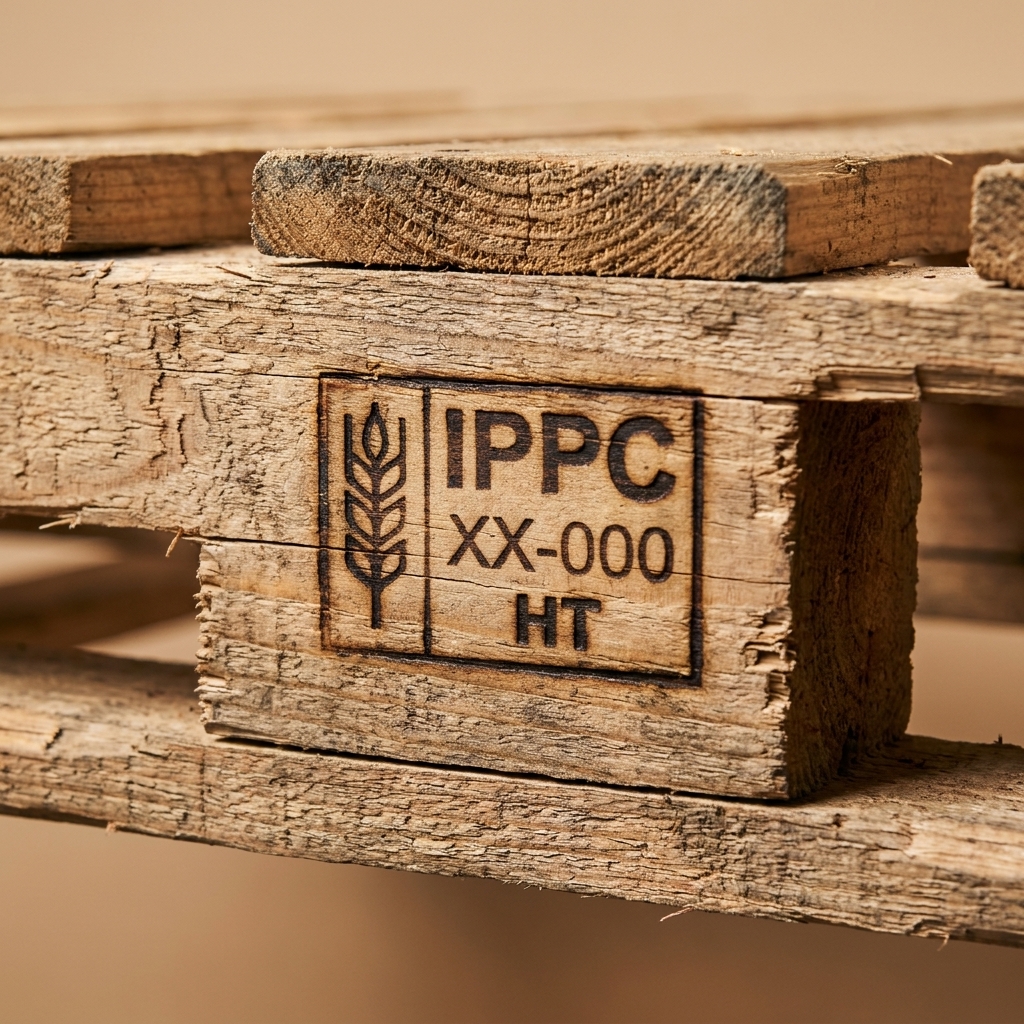
Look for the stamp
Many pallets used for international shipping are stamped with an IPPC/ISPM-15 mark that tells you how the wood was treated for pests. Some domestic pallets may have no stamp at all. A stamp also does not guarantee a clean history. It only tells you the wood treatment.
- HT (Heat Treated): This is what you want. Heat treated pallets are heated to kill pests and are generally considered the safest option for indoor projects.
- KD (Kiln Dried): A good sign for dryness and stability, but KD is not the key pest-treatment mark. You still want to see HT (or another compliant treatment mark) if you are relying on stamps for reassurance.
- MB (Methyl Bromide): Skip it. This indicates chemical fumigation. It is rarer today in many places, but it still shows up on older pallets. Not something you want in your home, and definitely not something you want to sand.
Use your eyes and nose
- Avoid pallets with dark stains, oily spots, or mystery crust. If you cannot confidently identify it as “just dirt,” walk away.
- Skip pallets with strong odors (chemical, sour, or “warehouse funk”).
- Check for rot, punky wood, or insect holes.
Avoid pool and painted pallets
Two common real-world gotchas:
- Pool pallets (often marked CHEP, PECO, or similar) are usually owned by a pallet company. They are not “free pallets,” and many businesses are not allowed to give them away.
- Painted pallets and pallets with unknown coatings are a hard pass for indoor furniture. Old paint can be nasty stuff, and sanding it is a bad idea.
Where to find decent pallets
My favorite sources are local small businesses that receive dry goods, like tile stores, appliance retailers, and hardware stores. Ask politely, offer to take only what they want gone, and do not block their loading area. If you can pick up on a schedule, you become their hero.
Tools and materials
You can build this coffee table with basic tools. Fancy tools make it faster, not necessarily better.
Tools
- Pry bar and a stiff putty knife or trim bar
- Hammer
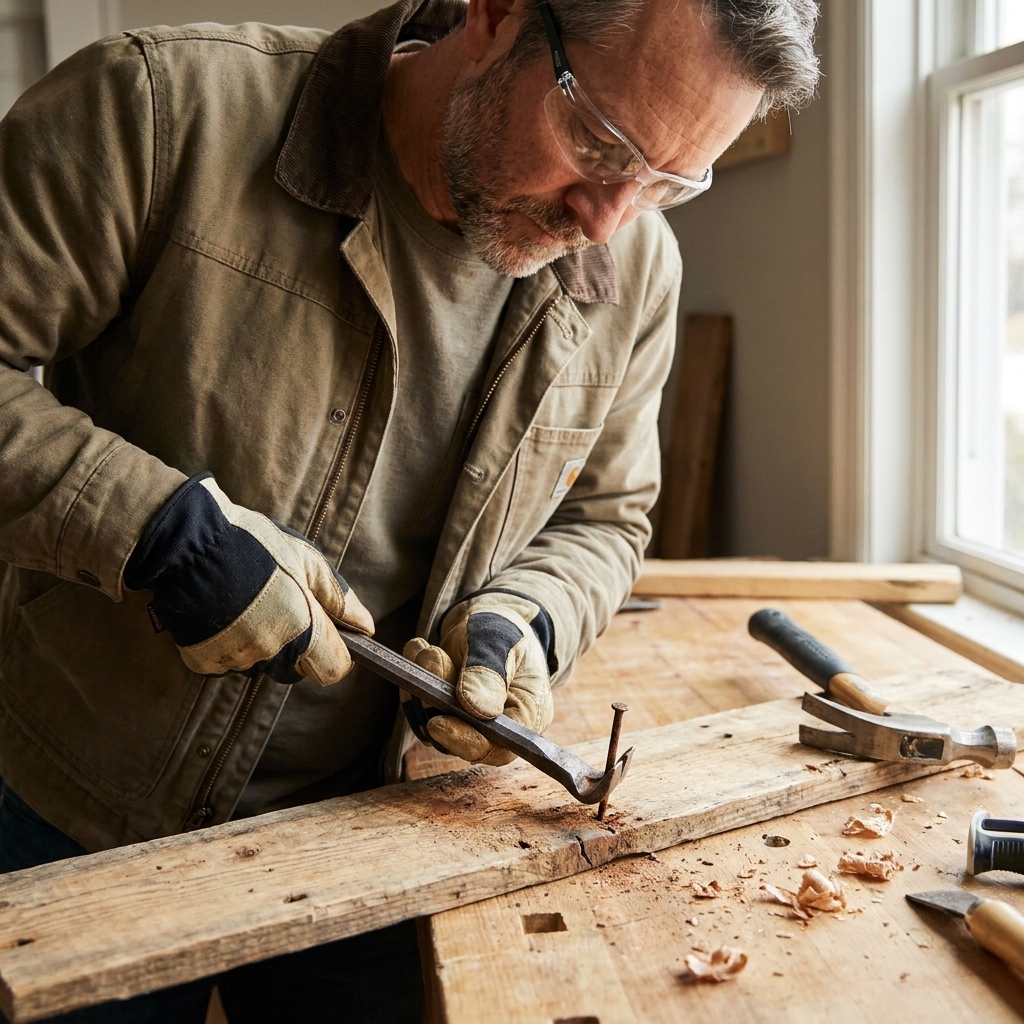
- Cat's paw nail puller (highly recommended)
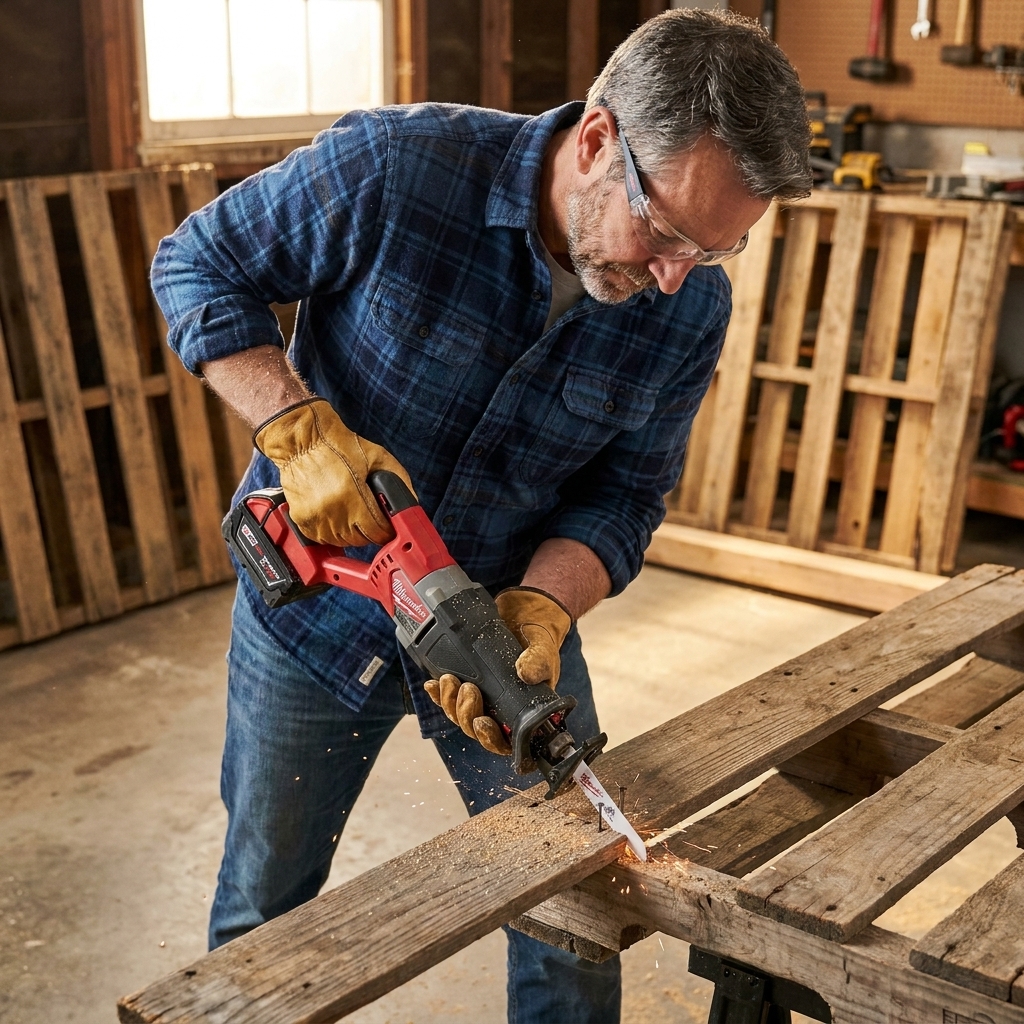
- Reciprocating saw with metal cutting blades (optional but saves boards)
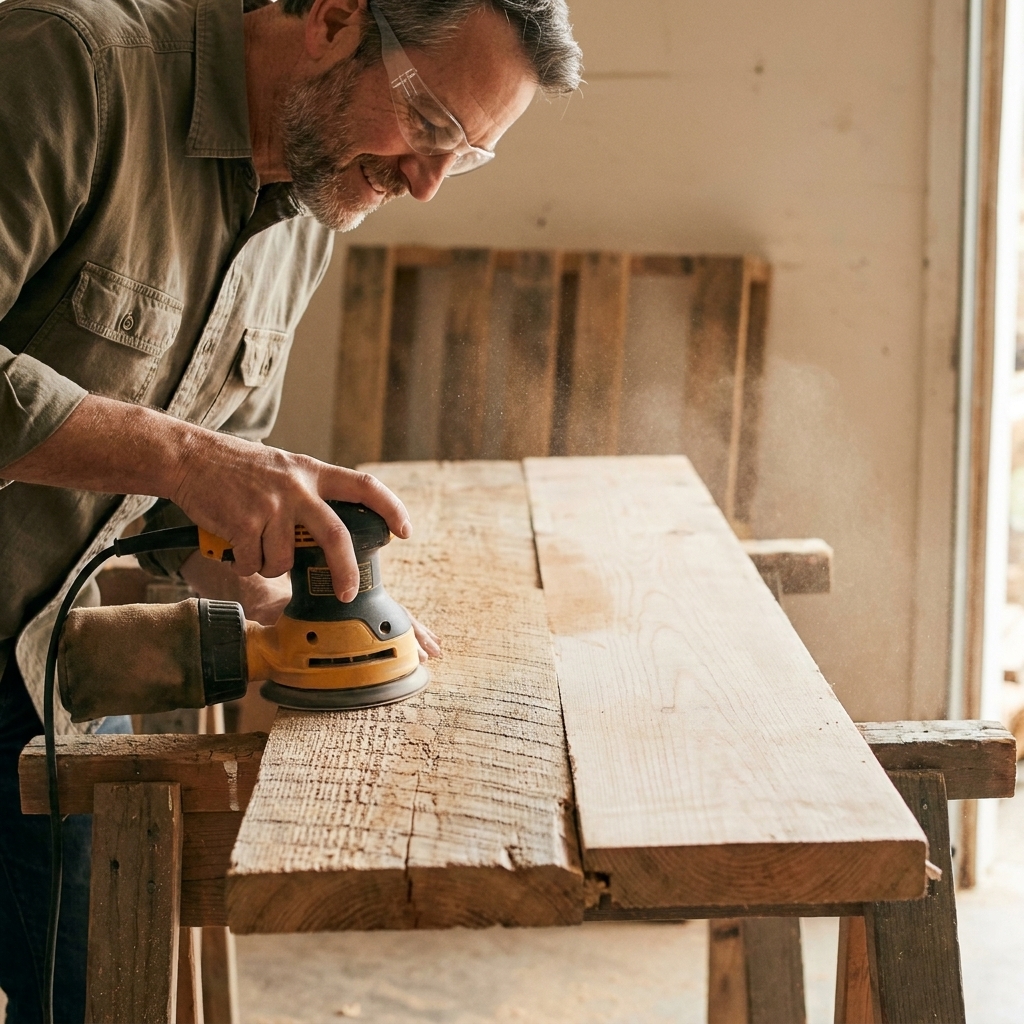
- Random orbit sander plus sanding discs (60, 80, 120, 180 grits)
- Circular saw or miter saw
- Drill/driver
- Measuring tape, square, pencil
- Clamps (the more, the merrier)
Materials
- Pallet boards (plan on dismantling 2 to 4 pallets for a clean, matching top)
- 1 1/4 inch pocket-hole screws or 1 5/8 inch wood screws (depending on joinery)
- Wood glue (interior or exterior grade is fine for a coffee table)
- Wood filler (stainable if you plan to stain)
- Finish: water-based polyurethane, oil-based poly, hardwax oil, or stain plus topcoat
- Optional: 2x2 or 2x4 lumber for internal framing (recommended for stiffness)
- Optional: casters and screws (if you want it to roll)
Safety gear: safety glasses, hearing protection, gloves for dismantling, and a dust mask or respirator for sanding. Pallet dust is not a seasoning.
Design and plan
Pallet coffee tables usually land in one of two camps:
- Stacked pallets: fast, chunky, and very rustic. Usually heavier and harder to get smooth.
- Dismantled boards: cleaner look, flatter top, and easier to build a table that feels like real furniture.
This guide uses dismantled boards with a hidden internal frame. It looks rustic but behaves like a grown-up table.
Suggested finished size
- Length: 44 inches
- Width: 24 inches
- Height: 17 to 18 inches
Adjust to your room. A good rule: coffee table height is typically at or slightly below your sofa seat height.
Mini cut list (for a 44 x 24 top)
This assumes a simple frame made from 2x2s (actual 1 1/2 x 1 1/2 inches) that sits slightly inset so the top has a small overhang.
- Top boards: enough pallet boards to cover 44 x 24 inches (quantity varies by board width)
- Upper frame: 2 rails at 41 inches, 2 rails at 21 inches
- Cross supports: 2 pieces at 21 inches
- Legs: 4 legs at 15 1/2 to 16 1/2 inches (depends on your top thickness and whether you add casters)
Why those frame numbers? A 44 x 24 top with a 1 1/2 inch overhang on all sides gives you a 41 x 21 frame. If you want the frame flush to the top edges, build it at 44 x 24 instead. Just decide up front so you are not building two different rectangles in your head.
Step 1: Dismantle pallets cleanly
Most pallet boards split because people pry them up like they are opening a paint can. The trick is to separate the nails, not the wood fibers.
Method A (best yield): reciprocating saw
- Slide the blade between the deck board and stringer.
- Cut through the nails at each attachment point.
- Remove boards with minimal prying.
This leaves nail stubs in the stringers and clean board ends. You can punch out nail remnants later if needed.
Method B: pry bar with patience
- Work a stiff putty knife or trim bar under the board first to create a gap.
- Move to a pry bar and lift slowly near each nail point, alternating sides.
- If a board starts to crack, stop and reposition closer to the nail.
Pull nails like a pro
Use a cat's paw to grab stubborn nails. For twist nails, rocking them out can tear the wood. Sometimes it is faster to cut flush and avoid that crater on your show face.
Step 2: Clean and prep the boards
This is where your coffee table goes from “shipping platform” to “living room.”
Scrub first, sand second
If your boards are dusty or grimy, knock the dirt off before sanding. Otherwise you are just grinding grime into the wood.
- Quick clean: stiff brush and vacuum.
- Deeper clean: mild dish soap and water, then let the boards dry fully for at least 24 to 48 hours depending on humidity.
Check for metal, always
Run a magnet over boards and look closely for staples, nail tips, and broken fasteners. One hidden staple can ruin your sander pad and your mood.
Step 3: Sand it smooth enough
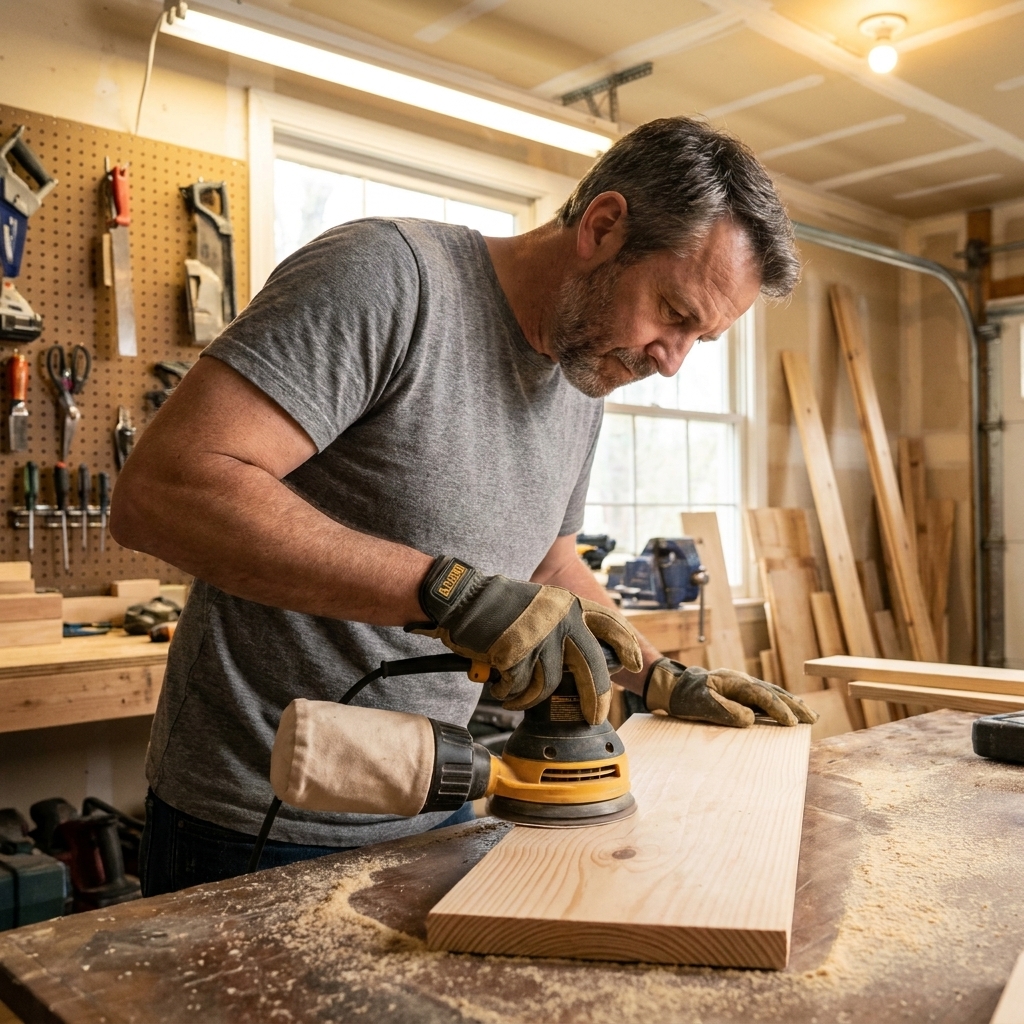
My goal with pallet furniture is “smooth where you touch it” and “character where you see it.” You do not need to erase every saw mark, but you do need a top you can rest your feet on without donating skin.
A sanding sequence that works
- Start: 60 or 80 grit to flatten and remove splinters.
- Middle: 120 grit to smooth.
- Finish: 180 grit for a nice hand feel (especially if you are using polyurethane or hardwax oil).
Use a random orbit sander for faces and a sanding block for edges. Break sharp edges slightly so they are comfortable and resist chipping.
How smooth is “smooth enough”?
Do the t-shirt test. Drag an old cotton t-shirt across the board. If it snags, keep sanding. If it slides, you are in business.
Step 4: Build the base frame
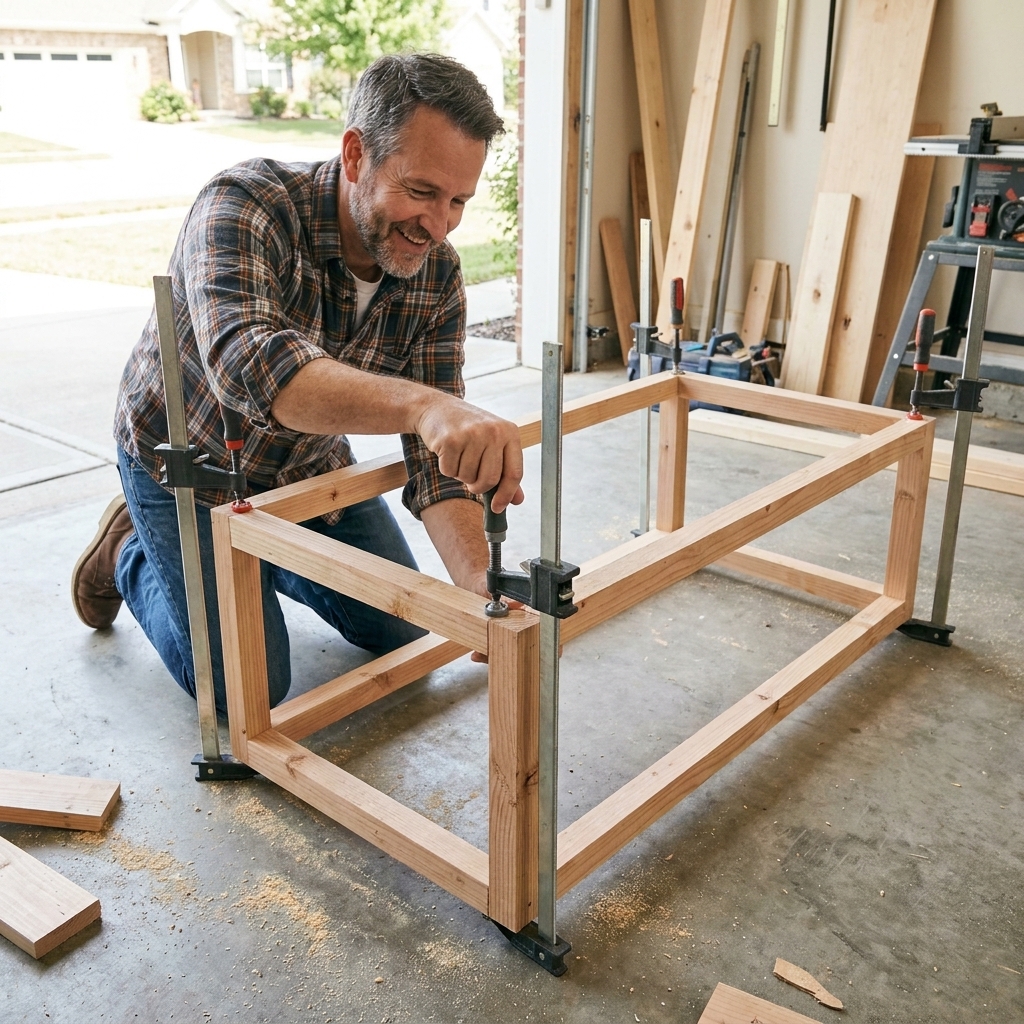
Pallet boards vary in thickness and stability, so the smartest move is to build a square, sturdy frame that does the real structural work. The reclaimed boards then become the tabletop skin.
Frame lumber options
- Best: straight 2x2s or ripped 2x4s (actual 1 1/2 inch thick).
- Can work: pallet stringers if they are straight and not cracked, but they are often rough and inconsistent.
Simple frame layout
Build a rectangle that matches your plan. If your top will overhang, build the frame slightly smaller and centered underneath. Add at least two cross supports inside the rectangle to prevent sag.
- Cut two long rails and two short rails.
- Dry fit and check for square by measuring diagonals.
- Assemble with wood glue and screws, or pocket holes if you have a jig.
- Add two cross supports evenly spaced.
Tip: If you want a lower shelf, add a second frame 4 to 6 inches above the floor and connect them with legs.
Step 5: Build the tabletop
Now we turn your pile of boards into something that looks intentional.
Choose your show faces
Lay boards out and mix colors and grain until it looks balanced. Flip boards around to stagger knots and avoid having all the dark boards on one side.
Flatten without a planer
If you do not own a planer, you can still get a top that behaves:
- Pick the straightest boards for the top surface.
- Alternate any slight cup (one board cupping up, next cupping down) so the whole top stays calmer.
- If one board is proud, knock it down with a belt sander carefully, or use a hand plane if you have one. Go slow and check often.
Cut ends clean
Square one end of each board, then cut to length. Even a rustic table looks better when the ends line up.
Attach boards to the frame
Place boards with small gaps (1/16 to 1/8 inch). The gaps look right on reclaimed wood and help keep tight edges from fighting each other when humidity changes.
- Pre-drill to prevent splitting.
- Use 1 1/4 inch screws from the top into the frame, or attach from underneath if you want a cleaner surface.
- Add a thin bead of glue on the frame for stiffness, but do not glue board-to-board edges if you are leaving gaps.
If you are using wider boards and want the best chance of avoiding seasonal trouble, attach from underneath and do not over-tighten. Wood movement is going to do what it does. Your job is to give it a little grace.
My favorite approach: screw from underneath when possible. It takes longer, but your tabletop stays cleaner and easier to refinish later.
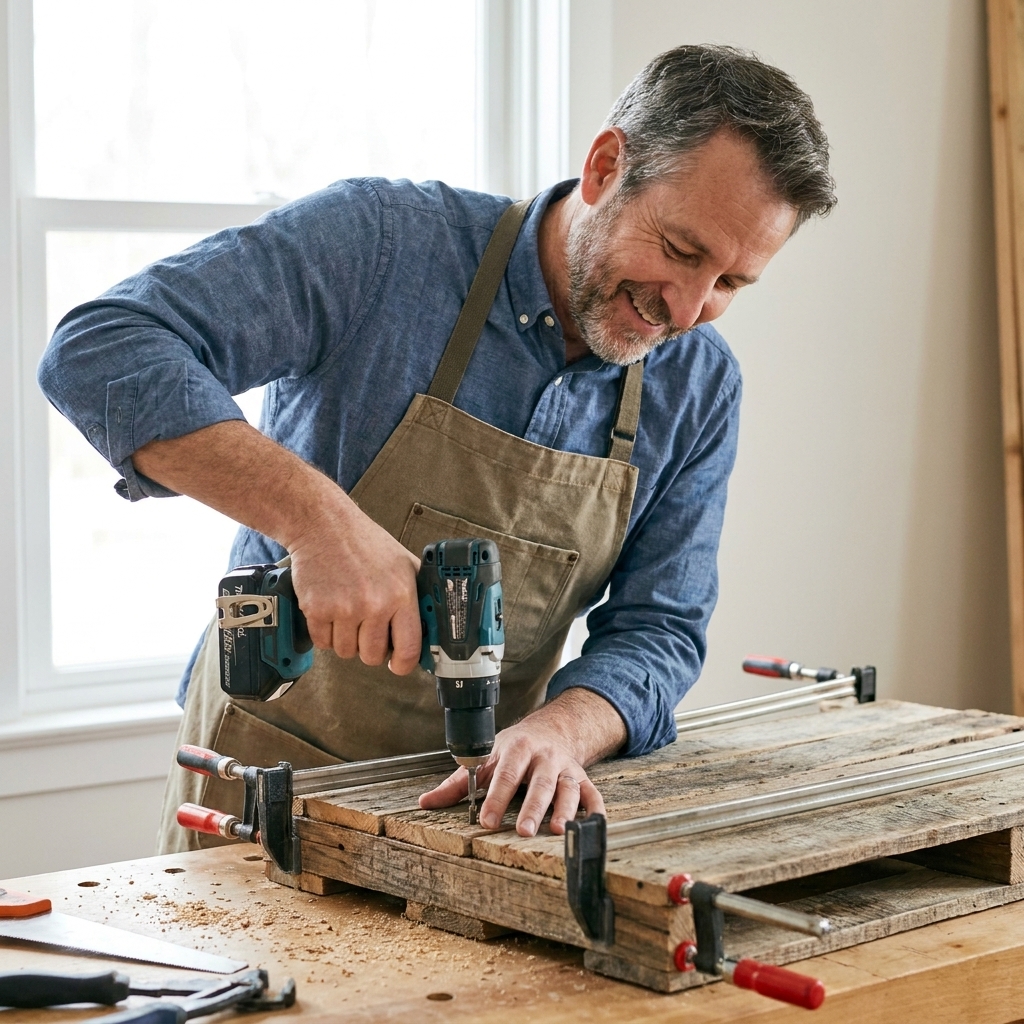
Step 6: Add legs or a base
You have options here, and each one changes the vibe.
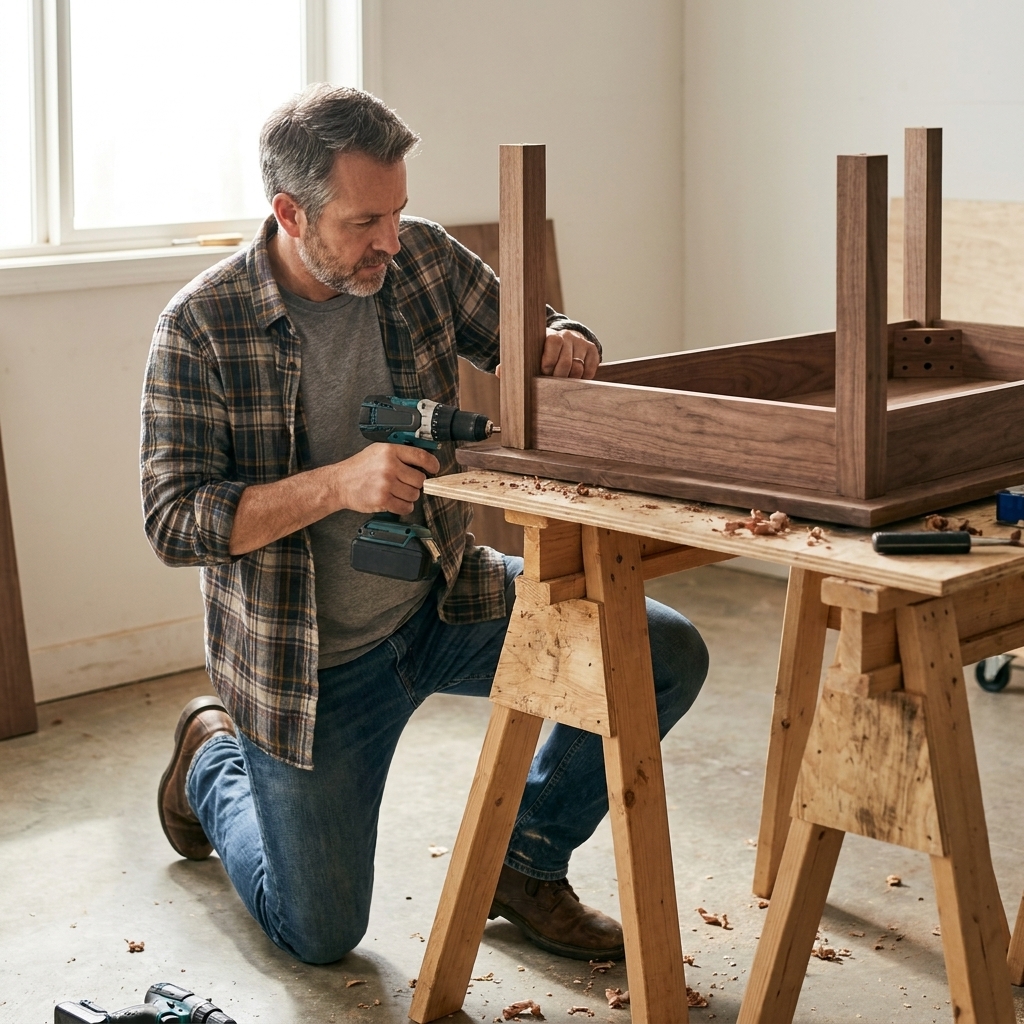
Option 1: Square legs
- Cut four legs from 2x2s or laminated pallet boards.
- Attach inside the corners of the frame with glue and screws.
- Add corner blocks or small braces for extra rigidity.
Option 2: Plinth base
Build a smaller rectangle that sits centered under the table and connects to the top frame with short vertical blocks. It looks clean and is very stable.
Option 3: Casters
If your space is flexible, casters can be great. Choose locking casters rated for the weight of the table.
Step 7: Fill and final sand
At this stage, take five minutes to make it feel like furniture.
- Fill deep cracks or screw holes with wood filler (especially if you are staining).
- Do a final sand at 180 grit on the top and edges.
- Ease all edges and corners so they are not sharp. Your shins will thank you later.
If you want a more “barn wood” look, keep the saw marks and dents, but still sand until it is comfortable to touch.
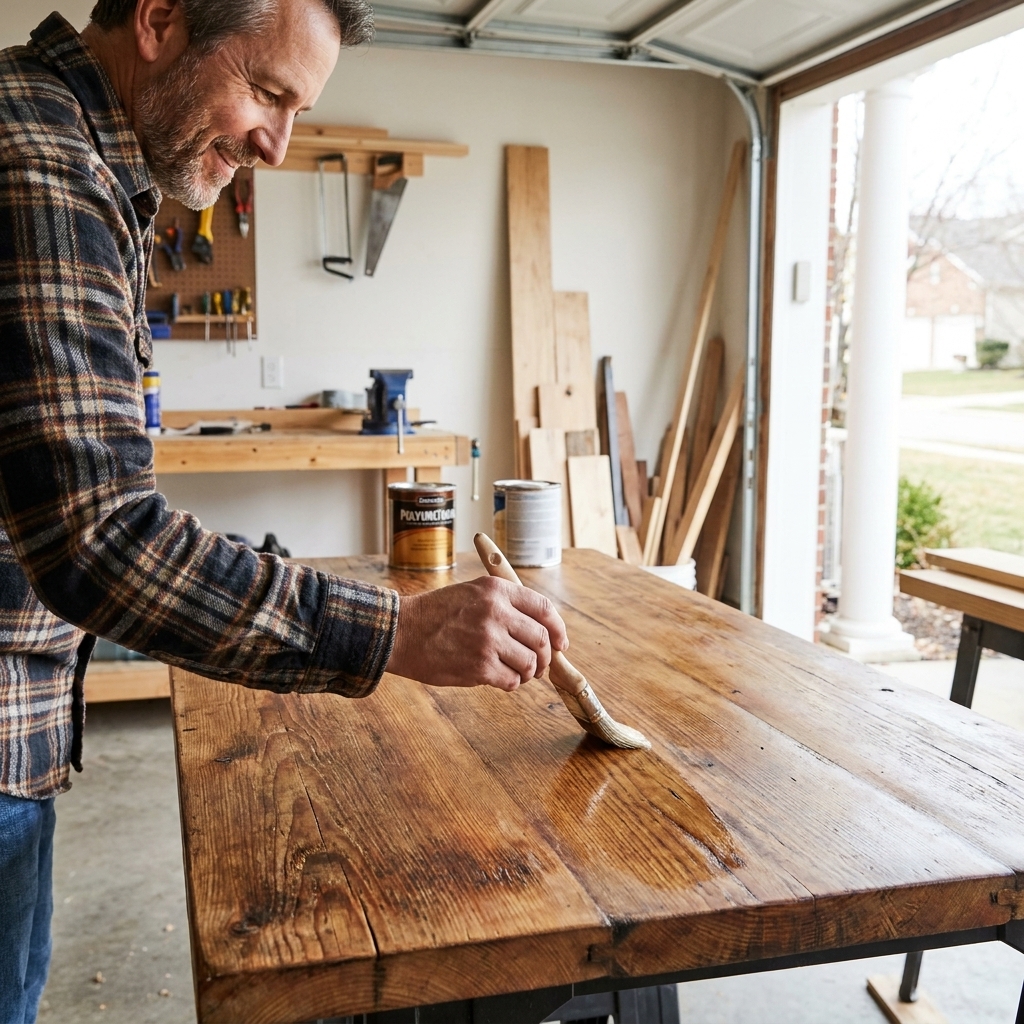
Step 8: Finish for real life
A coffee table gets abused. Drinks sweat, kids climb, pets sprint, and someone will set down a pizza box like it is a legal document that must be notarized. Choose a finish that matches your household.
Good finish options
- Water-based polyurethane: clear, low odor, dries fast, good durability. Great for keeping the natural color from going too amber.
- Oil-based polyurethane: very tough, warmer tone, longer dry time, stronger fumes.
- Hardwax oil: natural look and easy spot repairs, but it is less forgiving with standing water unless maintained.
- Stain plus topcoat: good if you want to even out mismatched boards. Always topcoat a coffee table.
Application tips
- Vacuum thoroughly first, then wipe with a clean microfiber cloth. (Some tack cloths can leave residue that does not play nicely with certain water-based finishes.)
- Apply thin coats. Thick coats look like syrup and dry like regret.
- Sand lightly between coats with 220 grit once dry (check your product instructions).
- Finish the underside too. Even one coat on the bottom helps balance moisture exchange and reduces the odds of cupping or warping.
- Let it cure. “Dry to the touch” is not the same as “ready for a movie night drink parade.”
Common problems
My boards keep splitting
You are prying too aggressively or too far from the nails. Use the saw-between method with a reciprocating saw, or pry near each nail point and work slowly.
The tabletop is wavy
Pallet boards are rarely flat. Use a hidden frame, select the straightest boards for the top, and mix your layout to cancel out cups and twists as much as you can. If you have a planer, even better, but it is not required.
It smells weird
Do not try to “seal in” a bad smell. That usually turns into “sealed in forever.” Toss the boards and start with cleaner pallets.
It feels rough even after sanding
Jumping grits can do that. Go 80 to 120 to 180. Also check for raised grain after wiping with a damp rag. A light final sand fixes it.
FAQ
How many pallets do I need for a coffee table?
For a clean, consistent tabletop, plan on 2 to 4 pallets. You will reject some boards due to splits, stains, or warping.
Can I build this with only pallets and no new lumber?
Yes, but the table will be harder to keep square and stiff. If you can budget for a couple of straight 2x2s or a single 2x4 to rip down, your finished table will feel noticeably more solid.
Is pallet wood safe for indoor furniture?
It can be, if you choose HT-stamped pallets in clean condition and avoid any with chemical treatment markings or unknown contamination. Also remember: a stamp is not a background check. When in doubt, do not bring it into your house.
What is the most durable finish for a coffee table?
For most homes, polyurethane is the durability champ. Water-based poly is user-friendly. Oil-based poly is tougher and warmer in tone but slower and stinkier.
Wrap-up
Pallet projects get a bad rap because people rush the messy parts. If you pick safe pallets, dismantle smart, and sand like you actually plan to touch the thing, you can end up with a coffee table that looks rustic on purpose and holds up for years.
If you build one, do yourself a favor and slide a coaster across the top when you are done. When it glides instead of snagging, you will know you nailed it. Well, figuratively. We are trying to remove nails today.