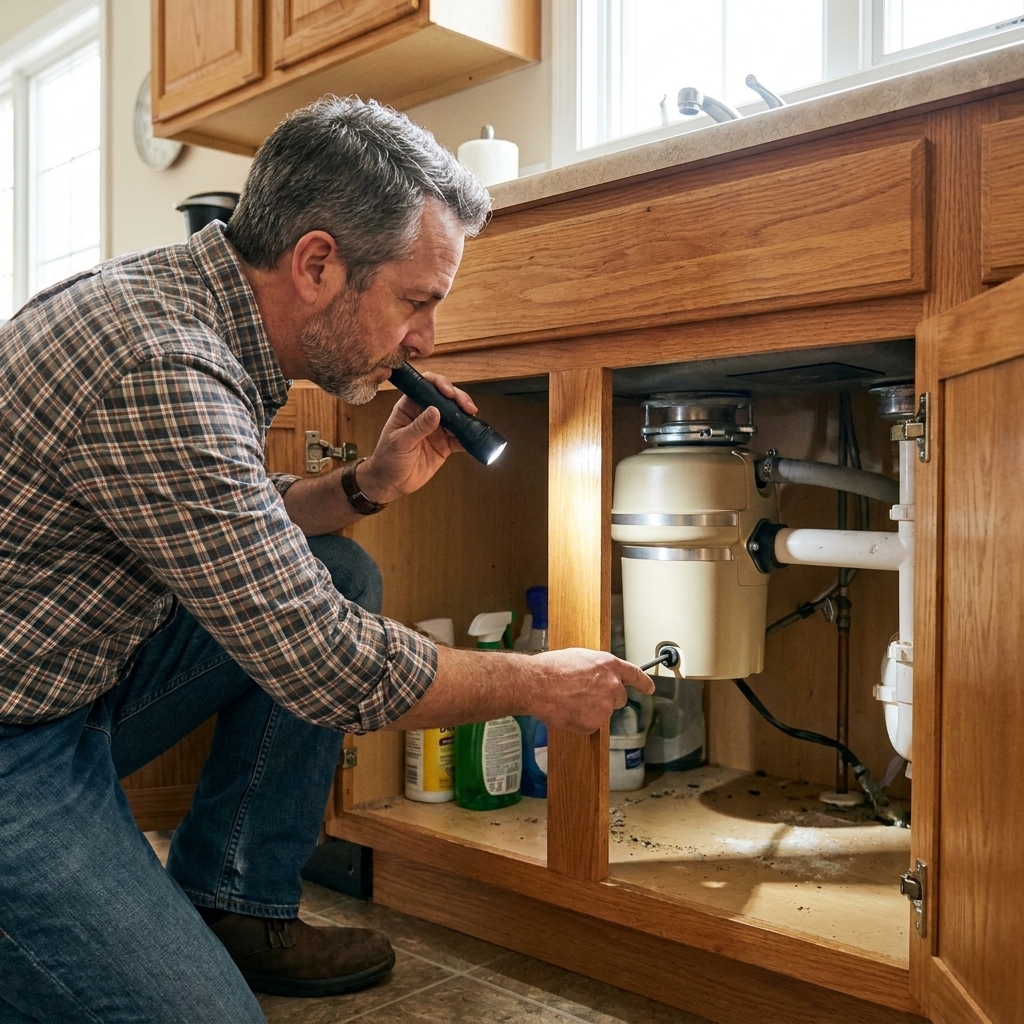
Choosing between acrylic latex caulk and 100% silicone can make or break a bathroom repair. Here’s where each works best, what to buy, and how to apply it ...
home improvement and DIY
Fix a Leaky Cartridge Faucet in 5 Easy Steps

Marcus Hayes
Marcus Hayes is a lifelong DIY enthusiast and former residential carpenter who has spent the last decade renovating his 1970s fixer-upper. Through Tinksmith, he shares his hands-on experience to help fellow homeowners tackle repairs, choose the right tools, and build spaces they love without breaking the bank.
Published October 17, 2026
Updated October 17, 2026
A leaky cartridge faucet has a special talent: it can sound like a metronome you never asked for while quietly inflating your water bill. The good news is most cartridge leaks boil down to one worn part you can replace in under an hour with basic tools and a little patience.
This walkthrough covers the classic single-handle and many two-handle cartridge-style faucets you find in kitchens and bathrooms. We will identify the problem, pull the cartridge, install a new one, and get you back to drip-free peace and quiet.

Before you start: Is it the cartridge?
Cartridge faucets usually leak for one of three reasons:
- Worn cartridge seals causing a steady drip from the spout.
- Mineral buildup making the handle stiff and preventing a full seal.
- Damaged O-rings causing leaks around the handle or base.
Quick clues:
- Drips from the spout when the faucet is off: the cartridge or its seals are the top suspect.
- Water pooling around the handle: O-rings, a cartridge top seal, or a loose retaining nut.
- Leak from the base where the faucet meets the sink: could be the faucet body O-rings, not the cartridge. Still fixable, just a different mission.
If you have a two-handle faucet and the handles each turn multiple full rotations, you likely have a compression-style stem, not a cartridge. If the handle turns about a quarter to half turn, it is often a cartridge or ceramic disk setup, but that is not a guarantee. When in doubt, the surest method is identifying the brand and model or matching the old part.
Tools and parts
- Adjustable wrench or tongue-and-groove pliers
- Phillips and flathead screwdrivers
- Hex key set (Allen keys)
- Needle-nose pliers
- Utility knife (for stubborn trim caps or old caulk)
- Clean rag and an old toothbrush
- Silicone plumber’s grease (not petroleum jelly)
- Replacement cartridge (matched to your faucet brand and model)
Cartridge matching tip: If you are not sure what you have, pull the old cartridge first and take it to the hardware store. Also snap a quick photo of the faucet, any labels under the sink, and the cartridge orientation before you remove it. Those little tabs and keyways matter.

Step 1: Shut off water
Look under the sink for two shutoff valves, one for hot and one for cold. Turn both clockwise until they stop.
Then open the faucet to relieve pressure and confirm the water is off. You should get a short spurt, then nothing, though you may still get a little residual water. Keep a towel and a small bucket handy for drips when you start taking things apart.
If the shutoffs are stuck or do not fully close: do not force them like you are trying to open a pickle jar. Put a towel down, close the main water valve to the house, and plan to replace those crusty shutoffs later. Future-you will send a thank-you card.
Step 2: Remove the handle
Most cartridge faucets hide the handle screw one of three ways:
- A small decorative cap on the front or top of the handle (pry gently with a flathead).
- A set screw on the side or back (usually a hex key).
- An exposed Phillips screw (rare, but bless those manufacturers).
Once the screw is out, wiggle and pull the handle straight off. If it is stubborn, rock it gently side to side. Avoid prying against the sink or countertop.
Pro move: Put the screw and cap in a small cup. Faucet screws are like socks in a dryer. They vanish with zero remorse.

Step 3: Remove the retainer
Under the handle you will typically see a trim sleeve or escutcheon. Unscrew it by hand if possible. If it is stuck, wrap it with a rag and use pliers gently so you do not chew up the finish.
Next, look for what is holding the cartridge in place. The retaining piece usually sits directly above the cartridge and keeps it from lifting or sliding out:
- Retaining clip: a U-shaped metal clip you can pull straight up with needle-nose pliers.
- Retaining nut: a plastic or brass nut that unscrews counterclockwise.
- Retaining ring: a threaded ring that may require a spanner or careful wrench use.
Remove the retainer and set it aside in the order it came off. Order matters here, like assembling a burger. Nobody wants the pickles under the bottom bun.
Step 4: Swap the cartridge
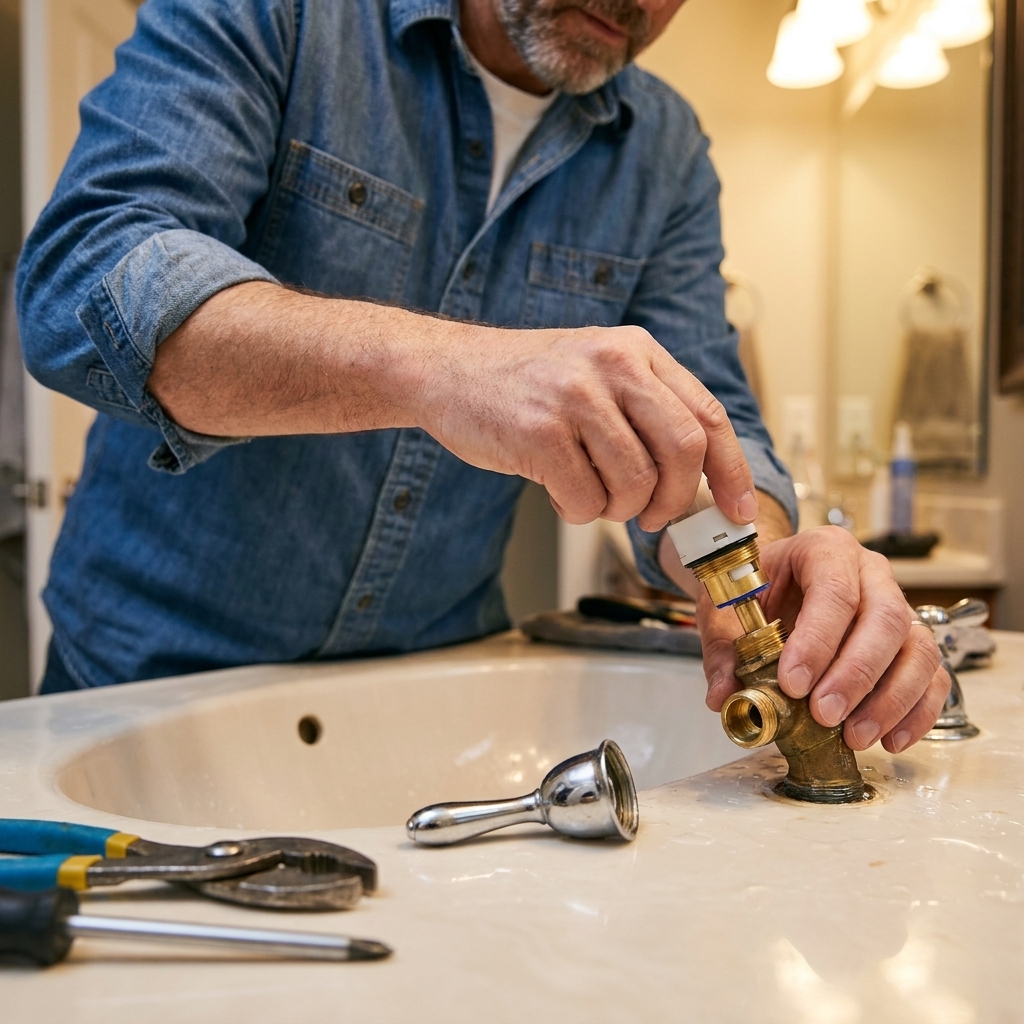
Remove the cartridge
Before you pull anything, take a quick photo showing how the cartridge is oriented in the valve body. Some cartridges have a specific hot and cold orientation, and those indexing tabs are easy to forget five minutes later.
How the cartridge comes out depends on the brand. Many pull straight up. Some pull straight out horizontally. Others need a slight twist to unlock first. Check your faucet’s instructions if you have them.
Start by gripping the cartridge stem and pulling in the direction it is designed to come out. Some slide out easily. Others act like they signed a lease.
If it is stuck:
- Rotate it gently back and forth to break mineral buildup (only if your cartridge design allows rotation).
- Use needle-nose pliers to pull on the stem carefully.
- If you have it, a cartridge puller tool can save the day, especially on famously stubborn designs.
Important: Do not gouge the inside of the faucet body with a screwdriver. Scratches on sealing surfaces can create new leaks.
Clean the valve body
With the cartridge out, use a rag and toothbrush to clean mineral deposits inside the valve body. Be gentle and avoid scratching sealing surfaces. Wipe debris out with a damp rag, not running water, since your shutoffs are off.
Install the new cartridge
Compare the new cartridge to the old one. The stem length, tabs, and O-ring locations should match.
- Apply a thin film of silicone plumber’s grease to the O-rings.
- Align any tabs or keys on the cartridge with the matching slots in the faucet body.
- Press it in until fully seated (straight down or straight in, depending on the design).
If the cartridge is not seated all the way, the retaining clip or nut will fight you. That is your sign to pull it back out and realign.
Note on ceramic-disc styles: Many ceramic-disc faucets use a cartridge-like assembly that replaces as a unit. The swap process is similar, but orientation and gentle handling matter. Follow brand instructions if anything looks different than the typical rubber-seal cartridge.
Step 5: Reassemble and test
Reinstall the retaining clip or nut, then the trim, then the handle. Tighten screws snugly, not gorilla-tight.
Now for the moment of truth:
- Turn the faucet handle to the on position (midway is fine).
- Slowly open the cold shutoff valve under the sink.
- Slowly open the hot shutoff valve.
- Let water run for 30 to 60 seconds to flush air and any loose debris.
Check for leaks while the water is running, then turn the faucet off and watch the spout for drips for a full minute.
Check these spots: around the handle, around the trim, under the sink at the supply lines, and the faucet base.
If everything stays dry, congratulations. You just fixed the most annoying sound in the house for the price of a cartridge and a little elbow grease.
Troubleshooting
It still drips from the spout
- Wrong cartridge: It may fit, but not seal properly. Match by brand and model if possible.
- Cartridge misaligned: Some have hot and cold orientation. Recheck tabs, indexing, and your pre-removal photo.
- Debris on the sealing surfaces: A tiny grain of grit can keep it from sealing. Pull the cartridge and clean again.
- Cracked or damaged valve body: If the faucet body itself is damaged, a new cartridge will not save it.
It leaks from the handle area
- O-rings need grease or replacement: Light silicone grease helps them seat.
- Retaining nut not snug: Tighten slightly, then test. Do not overtighten plastic nuts.
The handle is hard to turn
- Mineral buildup in the body. Clean more thoroughly.
- Too much friction on dry O-rings. A light coat of silicone grease goes a long way.
The shutoff valves seep after you touched them
Welcome to homeownership bingo. If your valve has a packing nut, try snugging it in very small increments, then recheck. Do not crank it down. Overtightening can make things worse. If it still seeps, plan to replace the shutoff valve soon.
When to call a pro
- The retaining nut or ring is seized and you are close to breaking the faucet body trying to free it.
- You see corrosion, cracks, or a damaged valve body after the cartridge comes out.
- You replaced the correctly matched cartridge, cleaned the valve body, and the faucet still leaks.
- Shutoff valves will not close and you are not comfortable shutting off the main or working with active water.
Cartridge faucet FAQs
Do I have to turn off the main water?
Usually no. Under-sink shutoffs are enough, as long as they actually shut off. If they do not, use the main water valve and put “replace shutoffs” on your weekend list.
How do I know what cartridge to buy?
The most reliable method is pulling the old cartridge and matching it. If you can find a brand name on the faucet (Moen, Delta, Kohler, American Standard, and so on), that helps narrow it down, but many brands have multiple cartridges across product lines.
Can I just replace O-rings instead of the whole cartridge?
Sometimes, yes, especially if the leak is around the handle. But if the faucet drips from the spout, replacing the entire cartridge is usually the faster, more dependable fix.
What if my faucet is still under warranty?
Many major brands will send cartridges for free. If you have time to wait, it can be worth a quick call or online request.
Safety checklist
- Close both shutoffs before disassembly.
- Plug the sink drain so tiny parts do not go swimming.
- Keep a towel and small bucket handy for residual water.
- Protect finishes with a rag before using pliers.
- Take a phone photo at each layer you remove, especially cartridge orientation.
- If anything feels forced, pause and reassess. Faucet parts are tougher than they look, but they are not indestructible.