
A step-by-step DIY tutorial for installing Craftsman-style window casing, from reveal layout to stool notching, cap returns, fastening, and finish work.
home improvement and DIY
Removable Window AC Filler Panel That Still Drains

Marcus Hayes
Marcus Hayes is a lifelong DIY enthusiast and former residential carpenter who has spent the last decade renovating his 1970s fixer-upper. Through Tinksmith, he shares his hands-on experience to help fellow homeowners tackle repairs, choose the right tools, and build spaces they love without breaking the bank.
Published October 18, 2026
Updated October 18, 2026
Window AC season has a way of humbling even the most confident DIYer. One minute you are enjoying the breeze, the next you are staring at a wobbly-looking gap above the unit thinking, “Well, that seems like an invitation for every mosquito in the county.”
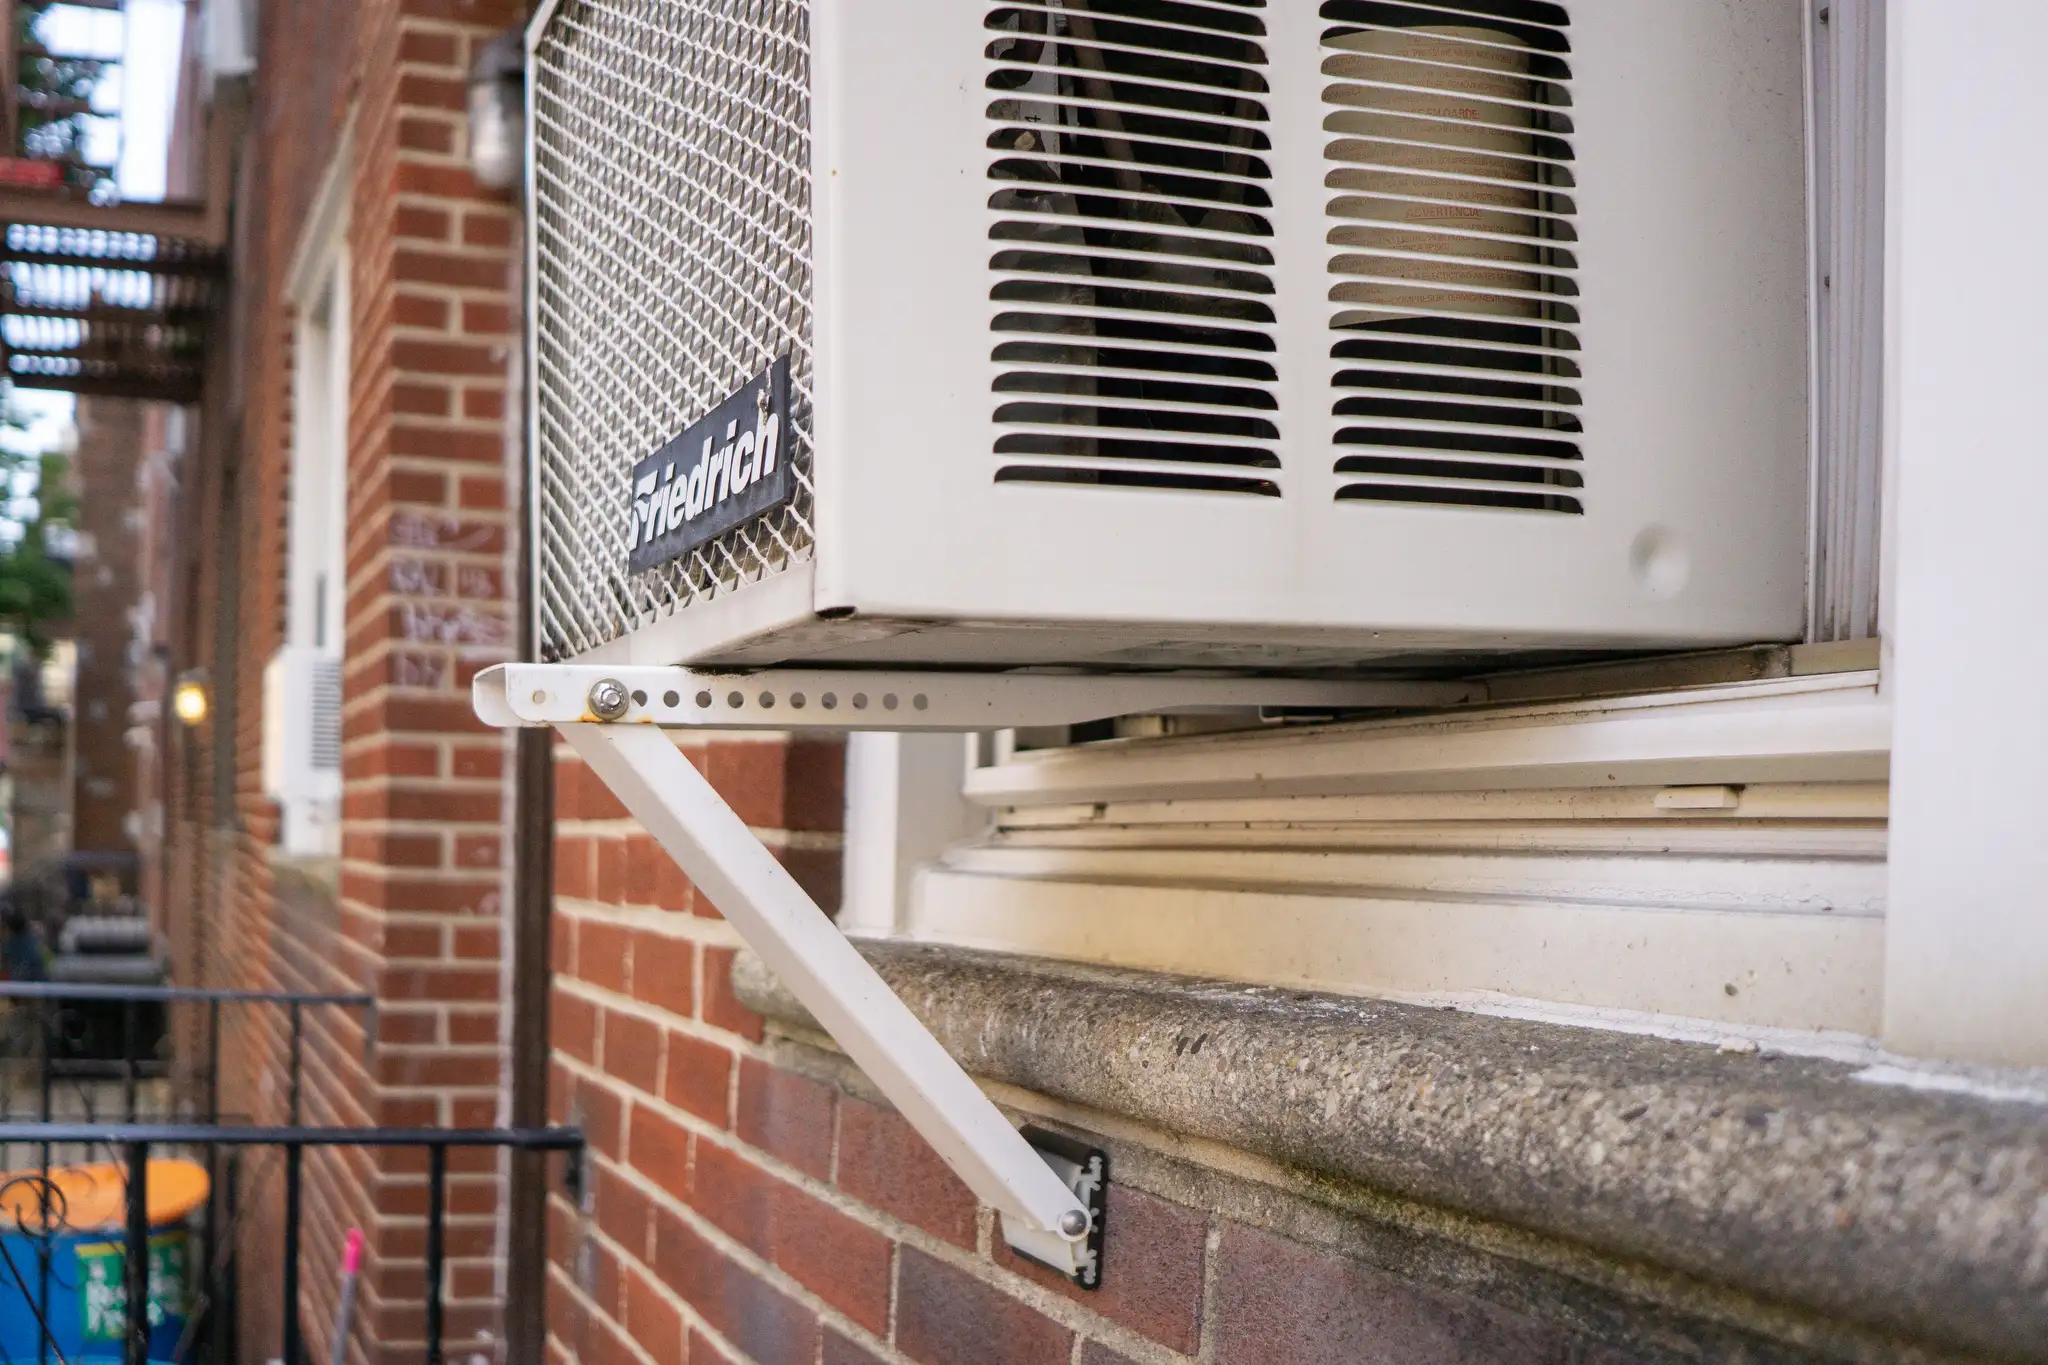
The good news: you can build a removable, non-load-bearing filler panel that closes the open space and improves weather sealing without interfering with drainage or the AC’s approved support bracket. The key is treating your panel like a weather cover, not a structural fix.
What this panel is and is not
It is
- A removable filler panel that closes the gap above or around a window AC once the unit is installed per the manual
- A weather and bug barrier to reduce drafts, rain blow-in, and hot air infiltration
- A way to make the install look cleaner while keeping the window usable per your situation
It is not
- A replacement for an approved support bracket when your AC requires one
- A DIY shelf holding the AC weight
- A reason to block the unit’s tilt guidance and drainage path
If your landlord, HOA, or local code has rules about window AC units, start there. Some leases require professional installation, limit how far a unit can protrude, or require a specific style of bracket. If any of those apply, the panel should be designed to comply, or not built at all.
Before you cut: check rules
I know, I know. Reading manuals is not why any of us got into DIY. But this is one of those projects where the manual is the difference between “nice and tight” and “why is my sill rotting.”
Confirm in the AC manual
- Required support method: some units require a specific bracket or frame support. Use what the manufacturer specifies.
- Tilt guidance: many window ACs want a slight outward tilt for drainage, but the amount and even the “level vs tilt” expectation can vary by model. Follow your manual’s tilt instructions.
- Where water is expected to go: some designs intentionally retain water in the base pan or sling it onto the condenser for efficiency, but they still rely on correct installation and unobstructed drain routes called out in the instructions.
- Clearances: avoid covering intake or exhaust areas. Do not block side vents if your unit uses them.
Confirm building constraints
- Egress: bedrooms typically require at least one code-compliant emergency escape and rescue opening. Do not permanently compromise it.
- Window type: double-hung, slider, and casement installs have different constraints. This article assumes a typical sash window where the AC sits on the sill with the lower sash brought down.
- Landlord requirements: some rentals allow only removable measures, no screws into frames, or require that the window can still be secured.
Design: the U-frame insert
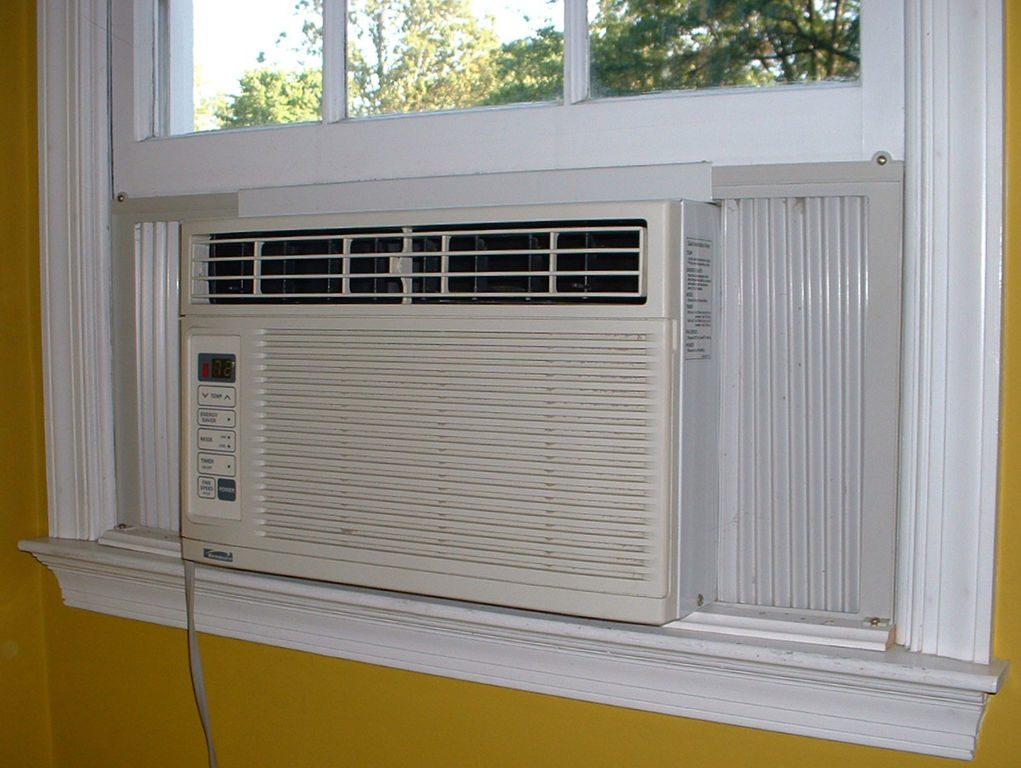
The simplest approach is a lightweight frame that sits above the AC between the lowered sash and the top of the unit, plus optional side infill if your accordion curtains do a lousy job.
I call it a “U-frame” because it is basically a three-sided insert (left, top, right) that nests into the window opening around the space you are trying to close. In many setups you only need the top piece, but the same idea applies.
- The bracket and AC carry the load.
- Your filler panel only fills space and seals air.
- Nothing you add should force the unit to sit flatter than the manual allows.
Materials
Good panel materials
- 1/4-inch exterior plywood (painted and sealed). Strong enough for a removable panel without adding bulk.
- Polycarbonate sheet (clear, tough). Nice if you want light through the opening above the unit.
- Rigid foam board (XPS) laminated to thin plywood or plastic for durability. Foam alone dents easily.
Good sealing materials
- Closed-cell foam weatherstripping (various widths). Cheap and effective.
- Butyl rope caulk for temporary, removable sealing around odd gaps (rental-friendly).
- Peelable sealing tape such as removable silicone or self-fusing tape, used sparingly where you want a clean pull-off later.
Hardware for removability
- Thumb screws into pre-installed inserts in the panel frame
- Small angle tabs that hook the sash channel without screws (works in some windows)
- Industrial hook-and-loop for light panels (best for foam or polycarbonate)
What I avoid
- Expanding spray foam around the AC. It can trap water, complicate removal, and sometimes interferes with drainage and service.
- Untreated MDF. It swells and turns into oatmeal when moisture shows up.
- Permanent caulk as your primary attachment method. You will regret it at the first filter cleaning or move-out inspection.
Tools and supplies
- Tape measure
- Combination square or speed square
- Utility knife (for foam and weatherstrip)
- Circular saw, jigsaw, or handsaw (depending on material)
- Drill/driver
- Sandpaper or sanding block
- Paint and exterior-rated primer (if using plywood)
- Closed-cell foam weatherstripping (1/8-inch to 1/2-inch thick depending on gaps)
- Optional: edge trim (vinyl U-channel) for cleaner edges on polycarbonate or plywood
Step 1: Install the AC first
Do not build the panel first. Get the unit sitting correctly on the sill with the manufacturer-approved bracket installed and tightened, then confirm:
- The unit is stable and not relying on the sash or your future panel for support
- The unit matches the manual’s tilt guidance (level, slightly tilted out, or whatever your model calls for)
- The window can be locked or secured as required
Then run the AC long enough to actually see how it handles condensate. On a humid day that might be 10 to 15 minutes, but on a dry day it could take longer, or you might not see much at all. Your goal is simple: no indoor pooling, no weird backflow, no water being trapped where it should not be.
Step 2: Measure the opening
For the common “gap above the AC” setup, measure:
- Width: inside the window jamb where the panel will sit
- Height: from the top of the AC case to the bottom of the lowered sash
- Depth allowances: anything that sticks out, like sash locks, stops, or trim that the panel must clear
Measure in at least three spots for width and height. Old houses are charming, and also shaped like potatoes.
Step 3: Build a light frame
If you are using thin plywood or polycarbonate, a simple frame helps the panel stay flat and seal better.
Simple frame recipe
- Use 1x2 or 1x3 pine strips (straight, dry)
- Build a rectangle that matches your opening (or a three-sided “U” if you are building around an odd space)
- Attach your panel skin (plywood or polycarbonate) to one face
If this is a rental, you can often build the frame and rely on friction fit plus weatherstripping, with no screws into the window. Just make sure the panel cannot fall outward.
Step 4: Cut, seal, test-fit
If using plywood
- Cut to size, test-fit, then trim slowly until it slides in without forcing.
- Prime all faces and edges, then paint. Pay extra attention to end grain and cut edges.
If using polycarbonate
- Cut with a fine-tooth blade and support it well to prevent chipping.
- Deburr edges and consider vinyl U-channel edge trim.
Let finishes cure before you stick on foam weatherstripping. Adhesive sticks best to clean, dry surfaces.
Step 5: Weatherstrip carefully
This is where people accidentally create a moisture problem. You want to block air movement, but you do not want to dam up water.
Where to seal
- Between panel and window jamb: foam tape is perfect here.
- Between panel and sash: foam tape or a thin compressible gasket.
- Small gaps at corners: removable rope caulk works well and peels off cleanly.
Where not to seal tight
- Do not block any factory drain features described in the manual. That can include drain openings, pan edges, ports, channels, or seams where water is intended to move.
- Do not create a bathtub on the interior sill. If you use rope caulk at the bottom edge of a panel, leave tiny breaks so incidental moisture can escape, or keep that bottom edge unsealed if the fit is good.
A simple rule from my own trial and error: seal the air path, not the water path.
Step 6: Attach it (removable)
Option A: Friction fit plus sash pressure
In many double-hung windows, the lowered sash provides enough inward pressure to hold a top panel in place.
- Add foam weatherstrip on the panel edges
- Set the panel on top of the AC
- Lower the sash to compress the foam
Pros: rental-friendly, fast. Cons: depends on window condition and sash alignment.
Option B: Hook-and-loop
Stick industrial hook-and-loop strips to the panel frame and to a clean, flat section of the window jamb.
- Clean surfaces with isopropyl alcohol first
- Use enough strip length to resist summer heat softening the adhesive
Pros: very removable. Cons: some paints do not love adhesives, test first.
Option C: Tabs and thumb screws
If you can screw into an existing interior stop (and your landlord allows it), you can use small tabs and thumb screws for quick removal. I prefer attaching tabs to the panel so the window parts stay as untouched as possible.
Pros: solid, repeatable. Cons: may not be rental-acceptable.
Window security
Once the AC is in, the sash lock often does not line up like it normally would. Do not ignore that.
- Check from inside: confirm the sash cannot be lifted.
- Use a removable lock method: a sash pin lock, a clamp-style window lock, or a snug cut-to-length dowel or bar in the track can all work, depending on your window and what your landlord allows.
- If the window is egress: choose something you can release quickly from inside without tools.
Drainage checklist
If you only take one thing from this whole project, take this checklist. Most AC trouble comes from fighting gravity.
- Confirm tilt guidance after installing the panel. The panel should not push the top of the unit inward.
- Do not block factory drain paths described in the manual, even if they are not obvious from the outside.
- Keep insulation out of chassis seams. If foam tape squeezes into a seam, trim it back.
- Do a storm check. During the next rain, look indoors for seepage and outside to see that water is not pooling oddly on the bracket or sill.
Make it look good
- Paint to match your trim color so it reads like a normal window insert.
- Add a finger hole or a low-profile pull so you can remove it without prying.
- Edge trim makes thin plywood look intentional and reduces splinters.
Safety notes
- This panel is not a fall arrest system. If your unit could fall without the panel, the support is wrong.
- Do not rely on foam as structure. Foam is for sealing, not holding.
- Respect egress. If this window needs to function as an emergency exit, use a truly removable method and practice removing it quickly.
- Check bracket fasteners. Seasonal vibration is real. Recheck after a week of use.
Troubleshooting
My panel makes the AC drip inside
- Recheck the manual’s tilt guidance. The panel may be pushing the top of the unit inward.
- Make sure weatherstripping is not blocking any factory drainage feature or seam described in the instructions.
- Confirm the AC is seated correctly in the window per the manual.
The panel whistles or leaks air
- Add thicker foam tape on the jamb edges.
- Shim behind the panel with thin foam where the window opening is out of square.
- Use rope caulk in stubborn corner gaps.
Condensation forms on the panel
- That usually means humid indoor air is hitting a cold surface. Consider a foam-backed panel or add a thin insulation layer on the room side.
- Run the fan setting appropriately and keep filters clean.
FAQ
Can I build a panel that also supports the AC?
No. If your unit needs support, use the manufacturer-approved bracket or support system specified in the instructions. A homemade filler panel is not engineered for that load, and it puts your window, your siding, and whatever is below the window at risk.
Should I seal the AC in with spray foam?
I do not recommend it. It makes maintenance harder, can trap moisture, and is a bad fit for a removable install. Use compressible weatherstripping and removable rope caulk instead.
Do I need to leave an intentional drainage gap?
You need to avoid blocking the unit’s designed drainage route as described in the manual. That can mean leaving drain openings, pan edges, or specific pathways unobstructed, even if you cannot easily see them. If your panel is only above or beside the unit and does not interfere with the unit’s specified tilt or drainage features, you are typically fine.
Is a clear panel okay above the unit?
Yes. Polycarbonate can be a great choice for a top filler panel if you want daylight. Just seal the edges and make sure it cannot slip out.
Can you give me a quick measurement example?
Sure. If the opening above your AC measures 23 1/2 inches wide and 7 inches tall, you can cut a panel to about 23 3/8 inches by 6 7/8 inches to allow for paint and a little out-of-square. Then apply weatherstripping around the perimeter so it compresses into the jamb and against the sash when you close the window down onto it.