A homeowner-friendly guide to the mechanical differences between impact drivers and drills, plus real DIY scenarios, bit tips, and common mistakes to avoid.
home improvement and DIY
Power Tools and Hardware for a DIY Pergola

Marcus Hayes
Marcus Hayes is a lifelong DIY enthusiast and former residential carpenter who has spent the last decade renovating his 1970s fixer-upper. Through Tinksmith, he shares his hands-on experience to help fellow homeowners tackle repairs, choose the right tools, and build spaces they love without breaking the bank.
Published October 17, 2026
Updated October 17, 2026
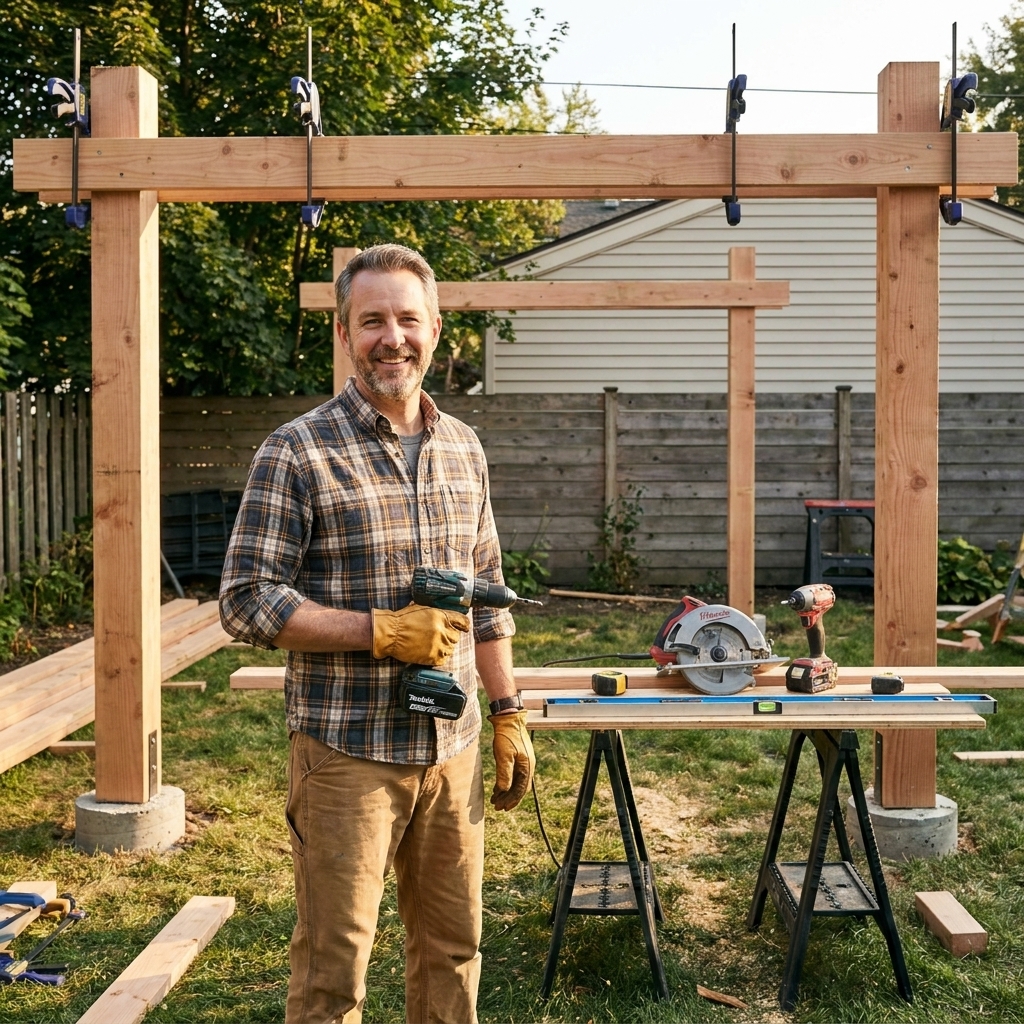
Building a wooden pergola is one of those projects that looks fancy enough to make the neighbors assume you hired a crew, but it is really just good layout, repeatable cuts, and solid connections. The catch is you need the right tools and the right hardware. Use the wrong saw and your cuts will wander. Use the wrong brackets and you will spend years listening to the structure creak every time the wind changes its mind.
This guide covers the core power tools and structural hardware that make a pergola build smoother, safer, and sturdier. I will also tell you what I would buy versus rent, because most of us do not need to own a tool that will sit in a corner like a treadmill with sawdust.
Before you buy anything
Tool and hardware needs depend on four decisions:
- Post size: Many DIY pergolas use 6x6 posts for stiffness and looks.
- Beam plan: Single beams (one member per side) or built-up beams (two plies sandwiched together). Built-up beams often mean more fastening and clamping.
- Footings and uplift strategy: Posts embedded in concrete, anchored to concrete piers, or mounted to an existing slab or deck. This drives the bracket choice.
- Lumber choice: Cedar, redwood, and pressure-treated pine behave differently. Softer woods dent and splinter differently, pressure-treated lumber is wetter and heavier, and some treated-wood chemistries are harder on fasteners. This affects predrilling, sanding, and what coatings make sense.
If you are not sure yet, pick your pergola plan first. Then match hardware to the lumber sizes in that plan. “Close enough” is how brackets get returned and weekends get eaten.
Spans and loads
Quick reality check: beam and rafter sizes are not vibes-based. Spans, loads, and attachment details should come from a plan, a code table, or an engineer who understands your location (wind, snow, seismic). Even an open-roof pergola can see meaningful uplift and racking loads, especially with shade panels or closely spaced slats.
The essential power tools
You can build a pergola with fewer tools than the internet suggests, but a couple of key items will save you hours and improve accuracy.
Miter saw (10-inch or 12-inch)
What it does: Fast, repeatable square cuts and angled cuts for braces, rafters, and decorative tails.
Why it matters: Pergolas are a game of making many identical parts. A miter saw is your “make eight pieces the same length” machine.
- Buy if: You do any trim, framing, fence repairs, or deck work. A 10-inch sliding miter saw is a sweet spot for most homeowners.
- Rent if: This is a one-time build and you have limited storage.
- Look for: A sliding feature, positive stops at common angles, a stable fence, and a decent blade. The stock blade is usually fine for rough carpentry, not for pretty cuts.
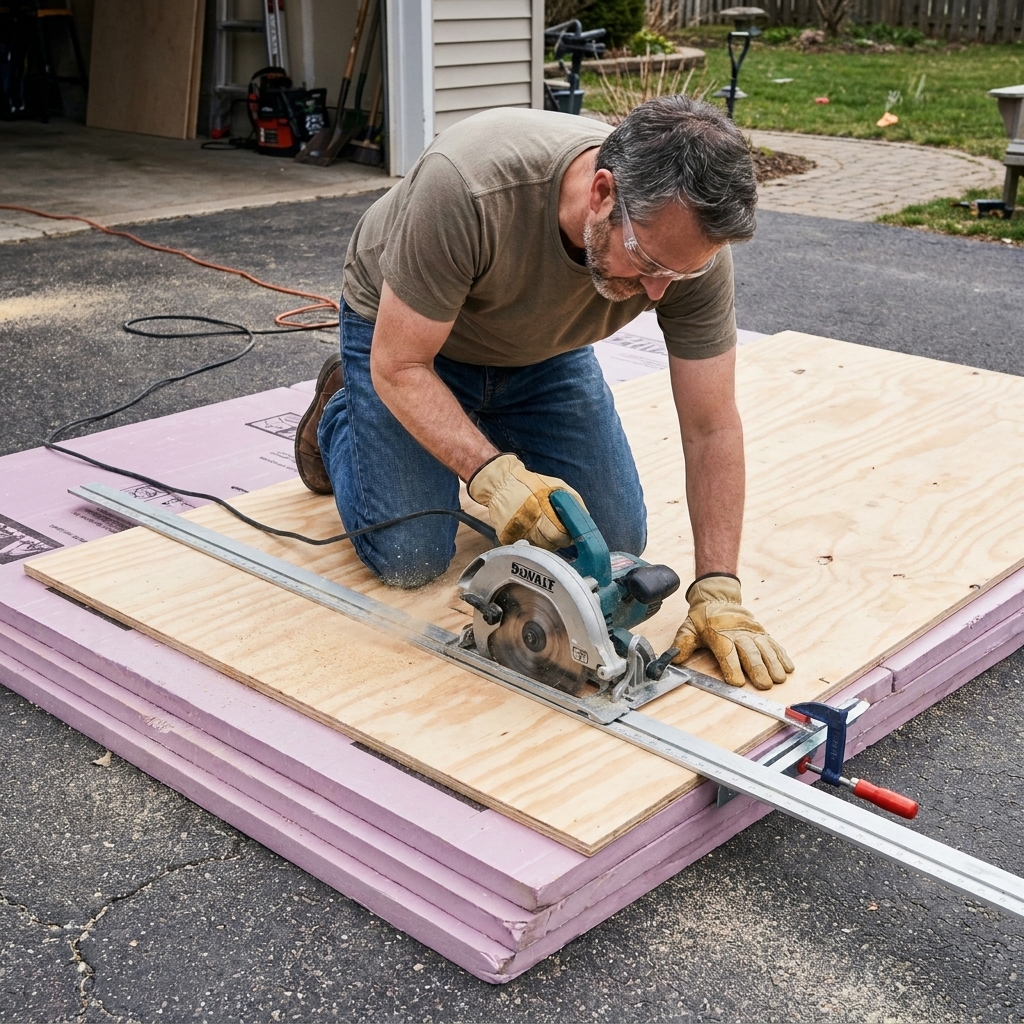
Circular saw
What it does: Breaks down long boards, trims ends, and handles cuts too awkward to bring to a miter saw.
Why it matters: Even if you own a miter saw, you will eventually need to cut something in place, like trimming beam ends flush or cutting blocking.
- Buy if: You want a core tool you will use forever.
- Look for: A 7-1/4 inch saw, a rigid shoe, easy depth adjustment, and a sharp framing blade (often 24 tooth) for pressure-treated lumber.
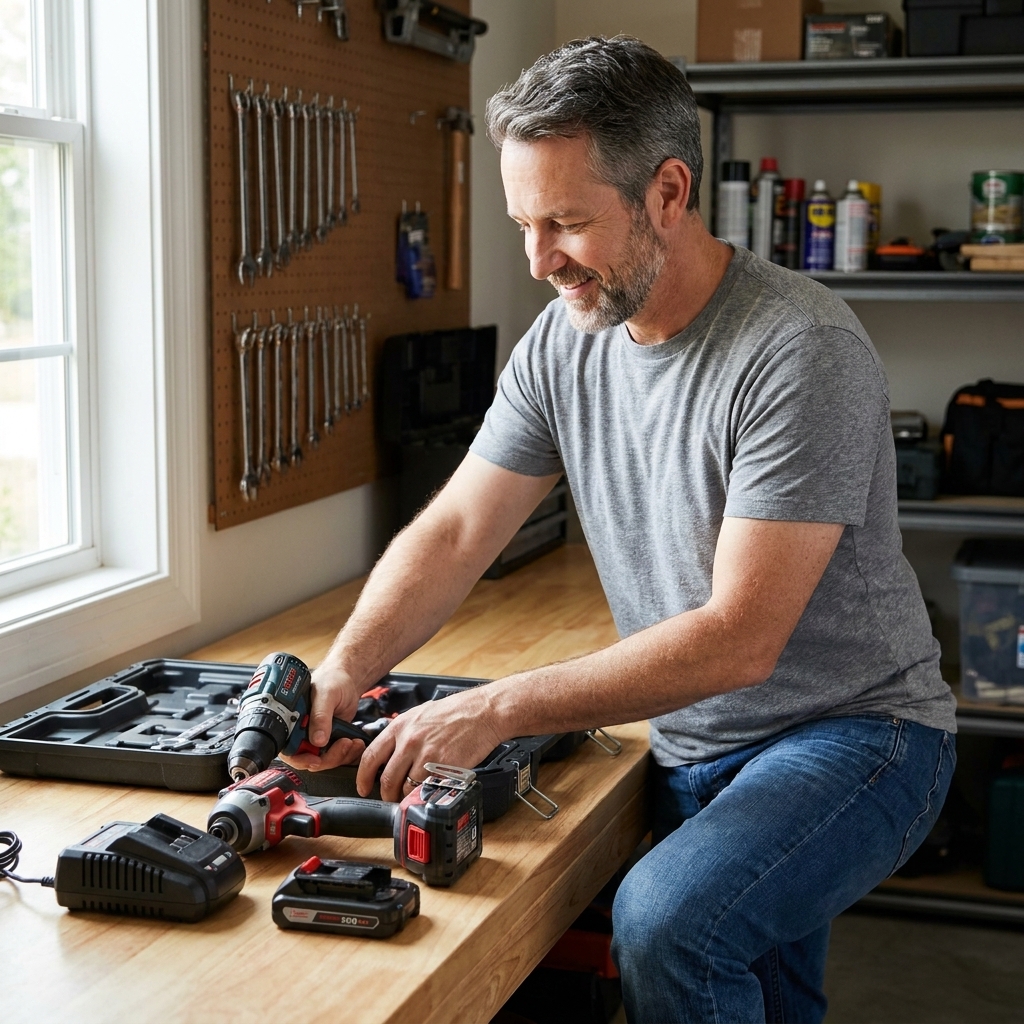
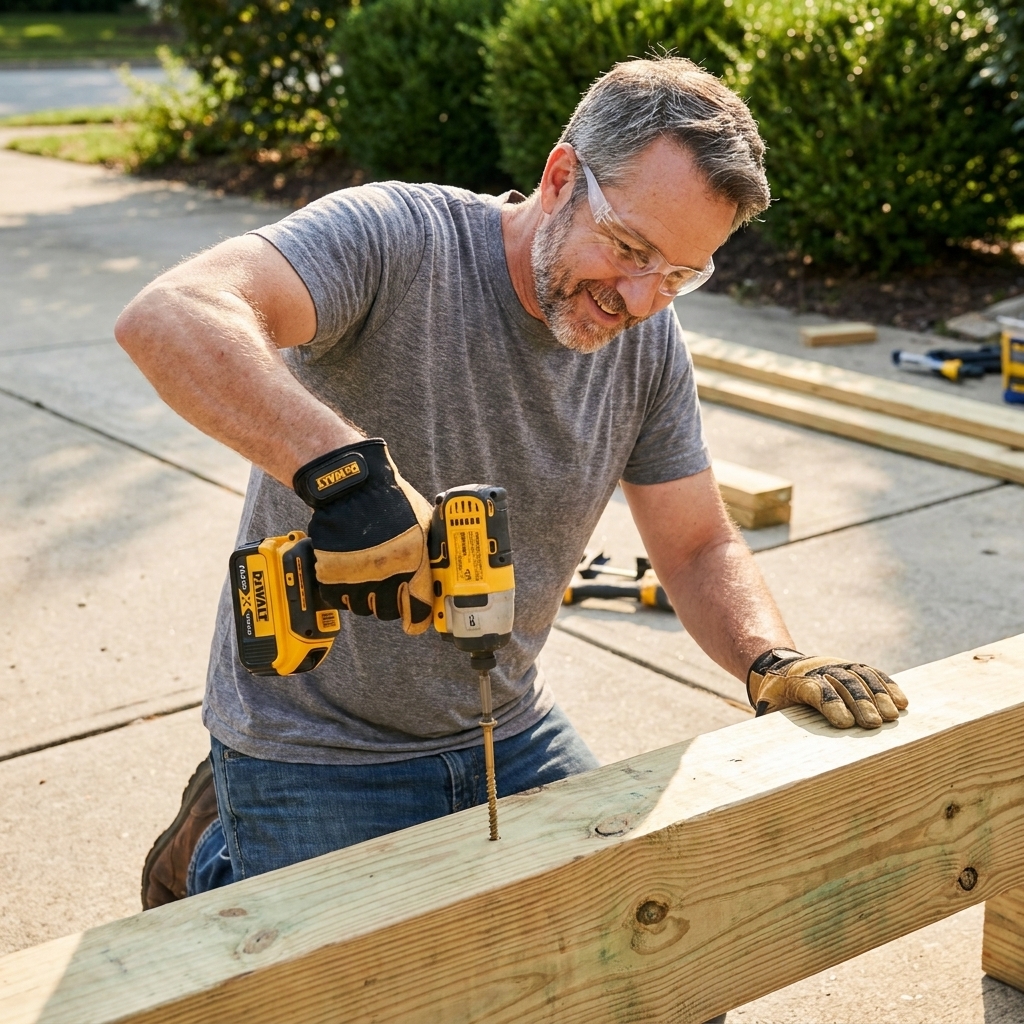
Impact driver
What it does: Drives structural screws and long fasteners without stripping heads or burning up your wrist.
Why it matters: Pergola connections involve a lot of fasteners. An impact driver makes that work quicker and cleaner, especially overhead.
- Buy if: You do any DIY at all. This is one of the best returns on tool dollars.
- Must-have bits: Torx bits (commonly T25, T30, T40 depending on screw brand), plus a bit holder.
Drill (corded or cordless) with real bits
What it does: Drills pilot holes, bores for bolts, and drills for hardware where the impact driver is not the right choice.
Why it matters: For clean, strong connections in thick lumber, you often need pilot holes and through-holes. Driving big fasteners without predrilling is a great way to split expensive wood.
- Buy if: You do homeowner stuff, which is basically all the time.
- Bit types you want: Spade bits or auger bits for larger holes, twist bits for pilots, and a countersink bit for clean screw seating.
Reciprocating saw (optional)
What it does: Cuts protruding bolts, trims posts, and handles demolition if you are removing an old structure.
Rent or buy: If you already own one, great. If not, this is optional for a fresh pergola build, but it is convenient when something needs to be trimmed flush.
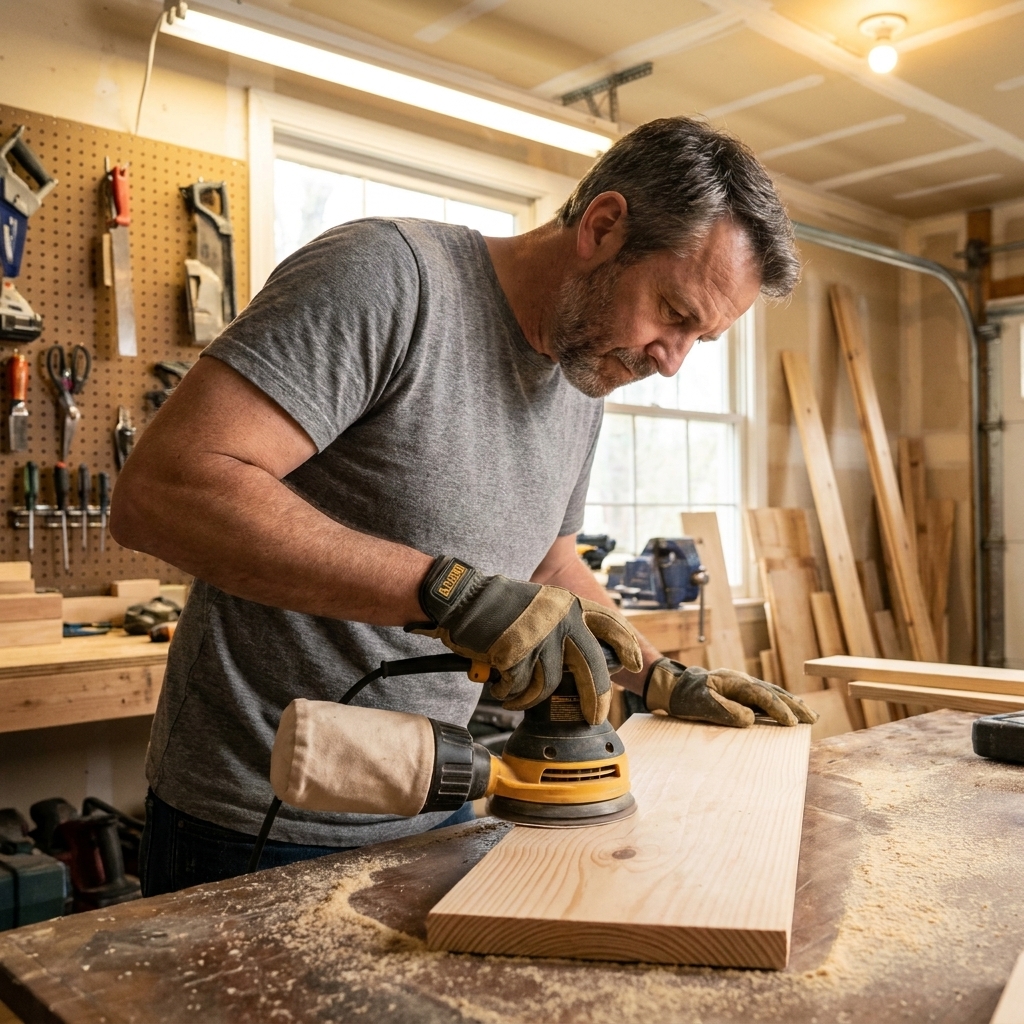
Orbital sander (optional)
What it does: Smooths rough edges and preps for stain or paint.
My take: If you are staining cedar or redwood, sanding the touch points and visible faces makes the finished pergola feel intentional, not like a shipping pallet with ambitions.
Layout and holding tools
These are not glamorous, but they are how you build a pergola that looks straight from ten feet away and also from two feet away.
4-foot level and a post level
- 4-foot level: For beams and general layout.
- Post level: The fastest way to plumb 6x6 posts while you brace them.
Speed square and framing square
A speed square makes quick 90-degree and 45-degree marks. A framing square is useful when you want to double-check larger assemblies.
Chalk line, tape measure, and a pencil
For repeatable layout, snap lines on beams and rafters. The pencil does not need to be fancy, but it does need to exist. I have spent too much of my life “marking” boards with my finger and regret every second.
Clamps and temporary bracing
Buy or borrow a few 24-inch to 36-inch clamps. Also plan on scrap 2x4s for temporary diagonal braces while you set posts and beams.
Ladders or scaffold
For most pergolas, you will need safe access at beam height. Two ladders and a helper can work, but consider renting a small rolling scaffold if you are working solo. It is steadier and far less exciting in a “my insurance deductible” kind of way.
Buying vs renting
Usually worth buying
- Impact driver
- Drill
- Circular saw
- Quality bits and driver tips
- Level and tape
Often smart to rent
- Sliding miter saw (if you do not see yourself using it again)
- Rotary hammer (only if you are drilling into concrete for anchors)
- Auger drill or right-angle drill (only if you are doing lots of large-bore holes in thick timbers)
- Compact scaffold
Nice to own if pergolas are your gateway drug
- Finish nailer for trim accents (not structural)
- Palm nailer (handy for tight bracket holes)
- Laser level for layout and post alignment
The structural hardware
This is where pergola builds succeed or sag. Use outdoor-rated connectors and fasteners, and match them to your lumber and your environment.
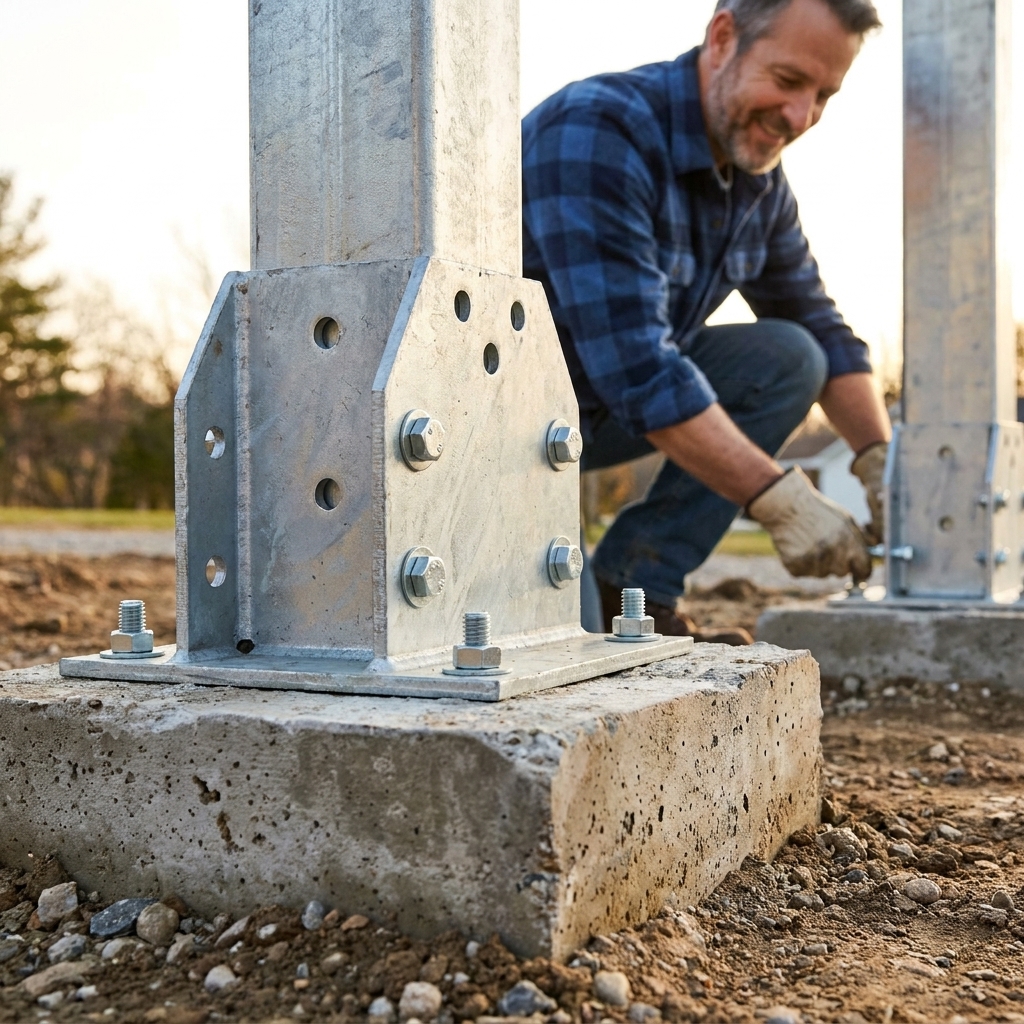
Post bases and anchors
What they do: Connect the post to a footing or slab, lift wood off concrete to reduce rot, and help manage uplift loads. Some post base models also provide rated lateral capacity when installed exactly per manufacturer specs, but do not assume every base does.
- For new concrete footings or piers: Use a post base designed to embed in wet concrete or attach to a cast-in-place anchor. Plan this before you pour.
- For existing concrete (slab or pier): Use a post base rated for retrofit with a concrete anchor (often wedge anchors or epoxy-set anchors depending on the model and local requirements).
Anchor nuance: Wedge anchors and epoxy-set anchors are not interchangeable just because they fit the hole. Edge distance, concrete condition, embed depth, and the connector’s evaluation report all matter. Follow the connector and anchor manufacturer instructions and any ICC-ES reports.
Fastener note: Post bases typically require specific connector nails or connector screws. Do not swap in drywall screws. Drywall screws belong in drywall, not in “hold up a roof-ish thing” situations.
Beam to post connections
You have a few common approaches:
- Notched post with through-bolts: This can be strong and traditional because the beam bears on wood, then bolts lock it together. The big caveat is that notching reduces the post’s remaining section. Follow your plan or engineering details and local code, and keep notches clean, correctly sized, and only where the design allows.
- Structural brackets: Heavy connectors that cradle a beam and fasten to the post. Great when you want less cutting and a cleaner install.
- Built-up beams: Two plies fastened together and attached at the post locations. This is common, especially for longer spans.
My advice: If your plan calls for brackets, use them. If your plan calls for notches and bolts, commit to accurate layout, correct bolt sizes, and proper sealing of cut ends where applicable.
Rafters to beams
Depending on design, you might attach rafters to beams using:
- Rafter hangers: A clean, strong connection that helps everything line up.
- Hurricane ties: Great for uplift resistance. Often used in windy areas or where code expects uplift connectors.
Even if your pergola is open-roofed, wind uplift is real. A pergola can act like a big wing when gusts get underneath slats or shade panels.
Corner braces and bracket kits
Those 45-degree corner braces are not just decorative. They stiffen the frame against racking, which is the side-to-side wobble that makes pergolas feel flimsy. Some folks use pre-made corner brackets, others cut wood braces. Either can work if sized properly and fastened with the right structural screws or bolts.
Structural screws, bolts, washers, and nuts
This is where new DIYers burn time and money. Your pergola likely needs both screws and bolts.
- Structural wood screws: Great for connector plates, brackets, and many wood-to-wood connections. Choose exterior-rated, code-listed structural screws from a reputable brand.
- Through-bolts: Common for beam-to-post connections and built-up beams at posts. Use appropriately rated hardware for treated lumber and outdoor exposure.
- Washers: Use them. Big washers spread load and help prevent crushing wood fibers when you tighten bolts.
Corrosion and compatibility: Modern pressure-treated lumber can be more corrosive to standard steel. Use hardware and fasteners rated for treated wood and outdoor exposure, and match connector manufacturer requirements for fastener type and coating. In coastal or salt-air environments, stainless steel is often recommended, but connector brand compatibility charts and local code should be your tie-breakers.
Bits and blades
You can own great tools and still have a miserable Saturday if your blade is dull or your bit does not match your fasteners.
Blades
- Miter saw blade: For pergola lumber, a 40T to 60T blade gives cleaner cuts, especially on cedar and redwood. For rougher carpentry cuts, something in the 32T to 40T range is common, with the understanding you may see more tear-out.
- Circular saw blade: A 24T framing blade is a good all-around choice for outdoor structural lumber, especially pressure-treated stock.
Drill bits
- Long pilot bits: Helpful when driving long structural screws into thick members.
- Auger bits: Best for drilling clean, deeper holes in posts and beams for bolts.
- Countersink bit: Great for clean screw heads and reduced splitting on visible faces.
Socket adapters
If you are using lag screws or certain structural fasteners with hex heads, a socket adapter for your impact driver is a wrist-saver.
Hardware list by connection
If you like thinking in assemblies instead of aisles, here is how the hardware breaks down.
Footing to post
- Post base sized for your post (often 6x6)
- Concrete anchors or cast-in-place hardware (per your base design)
- Connector nails or connector screws approved for the post base
Post to beam
- Either a rated beam bracket system or through-bolts if you are notching posts (per plan)
- Bolts, nuts, and washers sized to your beam thickness and post
- Exterior-rated structural screws if your bracket system calls for them
Beam to rafters
- Joist hangers or rafter hangers sized to your rafter lumber
- Hurricane ties if your design or local conditions call for uplift resistance
- Approved connector nails or approved connector screws
Stiffening and trim
- Corner brace brackets or materials to cut wood braces
- Exterior-rated screws for braces
- Optional decorative hardware kits if you want a specific look
Combos that work
Sturdy and simple
- Impact driver + structural screws
- Drill + auger bits for bolt holes
- Post bases + uplift ties + a few corner braces
Furniture-grade look
- Miter saw with a clean-cut blade
- Orbital sander
- Hidden-style brackets where possible, plus neatly placed bolts with washers
Building solo
- Rolling scaffold rental
- More clamps than you think you need
- Temporary bracing lumber ready before you stand the first post
Safety and code check
A pergola might not be a fully roofed structure, but it is still a large, heavy frame that can hurt you during the build and cause damage if it fails later.
- Call before you dig: Utility locates are not optional. They are how you avoid turning your project into a neighborhood fireworks show.
- PPE counts: Eye and ear protection are baseline. If you are cutting pressure-treated lumber, wear a dust mask or respirator and wash up after.
- Ladders and scaffold: Set ladders on stable ground, do not overreach, and do not treat the top step like a suggestion. If you rent scaffold, lock the casters before you climb.
- Wind matters: Use uplift-rated connectors where appropriate.
- Follow connector instructions: Brackets are engineered systems. The required fastener type and quantity are part of the rating.
- Permits: Many areas require permits for freestanding structures over a certain size or near property lines. It is worth a quick call to your local building department.
FAQ
Do I really need an impact driver?
You can drive some screws with a drill, but an impact driver shines with long structural screws, especially into dense or pressure-treated lumber. Less cam-out, less wrist strain, and fewer stripped heads.
Can I use deck screws for a pergola?
Use structural-rated screws for structural connections. Many “deck screws” are not rated for structural loads. For connectors like hangers and post bases, use the specified connector fasteners listed by the manufacturer.
Is a 10-inch miter saw big enough?
For most pergola rafters, braces, and trim cuts, yes. Beam work may exceed capacity depending on lumber size and how you need to cut it. A sliding 10-inch often handles a lot, but check the cut capacity specs if your plan uses larger timbers.
What tool saves the most time?
A miter saw for repeatable cuts, and an impact driver for fastener work. If I had to pick one, the impact driver is the tool that keeps your build moving when the fasteners start stacking up.
What is the most common hardware mistake?
Mixing random fasteners with structural connectors, or using the wrong coating for the lumber and exposure. Buy the right connector fasteners and match coatings to treated lumber and outdoor conditions.