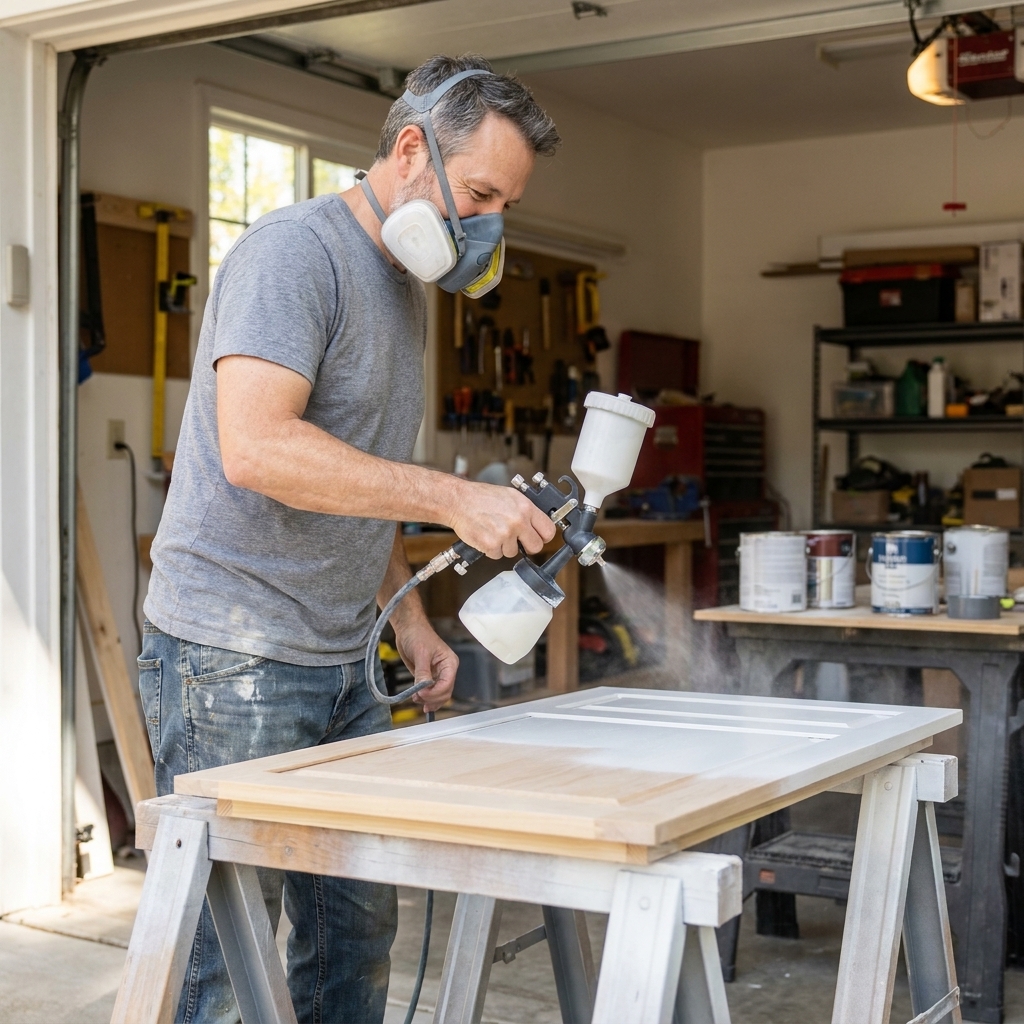
Five HVLP-style sprayers worth considering for painting cabinets, from budget handhelds to turbine spray stations and compressor guns. Plus: tip sizes, thinn...
home improvement and DIY
Kitchen Cabinet Makeover: Refacing vs. Replacing vs. Painting

Marcus Hayes
Marcus Hayes is a lifelong DIY enthusiast and former residential carpenter who has spent the last decade renovating his 1970s fixer-upper. Through Tinksmith, he shares his hands-on experience to help fellow homeowners tackle repairs, choose the right tools, and build spaces they love without breaking the bank.
Published October 17, 2026
Updated October 17, 2026
Kitchen cabinets have an unfair superpower: they can make a perfectly clean kitchen look dated from 15 feet away. If your boxes are holding strong but the vibe screams “builder beige, 1997,” you’ve got three realistic paths: paint, reface, or replace.
I have done some version of all three over the years while renovating my own 1970s fixer-upper. Here’s the straight-talk comparison I wish someone handed me before I turned my garage into a door-and-drawer drying rack for two weeks.

Quick definitions
Painting
You keep your existing cabinet boxes, doors, and drawer fronts, then prep and paint them. Sometimes hardware gets upgraded too. The structure stays the same.
Refacing
You keep your existing cabinet boxes, but you change the visible surfaces. Typically that means:
- New doors and drawer fronts
- New veneer, laminate, or matching panels on exposed cabinet box surfaces (face frames, ends, and any exposed sides)
- Often new hinges, drawer slides, and hardware
Think of it like keeping the car’s frame but swapping the body panels and headlights.
Replacing
You remove the existing cabinets and install new ones. This can be stock, semi-custom, or fully custom. Layout changes and fixes behind the cabinets are easiest in this lane.
At-a-glance comparison
Costs vary a lot by region, cabinet count, and finish level. Treat these as common ballparks, not a promise. In real life, quotes can swing significantly in either direction.
- Painting: lowest cost, highest prep, best when doors are in good shape and you can live with the existing layout.
- Refacing: mid to high cost, faster transformation, big visual change while keeping the cabinet boxes.
- Replacing: highest cost, biggest disruption, best when boxes are damaged or you want a new layout and storage upgrades.
Typical project ranges
- DIY paint: roughly $200 to $800 in supplies for an average kitchen (primer, paint, sandpaper, filler, rollers, brushes, sprayer rental if you go that route).
- Professional paint: commonly $3,000 to $8,000 depending on door count, repairs, and prep.
- Refacing (pro or kit-assisted): often $6,000 to $15,000+ depending on door quality, exposed ends, and hardware upgrades.
- Full replacement: widely variable, but many homeowners land around $10,000 to $30,000+ for cabinets alone. Smaller kitchens with stock cabinets can come in lower, while larger kitchens and custom work can go far higher.
Dad-neighbor truth: the “cheapest” option gets expensive real quick if it fails. Spending more up front can be the budget move if it avoids a redo in three years.
When painting makes sense
Good fit
- Your cabinet boxes are sturdy and square
- Your doors are not warped and the profiles are styles you still like
- You want the most change per dollar and can handle a bit of mess
- You are okay with the current kitchen layout and cabinet sizes
Risky fit
- Your doors are thermofoil (plastic film over MDF) and are peeling or bubbling
- You have heavy grease buildup, water damage, or swelling MDF at the sink base
- You hate your door style (paint does not change an arched cathedral door into a Shaker door, no matter how optimistic your Pinterest board is)
- You cannot realistically do solid prep work
Thermofoil and laminate note
Intact thermofoil and some laminates can be painted with the right cleaning, scuffing, and bonding primer, but adhesion is the whole game. If the surface is already failing (peeling, bubbling, lifting at edges), paint usually just becomes the next layer that fails.
Durability reality check
Painted cabinets can hold up beautifully, but durability depends heavily on prep and product choice.
- Best paints: cabinet-grade enamels (waterborne alkyd or urethane-modified acrylic) cure hard and clean well.
- Primer matters: bonding primer is your best friend, especially on glossy factory finishes.
- Cure time is real: paint might feel dry in hours, but it can take days to weeks to fully cure. Be gentle early on.
Wood grain reality (hello, oak)
If you have oak cabinets, painting them is totally doable, but the grain can telegraph through paint. You can embrace the texture, or you can use grain filler for a smoother, more modern look. Grain filling adds time, but it is the difference between “painted oak” and “factory-smooth.”
DIY difficulty
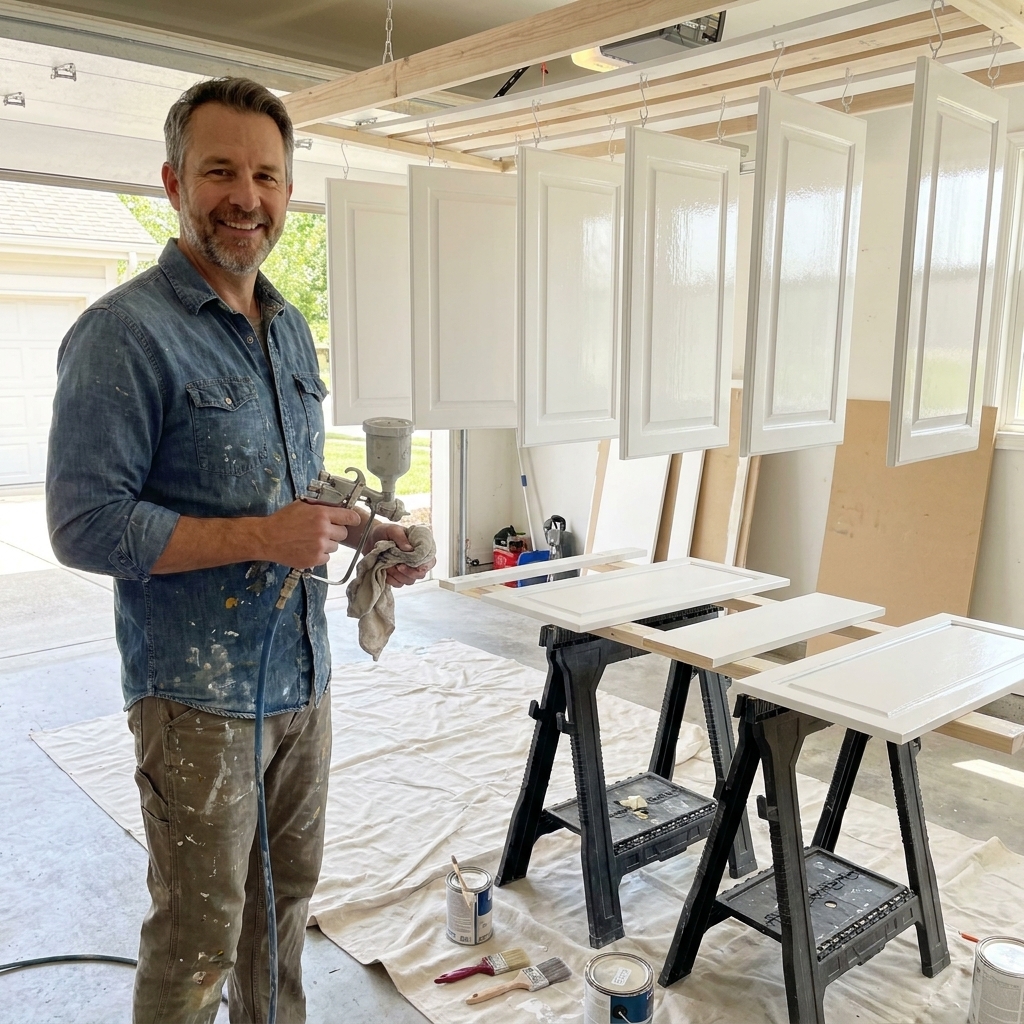
Painting is absolutely DIY-friendly, but it is detail work. You will remove doors, label everything, clean, sand or degloss, patch dents, prime, sand again, then paint multiple coats. If you are allergic to tedious steps, refacing might be cheaper than therapy.
Best for budget upgrades
If you want a fresh color, updated hardware, and a modern feel without major spending, painting is usually the winner.
When refacing is the sweet spot
Good fit
- Your cabinet boxes are well-built and worth saving (older cabinets can be surprisingly tough)
- You want a new door style (Shaker, flat panel, slab, etc.)
- You want a faster transformation than a full rip-and-replace
- You want to upgrade to soft-close hinges and better drawer slides
Not a great fit
- Your cabinet layout is dysfunctional and you need major changes
- Your boxes are out of square, sagging, or water damaged
- You are trying to match an unusual wood species or stain across multiple rooms (it can be done, but it is not always simple)
What refacing really changes
Refacing delivers the “new kitchen” look because the doors and drawer fronts are what you see most. Covering exposed frames and ends is what keeps the whole run looking uniform.
Timeline and disruption
Refacing is often faster than replacement because you are not rebuilding the whole kitchen. Many projects land in the 2 to 5 day range for installation once materials are on site, but repairs, end panels, toe-kicks, crown, and slide upgrades can extend the schedule. Door lead times can be weeks depending on the shop and season.
Cost drivers to watch
- Door material: MDF painted doors can be cost-effective; hardwood doors and premium finishes cost more.
- Hardware upgrades: soft-close hinges and full-extension slides add cost but also daily quality-of-life.
- Exposed ends and sides: more visible box surfaces means more material and labor.
- Accessories: pull-out trash, spice pull-outs, and rollout trays are awesome and add up quickly.

DIY or pro?
There are DIY refacing kits and DIY door swaps. If you are comfortable with careful measuring, hinge boring patterns, and patient installation, you can save money. If the words “scribe” and “reveal” make you sweat, hiring this part out can be money well spent.
When replacing is the right call
Good fit
- Your cabinet boxes are damaged, swollen, or falling apart
- You want a new layout (moving the sink, adding an island, changing appliance locations)
- You need better function: deeper drawers, pantry cabinets, corner solutions, or more uppers
- You are doing other major work anyway (new flooring, new counters, electrical changes, plumbing changes)
Downsides to plan for
- Cost: cabinets are often the biggest line item in a kitchen remodel
- Time: ordering and lead times can stretch. Depending on brand and season, 4 to 12+ weeks is not unusual.
- Domino effect: new cabinets can trigger new countertops, backsplash adjustments, flooring patches, and paint work
Permits and trades
If replacement includes moving plumbing, gas, or electrical, plan on licensed trades and, in many areas, permits and inspections. Even if you DIY parts of the project, this is where it pays to do things by the book.
Stock vs semi-custom vs custom
- Stock: fastest and usually lowest cost, limited sizes and styles.
- Semi-custom: more sizing and storage options, better fit for older homes with odd walls.
- Custom: maximum flexibility and craftsmanship, typically the highest cost.

Best for function and layout fixes
If your kitchen feels cramped or awkward, replacement is the only option that truly solves it. Painting and refacing make what you have look better. Replacement makes what you have work better.
How to decide
Step 1: Inspect the boxes
Open every door and look like you are doing a home inspection because, well, you are.
- Water damage: swollen bottoms under the sink, delaminating particleboard, moldy corners.
- Structural issues: sides pulling away, shelves sagging badly, face frames splitting.
- Square and plumb: doors that never align can mean racked boxes or shifting floors.
If the boxes are failing, replacement is usually the cleanest solution. You can paint a lot of sins, but you cannot paint a cabinet box back into being solid.
Step 2: Decide on layout
If you want to move plumbing, change appliance sizes, add an island, or rework traffic flow, you are already leaning toward replacement. Refacing and painting assume your current cabinet footprint is basically staying put.
Step 3: Know your tolerance
Painting is sweaty equity. Refacing is check-writing efficiency. Replacement is construction chaos with a payoff.
Step 4: Match your timeline
- Need it done fast for an event: refacing often wins once materials are ready.
- Can work evenings and weekends: DIY painting can stretch out but costs less.
- Doing a full remodel anyway: replacement aligns with the bigger scope.
Step 5: Budget for the extras
Cabinet makeovers bring a few add-ons that surprise homeowners:
- New hardware (pulls, knobs) and the cost of filling old holes if you change spacing
- Hinges and mounting plates (door style changes can require different hinge types and hole spacing)
- Toe-kick and filler pieces
- Touch-up paint and matching caulk
- Trash-out fees for replacement
Step 6: Consider waste
If your boxes are in good shape, painting or refacing can be a lower-waste choice than sending a whole kitchen of cabinets to the landfill. Replacement can still be the right move, but it is worth knowing the trade-off.
Cost vs value
Best bang for the buck
Painting is hard to beat if the cabinets are sound and you simply want a brighter, cleaner, more modern look. New hardware plus paint can make a kitchen feel brand new for a fraction of replacement.
Best visual reset
Refacing often hits the sweet spot: new doors, updated hinges, and a cohesive finish, without tearing the whole kitchen apart.
Best functional upgrade
Replacing is the clear winner when you need better storage, better workflow, or a layout that suits how your family actually cooks. It is more money, but it is also a different category of improvement.
Common pitfalls
Painting: skipping degreasing
Kitchen cabinets collect a fine mist of cooking oils over the years. Paint hates that. Use a good degreaser, rinse well, and let it dry fully before sanding and priming.
Painting: not labeling parts
Label every door and drawer and keep hinges grouped. It saves hours and prevents that one door that never sits right again.
Refacing: mismatched box ends
If your cabinet ends are visible, make sure the refacing plan covers them properly. A beautiful new door next to a tired cabinet end is like wearing a tux with gym shoes.
Replacement: ordering before measuring three times
Old homes are rarely square. Measure walls, windows, and appliances multiple times. Check for out-of-plumb corners and floor slope. Semi-custom sizing can save you from awkward filler strips and tiny gaps.
All options: ignoring moisture
If you have weak ventilation over the range, cabinets near the stove take a beating. A better range hood and better habits (use it every time) protect any finish, painted or factory.
Real-life scenarios
“My cabinets are sturdy, but the color is awful.”
Paint. Put the budget into great prep materials, quality primer, and durable cabinet enamel. Upgrade pulls and maybe add soft-close hinges if you want a daily comfort boost.
“I hate my cabinet door style, but the layout works.”
Reface. New Shaker doors plus modern hardware is a huge visual change. Add new drawer slides if yours feel like shopping carts with one bad wheel.
“The sink base is swollen and musty, and nothing lines up.”
Replace. Water damage is a relationship ender for cabinet boxes. You can sometimes replace a single sink base, but widespread issues usually mean it is time.
“We want more drawers, fewer uppers, and a pantry.”
Replace. That is a layout and storage strategy change. Painting or refacing will not create new cabinet types where none exist.
FAQ
Is refacing cheaper than replacing?
Often yes, especially when you keep the same layout and your existing boxes are worth saving. But high-end doors, lots of exposed ends, and premium hardware can push refacing closer to replacement cost in some kitchens.
Is painting cabinets worth it?
Yes when the cabinets are structurally sound and you do the prep correctly. The payoff per dollar is hard to beat. The “not worth it” stories almost always trace back to poor cleaning, poor bonding, or rushing cure time.
Can I paint cabinets that were previously painted?
Yes. Clean thoroughly, scuff sand, fix chips and dents, spot-prime repairs, then repaint. If the old paint is peeling, you need to scrape back to a stable edge before you do anything else.
What about just replacing doors and keeping the boxes?
That is essentially a simplified form of refacing. It can work well if your face frames and exposed sides are already in good shape or will be painted to match.
Do I need to remove doors to paint?
For a lasting finish, yes. Painting in place can work for quick touch-ups, but full cabinet painting goes better when doors and drawer fronts are off, cleaned, prepped, and painted on stands or racks.
Bottom line
If you want the most cost-effective facelift and your cabinets are in good condition, paint first. If you want a totally different door style and a more factory-new look while keeping solid boxes, refacing is the sweet spot. If your boxes are compromised or you want a better layout and better storage, replace and do not look back.
If you are stuck, do this one simple test: open your sink base, shine a light inside, and look at the bottom panel and side walls. If it is swollen, crumbly, or smells like a damp basement, your cabinets are trying to retire. Let them.