A hands-on breakdown of table saws and circular saws for beginners: what each does best, what they cost, safety basics, and which one makes sense as your fir...
home improvement and DIY
Inexpensive Raised Garden Bed That Lasts

Marcus Hayes
Marcus Hayes is a lifelong DIY enthusiast and former residential carpenter who has spent the last decade renovating his 1970s fixer-upper. Through Tinksmith, he shares his hands-on experience to help fellow homeowners tackle repairs, choose the right tools, and build spaces they love without breaking the bank.
Published October 17, 2026
Updated October 17, 2026
If you have ever watched a “quick” garden bed turn into a wobbly pile of boards by the next spring, welcome to the club. The goal here is simple: build a raised bed that is inexpensive, easy to assemble, and actually lasts without fancy tools or boutique lumber.
This is the exact kind of project I love because it rewards good basics: square cuts, solid fasteners, and a couple of small choices that prevent rot. Let’s build one you will still be planting in years from now.
The simple design
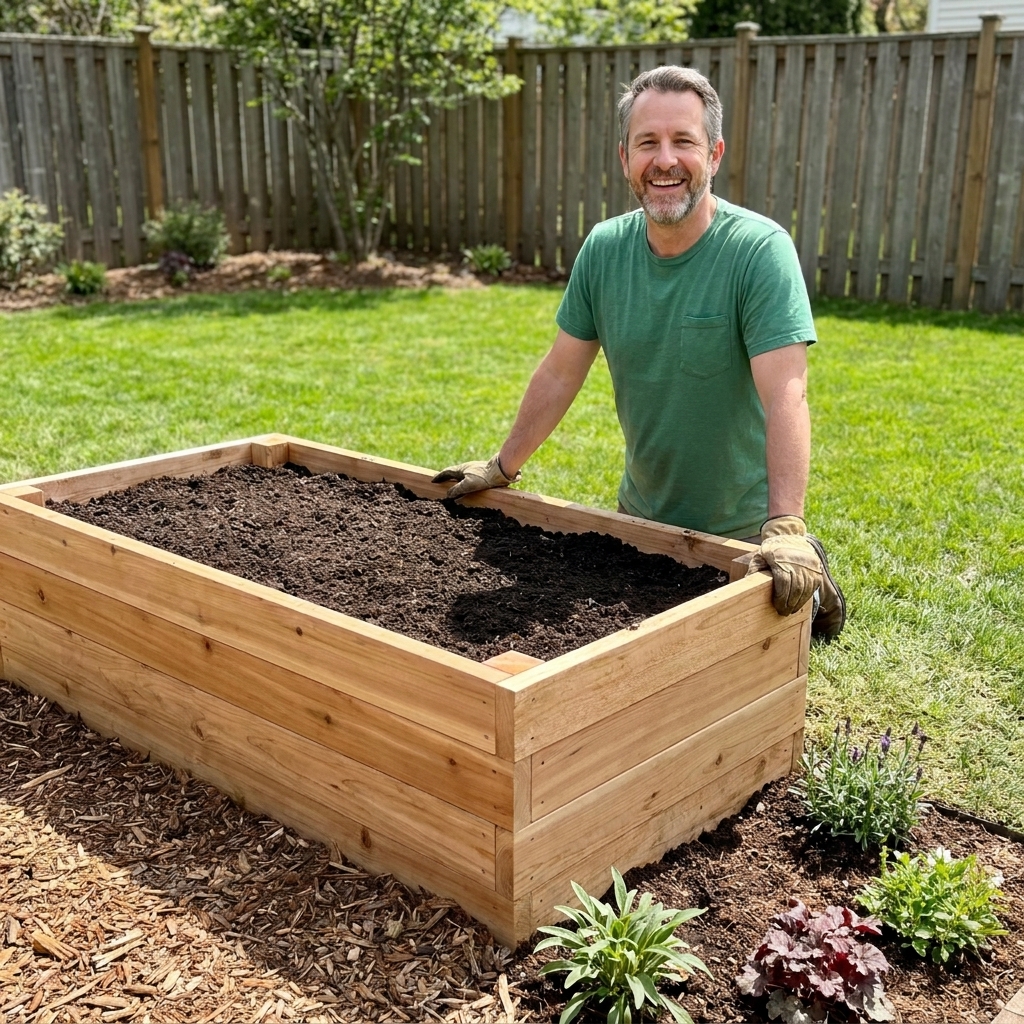
This plan uses a straightforward rectangle with corner posts that the side boards screw into. That tiny change makes a big difference because it:
- Stiffens the corners so the box does not rack and loosen over time.
- Reduces splitting because you are fastening into thicker material at the ends.
- Makes repairs easy because boards can be replaced without rebuilding the whole bed.
We will keep the bed to a single course of 2x12s, which is roughly 11 1/4 inches tall in real life (2x12 is a nominal size). You can always stack a second course later if you want deeper soil.
Budget materials that last
Let’s talk lumber, because this is where raised beds usually fail. You want wood that resists rot without costing more than the vegetables you plan to grow.
Top pick: ground-contact pressure-treated lumber
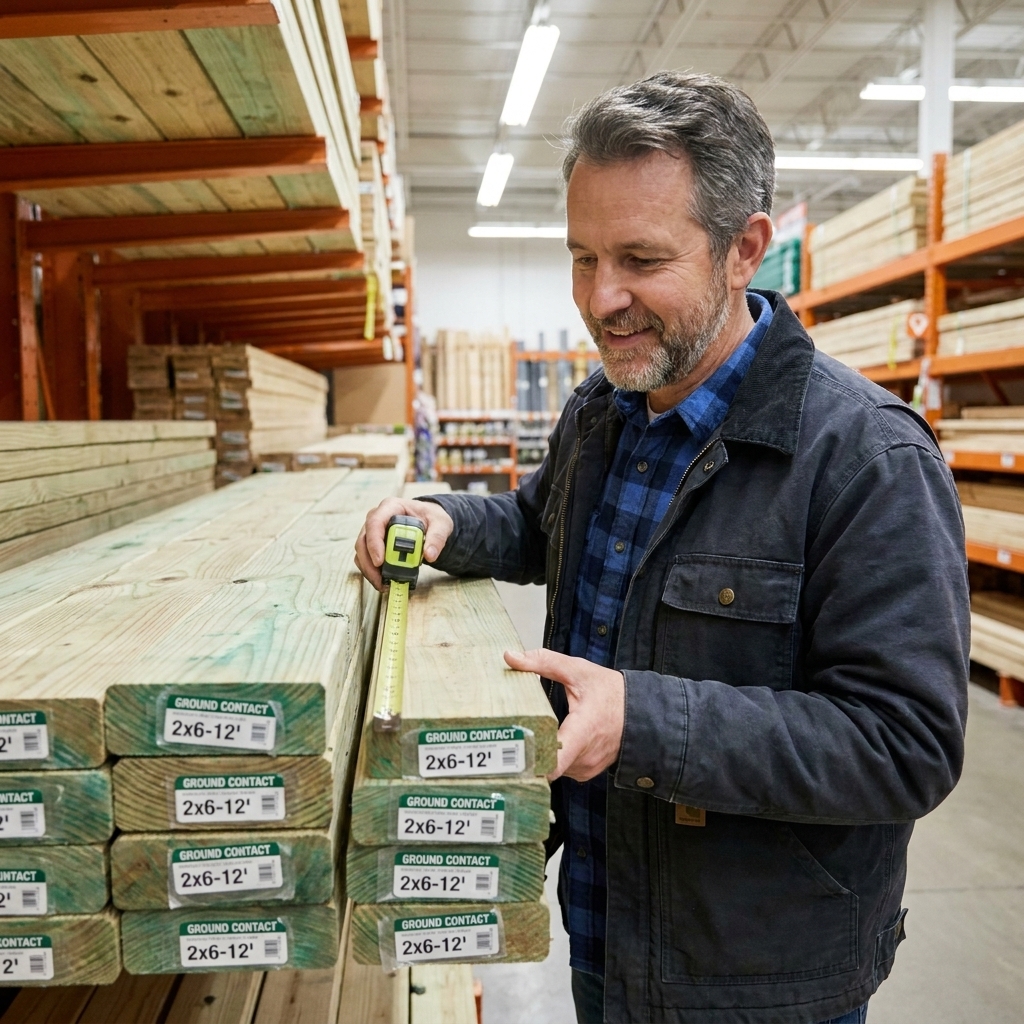
Modern pressure-treated lumber sold for ground contact is widely available and is often one of the most cost-effective ways to build a bed that lasts. Look for tags or stamps that indicate Ground Contact or an equivalent rating.
If you want a more “verify it on the tag” check, look for Use Category markings such as UC4A (ground contact) or UC4B (heavy duty ground contact), or any retention/use guidance that clearly states it is rated for ground contact in your region.
A quick safety note: older pressure-treated lumber used CCA (which contained arsenic). Most modern pressure-treated lumber uses copper-based preservatives (such as ACQ or CA). Avoid reusing old pressure-treated boards of unknown age for food gardens, and do not burn pressure-treated scraps.
- Pros: long life for the money, easy to find, strong.
- Cons: heavier, can be wetter at purchase (let it dry a bit for cleaner cuts).
Rot-resistant woods: cedar, redwood, black locust
If you can find cedar or redwood at a good price, they are great. In many areas, though, they cost more than they need to for a simple bed.
- Pros: lighter, stays stable, naturally durable.
- Cons: can be pricey depending on region.
What to skip
- Untreated pine or fir for the side boards: it is cheap up front, then becomes compost in a few seasons.
- Old pallets: unknown chemicals and nails, inconsistent thickness, and usually short-lived outdoors.
- Railroad ties: creosote concerns and they are a pain to work with.
Fasteners matter: Use exterior-rated structural screws or ceramic-coated deck screws. Indoors, drywall screws snap and rust. Ask me how I know.
Board-picking tip: Spend an extra minute choosing the straightest boards you can. A twisted 2x12 will fight you the whole way and can leave gaps that collect water.
Tools and supplies
You can build this with very basic gear:
- Measuring tape
- Speed square or framing square
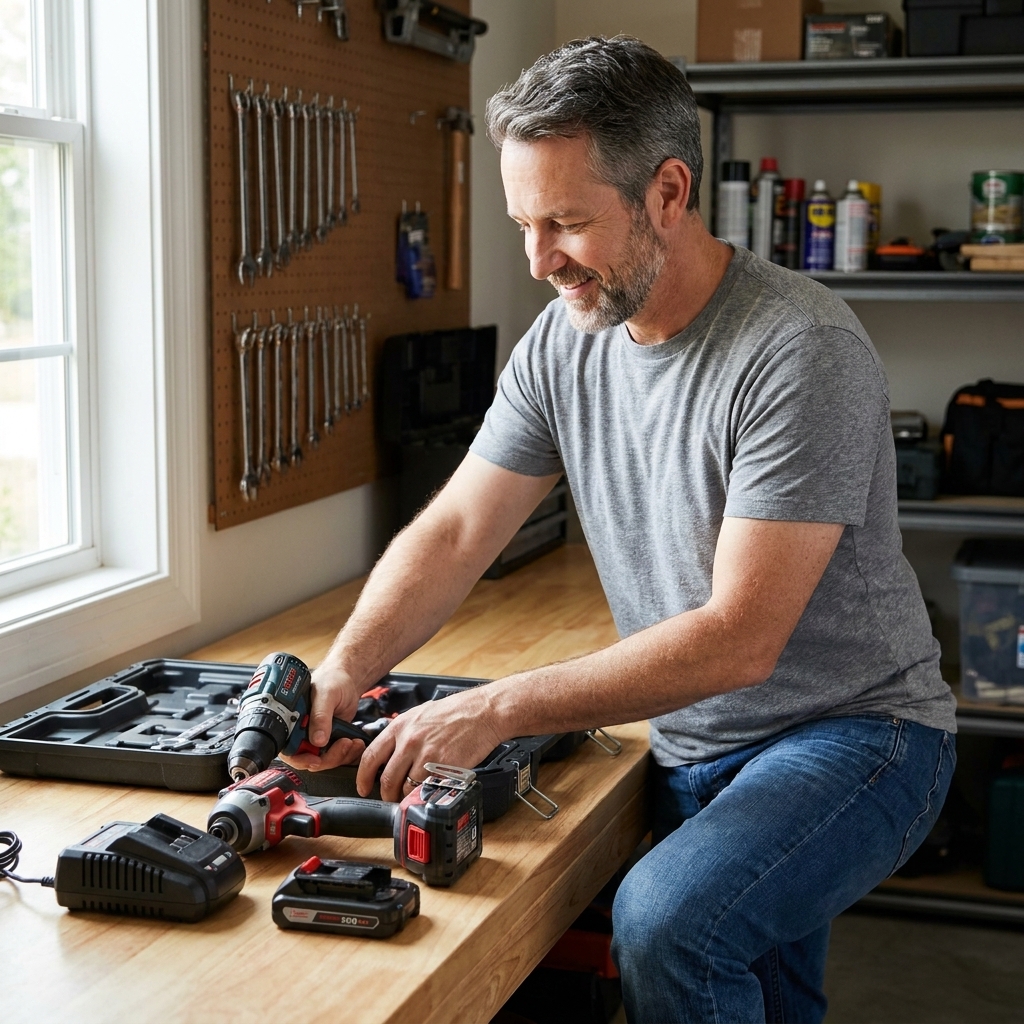
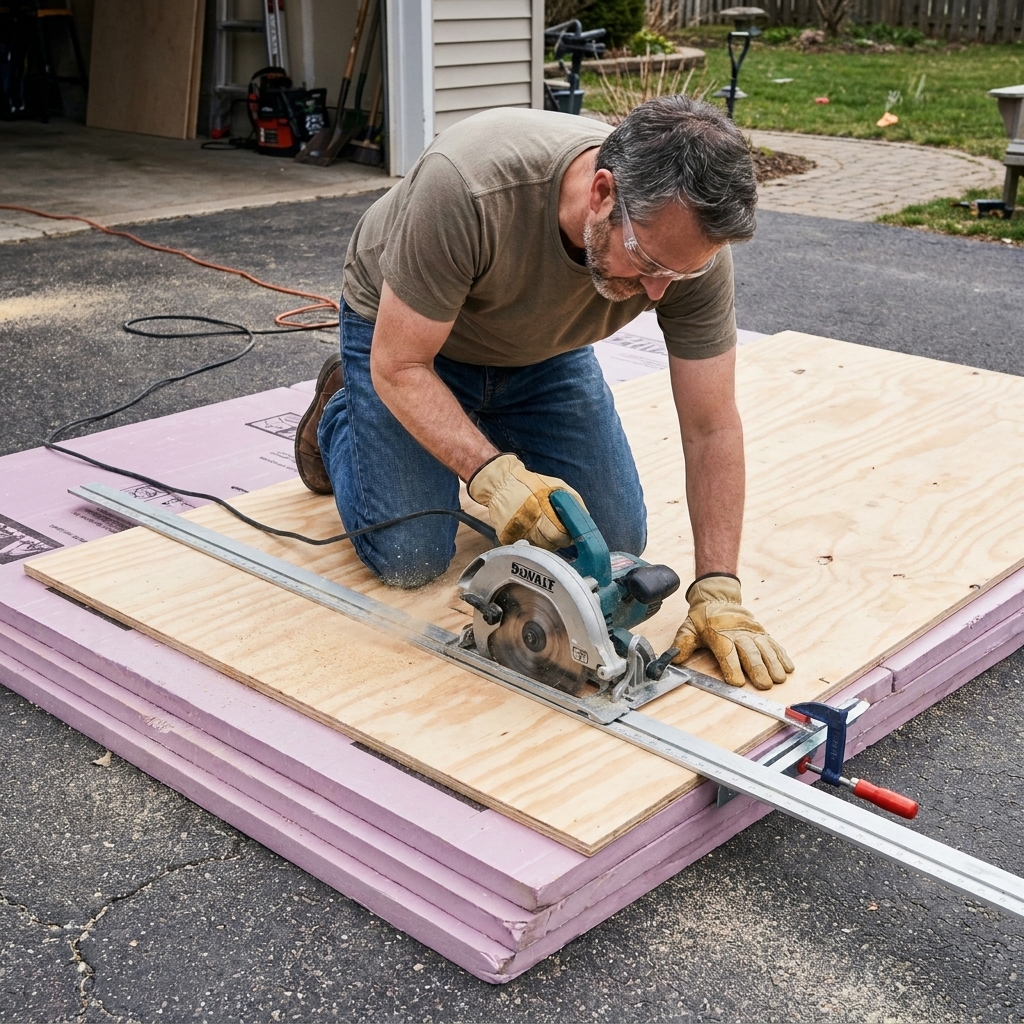
- Circular saw (or miter saw, or handsaw)
- Drill/driver and bits
- Level (or a straight board and common sense)
Helpful but optional: clamps, staple gun (for landscape fabric), and a shovel and rake for leveling.
Materials for one 4 ft x 8 ft bed (single 2x12 course)
- Side boards: Two 2x12x8' for the long sides, plus two short sides cut to 45 inches (cut from another 8-footer)
- Corner posts: One 4x4 cut into four pieces, each 12" long (or use 2x4s screwed into an L shape)
- Fasteners: 2 1/2" to 3" exterior deck screws (about 40 to 60)
- Optional mid-span braces: two 2x4 blocks, about 12 to 16 inches long
- Optional liner: heavy landscape fabric (not plastic)
- Optional rodent barrier: hardware cloth (1/4" or 1/2")
Buying option if you already have 48-inch shorts: You can use two 2x12x4' boards as the short sides, but your outside footprint will be larger than 4x8 depending on overlap. Plants will not care, but your layout might.
Budget tip: If 2x12 boards are expensive in your area, build the same height using two rows of 2x6 stacked. You will add some fasteners and a little time, but the lumber can be cheaper.
Step-by-step build
1) Pick a spot and check drainage
Choose a location with 6 to 8 hours of sun if you are growing vegetables. Avoid low spots that hold water. Standing water is basically a rot spa for your lumber.
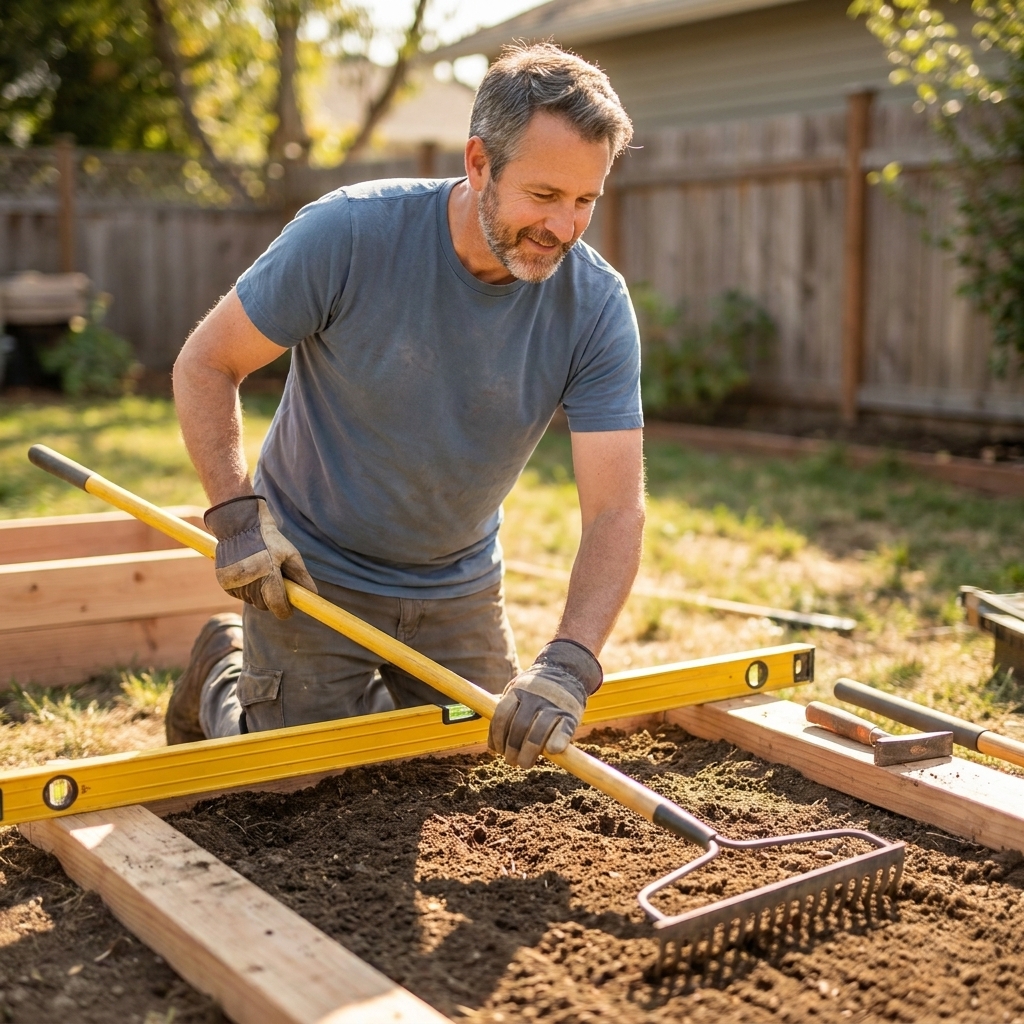
2) Level the ground
You do not need to excavate a perfect patio base, but you do want the bed to sit flat so it does not twist.
- Remove sod and roots where the boards will sit.
- Rake reasonably level.
- Set a long board on the ground and check with a level.
- Scrape down high spots rather than filling low spots with fluffy soil.
3) Cut the corner posts
Cut your 4x4 into four equal pieces, each about the same height as your bed boards (around 12 inches for a single 2x12 course). These posts are the skeleton that keeps corners tight.
4) Decide your corner layout
Here is the cleanest way to keep the outside footprint close to 4 ft x 8 ft with common cuts:
- Use full-length 8-foot boards for the long sides.
- Cut the short sides to 45 inches so they fit between the long sides: 48 inches minus 1 1/2 inches minus 1 1/2 inches for the thickness of the two long boards.
Translation for first-time builders: the 8-foot boards run full length on the outside. The short boards fit between them and screw into the corner posts.
If you already bought two 48-inch short boards, no problem. Your bed will simply end up about 4 ft 3 in by 8 ft on the outside, depending on which boards overlap. Plants will not care, but your layout might.
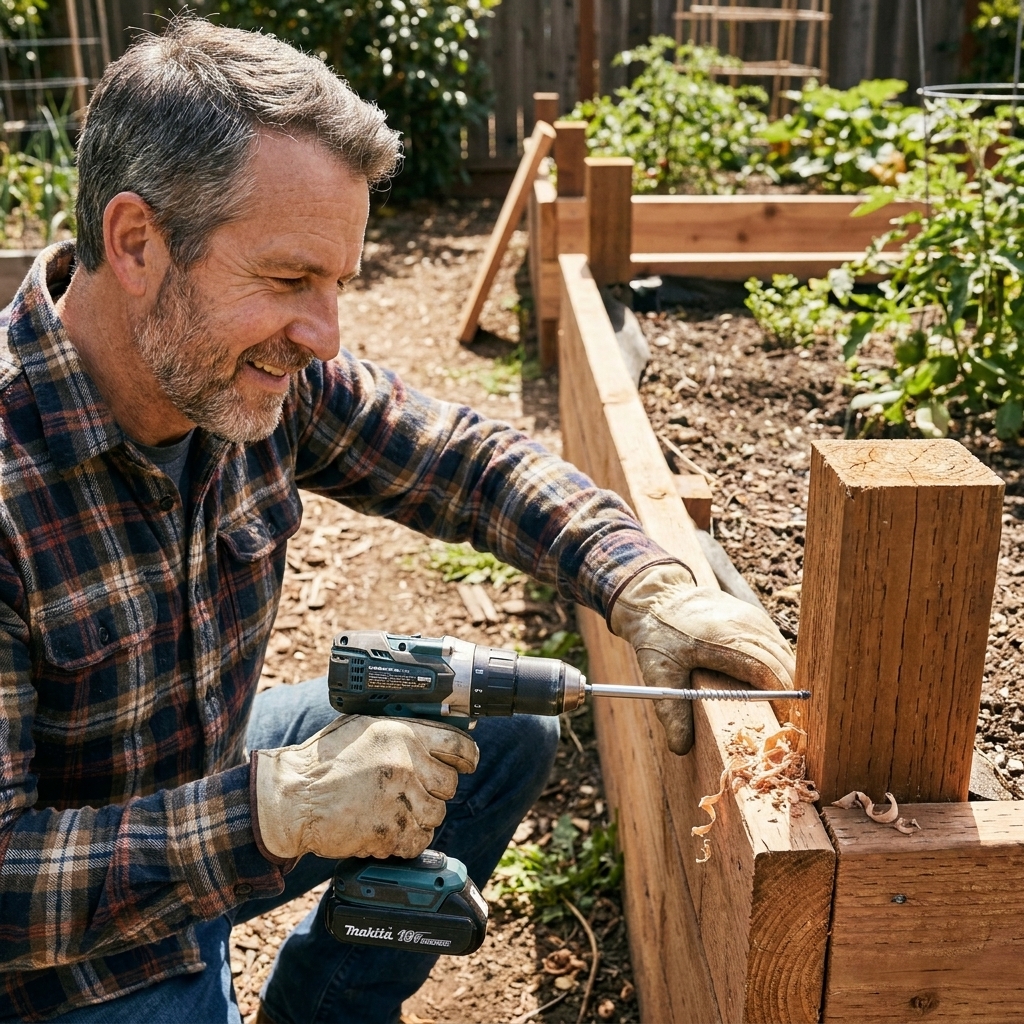
5) Pre-drill to prevent splitting
Before you drive screws near the ends of boards, pre-drill. It takes minutes and saves you from that classic crack that shows up right when you are feeling proud of yourself.
6) Assemble the long sides first
Lay an 8-foot board flat. Place a corner post behind one end so the board end is flush with the post. Drive two to three screws through the board into the post. Repeat for the other end. Do the same for the second long side.
7) Add the short sides to form the box
Stand the two long sides up and connect them with the short boards, screwing the short boards into the corner posts. Check for square by measuring diagonals corner-to-corner. If the diagonals match, you are square.
8) Add mid-span bracing
On an 8-foot run, soil pressure can bow boards outward over time. Add cheap insurance:
- Screw a 12 to 16-inch 2x4 block vertically to the inside center of each long side, spanning from the top edge toward the bottom edge. Use 2 to 4 screws per brace so it cannot wiggle loose.
- If you plan to go taller later, consider a simple cross tie from one long side to the other using a board and screws.
9) Anchor it (optional, but smart)
If your yard slopes or you have soft soil, drive a couple of stakes on the outside and screw the bed to them. The bed will not migrate after a few good rainstorms.
5 upgrades for longer life
- Use ground-contact lumber for boards and posts: especially important if wood touches soil.
- Keep the bottom edge dry-ish: level the base and avoid burying boards below grade.
- Think twice about plastic liners: they can reduce direct soil contact, but they also trap moisture against the wood and can create drainage issues. For durability, I prefer no plastic.
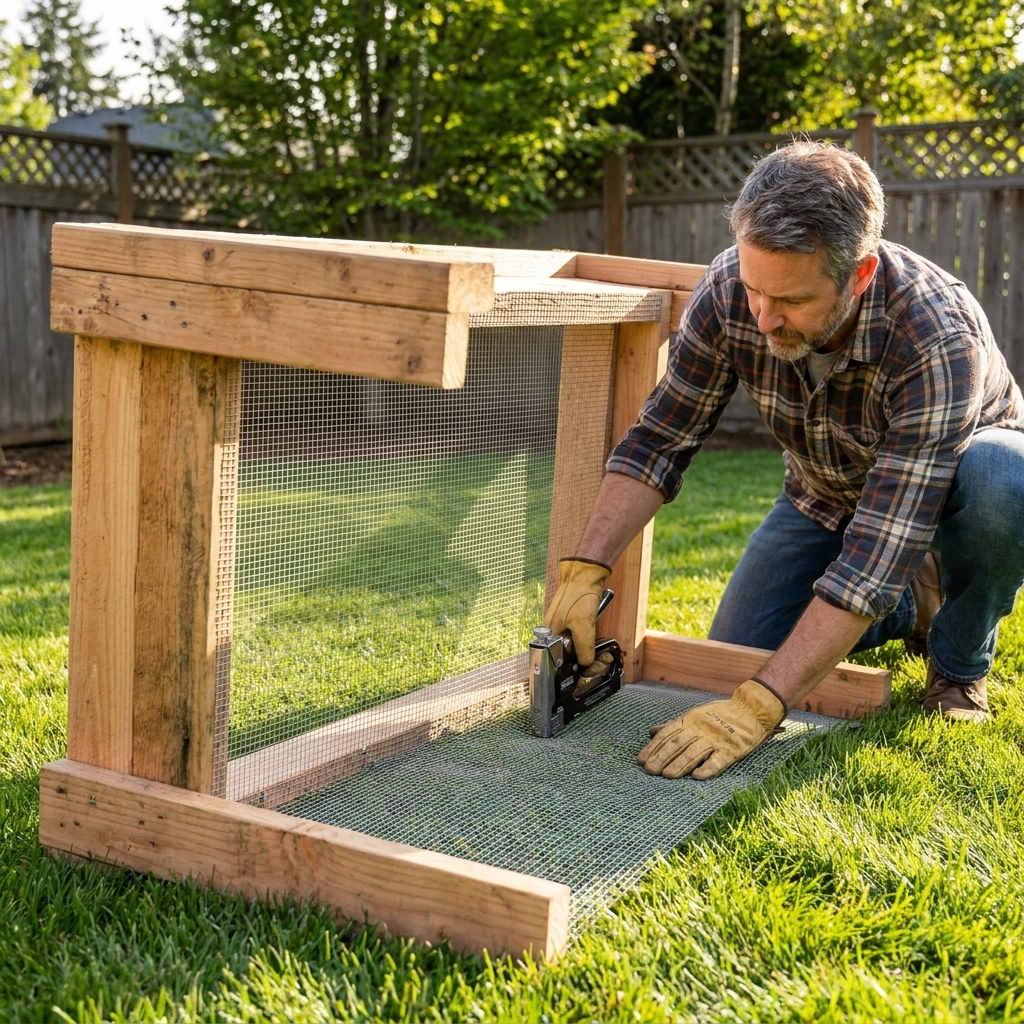
- Add hardware cloth under the bed: stops gophers and moles when it is stapled securely and there are no gaps or loose seams for pests to push through.
- Use exterior structural screws: corrosion resistance matters in wet soil and fertilizer-rich environments.
Should you seal the wood?
If you used cedar, you can leave it alone. If you used pressure-treated, you can also leave it alone. If you want a cleaner look, use a water-based exterior stain or sealer on the outside only. Keep coatings off the inside faces that contact soil unless the product is specifically labeled for that use, and stick with low-odor, low-VOC products when possible.
Liner and rodent barrier
Hardware cloth
If you have diggers, this is worth doing. Flip the assembled bed upside down (or crawl inside it, which is a fun look for the neighbors). Roll out hardware cloth and staple it along the bottom edges. Overlap seams by a couple inches, then add extra staples so the overlap cannot spread and create a gap.
- 1/4-inch mesh: blocks smaller pests, but costs more and is tougher to cut.
- 1/2-inch mesh: commonly used for gophers in many areas and is easier to work with.
Landscape fabric (optional)
Staple landscape fabric to the inside walls if you want to keep soil from washing out through gaps or to slow weeds creeping in from the sides. Again, I skip plastic sheeting for longevity. Wood and trapped moisture are not best friends.
Filling the bed on a budget
For a single-course 4x8 bed, you will need a decent amount of soil. Here are cost-friendly options:
- A common starting mix: roughly 50% screened topsoil, 30% compost, 20% aeration (pine fines or perlite).
- Budget shortcut: buy bulk topsoil and compost from a local landscape yard instead of bags.
- Do not use only compost: it settles a lot and can run hot for some plants.
- Skip mystery fill: construction debris and poor soil will punish your plants all season.
Can I use logs and sticks in the bottom?
Yes, with a caveat. If you are making a taller bed, you can put branches and small logs in the bottom to reduce soil volume. For a single 2x12 course, I usually skip it because you do not gain much depth. Also, as wood breaks down it can tie up nitrogen near the soil-wood interface, especially early on.
Common mistakes
- Using drywall screws: they rust and snap. Use exterior-rated screws.
- No corner structure: butt-jointed corners loosen quickly under soil pressure.
- Building on a slope without leveling: the bed twists, gaps open, and boards split.
- Trapping moisture against wood: plastic liners and buried boards speed up rot.
- Going too tall right away: tall beds are great, but they are more expensive and need more bracing.
Quick cut list
- 2x12: two pieces at 96 inches
- 2x12: two pieces at 45 inches (for a true 4 ft x 8 ft outside footprint)
- 4x4 posts: four pieces at 12 inches
- Optional 2x4 braces: two pieces at 12 to 16 inches
Note: Actual board width is slightly less than nominal. A “2x12” is typically about 11 1/4 inches wide, which is perfect for an affordable, easy-to-reach bed height.
FAQ
How long will a cheap raised bed last?
With ground-contact pressure-treated lumber and exterior screws, it is reasonable to expect many seasons of use, often a decade or more depending on climate, drainage, and how consistently the bed stays wet from irrigation. Cedar can also last a long time, but thickness and moisture exposure matter.
Is pressure-treated lumber safe for vegetable gardens?
Many homeowners use modern ground-contact pressure-treated lumber for edible gardens. For peace of mind, avoid old pressure-treated boards of unknown vintage, do not burn scraps, and follow any local guidance. If you are cutting pressure-treated lumber, wear eye protection, avoid breathing dust, and wash up afterward.
What is the cheapest size to build?
A 4x8 bed is cost-efficient because it matches common lumber lengths with minimal waste. A 3x6 can be cheaper overall and easier to reach across if you are tight on space.
Do I need to put anything under the bed?
If weeds are aggressive in your yard, lay down cardboard (remove tape) and wet it before filling. If rodents are an issue, use hardware cloth and secure overlaps so pests cannot push through gaps. If drainage is poor, fix that first.
Wrap-up
A long-lasting raised bed is not about fancy joinery or premium lumber. It is about solid corners, exterior fasteners, and not trapping moisture where wood meets soil. Build one well this weekend, and next weekend you can do the fun part: planting something you actually want to eat.