A homeowner-friendly, step-by-step guide to replacing a faucet cartridge in your kitchen or bath. Tools list, safety tips, and troubleshooting included.
home improvement and DIY
How to Unjam and Reset a Clogged Garbage Disposal

Marcus Hayes
Marcus Hayes is a lifelong DIY enthusiast and former residential carpenter who has spent the last decade renovating his 1970s fixer-upper. Through Tinksmith, he shares his hands-on experience to help fellow homeowners tackle repairs, choose the right tools, and build spaces they love without breaking the bank.
Published October 17, 2026
Updated October 17, 2026
Nothing humbles a weekend DIYer faster than flipping on the garbage disposal and getting silence. Or worse, a sad little hum like it is thinking about trying. The good news: many disposal jams are fixable in 10 to 20 minutes with one simple tool and a little patience. The even better news: you can do it without turning your knuckles into ground beef.
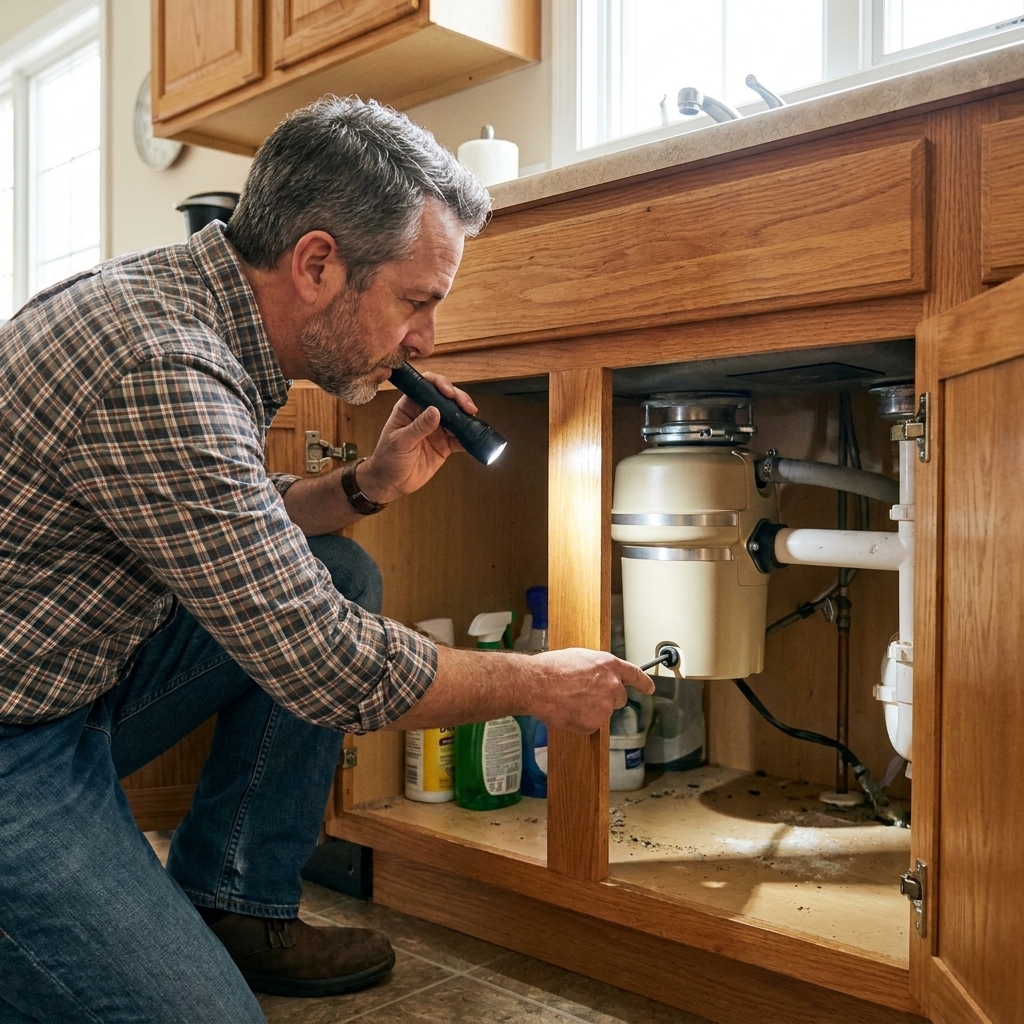
Below is the exact process I use at my own 1970s fixer upper. We will cover safe shutdown, unjamming with the Allen wrench, using the reset button, clearing a clog, and finishing with natural cleaners to keep stink and sludge from coming back.
First, make it safe
A garbage disposal is basically a tiny blender bolted under your sink. Treat it like it is ready to bite you, even when it is off.
- Turn it off at the switch and keep the switch in the OFF position.
- Unplug it under the sink if it has a cord and plug.
- If it is hardwired (no plug), turn off the breaker for the disposal circuit.
- Never put your hand down into the disposal chamber.
- Use tongs or pliers to grab objects. Not your fingers. Not even your brave fingers.
If you share the kitchen with other humans, slap a note over the switch. Nothing ruins a Saturday like someone “helpfully” testing the disposal while your head is in the cabinet.
Quick diagnosis
Different symptoms point to different fixes. Here is the fast read:
- It hums but does not spin: likely a jammed flywheel or impellers (the spinning plate and little lugs that throw food against the grinding ring).
- It is totally dead (no sound): likely tripped reset, no power, or a bad switch.
- It runs but drains slowly or backs up: likely a clog in the disposal outlet, dishwasher hose, or sink drain.
- It makes a grinding racket: usually a hard object (glass, bone, metal) bouncing around.
You can walk through the steps below in order and you will usually land on the right fix.
Step 1: Check for the obvious
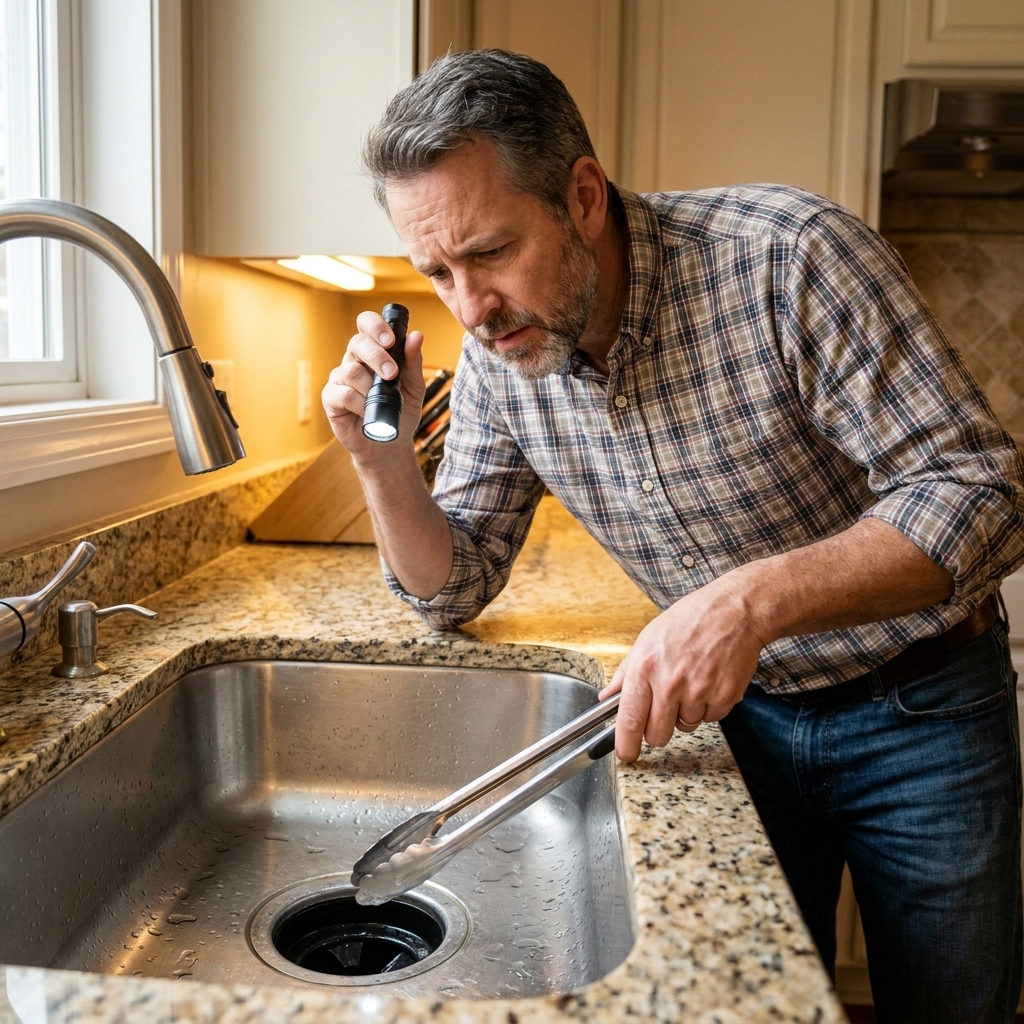
With the power cut, shine a flashlight down the sink opening. You are looking for anything that does not belong in there.
If the sink is full of water: bail or scoop most of it out first. You will see better, and you will avoid a splashy mess if you end up pulling the P-trap later.
- Use tongs to remove visible objects like a spoon, bottle cap, chunk of glass, popcorn kernel clumps, or a rogue twist tie.
- If you see something wedged, try changing your angle. Sometimes you can hook it and lift it out.
- If you have an Allen wrench jam key that came with the unit, keep it handy. We are going under the sink next.
Step 2: Unjam with an Allen wrench
Many disposals have a hex socket centered on the bottom. This is your best friend. It lets you manually turn the motor shaft to free whatever is binding the flywheel.
Note: Some compact units do not have an external hex socket. If you cannot find one, use the manufacturer’s jam tool (if included) or follow your manual for the model-specific unjam method.
What you need
- A 1/4 inch Allen wrench (common on many models, but not universal)
- Optional: the manufacturer’s jam key tool
How to do it
- Confirm power is OFF (unplugged or breaker off).
- Get under the sink and find the hex socket on the bottom of the disposal.
- Insert the Allen wrench fully.
- Turn the wrench back and forth. Do not be shy, but do not go full gorilla either. You are trying to break the bind, not snap tools.
- Once it moves, rotate it until it turns more freely through a wider range.
If it will not budge: you may have a hard object wedged in the grinding chamber. Go back up top with a flashlight and tongs and look again. Sometimes the object is tucked under the rubber splash guard and you only spot it after a second look.
Before you restore power: remove the wrench, then do one more flashlight check from above and pull out any debris you can reach with tongs. You do not want to free the jam and then immediately re-jam it.
Step 3: Press the reset button
Disposals have an internal overload protector. When the motor strains too long, it trips. That is when the reset button pops out.
Where it is
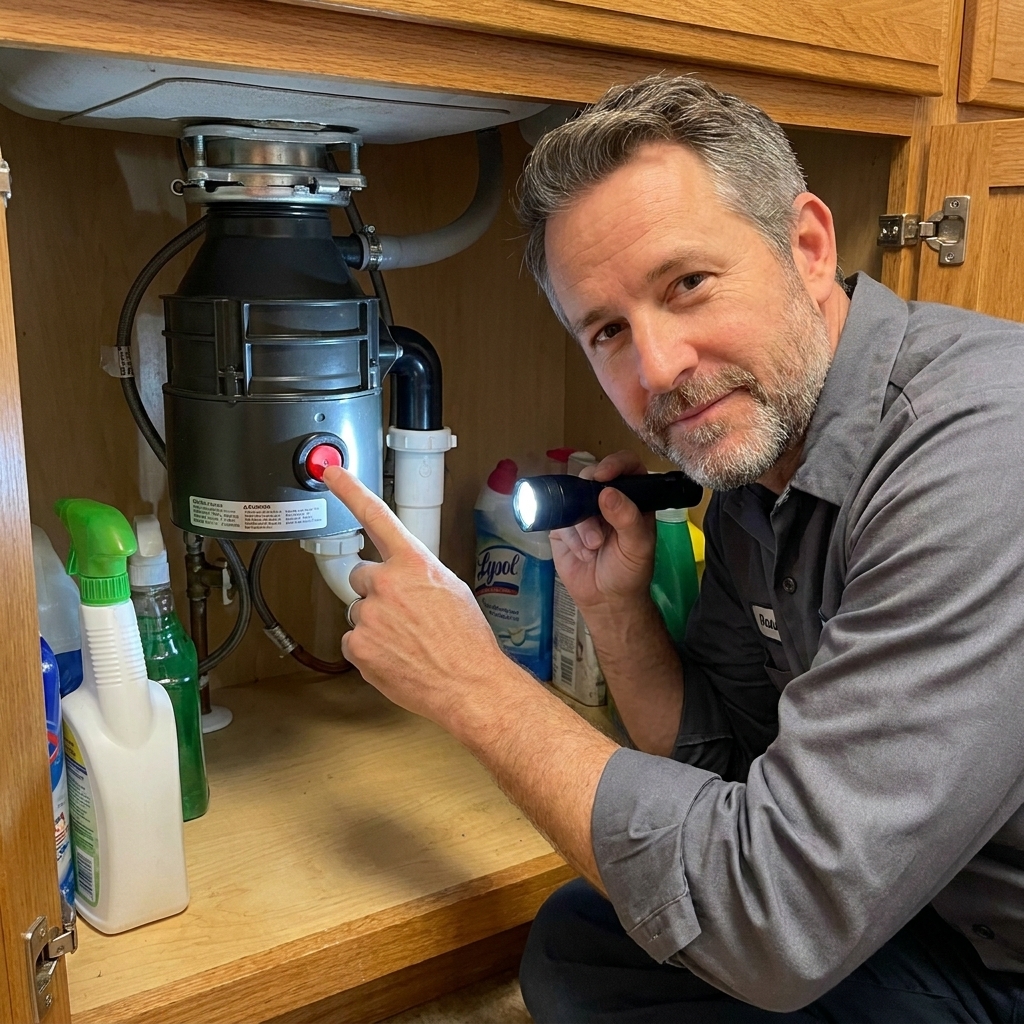
Under the disposal unit, usually a small red button near the bottom edge.
How to reset
- With the unit still powered down, press the reset button until it clicks or seats flush.
- Wait about 30 seconds. Motors and overloads can be a little dramatic when they are hot.
- Restore power (plug in or flip breaker).
- Run cold water, then flip the disposal switch ON for a quick test.
If it immediately trips again: you still have a jam, the motor is failing, or something downstream is blocked and making it work too hard. Go back to the Allen wrench step and the clog checks below.
Step 4: Clear a clog
If the disposal runs but the sink fills up, you likely have a clog in one of three places: the disposal outlet, the P-trap, or the branch drain in the wall.
Check the easy stuff first
- Stopper or strainer: make sure nothing is blocking the sink opening.
- Dishwasher knockout plug: if you recently installed a disposal and your dishwasher is not draining, the dishwasher inlet plug may not have been knocked out.
- Air gap (if you have one): if the dishwasher backs up into the sink, check the air gap and the dishwasher drain hose for gunk or a kink.
Try a quick flush (only if it is safe)
If the water is mostly draining and the disposal chamber is not packed, you can try a short flush:
- Run disposal with cold water for 10 to 15 seconds.
- Turn disposal OFF but keep cold water running another 15 to 20 seconds to push debris through.
If the sink is already full and not draining, skip this and move to the trap. Running a disposal against a full, stuck sink can strain the motor and can be messy.
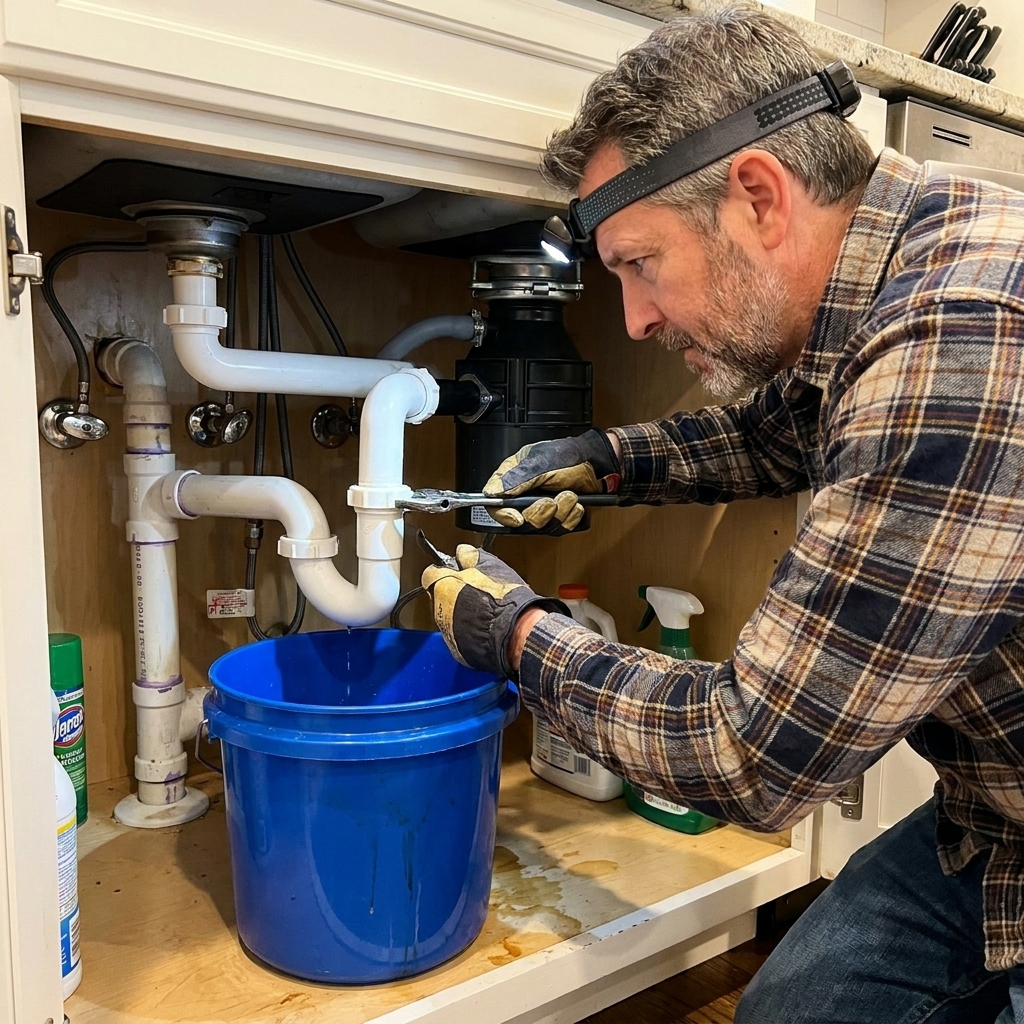
Inspect and clean the P-trap
If you are comfortable working under a sink, the P-trap is a very common clog point. Put a bucket down first. That trap is basically a soup bowl for whatever your kitchen has been eating.
- Cut power to the disposal again for safety.
- Place a bucket under the trap.
- Loosen the slip nuts (often hand tight, sometimes need channel locks).
- Remove the trap and clean it out.
- Reinstall, snug the nuts, and test for leaks.
Pro tip: If your plumbing has older metal parts or brittle plastic, go gentle. Over tightening is the fastest way to “fix” a clog and “create” a leak.
Step 5: Clean and deodorize
Once the disposal spins and drains, you can knock out odors and greasy buildup without turning your sink into a chemistry experiment.
Option A: Baking soda and vinegar rinse
- With disposal OFF, pour 1/2 cup baking soda into the disposal.
- Add 1 cup white vinegar.
- Let it foam for 5 to 10 minutes.
- Flush with hot water for 30 seconds.
This is great for funk and light buildup. It is not a serious clog remover, but it is a solid maintenance move.
Option B: Ice and salt scrub
- Add 2 cups of ice into the disposal.
- Sprinkle in 1/2 cup coarse salt (table salt works in a pinch).
- Run cold water, then run the disposal for 10 to 20 seconds.
The ice helps knock crud off the grinding ring and the salt adds abrasion.
Option C: Citrus peel freshen (use sparingly)
A few small pieces of lemon or orange peel can freshen odors. Do not stuff the chamber full of peels. Too much fibrous peel can contribute to clogs.
What not to do
- Do not use your hand to “feel around” for the jam.
- Do not pour harsh drain cleaners into a disposal. They can damage parts and make a future repair more dangerous.
- Do not run hot water while grinding greasy scraps. Use cold water while grinding to keep fats more solid so they are less likely to coat pipes. Save hot water for final flushing when you are cleaning, not for pushing greasy food through the system.
- Do not overload it. Feed scraps gradually, not as a full dinner plate dump.
- Do not grind grease, large amounts of coffee grounds, pasta, rice, potato peels, fibrous celery, corn husks, large bones, or lots of eggshells. Small amounts of eggshell are debated, but big batches can contribute to gritty buildup in some setups.
Prevention
Most disposal problems are repeat offenders. A couple habits go a long way:
- Use cold water any time the disposal is on.
- Run water before and after. Start water first, then disposal, then keep water running 10 to 20 seconds after you shut it off.
- Cut big scraps smaller before feeding them in.
- Scrape greasy pans into the trash, not the sink.
- Do a monthly ice and salt scrub if your kitchen sees heavy use.
Troubleshooting
It is dead silent even after reset
- Confirm it is plugged in (you would be amazed).
- Check the breaker or GFCI outlet and reset if tripped.
- Try the wall switch (listen for any sound at all).
- If you smell burning insulation or see smoke, shut it down and do not keep trying.
It spins but makes a loud metallic clank
- Turn it OFF immediately.
- Use a flashlight and tongs to remove the object.
- Check the rubber splash guard for trapped debris.
It leaks from the bottom
A leak from the bottom of the disposal housing usually means an internal seal has failed. That is typically a replacement job, not a tightening job.
When to call a plumber
I am all for DIY, but sometimes the smartest fix is knowing when to tag out.
- Persistent clogs that return quickly even after cleaning the P-trap may be deeper in the line.
- Leaks from the disposal body (not just a loose drain connection).
- Repeated trips of the reset button with no clear jam.
- Electrical issues like a hot switch, buzzing outlet, or burning smell.
- Age and performance: if it is old, loud, and jams often, replacement can be cheaper than repeated headaches.
If you do replace it, take a photo of your existing plumbing and wiring setup before you disconnect anything. Future you will appreciate past you. Trust me.
Fast FAQ
What size Allen wrench do I need?
Many disposals use a 1/4 inch Allen wrench for the bottom socket, but not all. If 1/4 inch feels loose or will not insert, check your manual or try a metric set until you find a snug fit. If your unit has no hex port, use the manufacturer’s jam tool or the method listed in the manual.
Reset before or after the Allen wrench?
Use the Allen wrench first if it is humming or stuck, then press reset. Resetting without freeing the jam often just trips again.
Is it OK to use baking soda and vinegar?
Yes, for deodorizing and light cleanup. Flush well afterward. Skip harsh chemical drain cleaners.
Why does it hum but not spin?
The motor is getting power but the flywheel is stuck. That is the classic Allen wrench fix.