A practical tutorial plus top stud finder picks, with troubleshooting tips for drywall, plaster, lath, and stubborn false positives.
home improvement and DIY
Heavy-Duty Garage Storage Shelves (DIY Build)

Marcus Hayes
Marcus Hayes is a lifelong DIY enthusiast and former residential carpenter who has spent the last decade renovating his 1970s fixer-upper. Through Tinksmith, he shares his hands-on experience to help fellow homeowners tackle repairs, choose the right tools, and build spaces they love without breaking the bank.
Published October 17, 2026
Updated October 17, 2026
My garage has two personalities: one that wants to be a clean workshop, and another that wants to be a museum of half-used paint cans from 2009. If your garage leans “museum,” a set of sturdy, heavy-duty shelves is the fastest way to get your floor space back.
This build is my go-to because it is strong, cheap, and forgiving. No fussy cabinet doors, no special brackets, no mystery hardware. Just solid framing lumber, plywood, screws, and smart bracing so your shelves do not turn into a trampoline over time.
Design overview
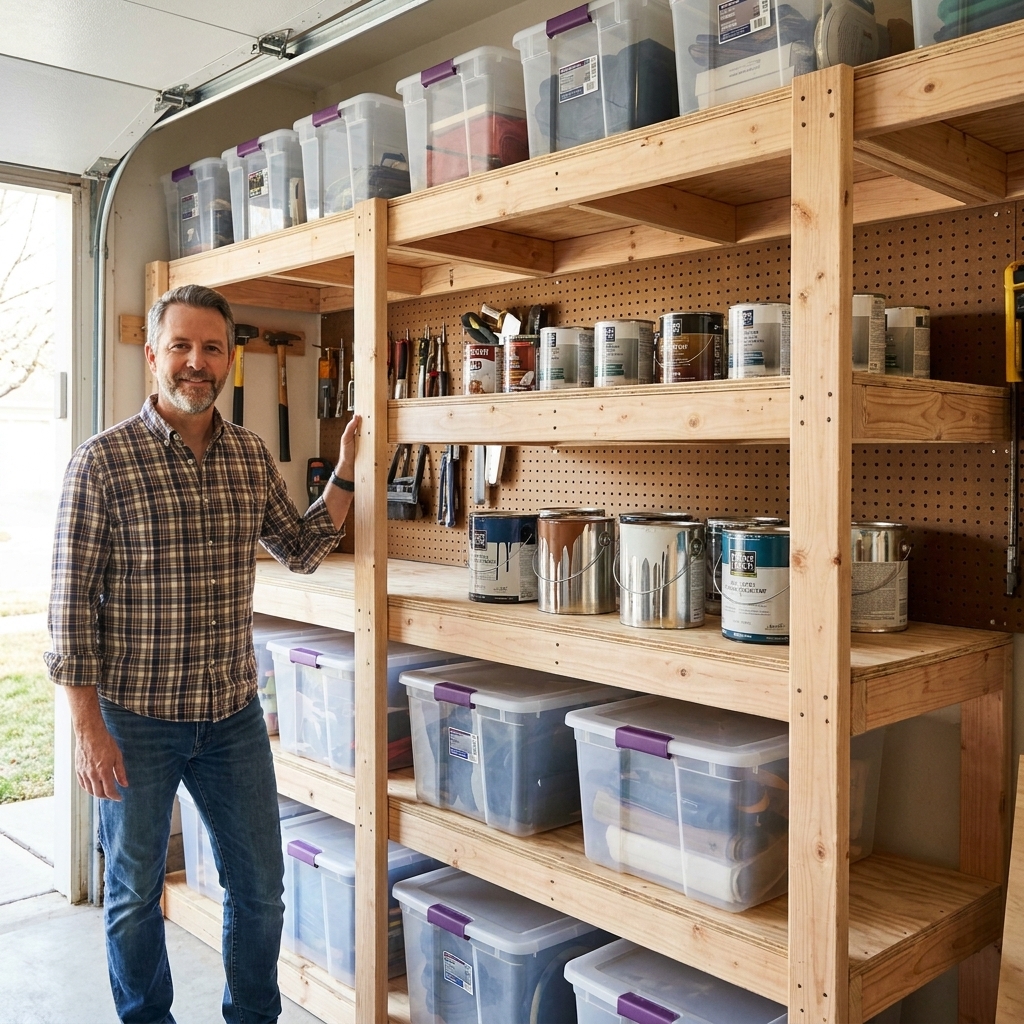
We are building a freestanding shelf unit that can also be anchored to wall studs for anti-tip safety. The structure is basically a mini deck frame: 2x4 legs, 2x4 shelf frames, bracing to prevent racking, and a plywood deck on each level to spread the load.
- High capacity: Each shelf is supported by a full 2x4 frame, not just a thin cleat.
- Sag resistance: A mid-span support (optional but recommended) keeps long shelves flat.
- Custom sizing: You can tweak height, depth, and shelf spacing without changing the core method.
- Budget friendly: Standard construction lumber and sheathing-grade plywood work great.
Pick your size
Here are two proven sizes. Choose one, or use them as a starting point.
Option A: Standard
- Overall: 72 in tall x 48 in wide x 24 in deep
- Shelves: 4 levels (including the bottom shelf a few inches off the floor)
Option B: Extra wide
- Overall: 72 in tall x 72 in wide x 24 in deep
- Shelves: 4 levels
- Extra: Mid-span supports recommended on each shelf
My rule of thumb: If your shelf span is over 48 inches and you plan to store dense stuff (tools, hardware bins, drywall compound), add a mid-span support. Your future self will nod approvingly every time you slide a tote on without seeing a dip.
Materials and hardware (Option A)
This list builds one 72 x 48 x 24 inch unit with four shelves.
Lumber and sheet goods
- 2x4s: 10 pieces at 8 ft (gives you legs, shelf frames, and bracing)
- Plywood: One sheet 3/4 in plywood (recommended) cut into (4) pieces at 48 x 24 in
Fasteners
- 2 1/2 in construction screws (or #9 or #10 wood screws) for framing
- 1 5/8 in wood screws for plywood decking
- Optional: 3 in structural screws or lag screws plus washers for anchoring into wall studs
- Optional: Metal L-brackets or mending plates for extra stiffness (not required)
Finishing and moisture help (optional)
- Primer and paint, or a clear water-based polyurethane
- Shims (composite shims hold up well on garage slabs)
- Sill gasket, rubber pads, or scrap pressure-treated blocks under legs if your slab stays damp
Quick plywood note: Four 48 x 24 panels fit on a standard 4 x 8 sheet, but your saw blade eats a little width. Measure twice, plan your cut order, and do not be shy about trimming a panel slightly if you need breathing room.
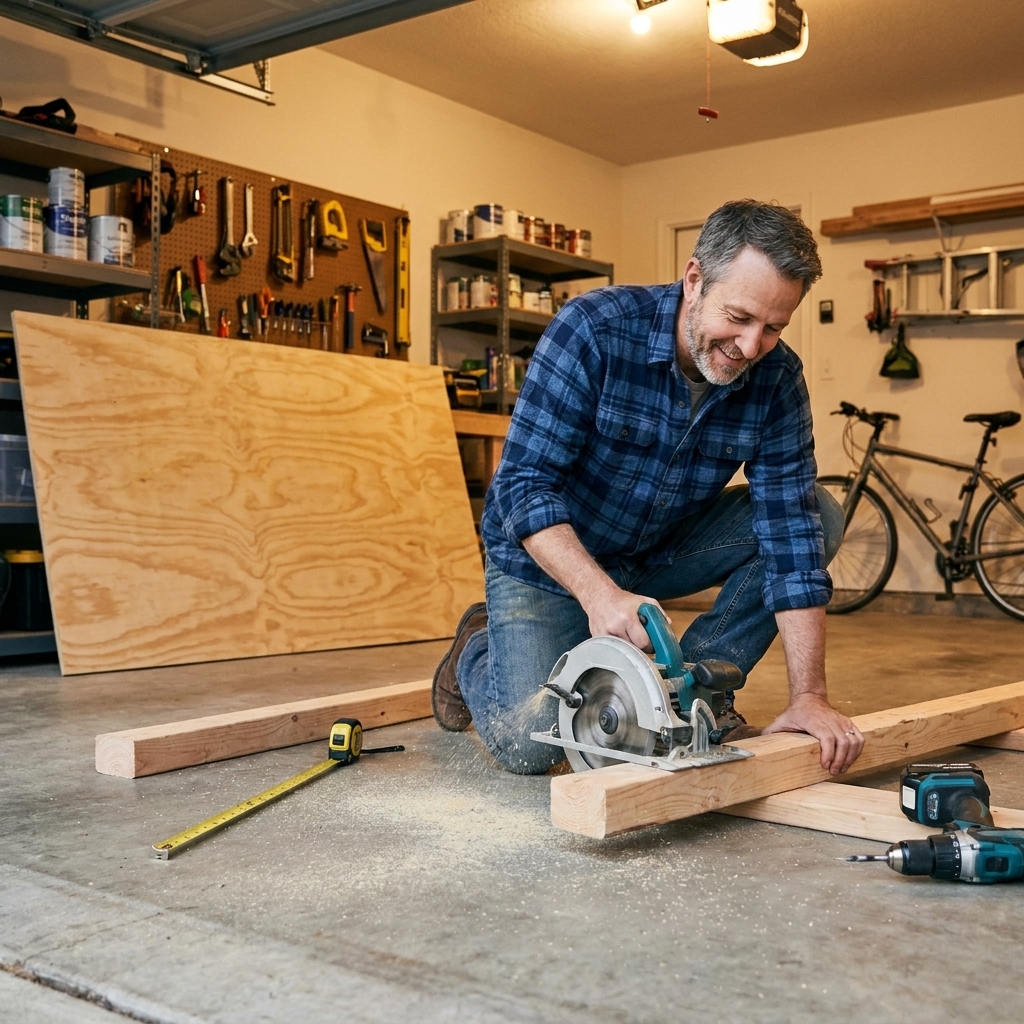
Tools you will need
- Measuring tape and pencil
- Speed square
- Miter saw or circular saw
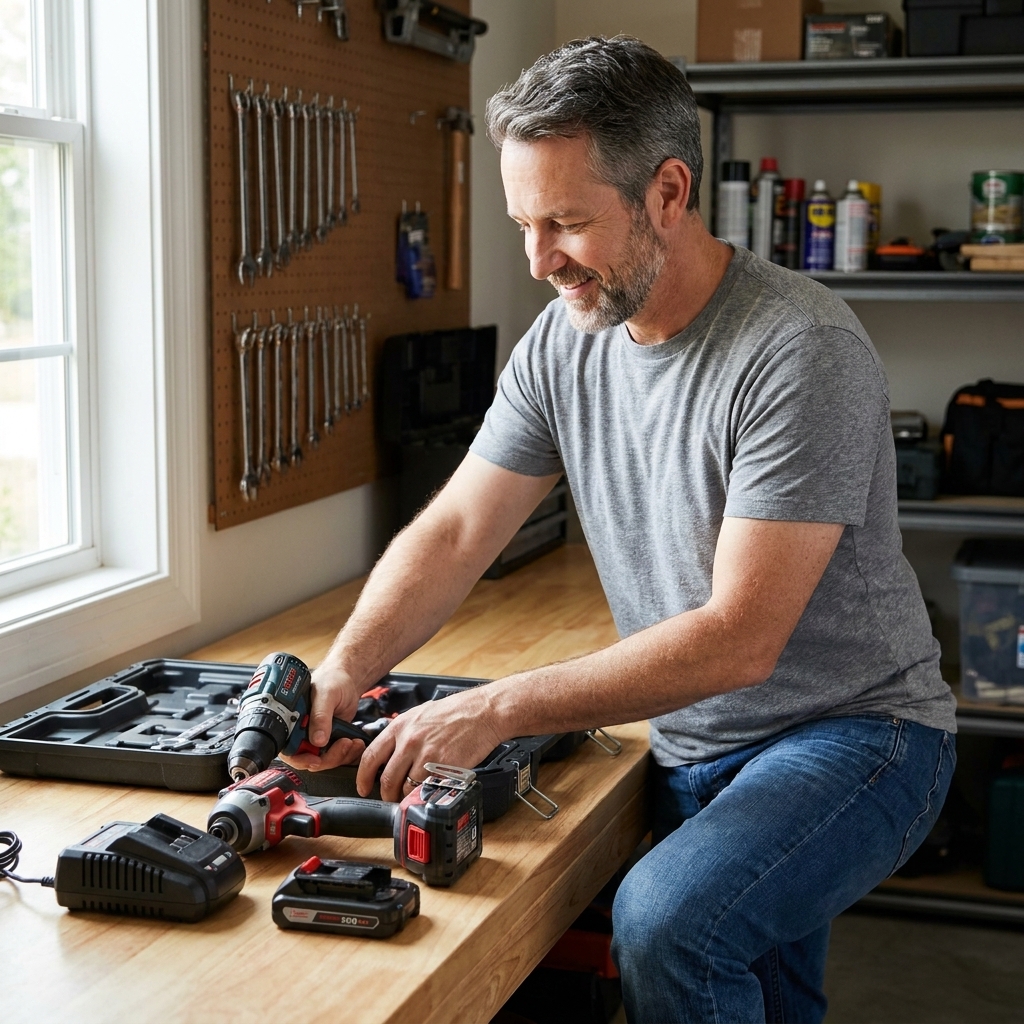
- Drill/driver and bits
- Level (2 ft or 4 ft)
- Clamps (helpful, not required)
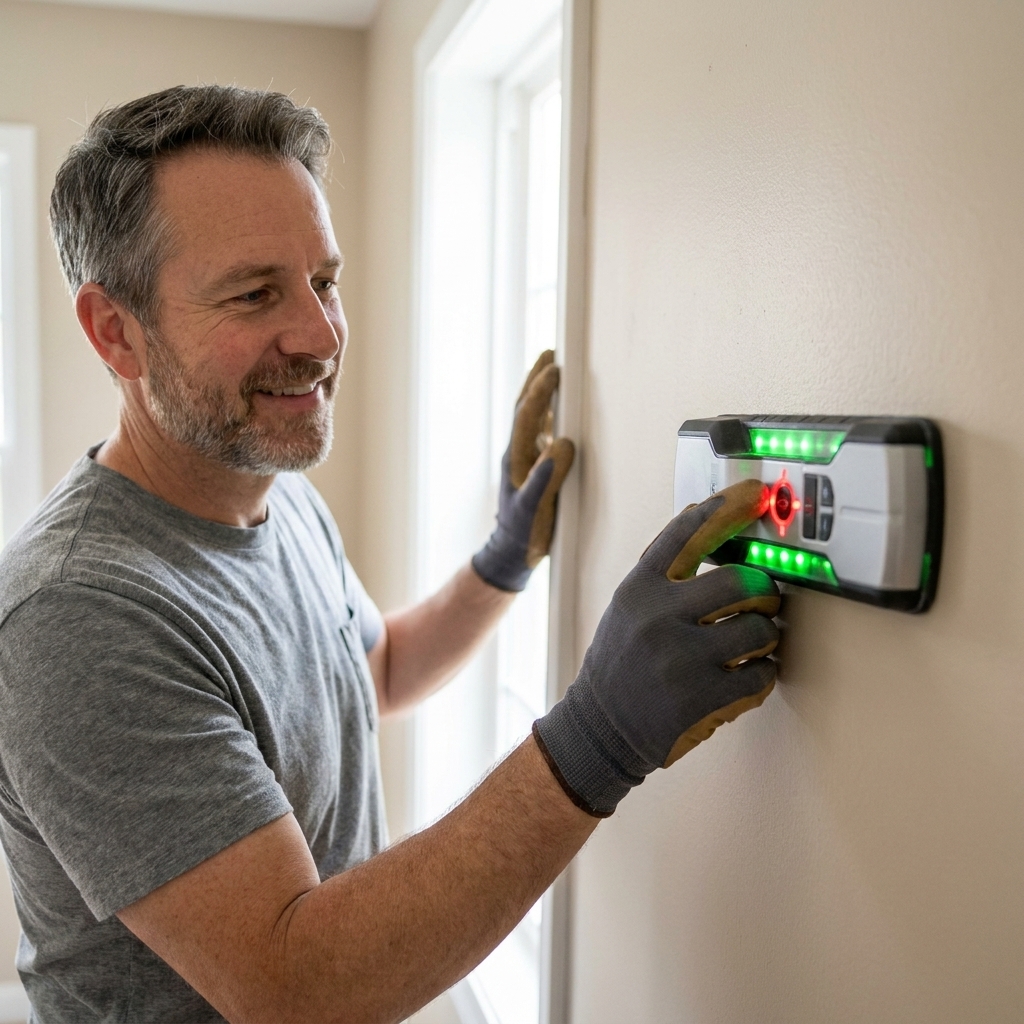
- Stud finder (if anchoring to wall)
- Jigsaw (or handsaw) for notching plywood corners
- Safety glasses and hearing protection
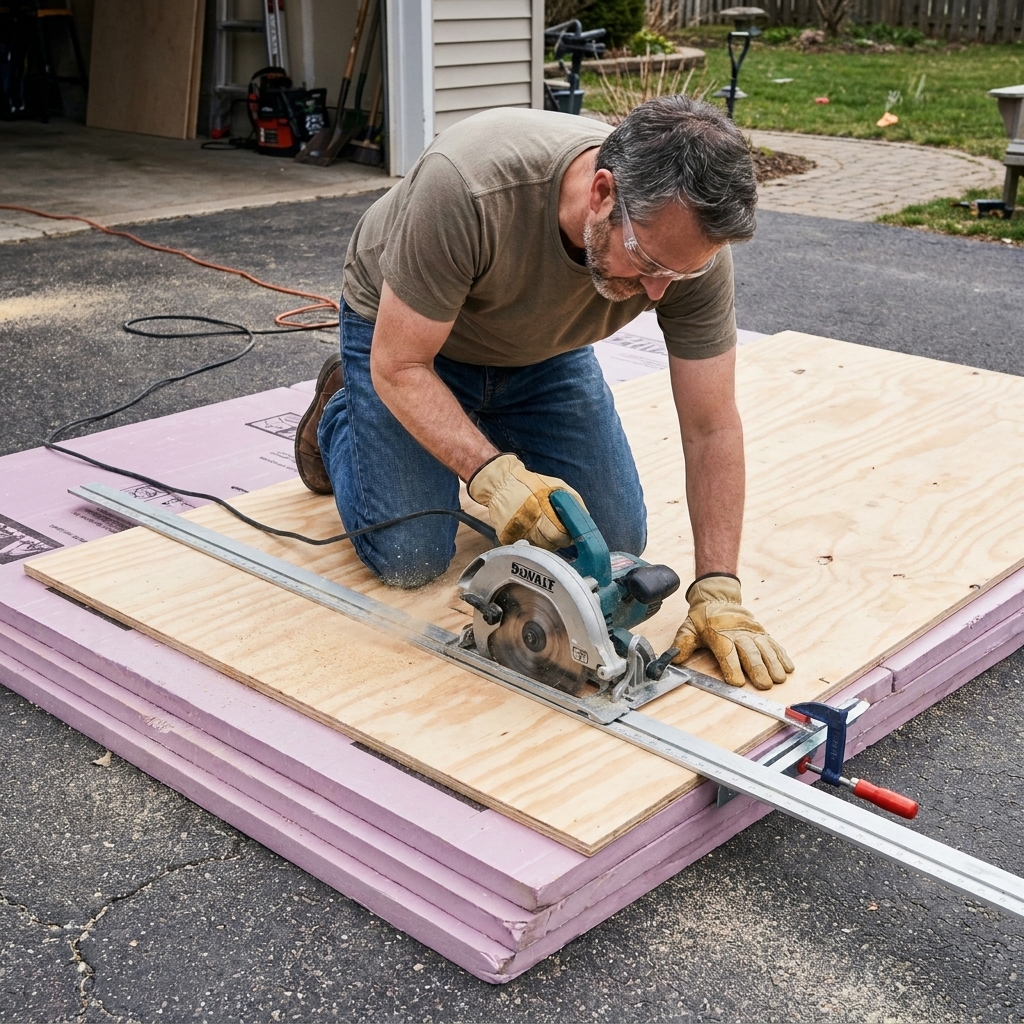
Budget tip: A circular saw plus a straightedge guide can handle all cuts if you do not have a miter saw. Just take your time and keep cuts square.
Cut list (Option A)
Important: A “2x4” is actually about 1 1/2 in x 3 1/2 in. These cuts assume standard dimensional lumber.
Legs
- (4) legs at 72 in
Shelf frames (make 4)
Each shelf frame is 48 in wide by 24 in deep. Build frames with the 48-inch front and back pieces and the 21-inch side pieces (because 24 minus 1 1/2 minus 1 1/2 = 21).
- (8) front and back pieces at 48 in
- (8) side pieces at 21 in
Back bracing
- (2) back braces at 48 in (one near the top, one around mid-height)
- Optional upgrade: (1) diagonal brace cut to fit (or sheath the back with plywood)
Plywood decking
- (4) panels at 48 x 24 in (3/4 in recommended)
If you choose Option B (72 in wide): increase the front and back pieces to 72 in, keep the side pieces at 21 in (still 24 in deep), and add (1) mid-span support per shelf at 21 in, centered front-to-back inside each shelf frame. For a 4-shelf unit, that is (4) mid-span supports total.
Step-by-step build
1) Build the shelf frames
On a flat surface, assemble four rectangles using (2) 48-inch pieces and (2) 21-inch pieces per frame.
- Position the 48-inch boards as the front and back.
- Fit the 21-inch boards between them as the sides.
- Pre-drill to avoid splitting, then drive two 2 1/2 inch screws per joint.
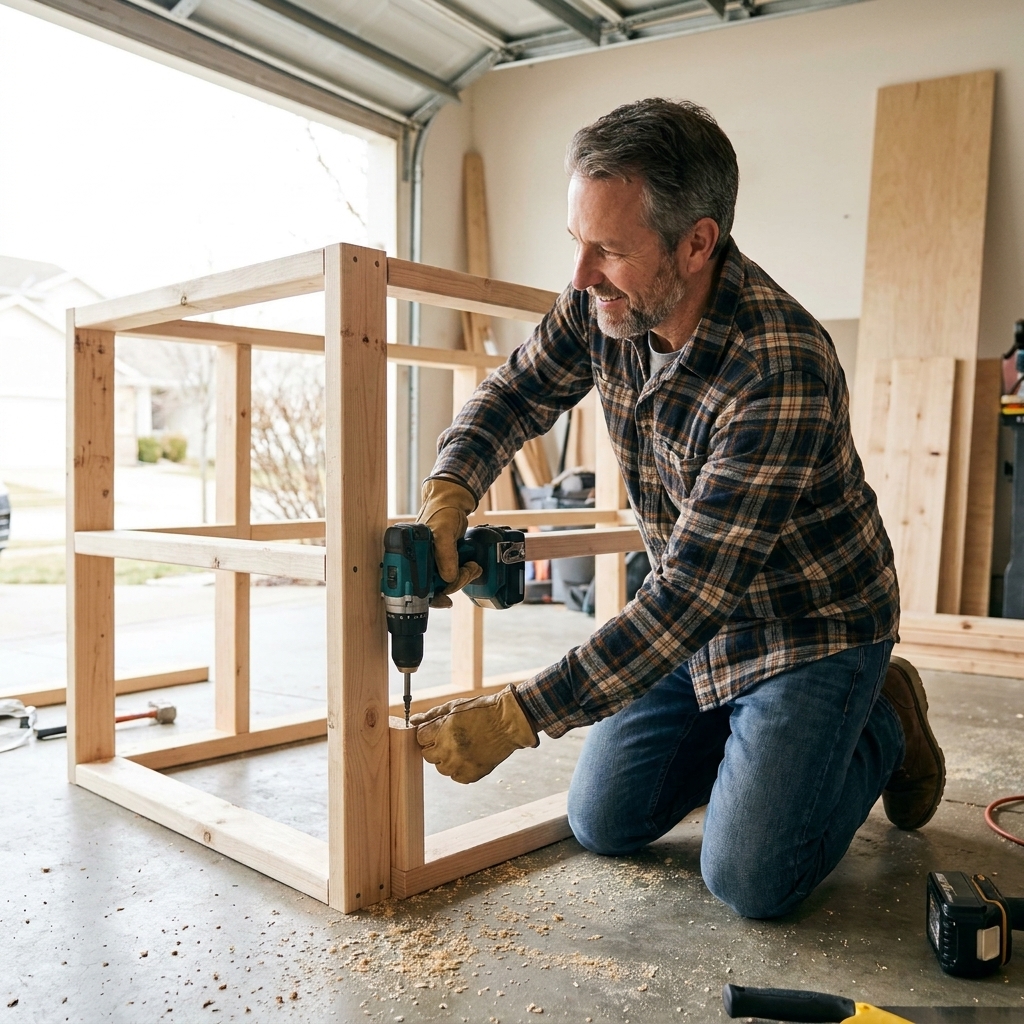
2) Mark shelf heights on the legs
Lay two legs side-by-side and mark your shelf positions. A common setup:
- Bottom shelf top at 6 inches above the floor (keeps stuff out of minor puddles)
- Next shelves spaced 16 to 18 inches apart
- Top shelf leaving a few inches of leg above it
Copy those marks to all four legs. A speed square helps carry lines around the leg so everything stays level.
3) Build the first side
Stand two legs upright. Clamp the bottom shelf frame at your bottom marks, keeping the frame edges flush with the outside faces of the legs.
- Check for level front-to-back and side-to-side.
- Drive two screws through the shelf frame into each leg corner.
4) Add the other legs
Bring the other two legs into position and fasten the same bottom shelf frame to them so you have a stable four-leg base. This is the moment the project stops wobbling and starts acting like furniture.
5) Add the remaining shelf frames
Work upward, attaching each shelf frame to the legs at your layout marks. Check level as you go. Garage floors love to be “artistically uneven,” so do not be surprised if you need shims under one leg later.
6) Square it and brace the back
Before decking, push the unit until it is square. A quick method: measure diagonals corner-to-corner across the back. When both diagonals match, you are square.
Then brace it so it cannot rack. You have two solid options:
- Fast option: Fasten two 48-inch back braces across the rear legs, one near the top and one around mid-height.
- Stiffer option: Add a diagonal 2x4 brace across the back, or sheath the back with plywood (it turns the whole thing into a rigid box).

7) Notch the plywood corners
Because the legs run continuously from floor to top, the plywood needs small corner notches so it can sit down on each shelf frame.
- Set a plywood panel on top of a shelf frame and slide it tight into position.
- From above, trace the leg locations onto the plywood.
- Cut the notches with a jigsaw (or a handsaw), then test-fit.
- Repeat for all shelf panels. They will all be the same if your frame is consistent, but garages have opinions, so check each one.
Note: You are not cutting huge chunks out. You are making neat little squares so the plywood can wrap around the 2x4 legs and sit flat.
8) Install the plywood shelves
Set your notched plywood panels onto each shelf frame. If your cuts are tight, great. If they are off by an eighth, also great. This is garage furniture, not a piano.
- Screw plywood down every 8 to 12 inches along the perimeter using 1 5/8 inch screws.
- If you plan to slide heavy totes, add a few screws in the field so the deck stays quiet and solid.
9) Level, shim, and keep legs dry
Set the unit where you want it. Use a level, then shim under any legs that rock. Trim shim tails with a utility knife or oscillating tool.
If your slab stays damp, consider putting sill gasket, rubber pads, or small pressure-treated blocks under the legs so the wood is not drinking moisture year-round.
10) Anchor for safety
Even a well-built shelf can tip if a kid climbs it or you yank a heavy bin off the top. If the shelf sits against a wall, anchor it.
- Locate studs and anchor into studs, not drywall.
- Drive 3-inch structural screws or lag screws with washers through the top back brace (or through a small added cleat or metal angle) into at least two studs.
- If the wall is masonry, use appropriate masonry anchors.
Make it heavy-duty
Use 3/4 inch plywood
1/2 inch plywood works for light storage, but it will sag sooner under dense loads. For “I own every tool known to mankind” garages, 3/4 inch is worth it.
Add mid-span supports
If your shelf is wider than 48 inches, add a centered 2x4 running front-to-back under the plywood. It is the simplest sag insurance you can buy.
Keep heavy stuff low
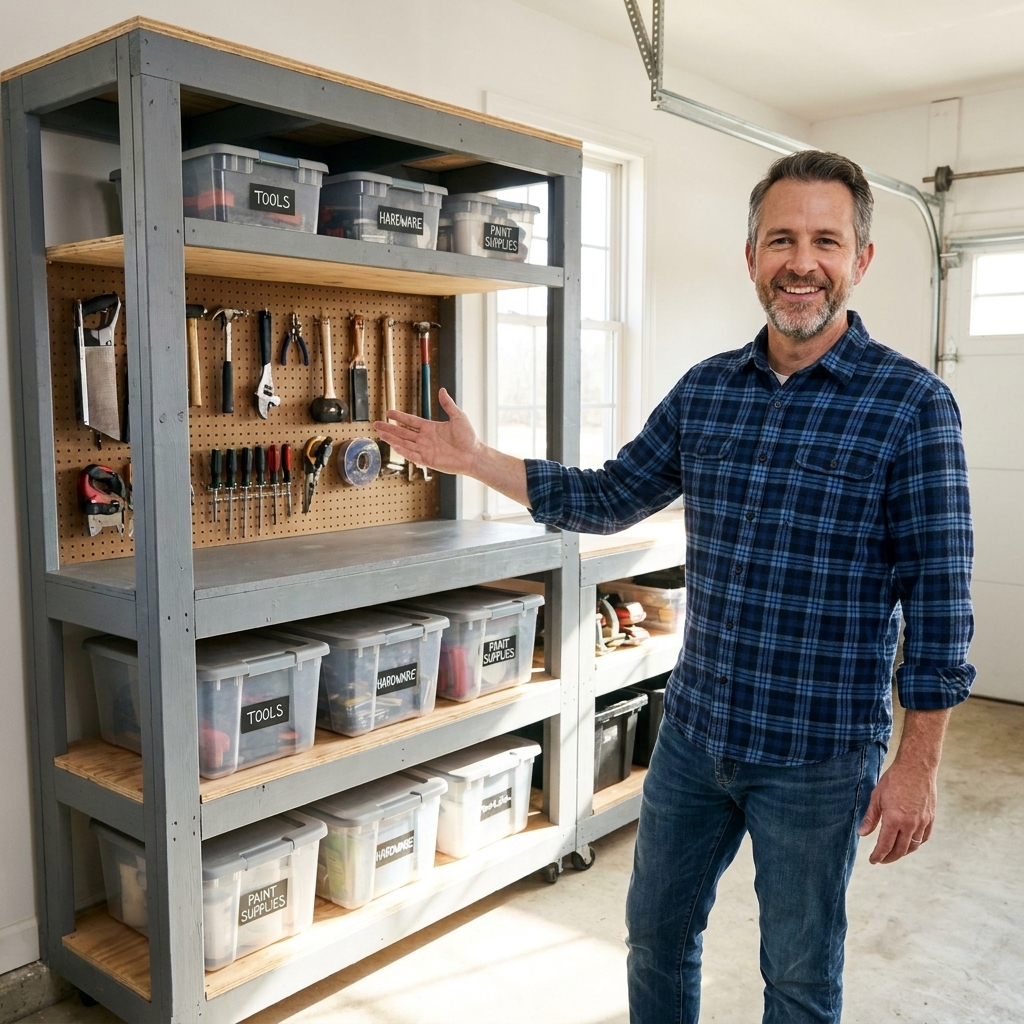
Store paint, hardware, and tools on the bottom shelf. Put holiday decorations and empty coolers up top. Gravity is a harsh project manager.
Add a front lip (optional)
If you store round things that like to roll, screw a 1x2 or ripped strip of plywood along the front edge of each shelf to act as a small curb.
Load rating
Exact load capacity depends on lumber quality, span, plywood thickness, joinery, and how well the unit is braced and anchored. With a properly built 48-inch-wide unit using 3/4 inch plywood, tight joints, and solid anti-rack bracing, you can often store a few hundred pounds per shelf as a distributed load. If you plan to push heavier than that, add a mid-span support, add a plywood back, and keep the heaviest weight on the bottom shelf.
Practical advice I actually follow: If a shelf is holding more than I can comfortably lift off in a few trips, I either (1) add mid-span support, (2) add another unit, or (3) spread the load out. Overbuilding is fun until you have to move it.
Common mistakes
- Skipping real anti-rack bracing: Without diagonal bracing or a plywood back, the whole unit can sway. Two horizontal braces help, but triangles or sheathing are the boss level.
- Forgetting plywood notches: If the legs are continuous, the plywood needs corner notches to sit flat on the frames.
- Building it perfectly square on an unlevel floor: Square it first, then shim it where it sits.
- Using drywall screws: Drywall screws are brittle. Use construction screws or structural screws.
- Not pre-drilling near board ends: Splits happen fast on 2x4 ends. A quick pilot hole saves lumber and bad words.
- Overloading the top shelf: Heavy up high makes tipping more likely. Keep weight low.
Easy upgrades
Make it adjustable
If you want adjustable shelf heights, build the same frames but support them on heavy-duty shelf standards or cleats set at different heights. It adds cost, but it is flexible.
Add a worktop
Make the top shelf a work surface by doubling plywood or adding a sacrificial hardboard layer. Suddenly your garage has a “bench” that does not collapse when you look at it funny.
Seal the wood
In humid garages, a quick coat of primer and paint keeps shelves looking clean and reduces splinters. I like light colors because you can actually see what you own.
FAQ
Can I build these with 2x3s instead of 2x4s?
You can, but I would not for heavy storage. The cost difference is usually small, and 2x4s are more forgiving if your cuts are not cabinet-perfect.
Do I need pressure-treated lumber?
Not usually. If your garage floor gets wet often or you are placing legs directly on damp concrete, pressure-treated for the legs can help. Another option is to keep the bottom shelf 6 inches up and use composite shims so wood is not sitting in moisture.
What is the best depth for garage shelves?
24 inches is the sweet spot for most storage totes. If you store long tools or want to park a mower nearby, 18 inches can feel less bulky while still being useful.
Should I attach the shelves to the wall?
If you can, yes. Anchoring into studs is cheap insurance against tipping, especially if kids, pets, or clumsy adults (hi, it is me) are in the garage.
Final pep talk
Garage shelves are one of those projects that pay you back every single day. You build them once, and suddenly you can find your extension cord without performing an archeological dig.
If you are tweaking the plan, keep two things sacred: brace it so it cannot rack, and size the shelf spacing for what you actually store. The rest is just lumber and confidence.