A sturdy, low-cost raised bed build with rot-resistant lumber, simple joinery, and a few smart longevity upgrades. Beginner-friendly steps and cut list inclu...
home improvement and DIY
DIY Raised Garden Beds on a Budget

Marcus Hayes
Marcus Hayes is a lifelong DIY enthusiast and former residential carpenter who has spent the last decade renovating his 1970s fixer-upper. Through Tinksmith, he shares his hands-on experience to help fellow homeowners tackle repairs, choose the right tools, and build spaces they love without breaking the bank.
Published October 17, 2026
Updated October 17, 2026
If you have ever tried to grow tomatoes in hard, tired soil, you already know why raised beds are so popular. Better drainage, often fewer weeds, warmer soil earlier in spring, and you can build them tall enough that your back does not send you a complaint letter on day one.
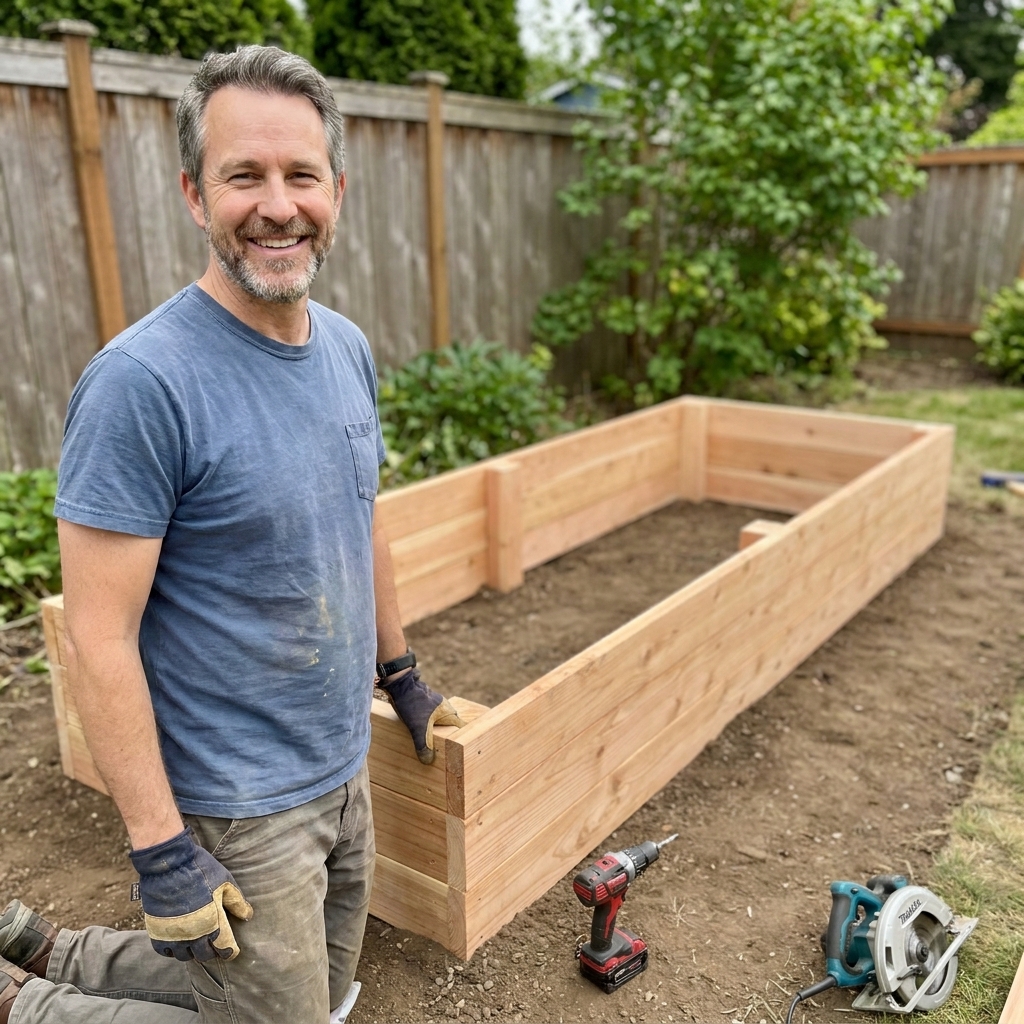
The good news is you do not need a full woodshop or a premium lumber budget. This build uses untreated cedar, a circular saw, and a drill to make a long-lasting, rot-resistant planter that looks clean and stays sturdy for years.
Why untreated cedar works
For garden beds, you want wood that holds up to moisture without needing chemical treatment. Cedar is naturally rot-resistant thanks to its oils, and it is widely available at big box stores and local lumberyards.
- Rot resistance: Cedar lasts longer than pine or fir outdoors, especially when soil is constantly damp.
- Garden friendly: Untreated lumber avoids questions about what might leach into your soil.
- Easy to work: Cuts cleanly with a circular saw and takes screws well.
Yes, cedar costs more than construction pine. The tradeoff is you rebuild less often, and you can keep the design simple to keep costs down.
Choose a practical size
Before you buy a single board, choose dimensions that make gardening easy.
- Best width for access: 3 to 4 feet wide. You can reach the middle from either side without stepping into the bed and compacting soil.
- Common length: 6 to 10 feet. Longer beds are great, but they benefit from better corner bracing and careful leveling.
- Good depth: 11 to 12 inches (one board tall) works for lettuce, herbs, and many flowers. Go 22 to 24 inches (two boards tall) for deeper roots and happier backs.
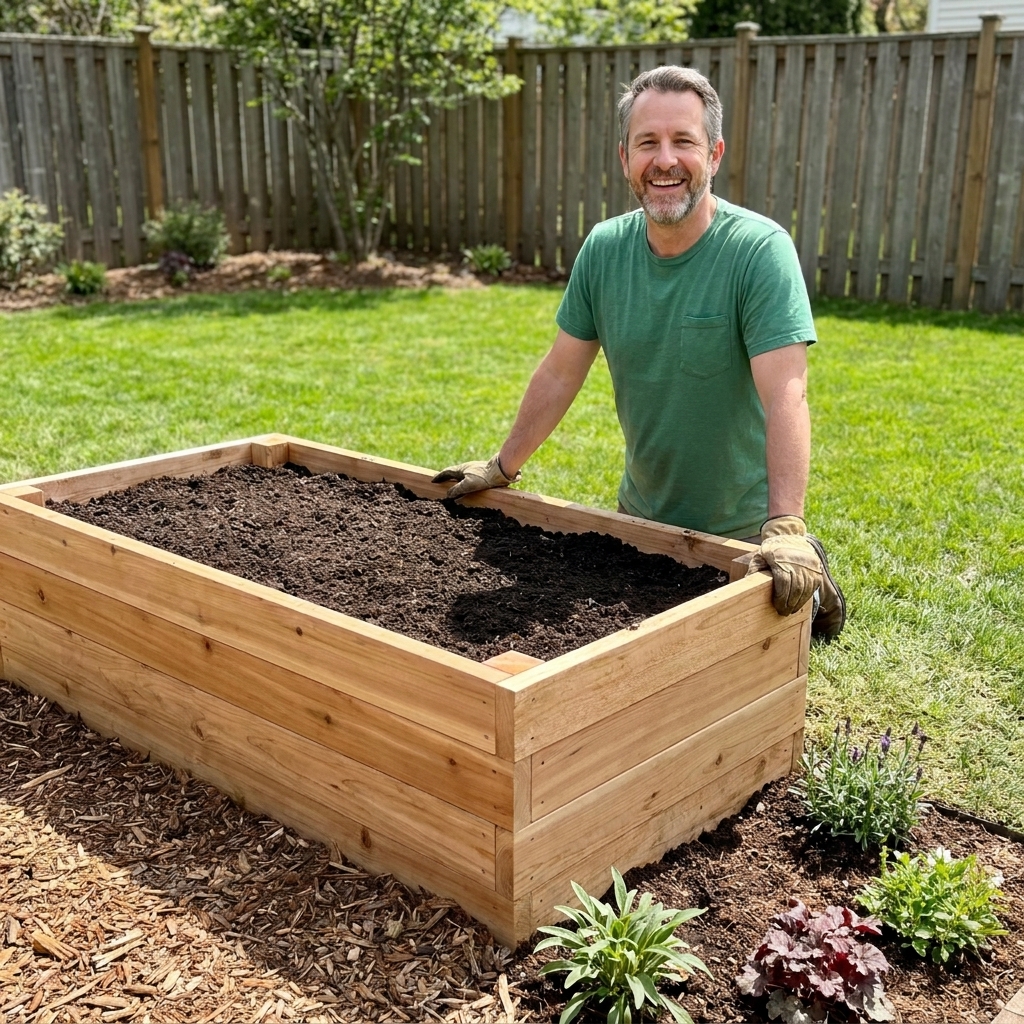
In this guide, I am building a 4 ft by 8 ft bed that is one board tall.
Materials and tools
Materials (for one 4x8 bed, one board tall)
- Untreated cedar boards: 2x12x8 (quantity: 4)
- Cedar or exterior-grade corner stakes: 2x2x18 to 24 inches (quantity: 4)
- Exterior screws: #9 or #10, 2 1/2 to 3 inches long (about 24 to 32 screws)
- Optional hardware cloth: galvanized mesh (1/2-inch is common for gophers; 1/4-inch helps block smaller critters)
- Optional landscape fabric or cardboard: for weed suppression under the bed
- Optional staples: galvanized or stainless staples for attaching hardware cloth
Note on lumber sizes: A “2x12” is about 1 1/2 inches thick and 11 1/4 inches tall in real life. That is totally fine for a one-board-tall bed.
Tools
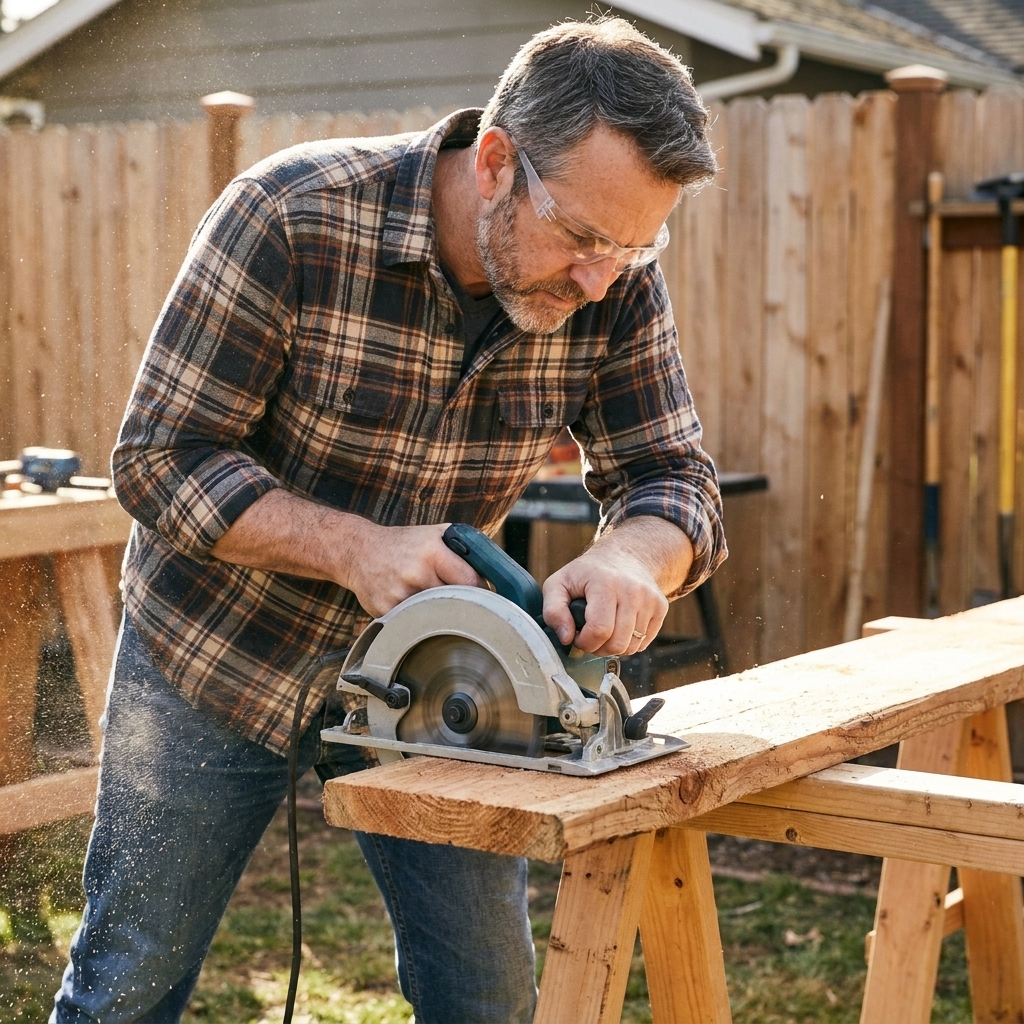
- Circular saw (or miter saw if you have one)
- Drill and driver bit
- Tape measure and pencil
- Speed square (helpful for straight cut lines)
- Clamps (nice to have, not required)
- Level or a long straight board for checking flatness
- Safety glasses and hearing protection
Cut list that is not confusing
“4x8” can mean inside dimensions or outside dimensions, and that is where people accidentally build a 4x8 that is not actually 4x8. Below is one clear option that uses standard 8-foot boards and gives you a true 4 ft by 8 ft outside footprint.
Option A (recommended): true 4x8 outside
Corner layout: The short boards go between the long boards, so the long boards form the full 8-foot length on the outside.
- Long sides: two boards at 96 inches (2x12x8, no cuts)
- Short sides: two boards cut to 45 inches
- Corner stakes: four pieces cut to 18 to 24 inches each
What size does this actually make? With 96-inch long sides and 45-inch short sides (short sides fitting between the long sides), your outside dimensions are about 48 inches by 96 inches. The inside dimensions are about 45 inches by 93 inches (because the 2x12 thickness is about 1 1/2 inches).
If you would rather have a true 4 ft by 8 ft inside planting area, you can do that too, but you will be cutting the long boards shorter. Most people shopping for “a 4x8 bed” mean outside footprint, which is why Option A is the default here.
Step-by-step build
1) Choose and prep the site
Sun matters more than almost anything. Most veggies want 6 to 8 hours of sun. Lay your bed out with stakes or boards and make sure you like the location before you start cutting.
- Remove grass and roots where the bed will sit.
- Rake the area roughly level.
- If the yard slopes, either level the pad or build up the low side so the frame sits flat.
2) Cut your boards and stakes
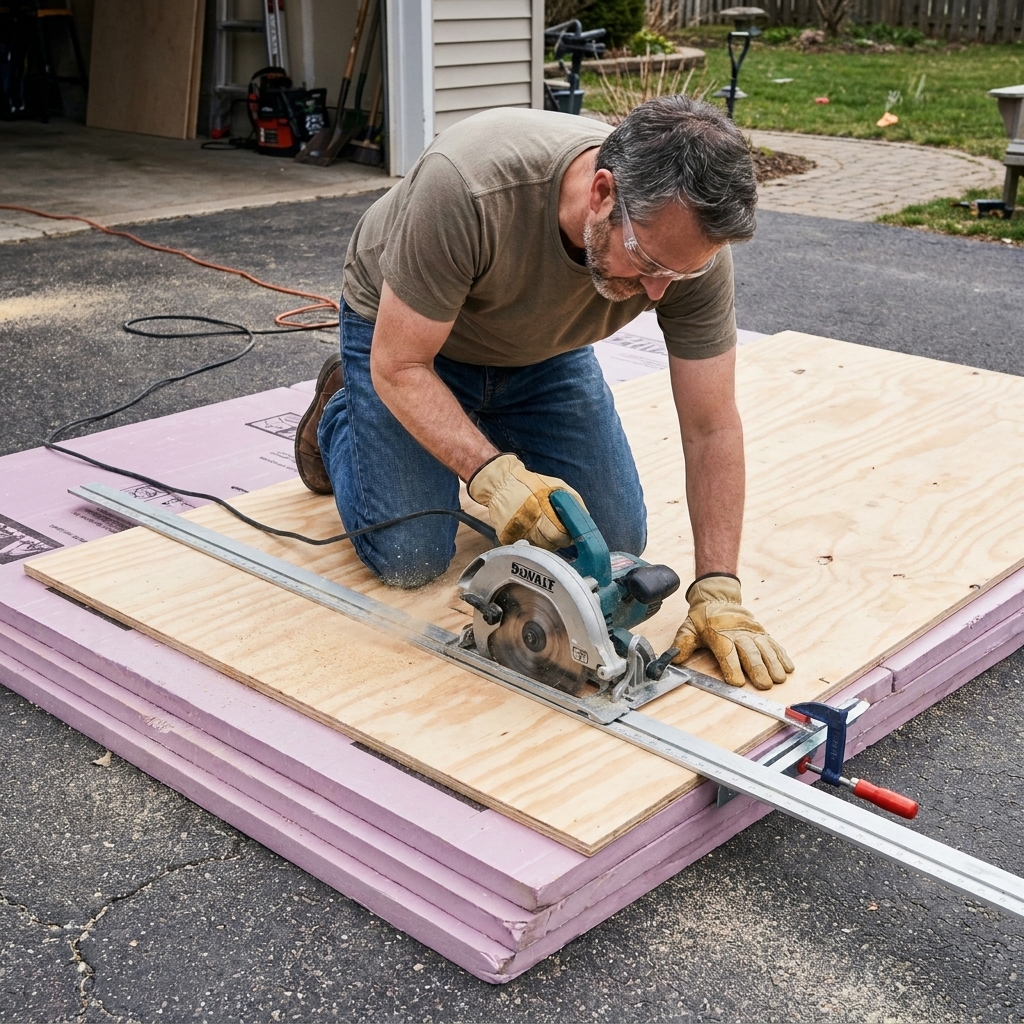
Use a speed square to mark a straight line across the board. Support the board well so it does not pinch the blade or splinter at the end.
- Cut two short sides to 45 inches (for the recommended outside 4x8 footprint).
- Cut four stakes to 18 to 24 inches. I like 24 inches because it gives you more bite into the ground.
3) Pre-drill and place fasteners smart
Cedar can split, especially near the ends. Pre-drilling takes an extra minute and saves you a lot of frustration.
- Use a bit slightly smaller than your screw shank.
- Aim to keep screws roughly 3/4 to 1 inch from board ends and edges.
- Two to three screws per corner per board height is plenty.
4) Assemble one corner at a time
Start on a flat driveway or patio if you can. It is easier to build square when gravity is not fighting you.
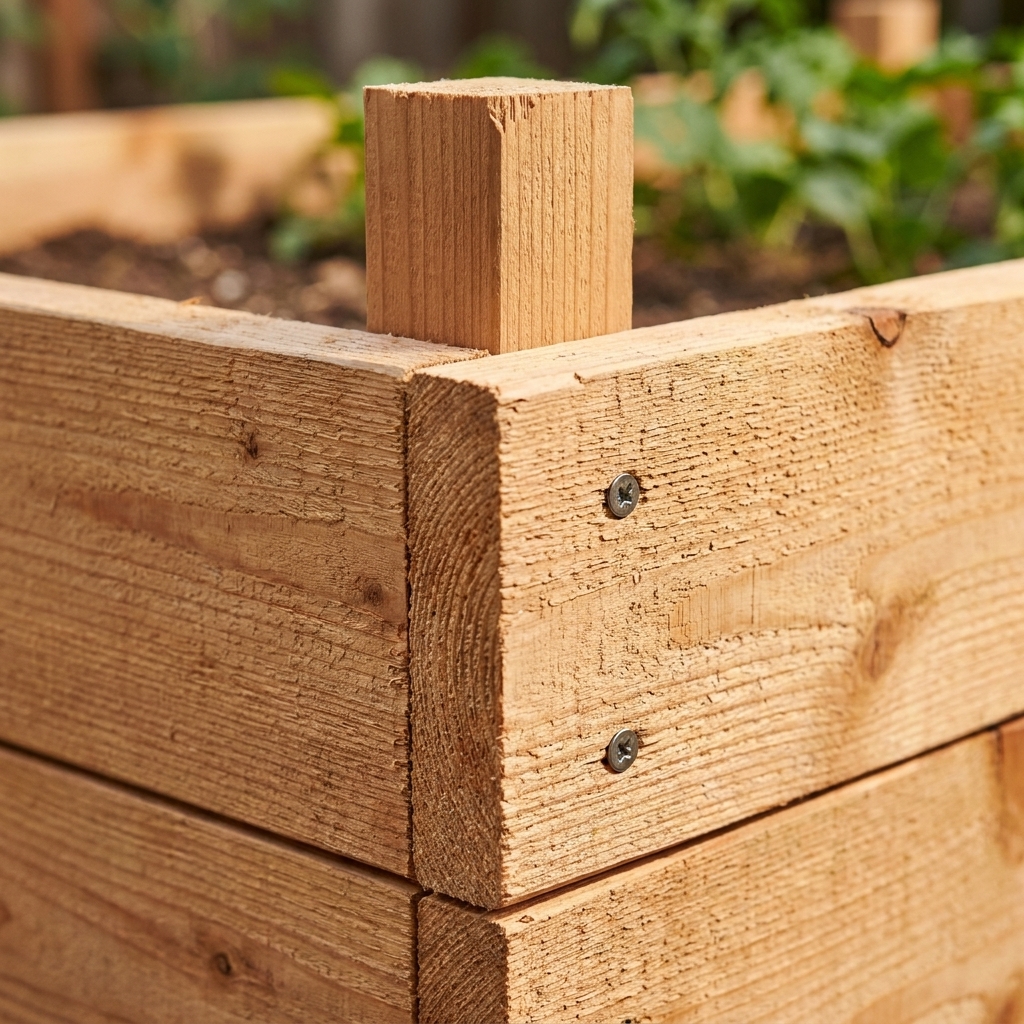
- Lay a corner stake flush to the end of a 45-inch short side board.
- Screw the board into the stake with two or three screws, keeping the top edges flush.
- Attach a long side board (96 inches) to that same stake, forming an L shape.
- Repeat until you have all four sides connected.
Quick square check: Measure diagonals from corner to corner. If both diagonal measurements match, your rectangle is square. If they do not, push the long corners until they do.
Make it last longer
Cedar already buys you time. These small upgrades help it buy you more.
Keep wood drier
- Do not bury the boards. Set the bed on grade and level the ground instead of sinking the walls below soil.
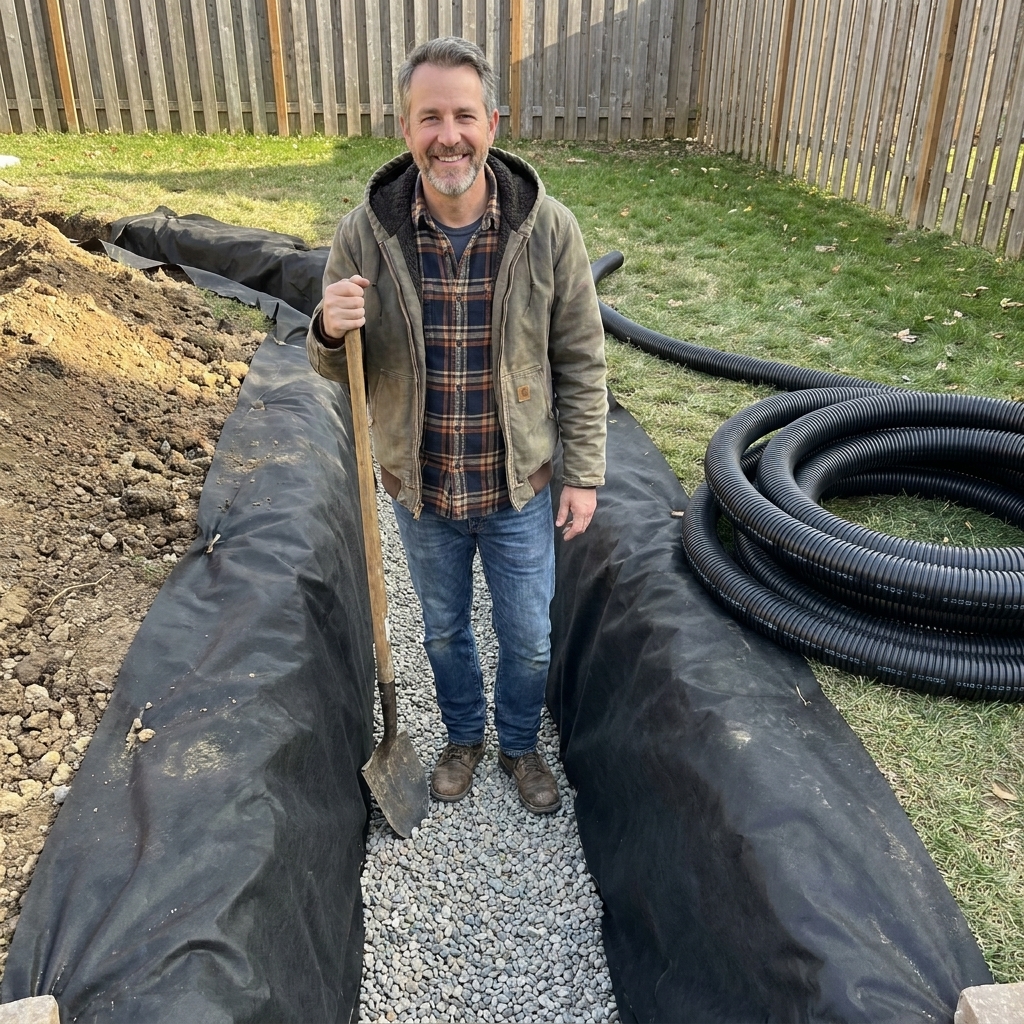
- Consider a gravel edge. A thin strip of gravel around the outside helps water drain away from the base.
Add a mid-span brace (optional)
If you are building a long bed or going two boards tall, soil pressure can bow the sides. A basic brace fixes that.
- Cut one cedar 2x2 to span the inside width.
- Screw it into the middle of each long side, or run a brace from side to side at the midpoint.
Use the right fasteners
Exterior-rated screws (or stainless) hold up to moisture and tannins in cedar. Standard interior drywall screws will snap and rust. Ask me how I know.
Critter and weed control
Hardware cloth for burrowers
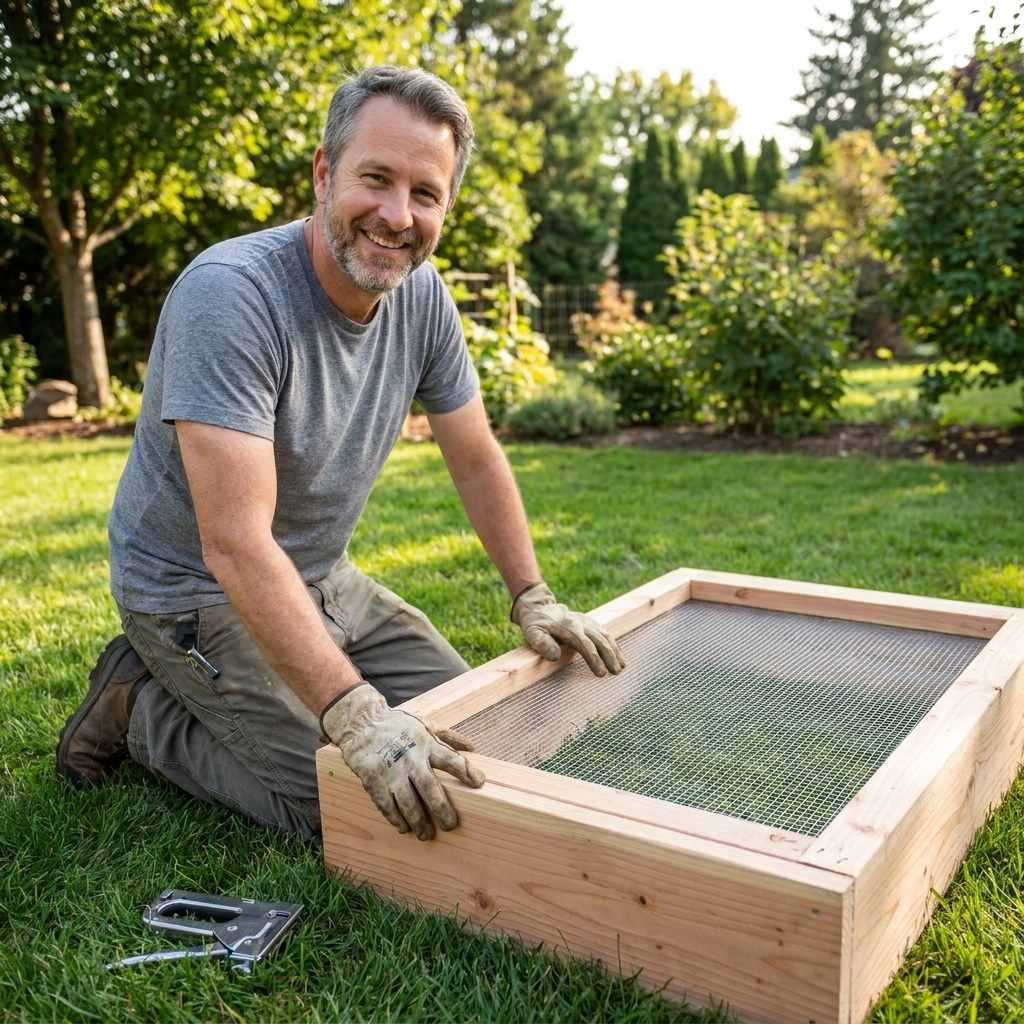
If you have burrowers, staple hardware cloth to the bottom of the bed before placing it. Overlap seams by a couple inches and staple every few inches. For many areas, 1/2-inch mesh is the common pick for gophers, and 1/4-inch is a good option if you are also dealing with smaller pests.
Budget tips
- Keep the design simple: One-board-tall beds are the cheapest to build and still work great for many crops.
- Buy standard lengths: Designing around 8-foot boards reduces waste and extra cuts.
- Skip fancy caps: A top trim looks nice, but it is extra lumber. Add it later if you want a bench edge.
- Build fewer, larger beds: Two 4x8 beds often cost less than four smaller beds with more corners and stakes.
- Check cedar grades: Appearance-grade costs more. For garden beds, small knots are fine if boards are straight.
Filling the bed
The fastest way to overspend on raised beds is the soil. You do not need 100 percent bagged “raised bed mix” unless you enjoy carrying heavy bags as a hobby.
How much soil do you need?
Using the established inside dimensions for this build (about 45 inches by 93 inches), and a board height of 11 1/4 inches, you are filling roughly 27 cubic feet of soil. That is about 1.0 cubic yard. Real-world fill varies a bit depending on how level your site is and how much you mound.
Quick formula: (length in feet) x (width in feet) x (soil depth in feet) = cubic feet.
A simple, affordable mix
- Base layer (optional): A few inches of leaves or partially finished compost can help fill volume over time.
- Main fill: A blend of topsoil and compost.
- Top boost: 1 to 2 inches of compost each season.
If you have access to bulk soil and compost delivery, that is often the best value by far. Just make sure it is from a reputable supplier so you do not import weeds or junk fill.
Common mistakes
- Making the bed too wide: If you cannot reach the center, you will eventually step in it and compact the soil. Keep it 4 feet wide or less.
- Not leveling the base: An out-of-level bed means water pools at one end. Spend the time with a rake and level.
- Using the wrong screws: Exterior-rated screws cost more than interior screws, but replacing rusted fasteners costs more than both.
- Skipping pre-drilling: Cedar splits near ends. Pre-drill and keep screws a bit away from the very edge.
- Overbuilding on day one: Build one bed, grow something, then expand. Gardening teaches fast.
FAQ
How long will an untreated cedar raised bed last?
In most climates, an untreated cedar bed commonly lasts several years and often longer, depending on drainage, soil moisture, and sun exposure. Keeping the boards from sitting in constant wet soil and using good fasteners helps a lot.
Should I line the inside with plastic?
I do not recommend plastic lining for most beds. It can trap moisture against the wood, which speeds rot. If you want a cleaner inside surface, use a breathable landscape fabric, but even that is optional.
Can I use 1x cedar fence pickets instead of 2x12s?
You can, and it can be cheaper, but it is flimsier. If you go that route, add more stakes and expect more bowing. For a bed that stays straight, thicker boards are worth it.
What is the easiest way to make it taller later?
Build a second identical frame and stack it on top, screwing it into the same corner stakes or adding new stakes at the corners. Taller beds benefit from a mid-span brace on the long sides.
Weekend checklist
- Buy untreated cedar boards, four corner stakes, and exterior screws
- Cut two short boards (45 inches) and four stakes
- Pre-drill and assemble on a flat surface
- Set in place, level the base, then add hardware cloth if needed
- Fill with soil and compost, water, then plant
If you build one of these, you will probably end up building a second. That is how it starts. One minute you are growing basil, the next you are negotiating with your spouse about whether the front yard counts as “garden space.”