A practical list of easy builds that look great and teach real skills, including shelves, a shoe rack, a planter, a blanket ladder, and an entryway bench.
home improvement and DIY
DIY Entryway Makeover: Mudroom Bench and Drop Zone

Marcus Hayes
Marcus Hayes is a lifelong DIY enthusiast and former residential carpenter who has spent the last decade renovating his 1970s fixer-upper. Through Tinksmith, he shares his hands-on experience to help fellow homeowners tackle repairs, choose the right tools, and build spaces they love without breaking the bank.
Published October 17, 2026
Updated October 17, 2026
If your entryway currently functions as a shoe pile with a side of backpack avalanche, you are my people. A simple mudroom bench with a drop zone turns chaos into a system: sit to put on shoes, stash the boots, hang the coats, and stop losing keys like it is a competitive sport.
This build is designed for real life. It is sturdy, easy to customize, and forgiving if your walls are about as straight as a two-by-four from the bargain bin. We are building a bench base with shoe cubbies, then adding beadboard backing, a top cap shelf, and hooks.

Plan the size
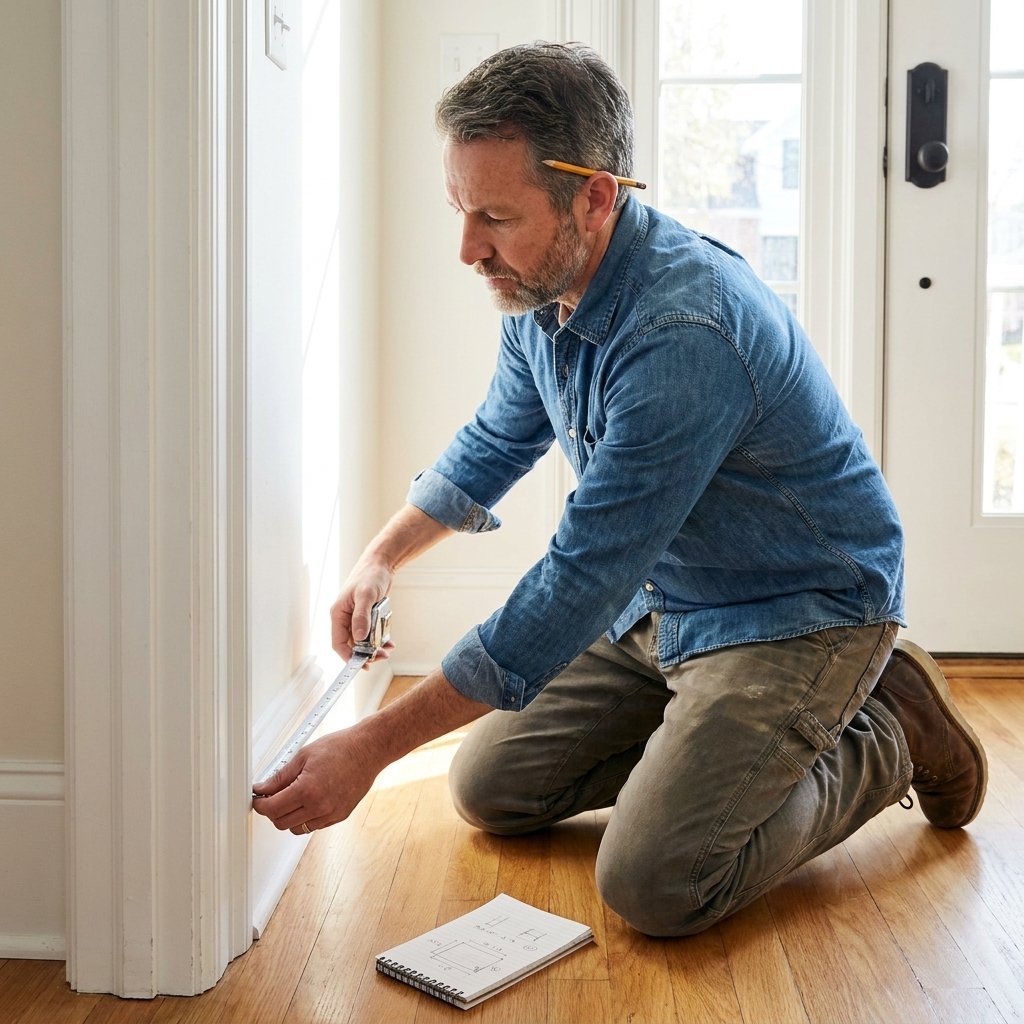
The easiest way to make this look custom is to size it to your wall and baseboard layout. Decide these three dimensions first:
- Overall width: Measure the wall span you want to use. Most entry benches land between 36 and 72 inches wide.
- Bench height: Aim for 17 to 19 inches finished height for comfortable sitting.
- Bench depth: 14 to 16 inches works well for most shoes without hogging your hallway.
My go-to “fits most entryways” size: 60 inches wide, 15 inches deep, 18 inches tall, with three cubbies. If your family has more shoes than sense, go four cubbies.
Tools and materials
Tools
- Measuring tape, pencil, and a straightedge
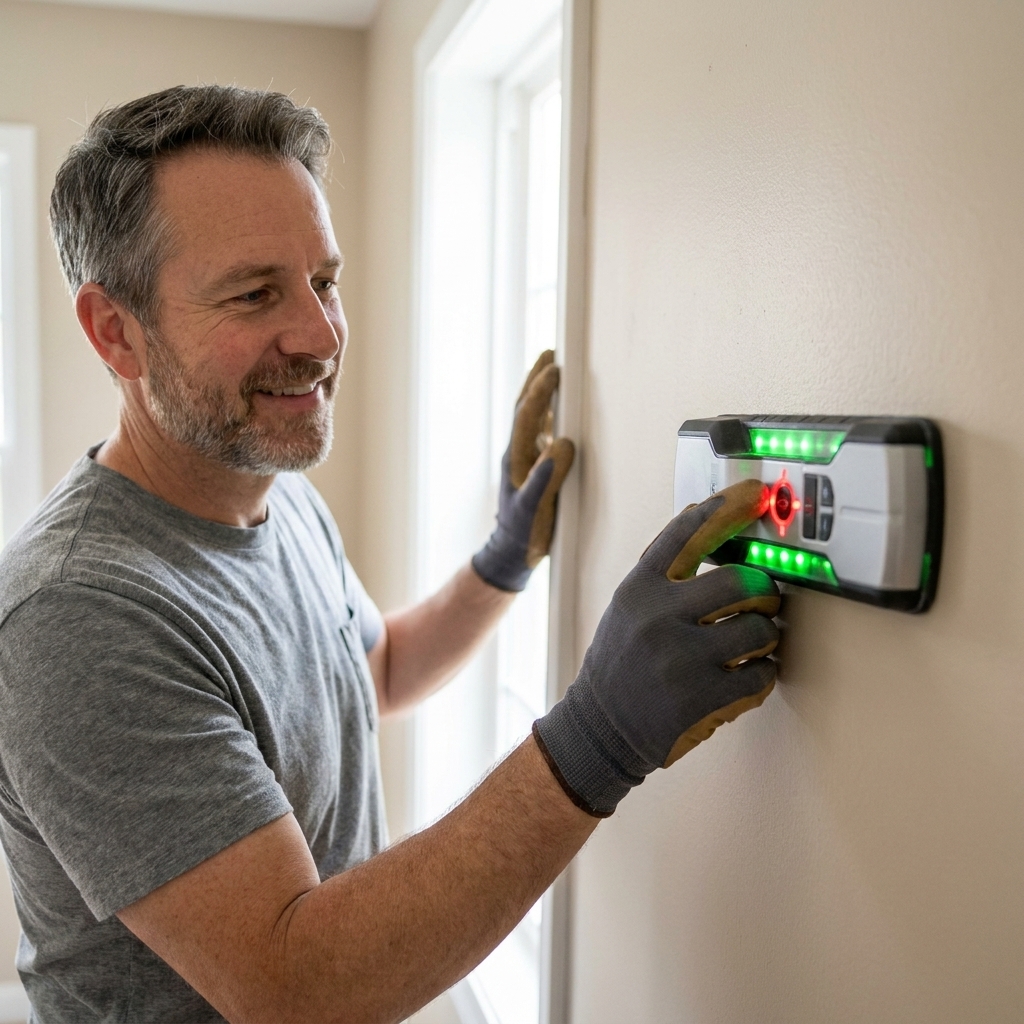
- Stud finder
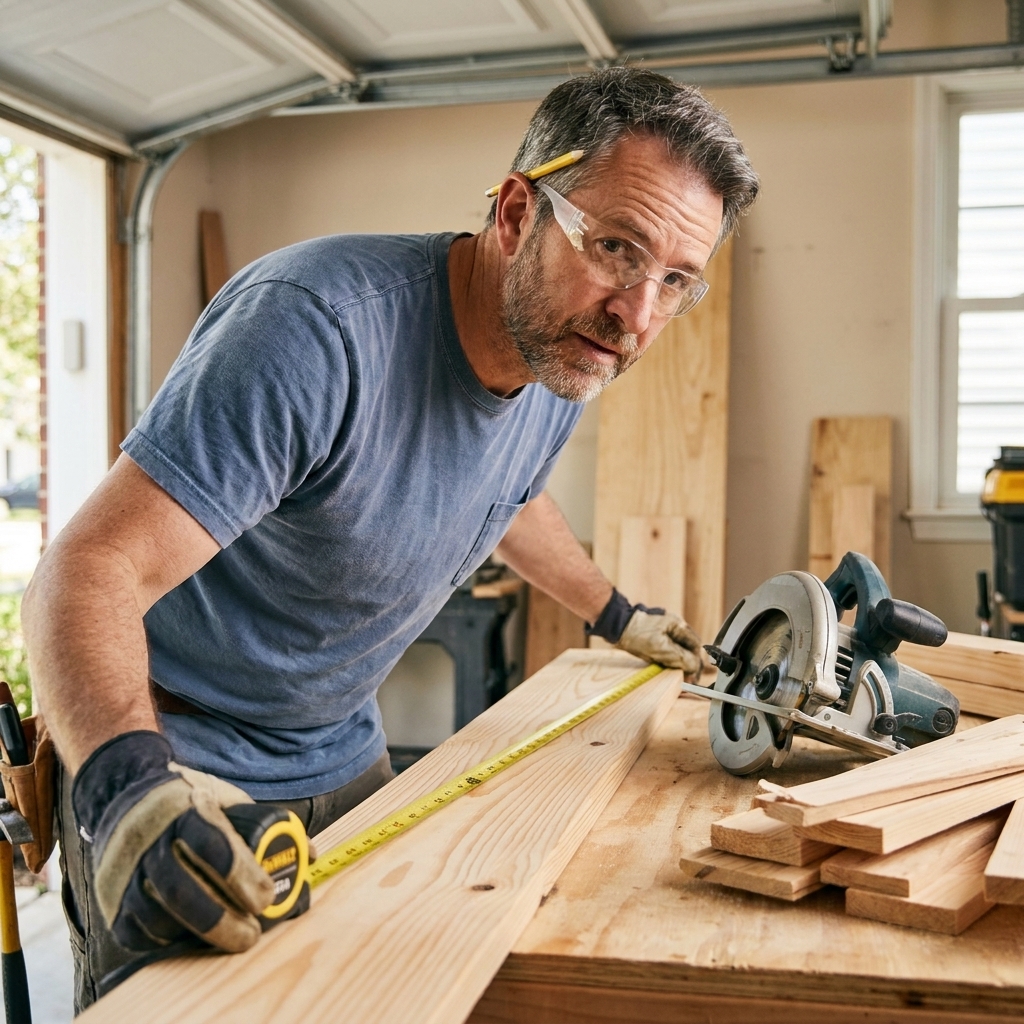
- Circular saw with a guide, track saw, or table saw
- Miter saw (helpful for trim and top cap)
- Drill/driver and bits
- Pocket hole jig or brad nailer (either works)
- Level (2 ft and or 4 ft)
- Clamps (at least two)
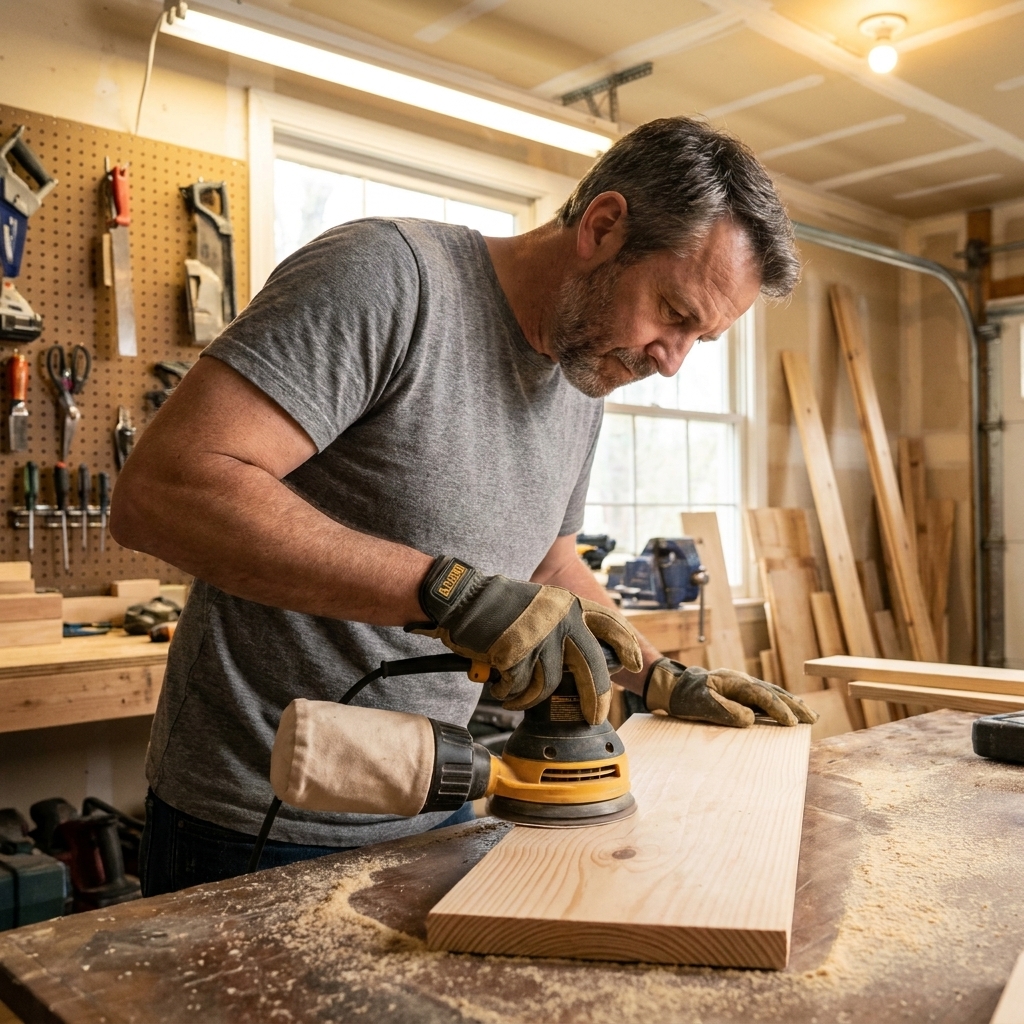
- Sander (orbital preferred)
- Caulk gun
Materials (typical)
- 3/4 inch plywood for the bench box and dividers (cabinet-grade is nice)
- 1/2 inch plywood for the back panel (optional) and beadboard backing if using plywood beadboard
- 1x2 or 1x3 pine or poplar for face frame and trim (optional but recommended)
- Bench top material: edge-glued panel, plywood panel with edge banding, or two boards joined to width
- Beadboard paneling (MDF beadboard, plywood beadboard, or individual boards)
- Coat hooks and mounting screws (often included)
- Wood glue
- 1 1/4 inch pocket screws or #8 x 1 1/4 inch wood screws
- Brad nails (if using a nailer), 1 1/4 inch
- Construction adhesive (optional for beadboard)
- Wood filler, caulk, primer, and paint
- Finish for the top: polyurethane, wiping varnish, or hardwax oil
Budget tip: Splurge on the bench top (it is the part you touch) and save on the interior cubbies with good 3/4 plywood.
Quick safety note
Wear eye and hearing protection, and use a dust mask when cutting plywood, MDF, or sanding. Clamp your work and keep hands clear of blades and bits. A mudroom bench is useful. Ten fingers are more useful.
Cut list (example: 60 in wide, 15 in deep, 18 in tall)
This cut list assumes:
- 3/4 inch plywood box
- Bottom panel fits between the side panels (the most common beginner-friendly box build)
- Bottom panel sits on the floor inside the box
- Bench top overhang of 1/2 inch front and sides
- Three equal cubbies
Bench base (3/4 inch plywood)
- (2) Sides: 17 1/4 in tall x 14 1/4 in deep
- (1) Bottom: 58 1/2 in wide x 14 1/4 in deep
- (1) Front stretcher (left to right): 58 1/2 in long x 3 in tall
- (2) Dividers: 16 1/2 in tall x 14 1/4 in deep
- (1) Back cleat (optional): 58 1/2 in long x 3 in tall
Bench top
- (1) Top: 61 in wide x 15 1/4 in deep (edge-glued panel, a plywood panel with edge banding, or two boards joined to reach 15 1/4 in)
Beadboard drop zone (size to your wall)
- (1) Beadboard panel: 60 in wide x 42 to 54 in tall (common range)
- (1) Top cap shelf: 61 to 63 in wide x 6 to 8 in deep
- Trim: 1x2 or 1x3 for sides and top, plus a small ledge molding under the shelf (optional)
About that box height: This example uses 17 1/4 inch sides with a 3/4 inch top to land around 18 inches finished height, assuming no feet or thick base trim. Since the bottom panel sits between the sides, the dividers need to be 3/4 inch shorter so they land flush at the top.
Build the bench base
Step 1: Cut plywood cleanly
Cut your big plywood sheet into manageable pieces first, then cut to final size. If you are using a circular saw, clamp a straight board as a guide. Your future self will thank you when the seams line up and you are not “persuading” parts together with clamps and regret.
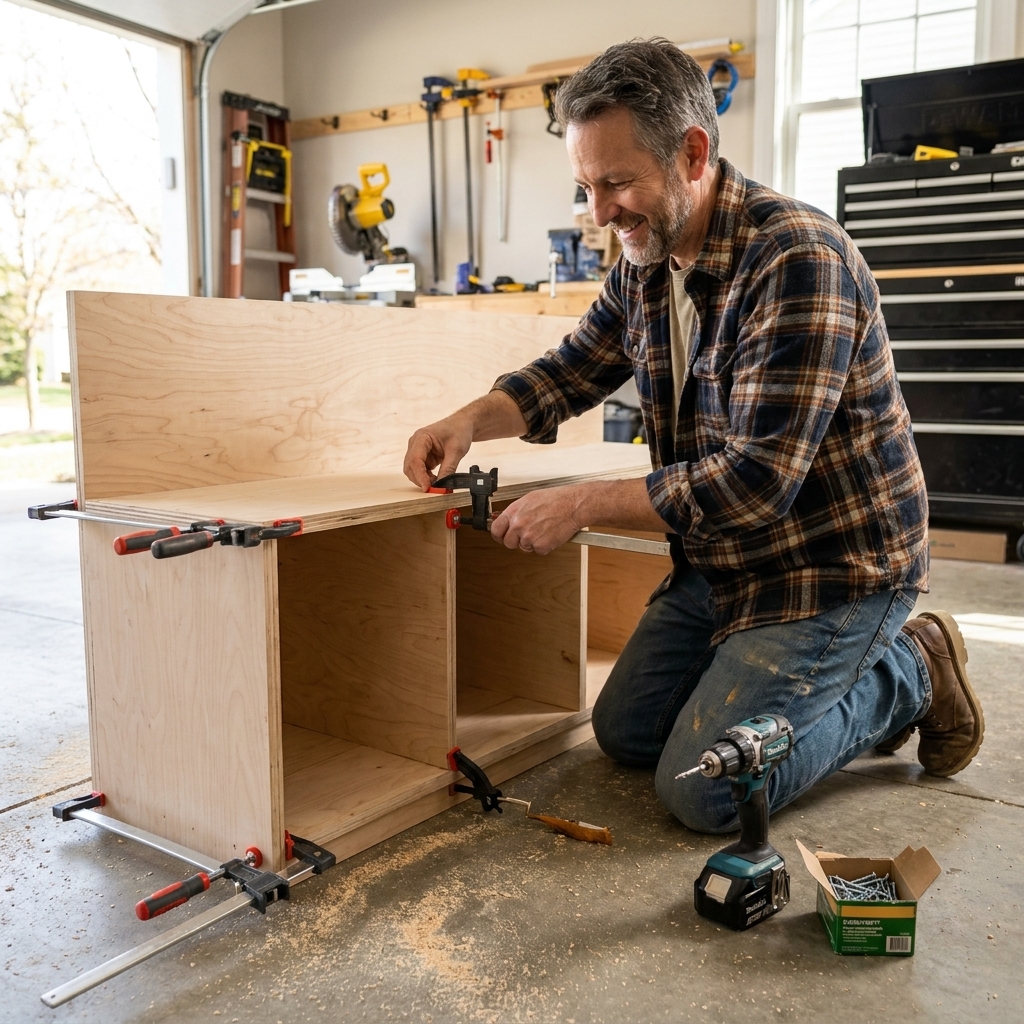
Step 2: Assemble the outer box
Dry fit everything, then assemble:
- Attach the two side panels to the bottom panel with glue and pocket screws, or predrill and screw through the sides into the bottom.
- Keep the front edges flush. Square the box by measuring diagonals. If both diagonals match, you are square.
Step 3: Add dividers
For three equal cubbies in a 60 inch bench (with the bottom between the sides), the inside width is 58 1/2 inches. Subtract two dividers at 3/4 inch each, leaving 57 inches. Divide by three for 19 inch openings.
Because the dividers sit on top of the bottom panel, cut them 3/4 inch shorter than the sides so the tops all land flush. Mark divider locations on the bottom panel, apply glue, then fasten dividers from the underside (or use pocket holes in the dividers). Check for plumb with a small level or square.
Step 4: Add a front stretcher
A front stretcher makes the bench feel rock-solid and reduces racking. Install a 3 inch tall strip across the front, set back about 3/4 inch if you plan to add a face frame. Fasten with glue and screws from the sides and dividers.
Face frame and trim
You can leave the plywood edges exposed if you use edge banding, but a simple face frame makes this look like furniture.
Option A: Quick face frame (1x2s)
- Cut a top rail and bottom rail the full width.
- Add vertical stiles at each divider and at both ends.
- Glue and brad nail, or glue and clamp then screw from inside.
Option B: No face frame
- Apply iron-on edge banding to all visible plywood edges.
- Sand lightly and keep the paint finish simple.
Install the bench
Step 1: Find studs
Find studs behind where the bench will sit. Mark them lightly. If your entry has baseboards, decide whether you want:
- Bench tight to the wall: Notch the bench to fit over baseboard, or remove and replace baseboard behind the bench.
- Bench proud of the wall: Easiest method, but you will have a small gap behind. You can hide it later with trim or scribe molding.
Step 2: Shim to level
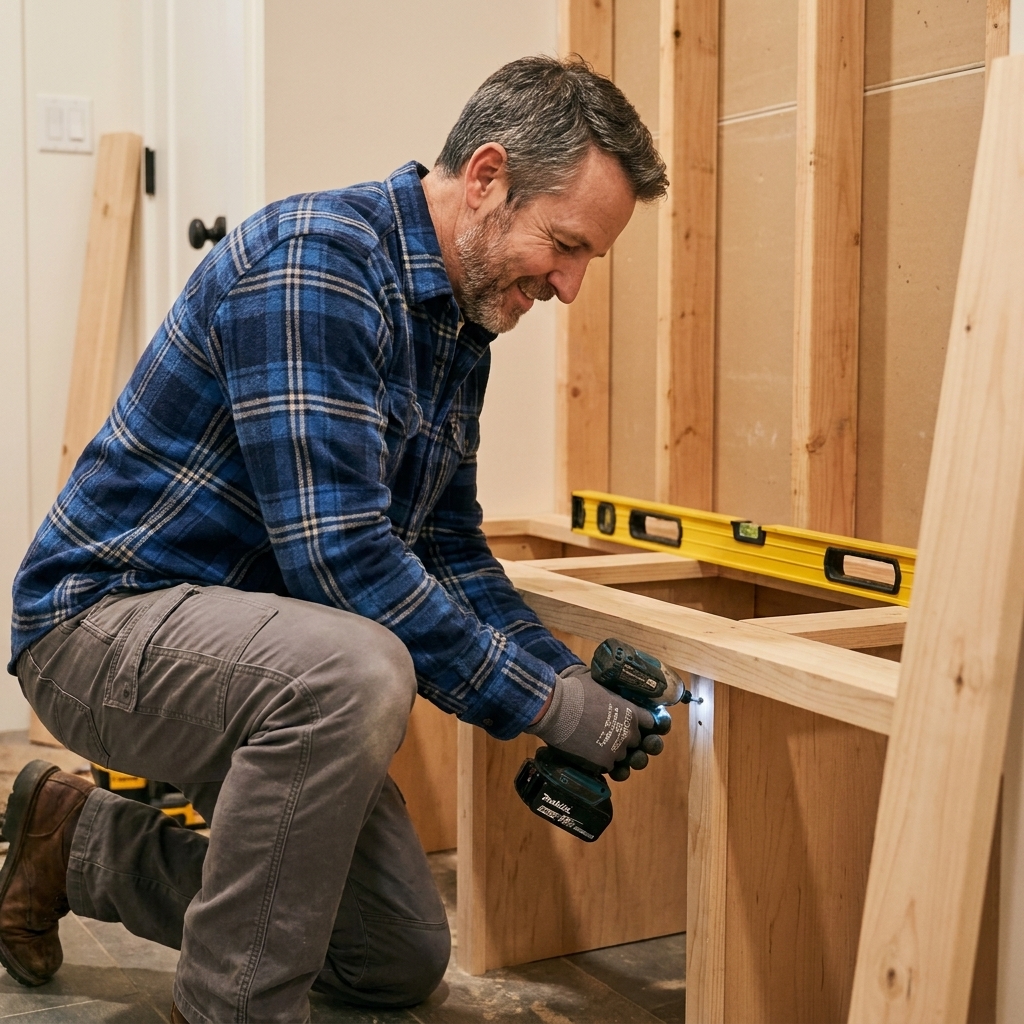
Set the bench in place and level it side-to-side and front-to-back. Old houses rarely come with level floors. Use shims under the base until it sits solid with no rocking.
Step 3: Anchor the bench
Drive screws through the back cleat, or through the inside back edge of the bench, into studs. A good, common choice is #10 or #12 wood or construction screws, 2 1/2 to 3 inches long, depending on drywall thickness and whether you added a cleat. Use washers if needed so the screw heads do not sink into plywood.
Add the beadboard
The beadboard is your visual anchor and your coat-hook structure. There are two common ways to do it:
- Panel beadboard (fast): One sheet, fewer seams, easy to paint.
- Individual beadboard boards (classic): More work, more authentic look, handles dents better.
MDF beadboard is fine on the wall if it is primed and painted well and kept above the splash zone. For anything that might get wet regularly, plywood is the safer bet.
Step 1: Set the height
Common beadboard height above the bench is 42 to 54 inches. If you have kids, hang hooks lower on one side or add a second row later. My house rule is “hooks for all, basket for the rest.”
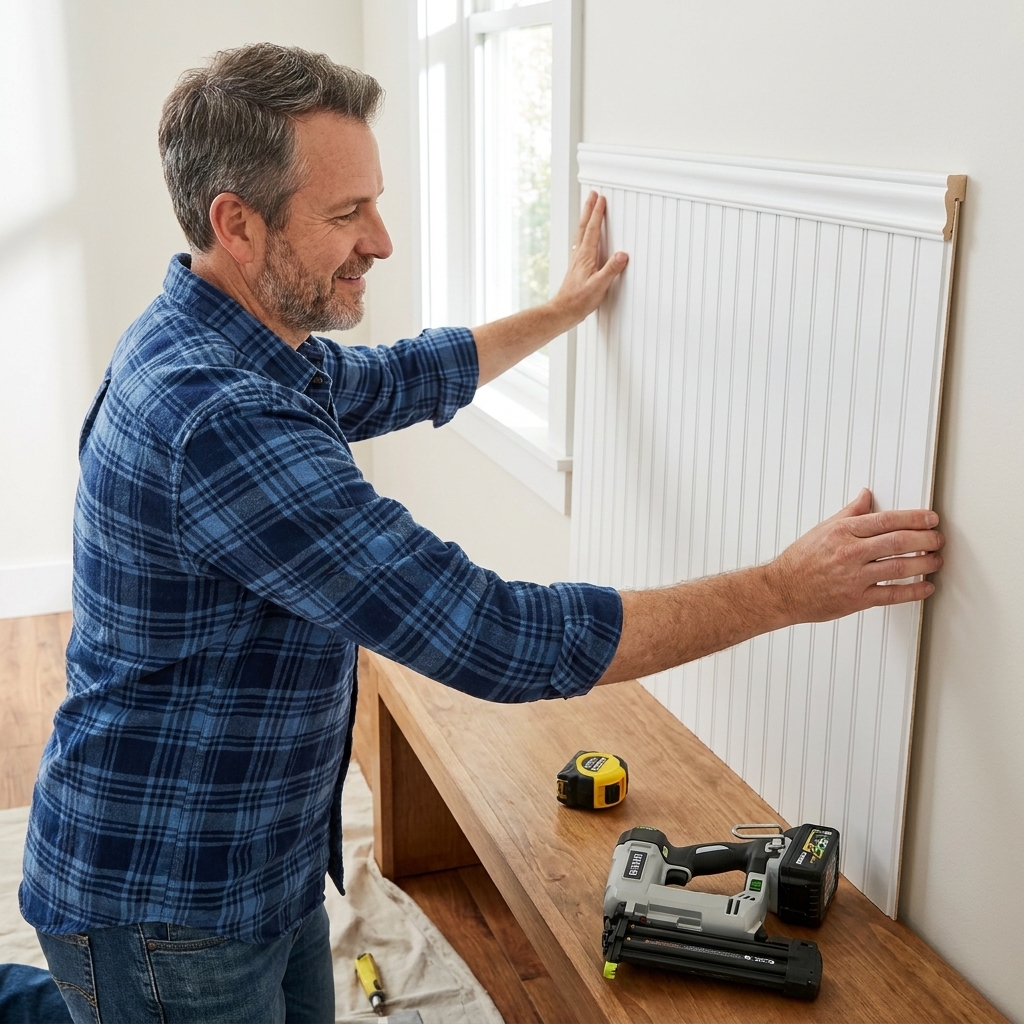
Step 2: Fasten the beadboard
Cut the panel to width and height. Check for plumb and level, then attach:
- To studs with brad nails, or
- With construction adhesive plus a few brads to hold while it cures
Pro move: If the wall bows, start fastening at the center and work outward, keeping the panel tight to the wall.
Build the top shelf
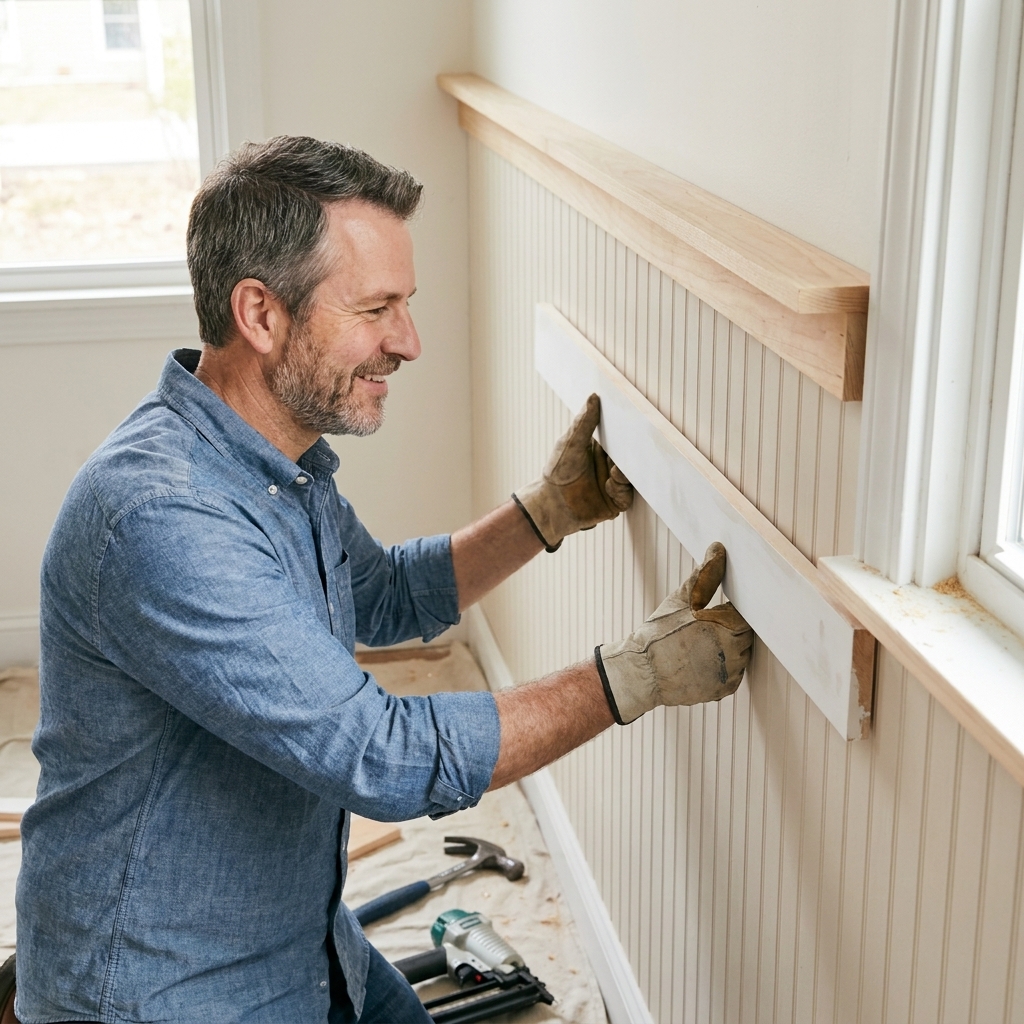
The top cap does two jobs: it looks finished, and it gives you a landing spot for baskets, hats, and the mail you swear you will sort today.
Step 1: Choose shelf depth
Six to eight inches is a sweet spot. Deep enough for baskets, not so deep you clip shoulders walking by.
Step 2: Add a ledger
Screw a 1x2 ledger into studs along the top of the beadboard. Then set your shelf board on it and screw down from the top (or up from underneath if you want hidden fasteners).
Step 3: Add trim
Add simple 1x2 trim on the shelf front and sides. If you like a more built-in look, add a small piece of base cap or cove molding under the shelf.
Install coat hooks
Hooks are only as strong as what they are screwed into. Drywall alone will fail eventually, usually right when a guest hangs a heavy winter coat and your dignity.
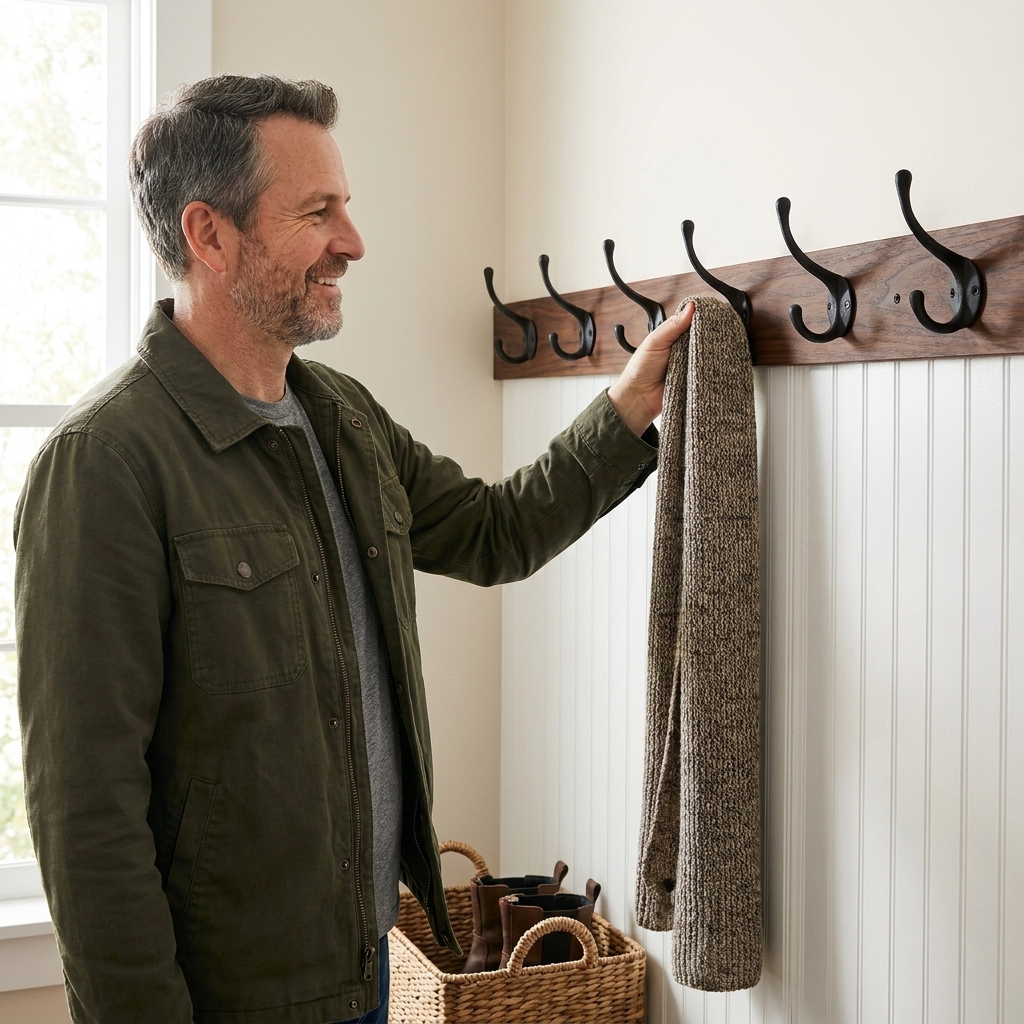
Best practice: add a hook rail
Mount a solid wood rail (a 1x4 or 1x6) horizontally across the beadboard, fastened into studs. Then screw hooks into the rail wherever you want. This gives you freedom on spacing and serious strength.
Spacing and height
- Common adult hook height: 60 to 66 inches from the floor, adjusted for your bench height and who actually lives in your house.
- Common kid hook height: 42 to 48 inches from the floor on one end or in a second row.
- Spacing: 6 to 10 inches between hooks, depending on how puffy your coats get.
Finish the bench top
Your bench top will take abuse: wet backpacks, sharp zipper pulls, keys, and the occasional dog who thinks rules are suggestions.
Attach the top
- Center the top with even overhang.
- Screw up from inside the bench into the underside of the top (pre-drill to avoid splitting).
- If your top is solid wood, use elongated holes or figure-eight fasteners so seasonal wood movement does not crack anything.
Finish options
- Water-based polyurethane: Clear, dries fast, good for light woods.
- Oil-based polyurethane: Very durable, warmer tone, longer dry time.
- Hardwax oil: Easy to spot-repair later, great feel, follow cure times.
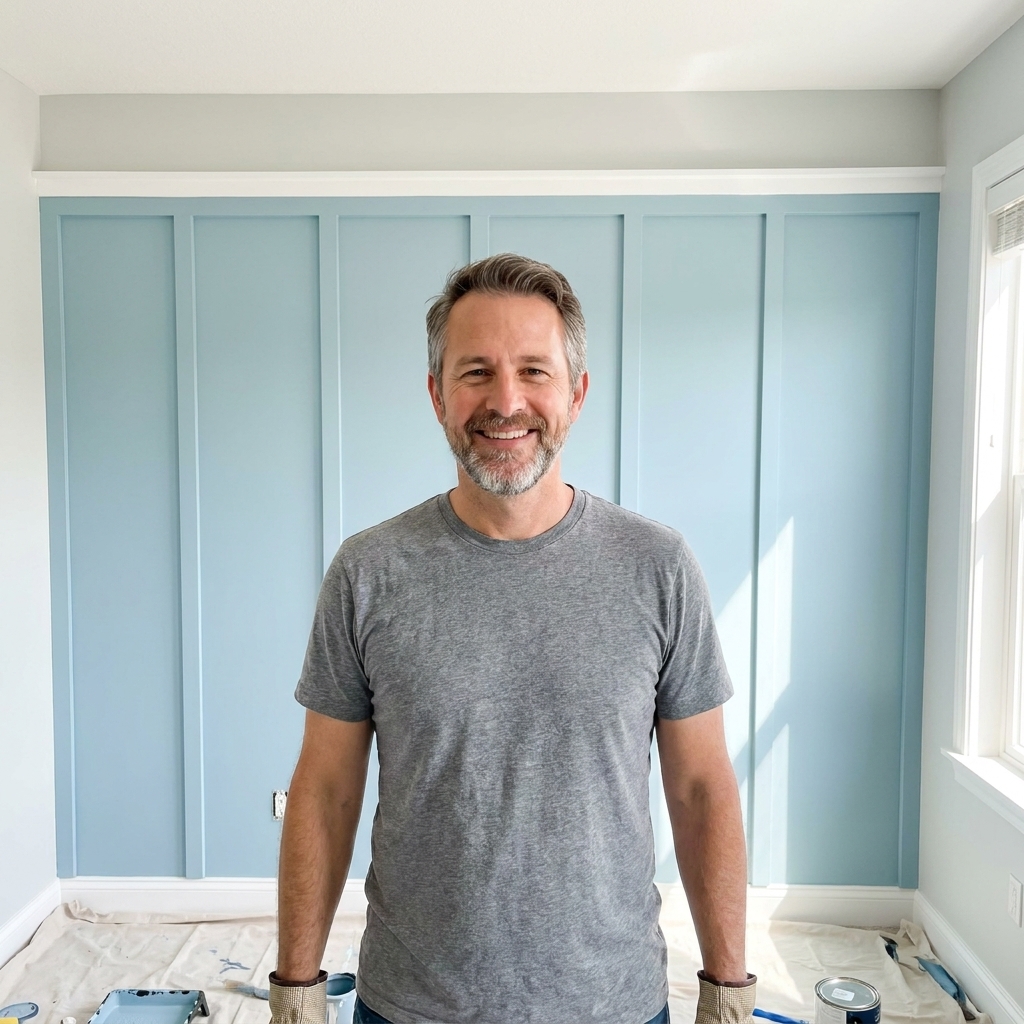
Paint and caulk
This is where DIY projects go from “nice weekend build” to “wait, did you have this custom-made?”
Prep like you mean it
- Fill nail holes and seams with wood filler.
- Sand smooth (120 then 180 grit is a good progression).
- Prime MDF beadboard with a quality primer to prevent fuzzing. If it still feels fuzzy after primer dries, do a quick, light sand and wipe the dust before paint.
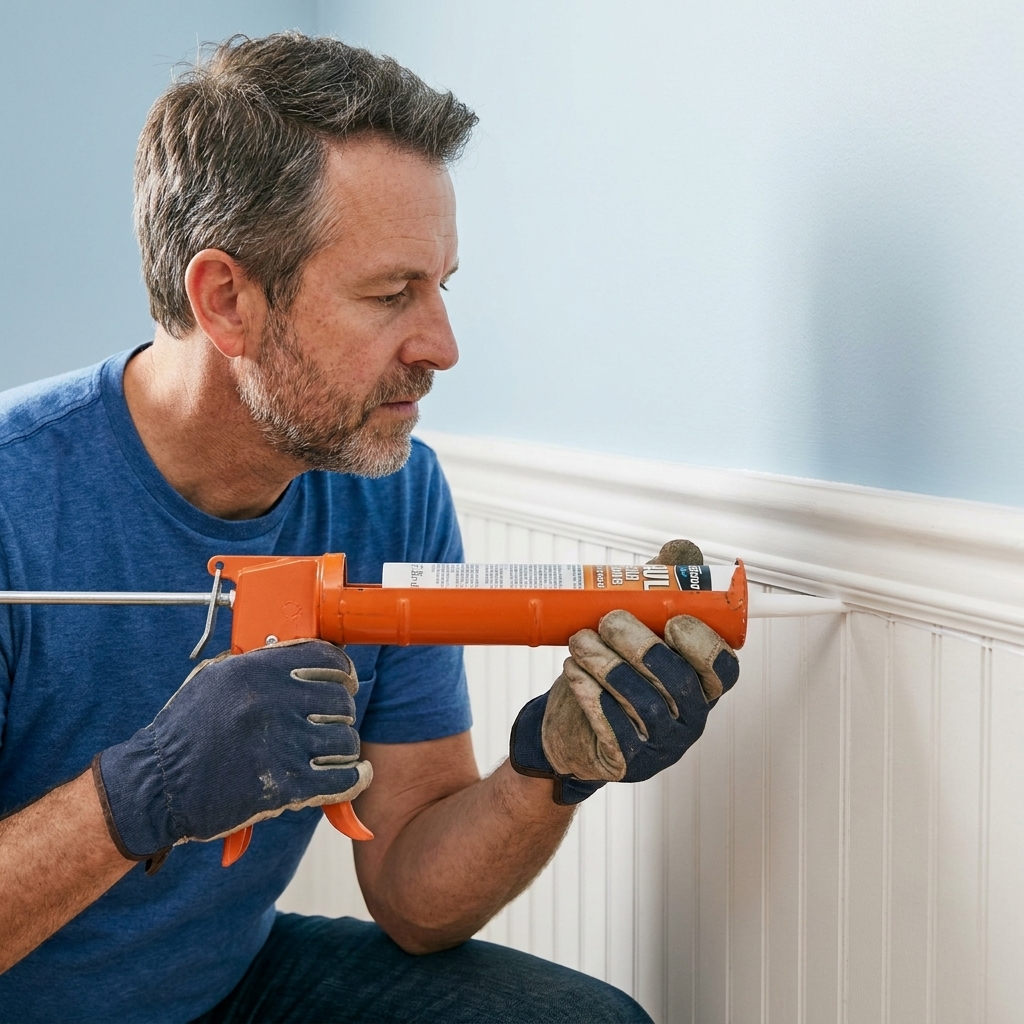
- Caulk trim seams and the joint where beadboard meets wall for a seamless look.
Paint tip: Use a small foam roller for flat areas and a brush for the beadboard grooves. Two lighter coats beat one heavy coat every time. For an entryway that gets scuffed, a scrubbable trim enamel in satin or semi-gloss is your friend.
Customization ideas
- Add charging: Install an outlet extension inside a top cubby for phones and headphones.
- Shoe trays: Cut rubber boot trays to fit each cubby for winter slush season.
- Label-free organization: Use matching baskets up top so clutter looks intentional.
- Lift-up seat: Add a piano hinge for hidden storage (gloves, leashes, mystery mittens).
- Ventilation: Drill a few holes in cubby backs if shoes stay damp.
Common mistakes
- Skipping shims: A bench that is not level will rock forever. Shim now, sleep later.
- Hooks into drywall only: Use studs or add a hook rail anchored to studs.
- No plan for baseboards: Decide up front whether you are notching, removing, or trimming around them.
- Weak top attachment: A few brads are not enough. Use screws from inside.
- Painting before caulk: Caulk first, paint second. Otherwise you will see every gap.
FAQ
Can I build this with only a circular saw and drill?
Yes. Use a straightedge guide for long cuts and take your time. A pocket hole jig helps a lot, but you can also predrill and screw through the sides and dividers.
Is MDF okay for the bench base?
I do not recommend MDF for the base in an entryway. It hates water, and entryways see wet shoes and umbrellas. Plywood is the safer bet.
How much weight will the bench hold?
A 3/4 inch plywood box with dividers and a solid attachment to the wall is very strong. If you expect heavier loads, add a center support under the front stretcher and use a thicker top.
Should I attach the beadboard to the bench or the wall?
Attach beadboard to the wall. Then anchor the bench separately into studs. This makes everything sturdier and easier to adjust for out-of-level floors.
Wrap-up
This is one of those projects that pays you back every single day. Fewer piles, fewer lost items, and a place to sit that does not involve balancing on one foot while wrestling a boot. If you build it, take your time on the layout and the leveling. The rest is just wood, screws, and a little stubborn optimism.