Build a smart starter toolkit with 10 power tools you will actually use, plus buying tips, accessories, and safety basics for new homeowners.
home improvement and DIY
10 Beginner-Friendly Woodworking Projects for Your Home

Marcus Hayes
Marcus Hayes is a lifelong DIY enthusiast and former residential carpenter who has spent the last decade renovating his 1970s fixer-upper. Through Tinksmith, he shares his hands-on experience to help fellow homeowners tackle repairs, choose the right tools, and build spaces they love without breaking the bank.
Published October 17, 2026
Updated October 17, 2026
If you have ever stared at a crooked closet shelf and thought, “I could do better than that,” congratulations. You are already a woodworker. The trick is picking projects that teach the basics without demanding a full cabinet shop and a minor in geometry.
Below are 10 beginner-friendly woodworking projects that work in real homes. Each one is designed to be approachable with minimal tools, forgiving materials, and simple joinery. I will also call out the “gotchas” that tend to bite first-timers, because wood has a sense of humor and it is usually aimed at your schedule.
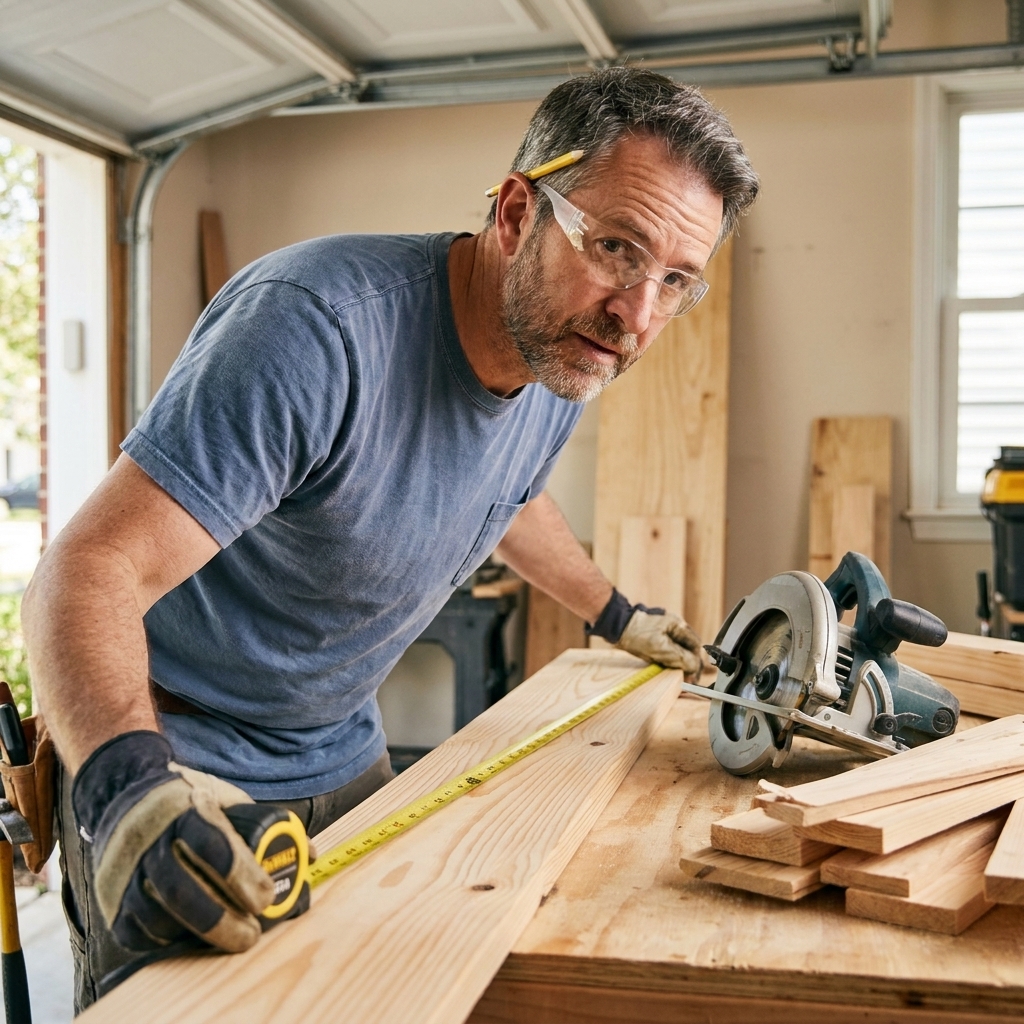
Before you start: starter tools
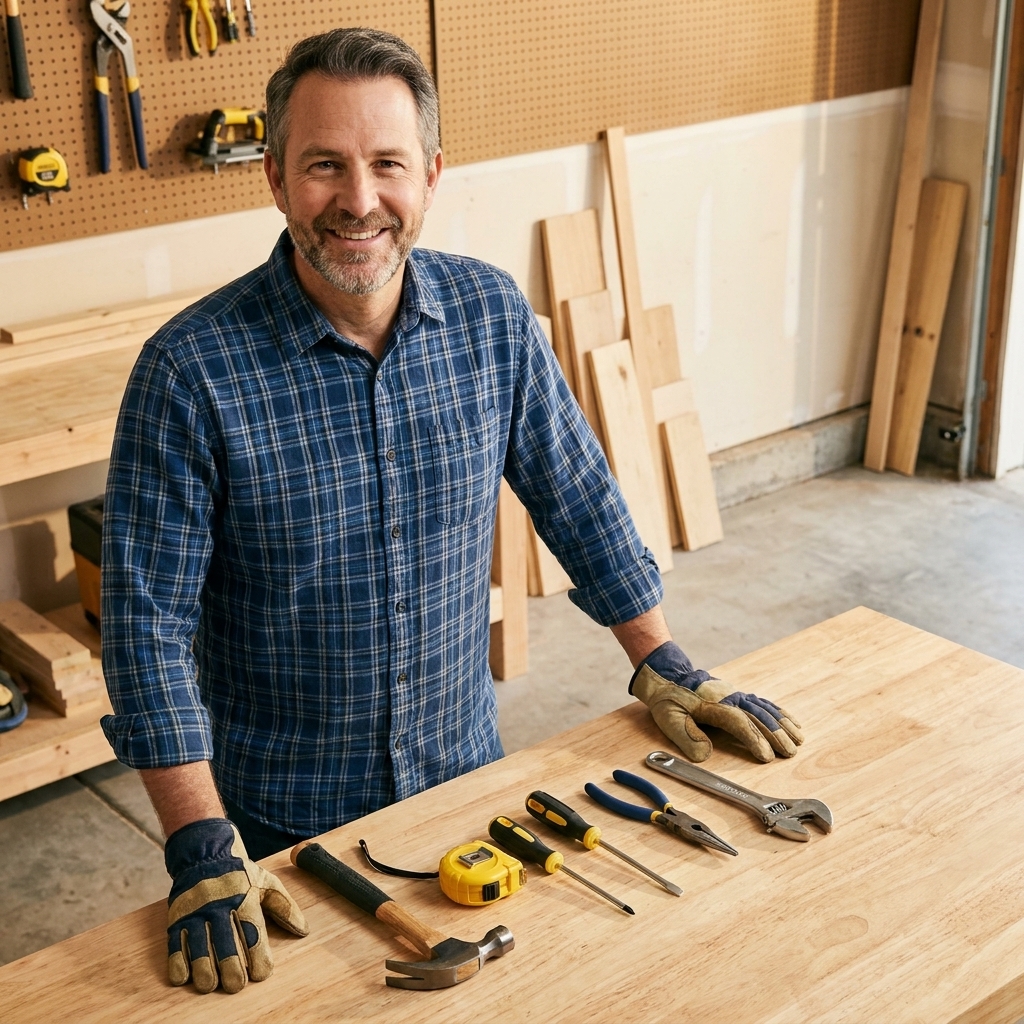
You can build every project on this list with a modest setup. If you already have more, great. If not, this is the “buy once, cry once” baseline I recommend.
- Measuring and marking: tape measure, combination square, pencil, straightedge
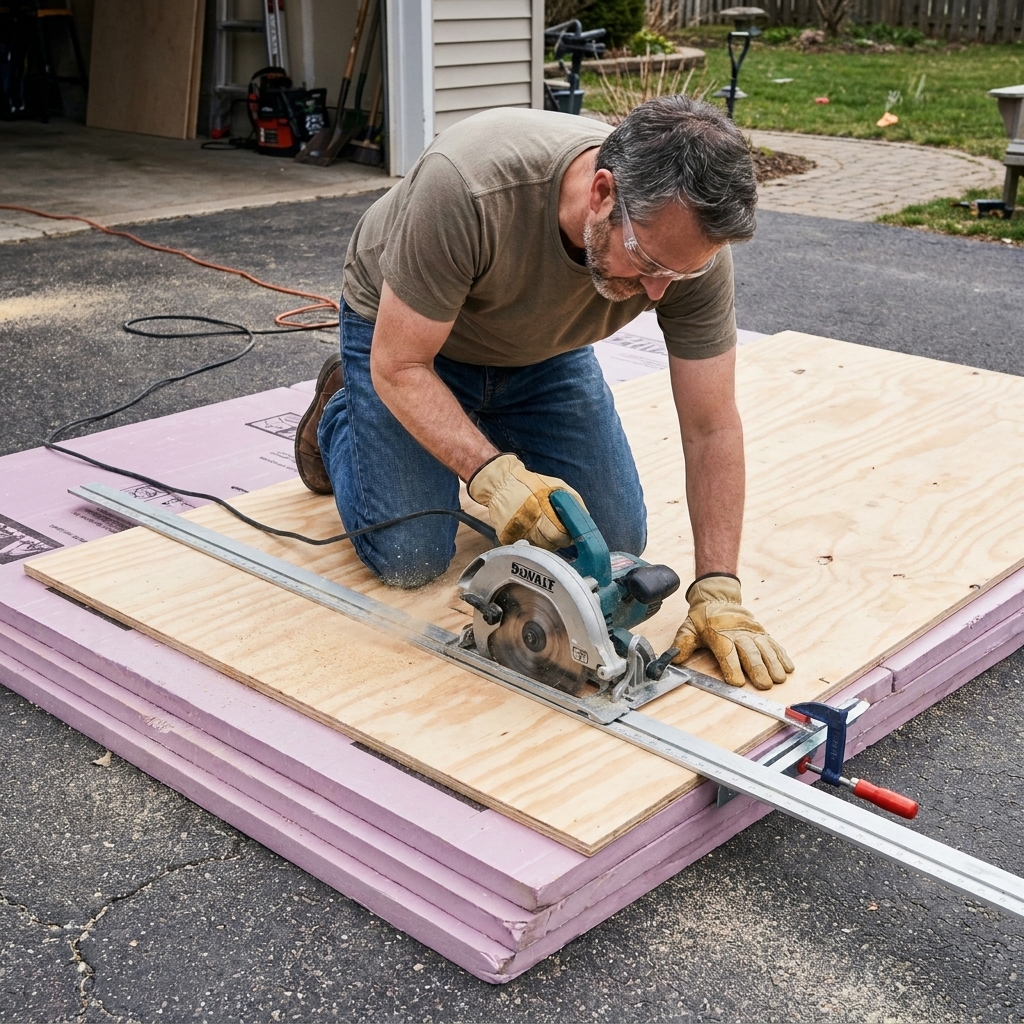
- Cutting: circular saw with a straightedge guide or a miter saw (nice to have), plus a handsaw for quick trims
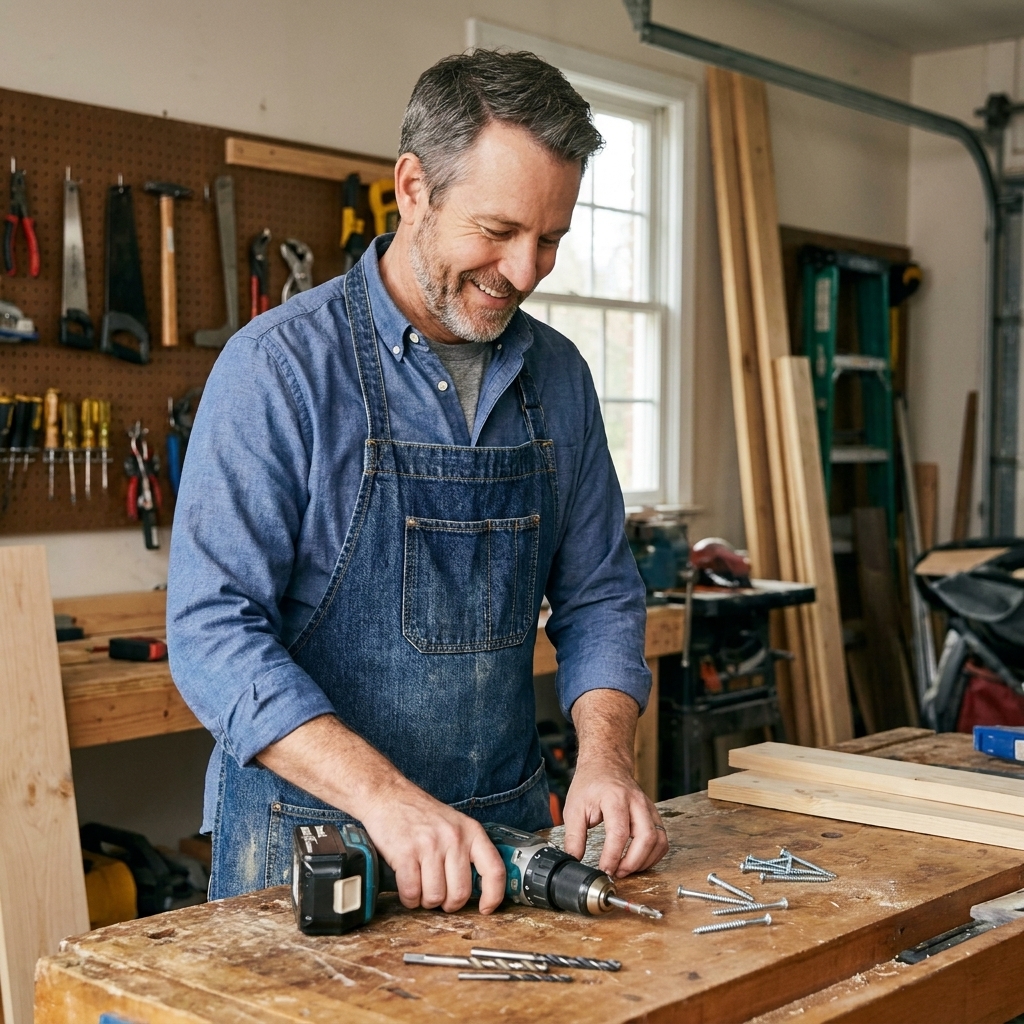
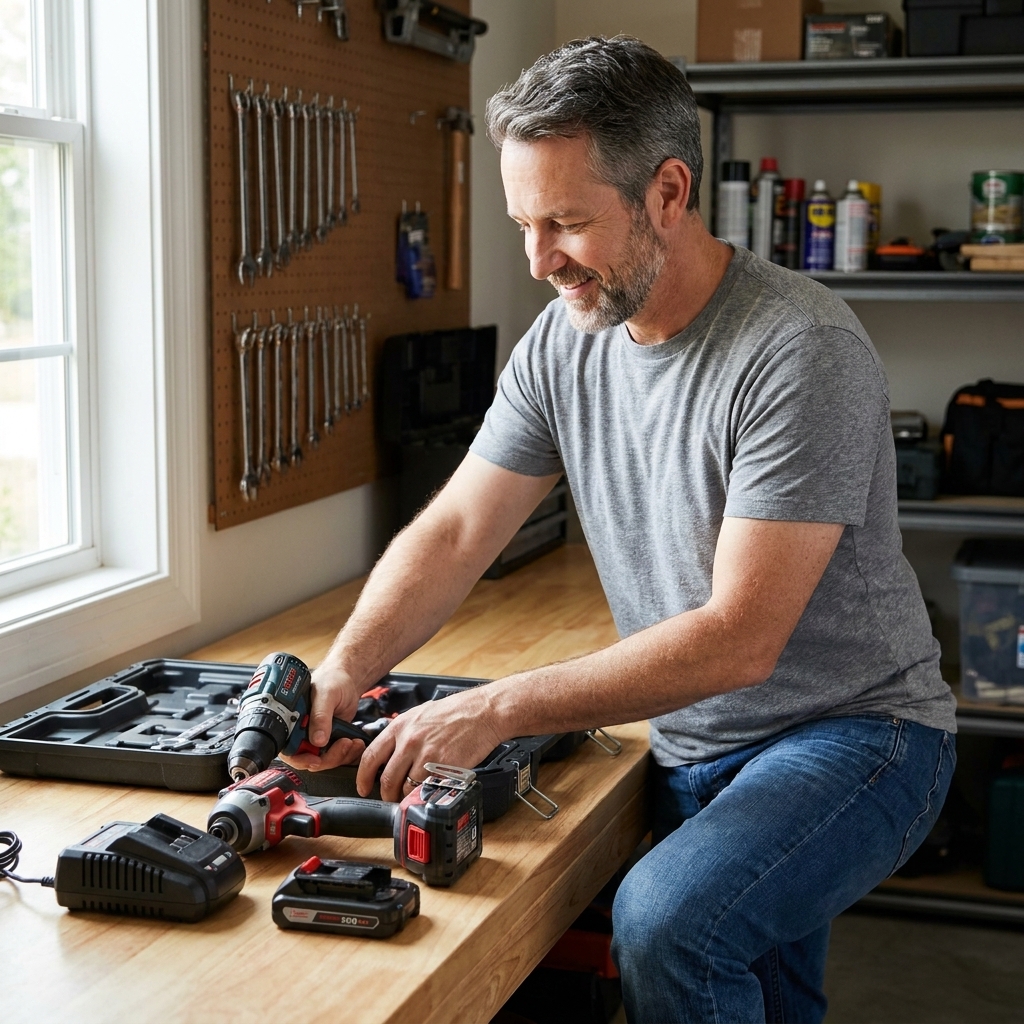
- Drilling: drill/driver, drill bit set, countersink bit
- Sanding: random orbital sander plus 80, 120, 180 grit discs
- Clamping: two 24-inch clamps and two 6-inch clamps
- Safety: eye protection, hearing protection, dust mask or respirator, and basic ventilation (open door, fan, or shop vac)
Wood tip: For budget builds, “select pine” or “common board” is friendly. For a nicer look with less fuss, poplar is underrated. For paint-grade projects, MDF can be great indoors, but keep it away from damp areas and take the dust seriously.
One more thing: buy straight boards
This is the least glamorous step, and it saves the most headaches. In the store, sight down a board like you are aiming a pool cue. Skip anything with a big bow (curves along the length), cup (curves across the width), or twist (corners do not sit in the same plane). A slightly imperfect board can be coerced. A pretzel will stay a pretzel, just in a different room of your house.
1) Floating shelves
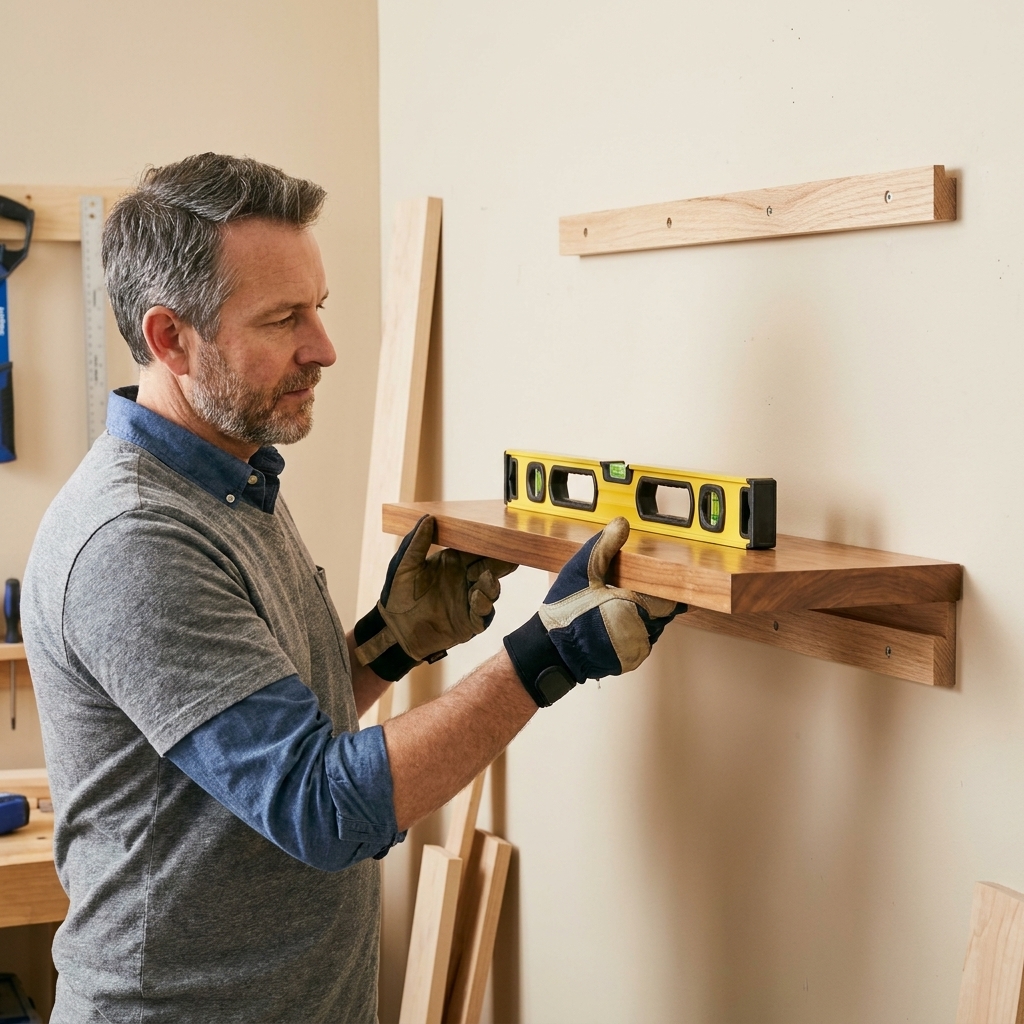
Floating shelves look fancy, but you can keep the construction dead simple by building a hollow shelf that slides over a wall-mounted cleat. No magic, just geometry and screws.
Quick snapshot: 2 to 4 hours | $25 to $80 | Skill: easy-medium
Why it is beginner-friendly
- Mostly straight cuts
- Teaches wall layout and stud finding
- Big visual payoff for modest effort
Materials
- 1x8 or 1x10 boards for the shelf skin
- 1x2 or 2x2 for the internal cleat frame
- Wood glue, 1 1/4-inch brad nails or trim screws
- 2 1/2-inch screws for studs
Build notes
Build a rectangular “sleeve” (top, bottom, and face) and a slightly smaller wall cleat frame. Mount the cleat into studs, then slide the shelf over it and pin it in place from the top or underside. Use a level, because your eyes will lie to you and gravity will not.
Gotcha to avoid: Drywall anchors are not all created equal. For floating shelves, mount into studs whenever possible. If studs are not available, use a heavy-duty anchor system that is specifically rated for shelving loads and follow the manufacturer’s limits.
What “scribe” means: If your wall is wavy, hold the shelf tight to the wall, trace the wall line onto the back edge of the shelf, then sand or trim to that line so it fits flush.
2) Picture ledge
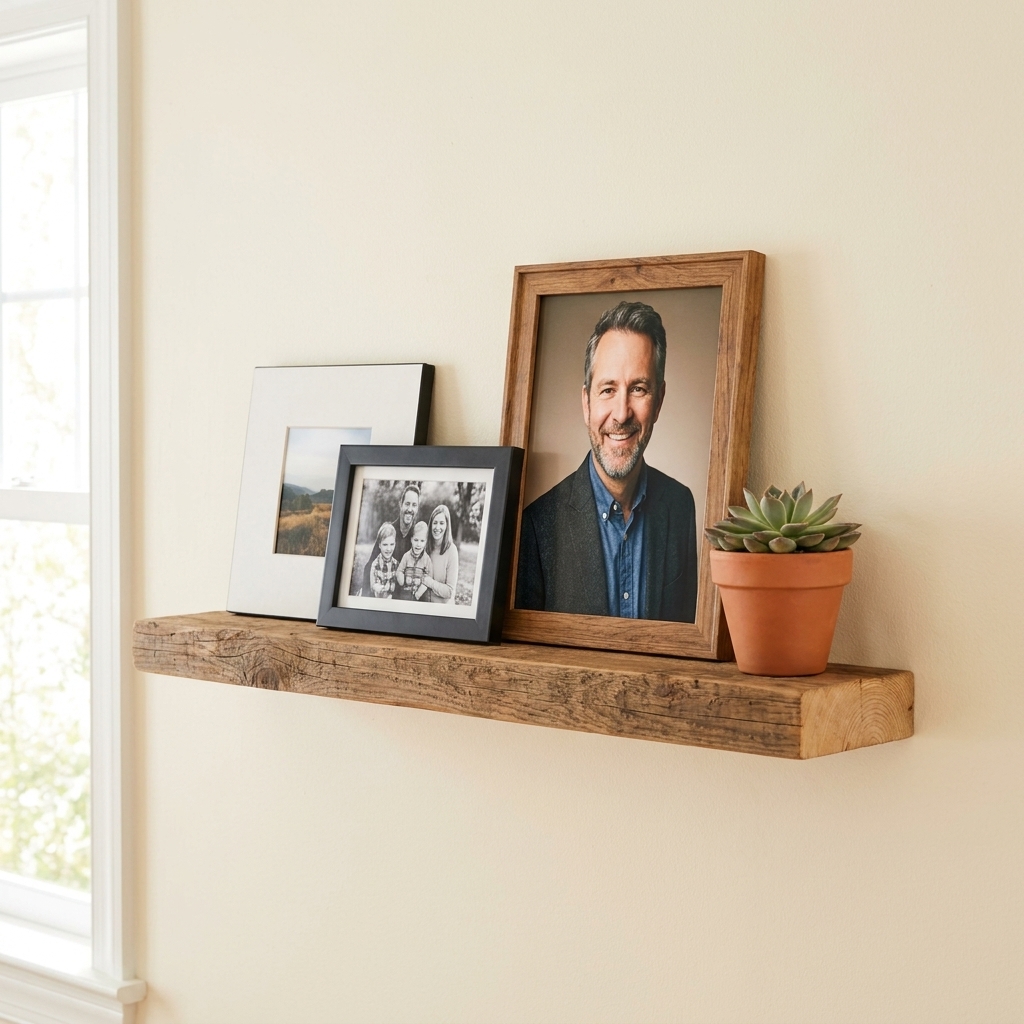
If you like swapping art, kids’ drawings, or seasonal decor, a picture ledge is the easiest “custom” upgrade you can build in an afternoon.
Quick snapshot: 1 to 2 hours | $15 to $50 | Skill: easy
Materials
- 1x4 for the back
- 1x2 for the front lip
- 1x3 (optional) for a small bottom shelf
Build notes
Screw and glue the front lip to the bottom shelf, then attach that assembly to the back board. Mount into studs when possible, and use a level so frames do not slowly drift into “abstract art” mode.
Pro move: Lightly round over the front lip with sandpaper so it feels finished and does not snag frames or fingers.
3) Plant stand
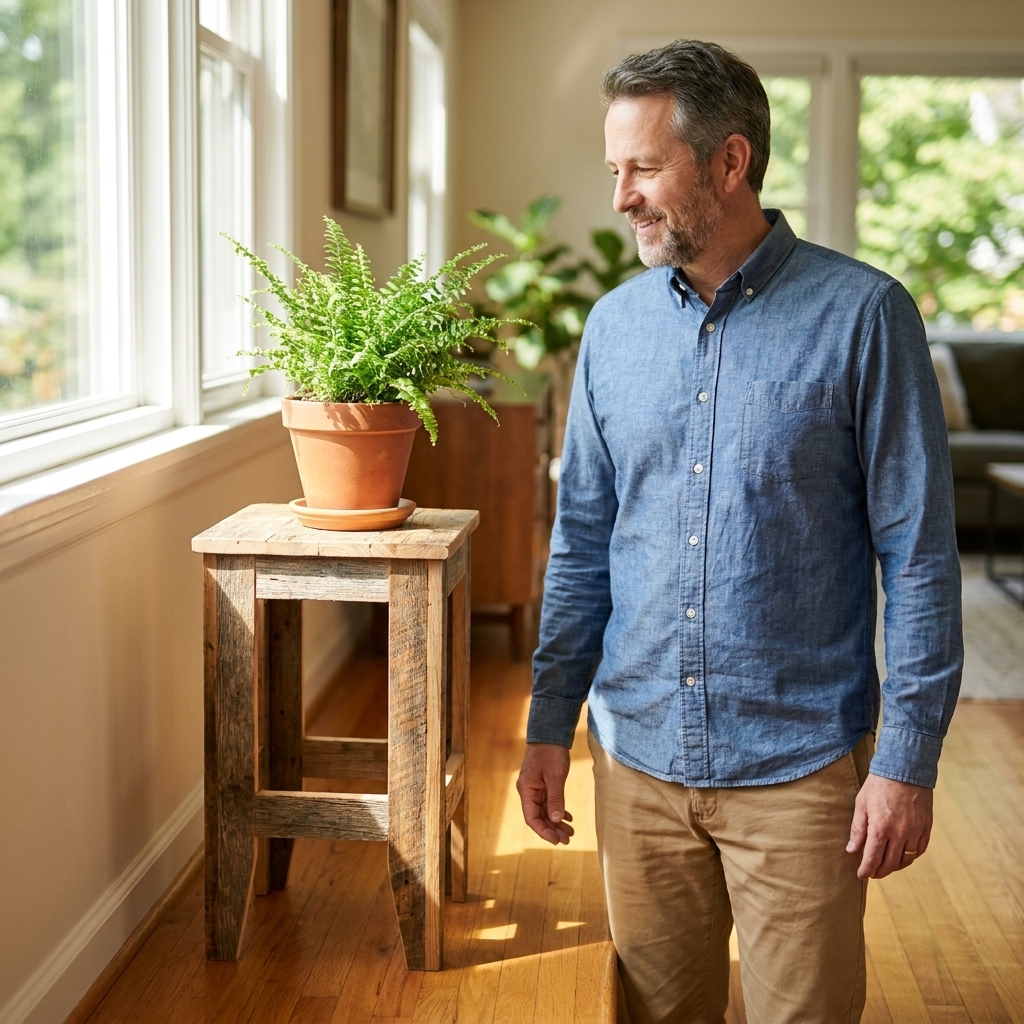
Houseplants have one job: look alive. A plant stand helps them do it by getting them into better light and off your limited table space.
Quick snapshot: 2 to 3 hours | $20 to $60 | Skill: easy
Why it is beginner-friendly
- Short boards are easier to handle and cut accurately
- Great practice for making legs square and stable
Materials
- 1x2 or 1x3 lumber
- 1 1/4-inch screws (or pocket hole screws if you have a jig)
- Wood glue
Build notes
Build a simple top frame (square or rectangle), then attach four legs. Add a lower stretcher if you want extra stiffness and a place for a second pot.
Gotcha to avoid: Wobble usually comes from legs not being the same length. Clamp the legs together and sand the bottoms as a bundle to make them even.
4) Blanket ladder
This is one of my favorite “confidence builds.” It looks like you bought it at a boutique, but it is basically two long rails with rungs.
Quick snapshot: 2 to 4 hours | $20 to $70 | Skill: easy
Materials
- Two 1x3 or 1x4 boards for the sides
- 1x2 boards for rungs
- Wood glue and 2-inch screws
Build notes
Mark rung spacing, predrill, then screw rungs in place. Lightly taper the bottom of the side rails or cut a slight angle so it sits comfortably against the wall.
Safety note: It is decor and storage, not a climbing ladder. If you have kids or pets who might test that theory, add an anti-tip strap at the top.

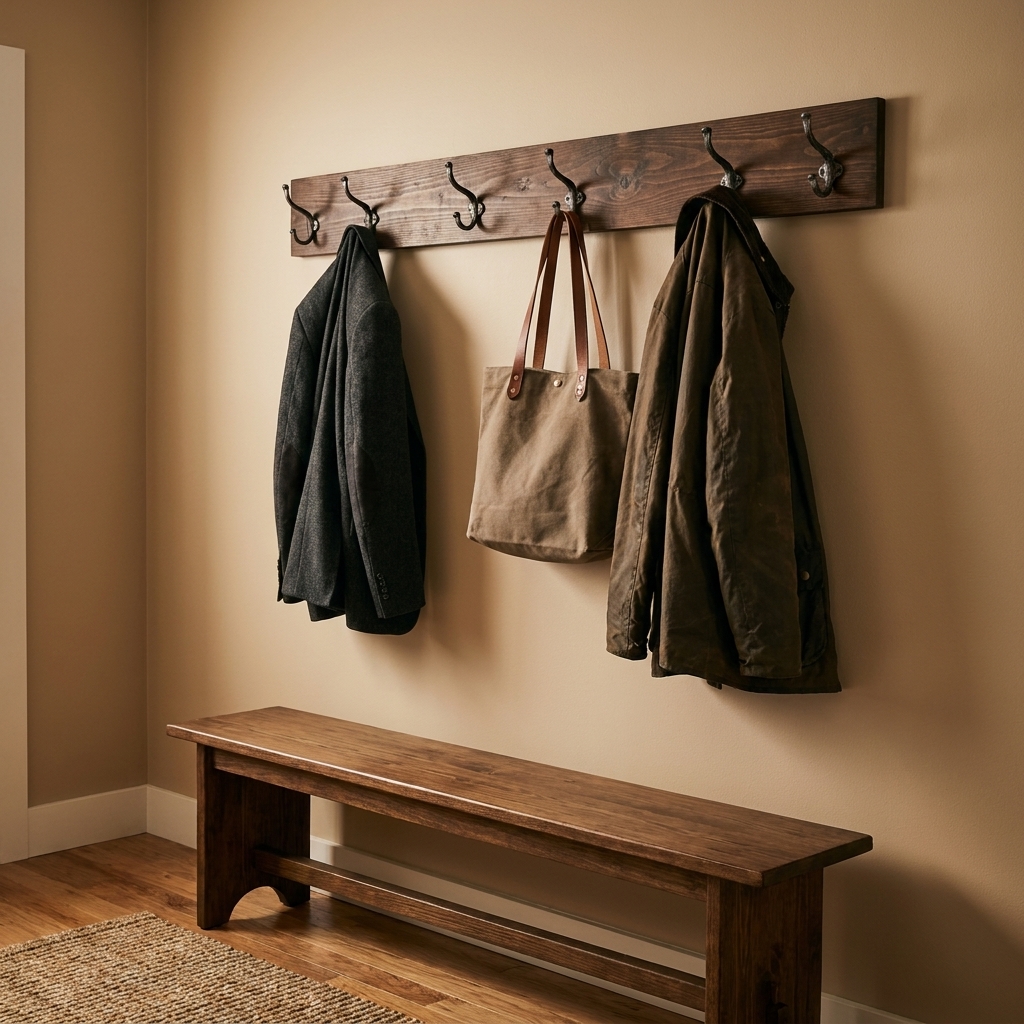
5) Wall coat rack
A good coat rack saves your chairs from becoming unofficial jacket storage. Plus, it is a great way to practice clean layout and spacing.
Quick snapshot: 1 to 2 hours | $20 to $80 | Skill: easy
Materials
- 1x6 board (or any width you like)
- Coat hooks and screws
- Wall mounting screws, or a French cleat if you want it extra secure
Build notes
Sand, finish, then attach hooks. Mount the rack into studs or use a French cleat system so the rack can handle backpacks without ripping out of the wall. Use a level, and do not trust a stud finder blindly. Confirm with a small nail or an accurate layout from an outlet box when you can.
Gotcha to avoid: Soft pine dents easily. If it is going in a heavy-use entry, consider poplar or oak for a tougher face.
6) Shoe rack
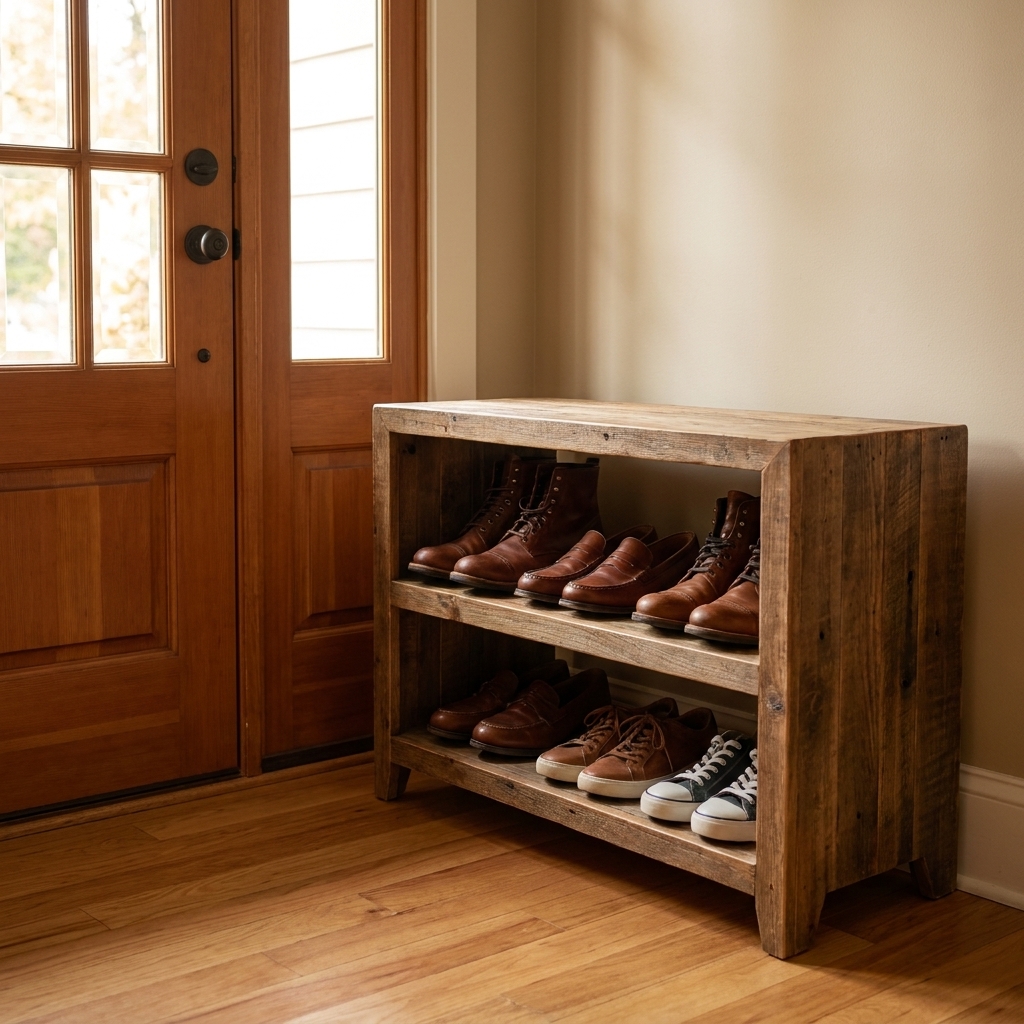
Shoes will always try to form a drift by the door. A simple rack gives them a designated parking lot.
Quick snapshot: 2 to 4 hours | $25 to $90 | Skill: easy
Materials
- 1x2 and 1x3 lumber for rails and supports
- 1 1/4-inch screws
- Optional: dowels for a cleaner look
Build notes
Build two side frames, then add horizontal rails. Keep the bottom shelf slightly taller to fit bulkier shoes.
Pro move: Add adjustable feet or a thin spacer under the legs if your floor is uneven. Old houses rarely believe in level.
7) Bathroom tray
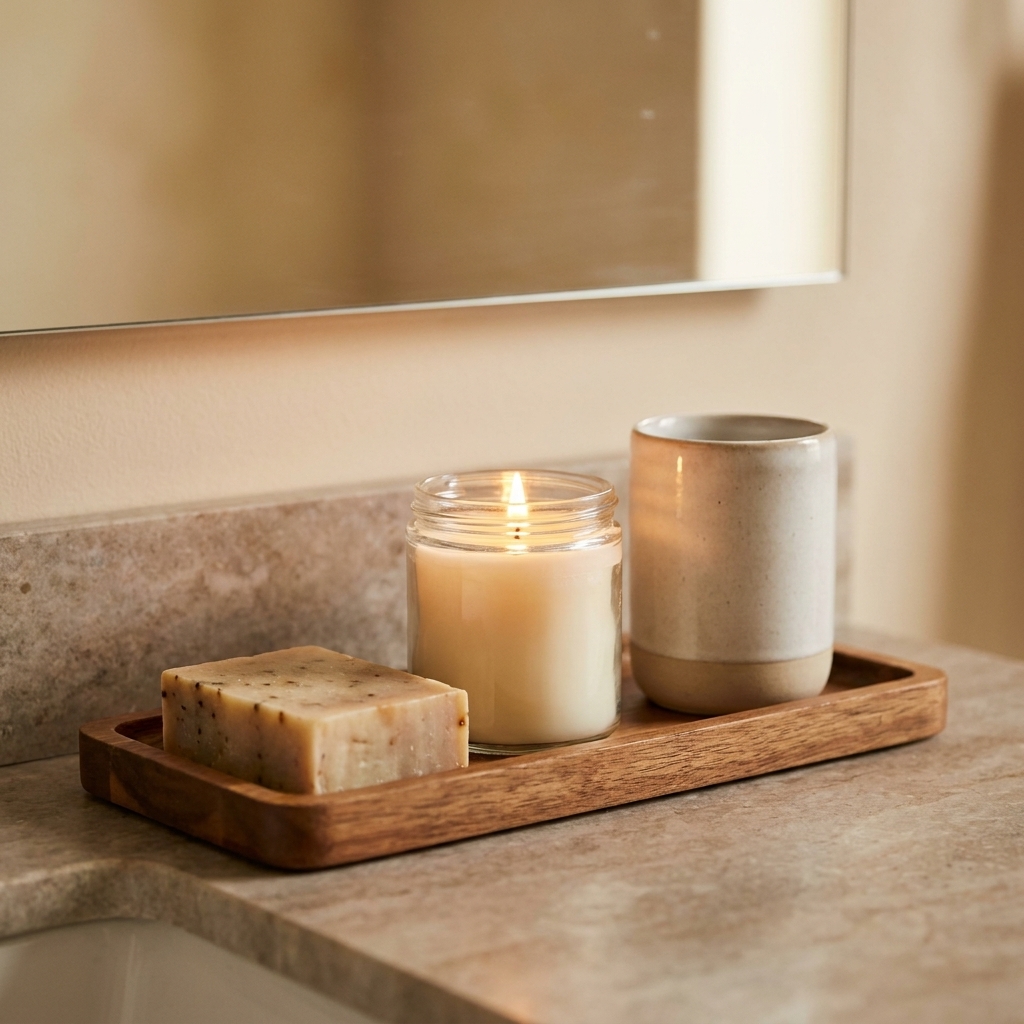
If you are new to woodworking, smaller projects are your best friend. You can practice clean cuts, sanding, and finish work without committing your whole weekend.
Quick snapshot: 1 to 2 hours | $10 to $40 | Skill: easy
Materials
- 1x3 or 1x4 boards for the sides
- 1/4-inch plywood for the bottom
- Wood glue and brad nails or small screws
Build notes
Cut four sides, drop in a plywood bottom, then sand everything smooth. Finish with a water-resistant topcoat if it will live near a sink.
Finish tip: Wipe-on polyurethane is forgiving. Thin coats, light sanding between coats, and you get a smooth result without brush marks.
8) Basic nightstand
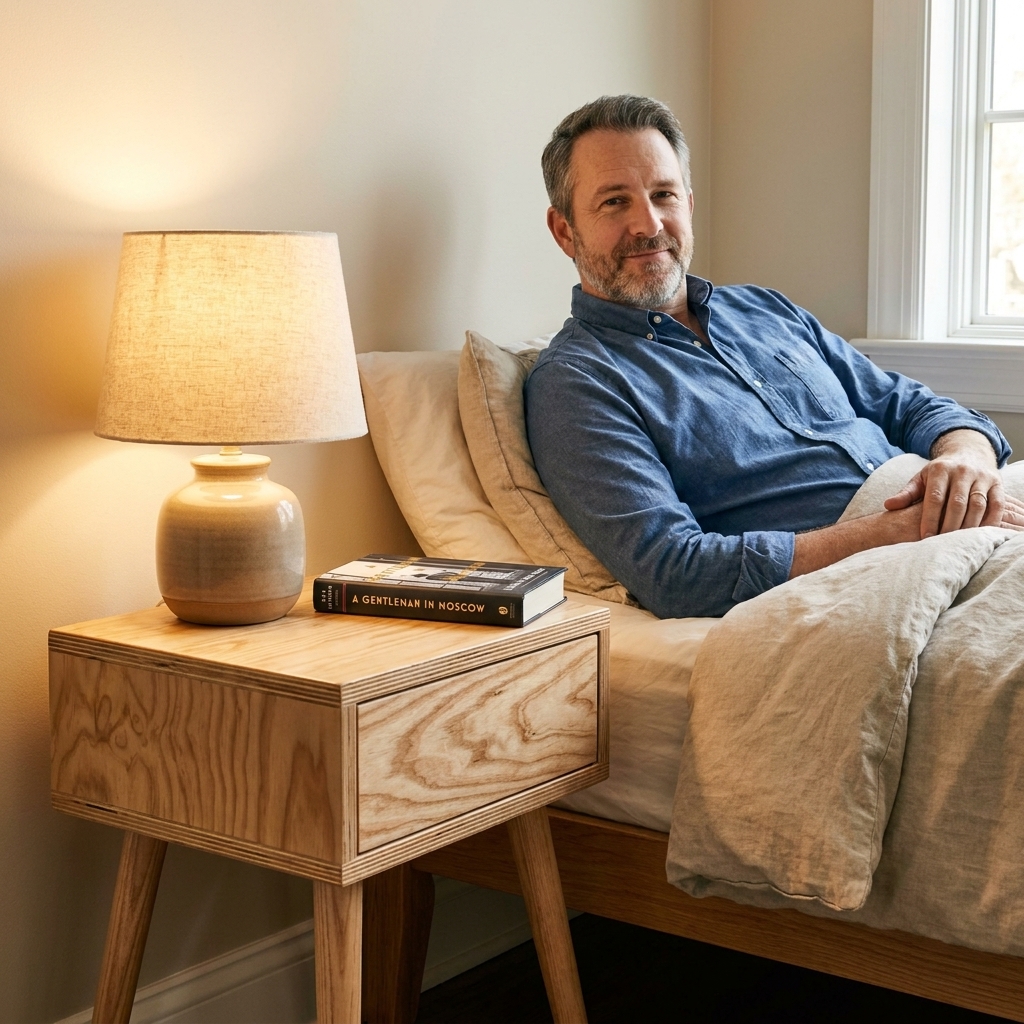
A nightstand is a practical first furniture build. Keep it simple: a plywood box with a top, plus legs or a base.
Quick snapshot: 4 to 8 hours | $40 to $150 | Skill: easy-medium
Materials
- 3/4-inch plywood (one sheet makes a lot)
- 1x2 edging (optional for a solid-wood look)
- Wood glue, screws, and optional drawer slides if you want a drawer
Build notes
Cut sides, bottom, and top. Assemble a simple box with glue and screws. Add legs, or build a base from 1x2s.
Edge tip: To hide plywood edges, you can use iron-on edge banding (fast) or glue on thin wood strips and sand them flush (more durable).
Gotcha to avoid: Plywood tear-out is about tooth exit. The face where the blade teeth leave the wood tends to splinter more. Do a quick test cut on a scrap, then orient your good face so it stays clean. Painter’s tape and a sharp blade help either way.
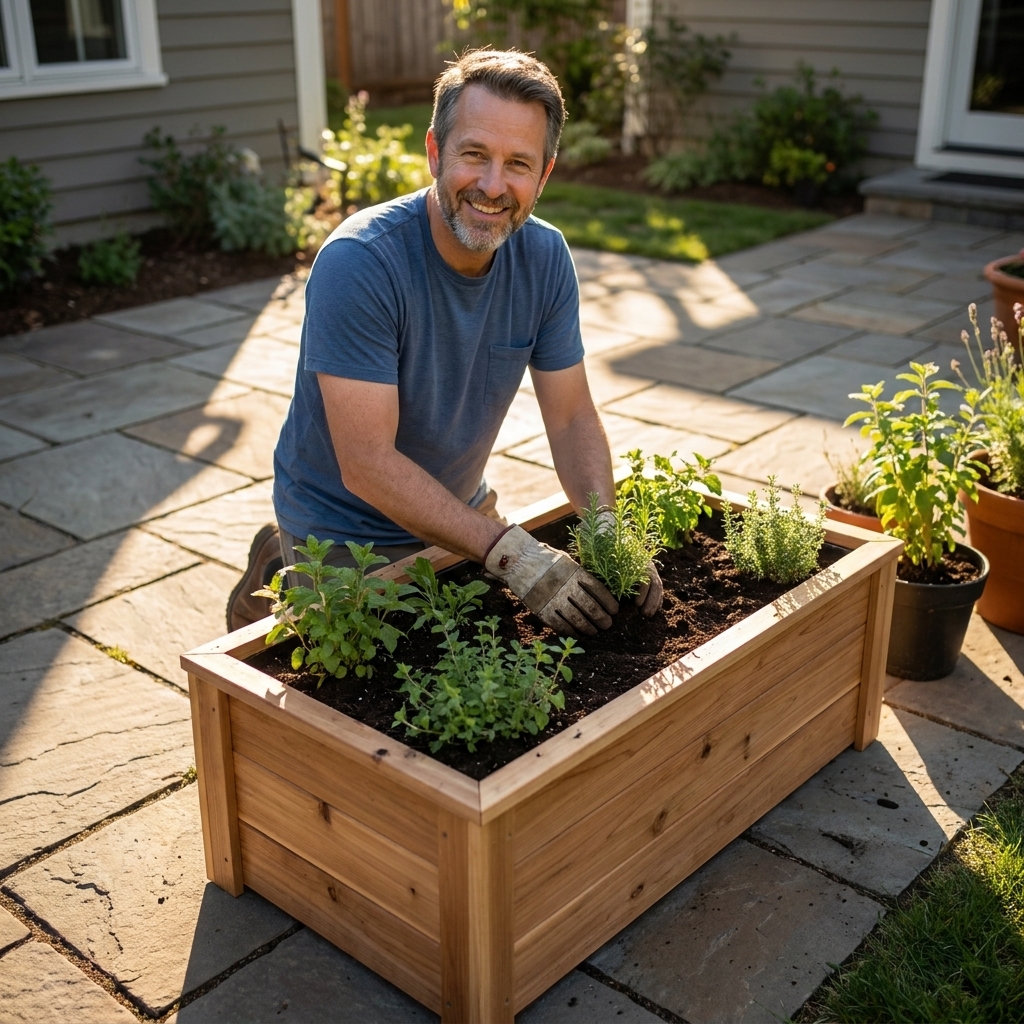
9) Cedar planter box
This is woodworking with a purpose. You end up with a planter and the satisfying feeling that you are now the kind of person who owns a planter you built.
Quick snapshot: 2 to 5 hours | $30 to $120 | Skill: easy
Materials
- Cedar fence pickets or cedar 1x boards
- Exterior screws
- Landscape fabric (optional liner)
Build notes
Build a simple rectangle frame, attach side boards, and add a slatted bottom for drainage. If it will sit on a deck, add small feet so water does not stay trapped underneath.
Gotcha to avoid: Pressure-treated lumber is common for outdoor builds today, but if you are growing food, be picky. Avoid old CCA-treated wood, and if you use modern pressure-treated lumber, consider a plastic liner or barrier between soil and wood. Cedar is a simple, great-smelling option that skips the debate.
10) Entryway bench
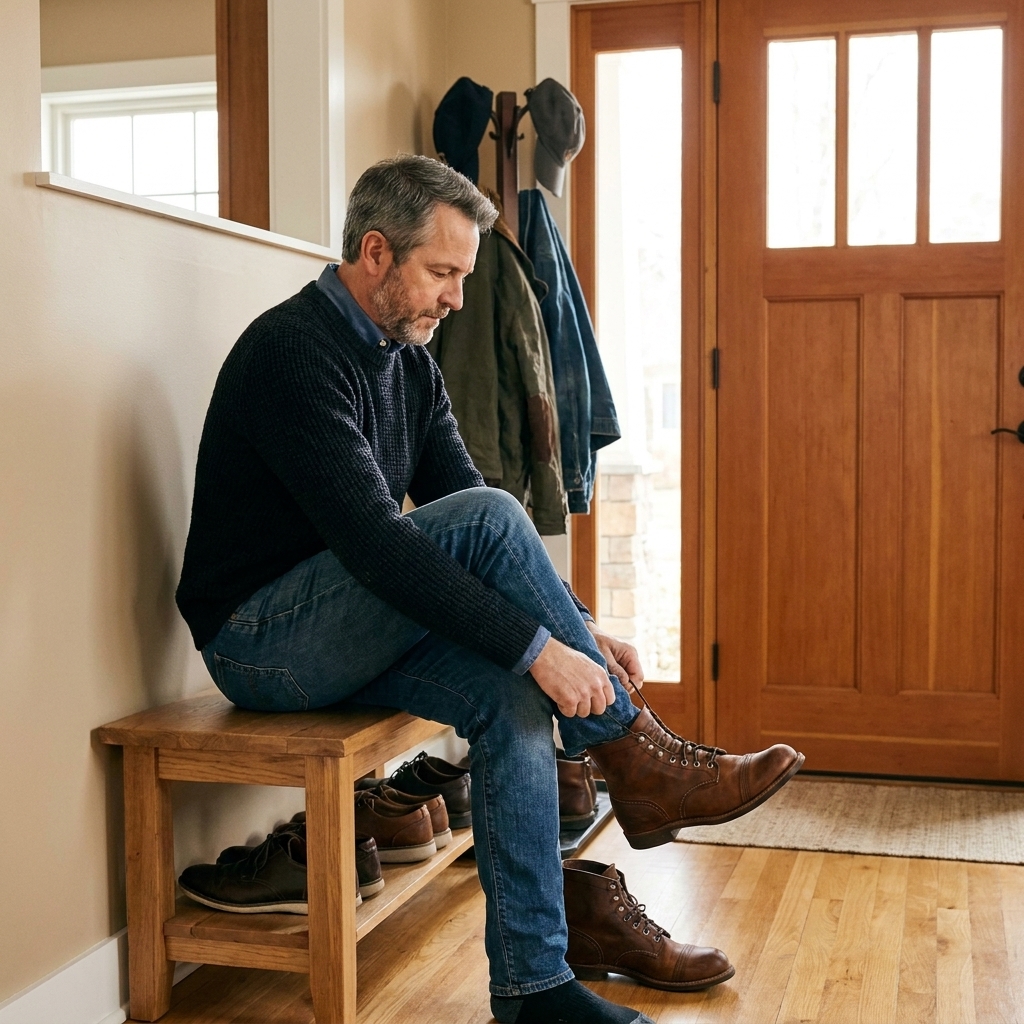
An entryway bench is the gateway project to real furniture. Sit to tie shoes, stash bags, and instantly make your entry feel intentional.
Quick snapshot: 6 to 10 hours | $60 to $200 | Skill: medium
Beginner-friendly design
- A solid top (2x12, laminated boards, or plywood with edge banding)
- Two side supports (plywood panels or simple 2x framing)
- A lower shelf for shoes (optional)
Build notes
Keep the joinery simple: screws plus glue, with plug holes if you want a cleaner look. If you want it to feel extra sturdy, add a back stretcher and a front stretcher under the seat.
Comfort tip: Aim for a seat height around 17 to 19 inches. That range works for most people without feeling like you are sitting on a toddler chair.
Basics that help every build
Measure, mark, then measure again
I am not saying you will cut the wrong board. I am saying wood has a long history of tricking good people into cutting the right board to the wrong length.
Predrill near board ends
Predrilling prevents splitting, especially in pine. A countersink bit is worth its weight in saved frustration.
Sand in stages
80 grit shapes, 120 grit smooths, 180 grit preps for finish. Skipping grits usually means you sand longer and still wonder why it looks scratchy.
Finish options in plain English
Paint: best for poplar, MDF, and paint-grade pine. Use primer first for a smoother result.
Stain: looks great, but pine can stain blotchy. A pre-stain wood conditioner makes pine behave more like it is trying to help.
Clear coat: the simplest protection for most indoor projects. Water-based poly stays clearer. Oil-based poly warms the color and is a bit more forgiving on brushed surfaces.
Finish is optional, protection is not
Indoor utility builds can stay raw. Anything that sees moisture or lots of handling should get a finish. Even a simple clear coat helps.
FAQ
What wood is best for beginners?
Pine is affordable and easy to find, but it dents easily. Poplar is a great step up for paint-grade furniture. For outdoor projects, cedar is beginner-friendly and naturally rot-resistant.
Do I need a table saw?
No. A circular saw with a straightedge guide can handle most cuts here. A miter saw is helpful for repeatable crosscuts, but it is not required.
How do I keep projects square?
Use a combination square while assembling, clamp first, then fasten. Also check diagonals on rectangles. If both diagonal measurements match, you are square.
What is the easiest first project?
A bathroom tray, picture ledge, or coat rack is a great warm-up. Small parts, quick wins, and you still end up with something you use daily.
Pick one and build
If you are stuck on which project to start with, choose the one that solves a real annoyance in your house. A shoe pile, a lack of shelves, nowhere to hang coats. Practical projects get finished because you will want the result.
And if your first build is not perfect, welcome to the club. The point is not perfection. The point is that next time, you will know exactly what to do, and you will already own the tools.