Turn a frustrating wire-shelf closet into a custom wood organizer with sturdy shelves and better hanging space, without spending custom-closet money.
home improvement and DIY
Convert a Closet Into a Home Office (Cloffice)

Marcus Hayes
Marcus Hayes is a lifelong DIY enthusiast and former residential carpenter who has spent the last decade renovating his 1970s fixer-upper. Through Tinksmith, he shares his hands-on experience to help fellow homeowners tackle repairs, choose the right tools, and build spaces they love without breaking the bank.
Published October 17, 2026
Updated October 17, 2026
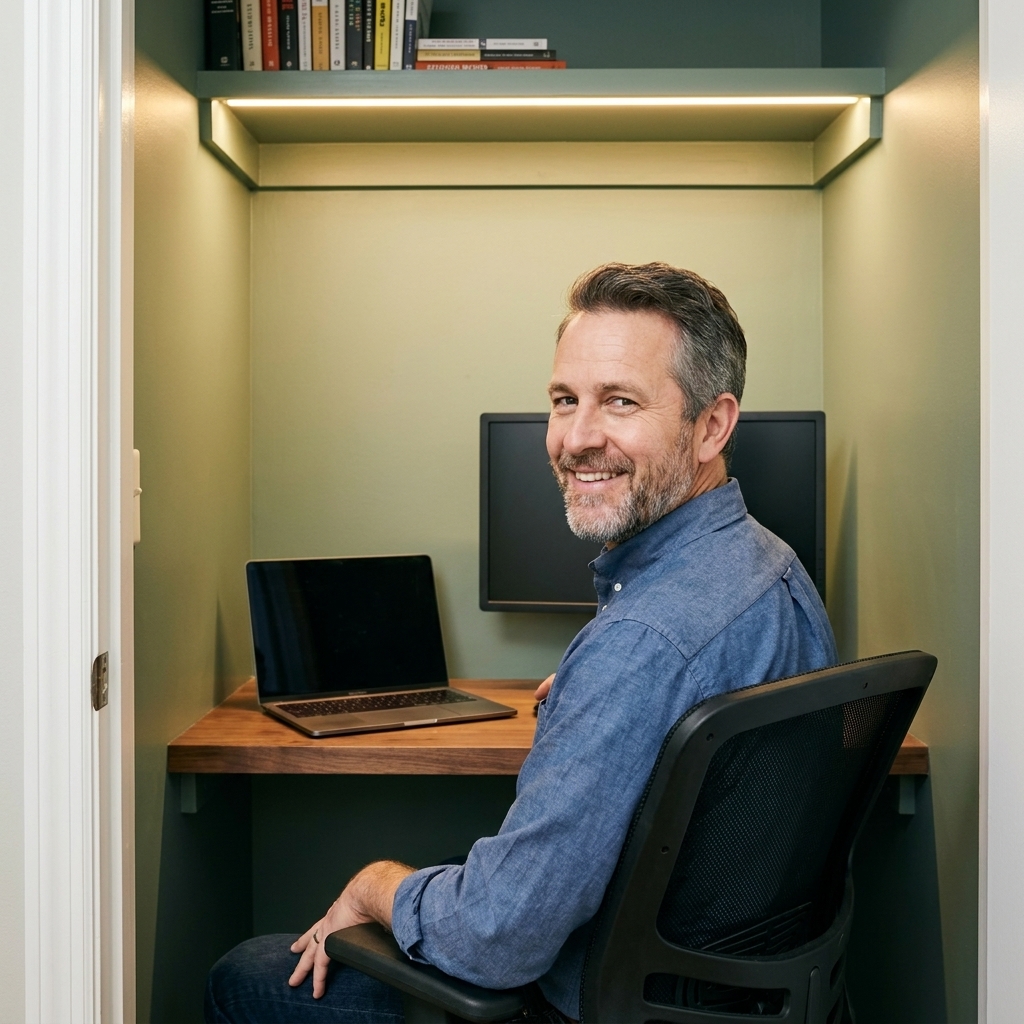
If you have a closet that mostly stores regret, mismatched hangers, and that one vacuum attachment nobody understands, you have cloffice potential. A closet office is one of my favorite small upgrades because it is basic carpentry, a little planning, and a few smart choices that make a tiny space feel surprisingly legit.
This guide walks you through the whole thing: ripping out old wire shelving, building a rock-solid built-in desk, and adding lighting that does not make you look like you are telling ghost stories on video calls.
Before you start: will it work?
Most standard reach-in closets can work. You are looking for three things: enough usable depth for a desk and your knees, a plan for power, and a way to keep the space from feeling like a cave.
Minimum dimensions
- Depth: 24 inches is a practical minimum for a desktop, but it can feel tight for a monitor plus keyboard and mouse. Many people prefer 27 to 30 inches. Measure the clear depth you actually have after baseboards and trim.
- Width: 36 inches works for a laptop station. 48 inches is a sweet spot for a monitor and some elbow room.
- Height: Typical closet height is fine. Fixed desks are often around 28 to 30 inches high. The goal is elbows near 90 degrees when you type.
Knee clearance (do not skip this)
Before you build anything, check knee space. A helpful rule of thumb is at least 18 inches of clear knee depth under the desk, more if you like to sit back. If your closet depth is borderline, you can cheat the desk shallower and use a monitor arm to reclaim space.
Doors: keep, remove, or replace
- Keep the doors if you want to hide the office after hours. Great for shared spaces.
- Remove the doors if you want it to feel open and brighter.
- Swap to curtains or bifolds if swing doors block the room or you want easier access.
Electrical reality check
If you already have an outlet inside the closet or on the wall just outside, your job is easier. If not, plan your approach now, including where cords will run and where your power strip will mount (under the desk is usually the cleanest).
- Best: add an outlet and hardwired light (may require an electrician depending on comfort and local code).
- Good: add a plug-in sconce or a plug-in under-cabinet style light and manage the cord neatly in a paintable raceway.
- Okay in a pinch: a power strip, but only if it is mounted securely and not buried under papers.
Tools and materials
You do not need a truck full of specialty gear. Here is a practical list.
Tools
- Drill and driver bits
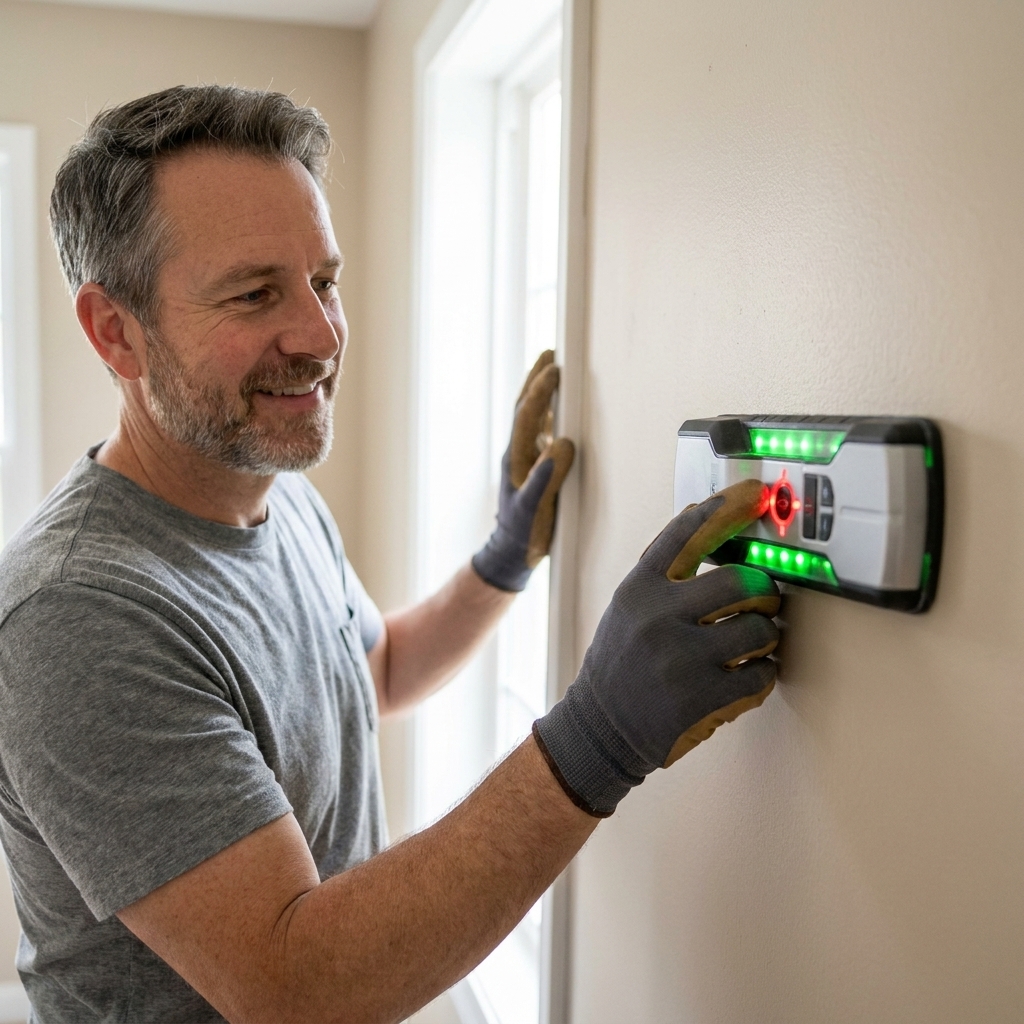
- Stud finder
- Level (2-foot is fine)
- Tape measure
- Pencil and painter’s tape
- Pry bar or flat bar
- Utility knife
- Oscillating multi-tool (handy for trim and tight cuts)
- Miter saw or circular saw with a straightedge guide
- Sander or sanding block
- Caulk gun
Materials (typical build)
- Wood for the desktop: 3/4-inch plywood, butcher block, or laminated panel
- Edge banding or 1x2 for a clean front edge (optional but looks great)
- Ledger boards or cleats: 1x2 or 1x3
- Support options: wall cleats, side panels, or brackets
- Screws: 2 1/2 to 3 inches for cleats into studs, 1 1/4 inches for plywood into cleats
- Spackle and patch material for old shelf holes
- Primer and paint (semi-gloss for durability is my usual)
- Lighting: recessed puck lights, a slim flush-mount, or LED under-shelf lighting
- Outlet upgrade or power management (grommet, raceway, cable clips)
Safety note: Closets are cramped. Wear eye protection for demo, and use a respirator if you are sanding old paint or cutting MDF.
Step 1: Clear it out
Empty everything. Then take five minutes to sit or stand where your chair will go. This is where you catch issues like “my knees will hit the back wall” before you build anything.
Mark your desk height
Use painter’s tape to mark a level line at 28 to 30 inches from the floor. If you are tall or you use a thick chair cushion, you might bump to 30 inches. If you plan a keyboard tray, keep the desktop closer to 28 to 29 inches.
Plan where you will face
- Facing the back wall looks tidy and lets you shut doors easily, but you are working in a little cave. Lighting matters more.
- Facing out into the room can feel more open and helps with ventilation, but you need to make peace with seeing your desk from the main space.
Decide where the monitor and cables go
- Plan a cable hole (grommet) near the back corner.
- If you want a monitor arm, make sure the desktop edge and thickness will accept a clamp.
- Think about ventilation if you are docking a laptop inside a tight nook.
Step 2: Remove old shelving
Wire shelving is the glitter of closets. It gets everywhere and leaves little holes as souvenirs.
Demo without wrecking walls
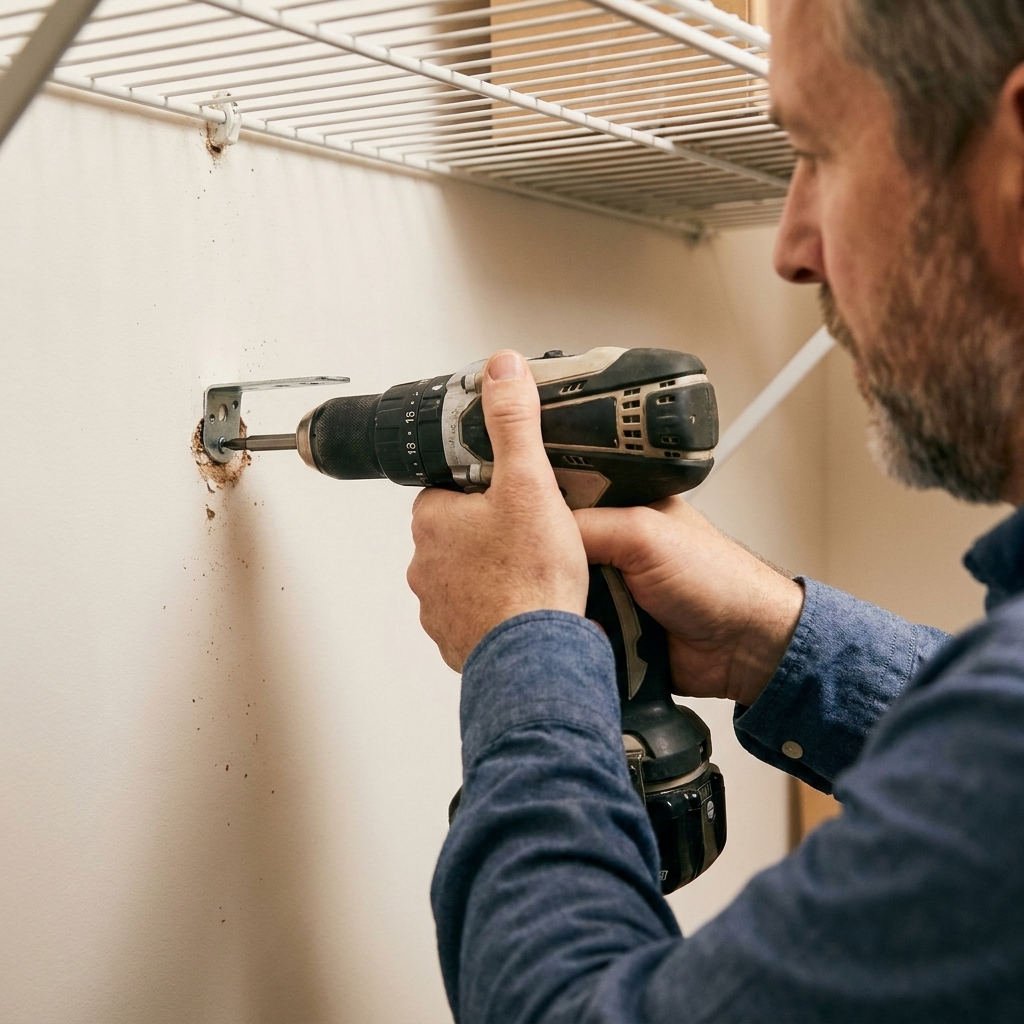
- Start by lifting the wire shelf up and out of its wall brackets.
- Unscrew any visible brackets. If anchors spin, gently pry while backing the screw out.
- If you can pull an anchor out cleanly, do it. If it will not come out without tearing the wall, you can push it slightly into the cavity and patch over it. Avoid doing this on an exterior wall where you might have a vapor barrier, and do not leave anything loose that can rattle.
- Pull any center supports that are nailed into the drywall using a flat bar. Go slow to avoid paper tears.
Step 3: Patch and prep
Good prep is the difference between “custom built-in” and “I built this at 11 pm on Sunday.”
Patch holes and torn drywall
- Fill small holes with spackle in two thin coats.
- If drywall paper tore, seal it with a primer meant for damaged drywall or a thin coat of joint compound before priming.
- Sand smooth with 120 to 220 grit, then wipe dust.
Paint before you build
Paint the walls and trim now. It is faster and cleaner than cutting in behind a desk later. Lighter colors help a closet feel bigger. My usual move is white walls with a slightly warmer trim, but do what makes you happy.
Step 4: Build a desk that will not sag
A cloffice desk needs real support. The usual culprit in tiny offices is a desktop that looks fine for two months, then slowly becomes a skateboard ramp.
Pick your desktop
- 3/4-inch plywood (budget-friendly): Strong, stable, and easy to cut. Use edge banding or a wood face strip so the front edge looks finished.
- Butcher block (ready-made look): Heavier, more expensive, very durable. Seal it well.
- Laminated panel (easy wipe-down): Great for crafts and kids, but make sure it is supported well.
Three proven support methods
Pick one based on your closet width and how built-in you want it to look.
- Wall cleats on three sides: Fast, strong, and clean. Best if your walls are reasonably square.
- Side panels (cabinet-style): Adds storage and stiffness. Great for wide closets.
- Heavy-duty brackets: Quick install and easy to remove later. Choose brackets rated for the load and place them so they do not steal knee space.
My go-to: cleats + a front stiffener
This is the sweet spot for most DIYers.
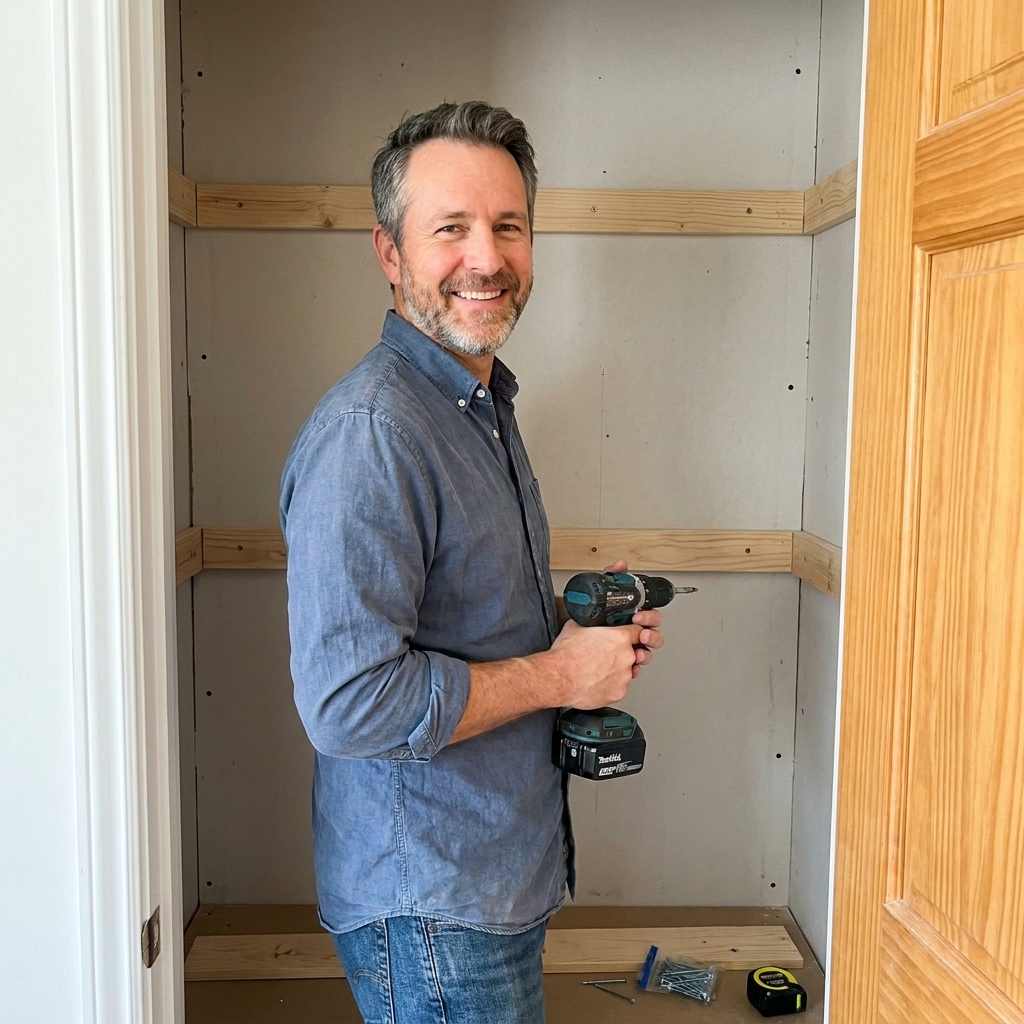
- Find studs on the left, right, and back walls.
- Install level cleats (1x2 or 1x3) on three sides at your tape line using 2 1/2 to 3 inch screws into studs.
- Pre-drill your 1x material to avoid splitting, especially near the ends.
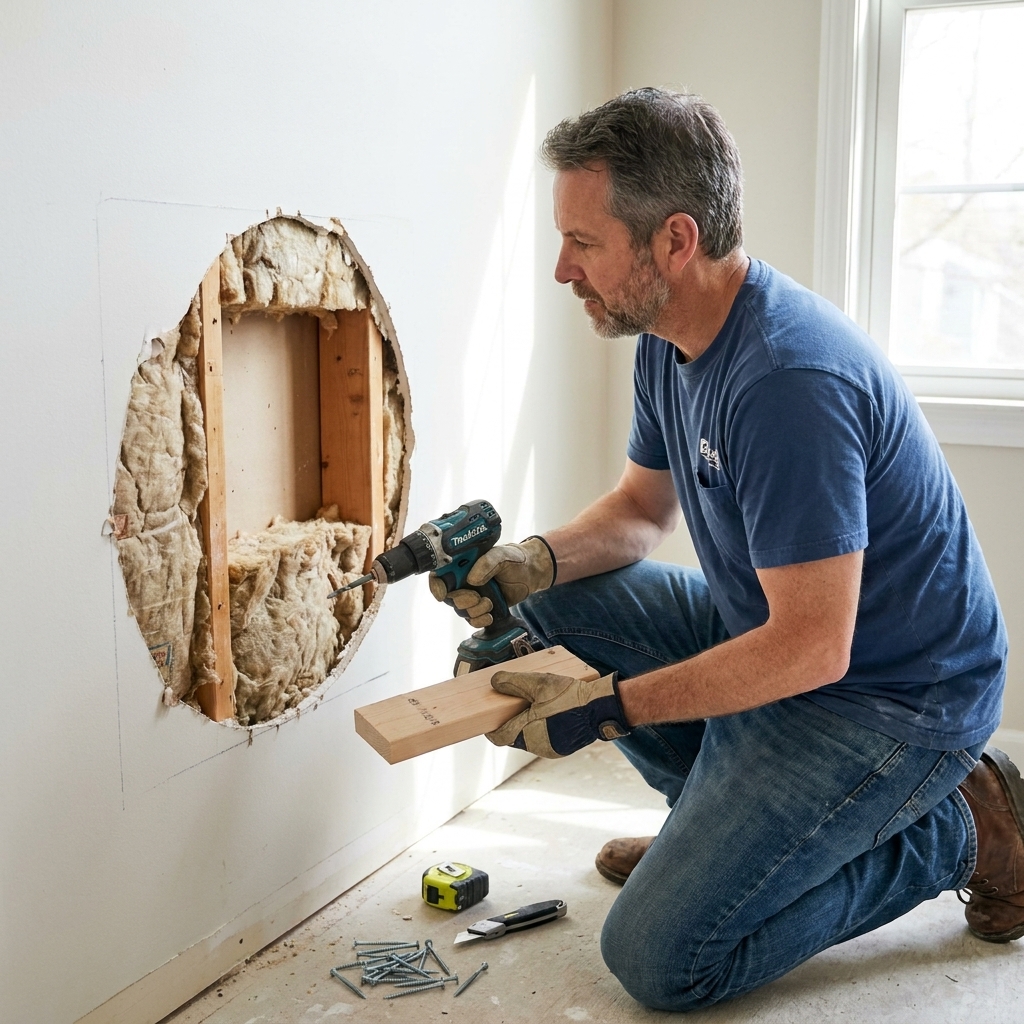
- If studs are not where you need them, try not to rely on drywall anchors for primary desk support. Better options: run a ledger that spans studs, add side panels, or open the wall to add blocking if you are doing a more permanent build.
- Cut the desktop to fit with a small expansion gap, about 1/8 inch on the sides and back.
- Add a front stiffener: screw and glue a straight 1x2 or 1x3 under the front edge of a plywood top. This dramatically reduces sag.
Step 5: Add good lighting
If there is one upgrade that makes a cloffice feel like a real room, it is lighting. Overhead closet lights are usually dim, awkwardly placed, or controlled by a pull chain that belongs in a noir detective movie.
Best lighting options
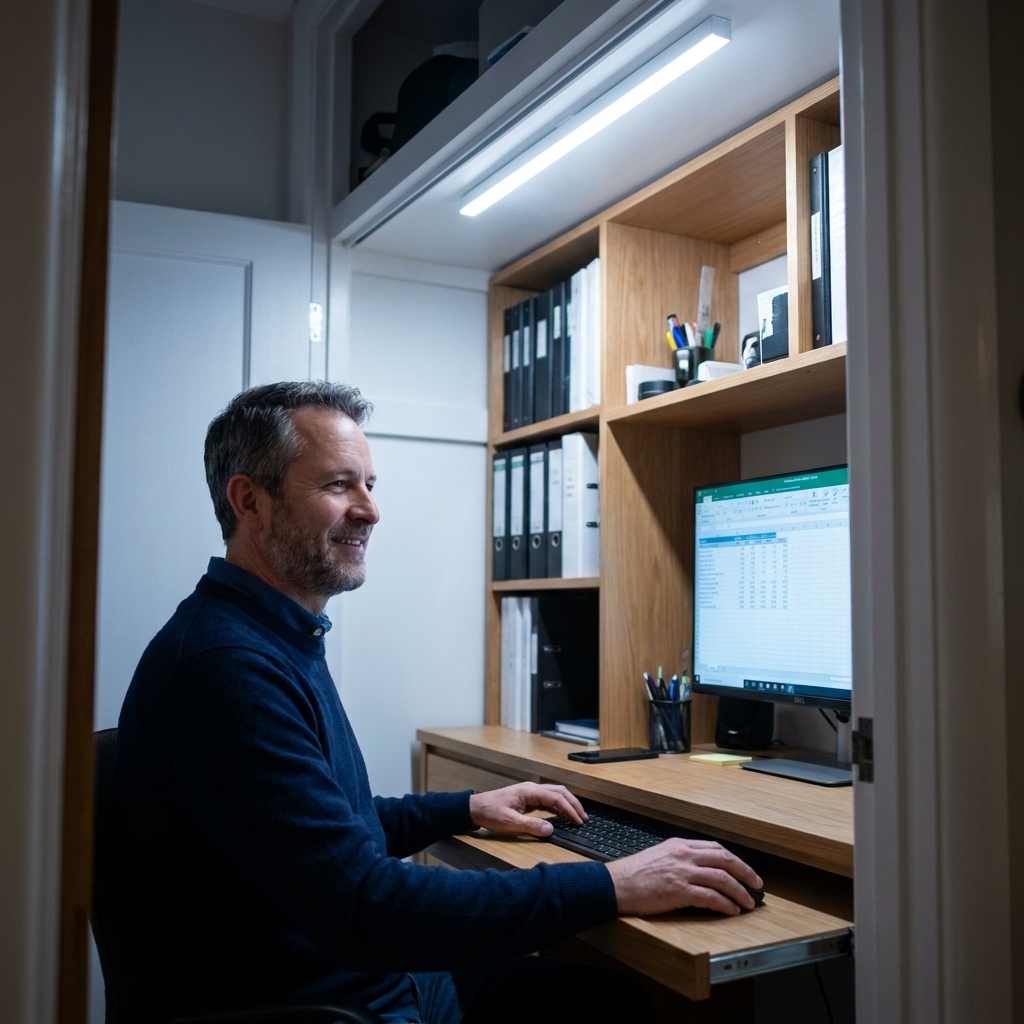
- Slim LED flush-mount: Bright, even light. Great if you can wire it and the ceiling box location makes sense.
- Recessed LED wafer light: Very clean look, low profile, bright. Often used when ceiling space is tight.
- LED puck lights under a shelf: Perfect if you keep an upper shelf for storage. Adds direct task light onto the desktop.
- Plug-in sconce: Nice if you are not opening walls. Use a cord cover to keep it tidy.
Color temperature and brightness
- Color temperature: 3000K to 4000K is comfortable for work. 2700K feels cozy but can feel dim. 5000K can feel harsh in small spaces.
- Brightness: Aim for roughly 800 to 1500 lumens total in the closet, then add a task light if you do detailed work or you are on video calls a lot. Wall color and doors make a big difference, so be ready to adjust.
Electrical and closet rules
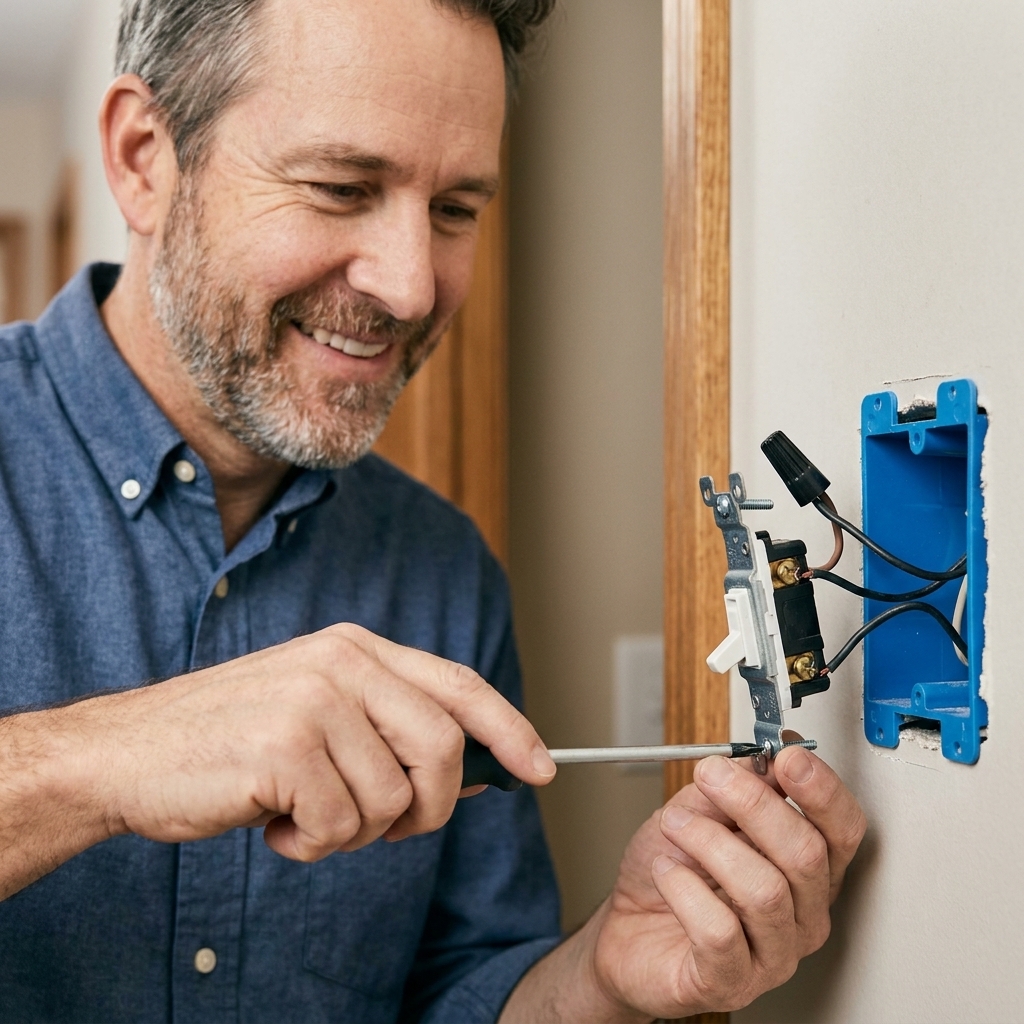
If you are adding a new light, switch, or outlet, follow local code and pull permits when required. Also, because you are working in a former closet footprint, double-check clearance and fixture requirements that apply to closets in your area, especially if you are keeping any storage above or around the desk. If you are not comfortable working with wiring, hire a licensed electrician for that piece. You can still do the carpentry and finish work yourself and save plenty.
Step 6: Power and cables
A cloffice can go from tidy to spaghetti bowl fast. Plan for cords like you plan for sawdust, which is to say assume there will be more than you think.
Outlet placement
- Ideal: one outlet above desktop height so plugs do not fight your knees.
- Also helpful: a second outlet low for a printer or shredder if you are adding one.
Easy cable upgrades
- Use a desk grommet for clean cable pass-through.
- Mount a power strip under the desk with screws, not tape.
- Run cords in a paintable surface raceway down the wall if needed.
- Add adhesive cable clips for chargers and USB cords.
Basic fire and overload safety
- Use a surge protector for electronics.
- Do not daisy-chain power strips or surge protectors.
- Keep bricks and adapters where they can breathe, not buried under notebooks and mail.
Step 7: Shelves (optional)
Most cloffice builds keep at least one upper shelf. The trick is to place it so you do not bonk your head every time you stand up like a confused prairie dog.
Shelf placement
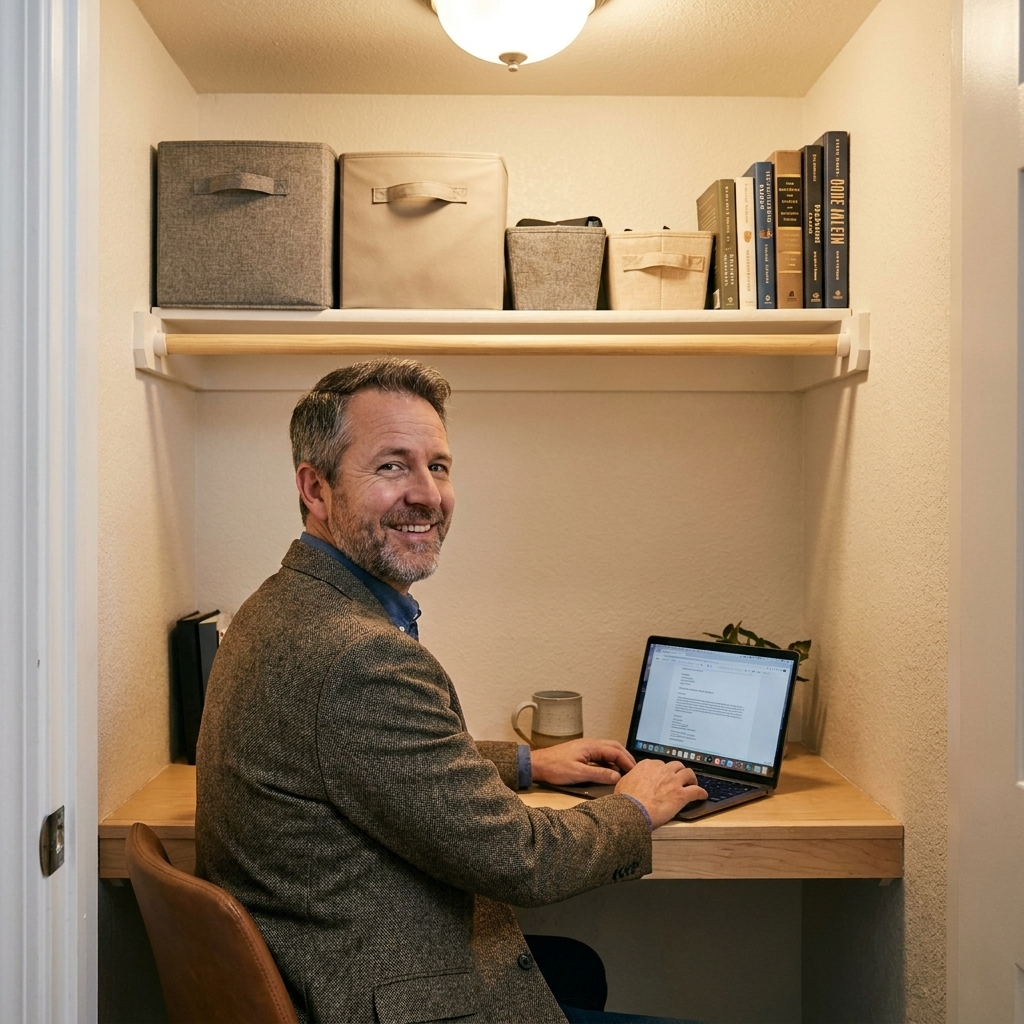
- Start around 18 to 20 inches above the desktop for a usable shelf that still leaves monitor clearance.
- Keep frequently used items within easy reach. Put rarely used storage up high.
Stronger than wire
A simple 3/4-inch plywood shelf with a solid wood face strip, supported by cleats, feels clean and holds more than wire ever did.
Step 8: Make it feel built-in
These are the small steps that make people say, “Wait, that used to be a closet?”
- Caulk seams where the desktop meets the wall if you want a built-in look. Use paintable caulk and keep the bead small.
- Add trim to the desk front edge or around side panels to match the room.
- Touch up paint after installation. Closets love to scuff.
- Consider a chair-friendly floor like a low-pile rug, a small mat, or a hard chair mat if you have carpet.
- Help the acoustics if your closet echoes. A rug, a fabric pinboard, or even a felt panel can make calls sound less like you are broadcasting from a well.
Budget and timeline
This is one of those projects where you can spend as little or as much as you want.
- Weekend budget build: $75 to $250 (plywood top, cleats, paint, basic lighting)
- Mid-range built-in: $250 to $700 (butcher block, upgraded light, shelves, nicer trim)
- With electrical work: add $150 to $600+ depending on access and complexity
Timeline: Most DIYers can do demo and patching day one, paint day two, then desk and lighting on day three. If you are only working weekends, plan for two weekends so you are not rushing dry times.
Common mistakes
- Under-supporting the desktop: Use cleats into studs and add a front stiffener for plywood tops.
- Relying on anchors for primary support: Anchors are fine for light loads, but a desk is not the place to gamble. Span studs, add side panels, or add blocking.
- Building before painting: Paint first. Future-you will thank you.
- Forgetting knee space: Avoid deep drawers or big brackets right where your legs go.
- Dim lighting: A closet needs more lumens than you think. Add task lighting if needed.
- No cable plan: Add a grommet and mount the power strip from day one.
- Heat buildup: Do not trap a desktop tower in a sealed box, and stick with low-heat LEDs. If you keep doors, crack them or add a small quiet fan.
FAQ
Do I need to remove the closet doors?
Nope. If you like a cleaner look, keeping doors is great. Just make sure you have enough clearance for your chair and that the doors do not smack your knees or monitor.
Can I build a cloffice without cutting drywall?
Yes. You can remove shelving, paint, build a desk on cleats, and use plug-in lighting. If you need more outlets, that is the part that may require opening a wall or bringing in a pro.
What is the best desk depth for a closet office?
Twenty-four inches is the minimum I recommend, but it can feel tight. If you can do 27 to 30 inches, it feels less cramped, especially with a monitor.
How do I set up monitor height?
A simple baseline: put the top third of your screen near eye level when you sit upright. If you are short on desk depth, a monitor arm helps because you can push the screen back and keep the keyboard where your hands want it.
How do I ventilate a cloffice?
If the doors stay closed while you work, consider leaving them cracked, using a small quiet fan, or choosing a low-heat LED light. Laptops and people both appreciate fresh air.
Final pep talk
A cloffice is basically a small built-in. Take your time on the layout, screw cleats into studs, and do not skimp on lighting. The result is a dedicated workspace that costs way less than adding a room and, best of all, it makes that closet finally earn its keep.