Build a reliable homeowner tool kit with these 15 hand-tool essentials. Includes what to buy, what to skip, and the repairs each tool handles best.
home improvement and DIY
Clean, Sharpen, and Maintain Your Hand Tools

Marcus Hayes
Marcus Hayes is a lifelong DIY enthusiast and former residential carpenter who has spent the last decade renovating his 1970s fixer-upper. Through Tinksmith, he shares his hands-on experience to help fellow homeowners tackle repairs, choose the right tools, and build spaces they love without breaking the bank.
Published October 17, 2026
Updated October 17, 2026
Most hand tools do not “wear out” so much as they get ignored. A chisel gets dull, a plane gets sticky, pliers get gritty, and suddenly you are muscling through work that used to feel easy. The good news is tool maintenance is mostly small habits: clean off the gunk, knock back rust early, sharpen when it is only mildly dull, and store tools so moisture cannot camp out on them.
Below is the exact routine I use in my own 1970s fixer upper, where my tools see everything from drywall dust to surprise plumbing leaks. None of this requires fancy machines, and you can do a full “tool spa day” in an afternoon.
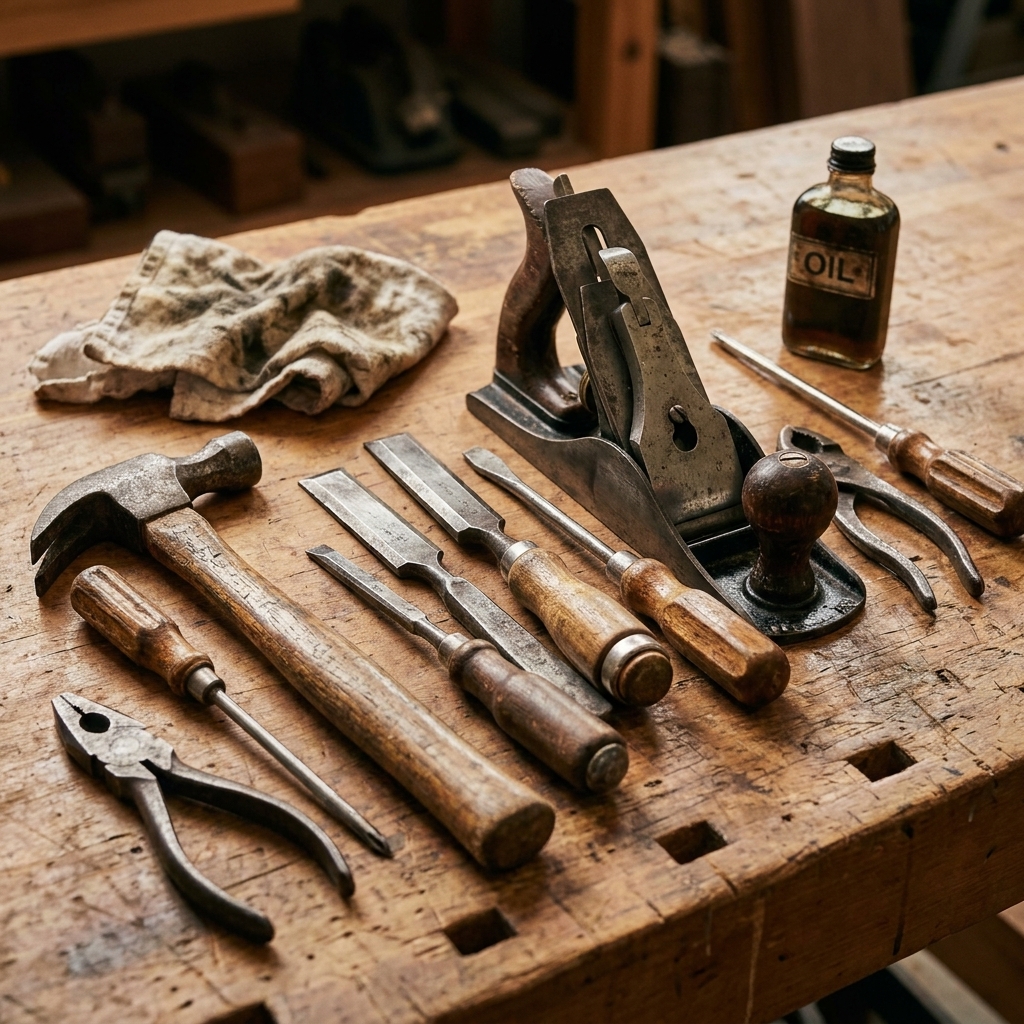
What you need
You can go deep down the rabbit hole with sharpening systems, but you do not have to. Start with the basics and upgrade only if you enjoy it. I do, but I am also the guy who alphabetizes sandpaper grits, so take that for what it is.
Cleaning and rust removal
- Shop rags or old T-shirts
- Stiff nylon brush and an old toothbrush
- Mild dish soap
- Mineral spirits or citrus degreaser (for sticky resin and old oil)
- 0000 steel wool or a synthetic abrasive pad
- Rust remover option A: white vinegar
- Rust remover option B: citric acid powder (gentler smell, very effective)
- Wire wheel (optional) for a drill or bench grinder, used carefully
Steel wool note: Steel wool sheds tiny metal fibers. Those can rust and stain wood, and they love sticking to magnets and motors. If you are cleaning near power tools, finishes you care about, or anything you do not want speckled later, a synthetic pad is usually the safer play.
Sharpening
- Diamond stone or water stones, or even a decent combination oil stone
- Honing guide (optional but helpful for chisels and plane irons)
- Leather strop or a scrap of leather plus polishing compound (optional but excellent)
- Permanent marker (for checking bevel contact)
Protection and storage
- Light oil (3-in-One, sewing machine oil, or basic machine oil)
- Paste wax (great on plane soles and tool faces)
- Silica gel packs or a small dehumidifier for damp shops (optional)
- Tool roll, drawer liner, or a pegboard system
Safety note: Wear gloves when handling rusty edges and eye protection if you use a wire wheel. Ventilate when using mineral spirits or degreasers. Keep oily rags spread out to dry before disposal to reduce fire risk, and do not leave solvent-soaked rags sealed up in a container.
Step 1: Sort tools by what they need
Before you start scrubbing, do a quick triage. I group tools into four piles:
- Just dirty: dust, drywall powder, grease, tape goo
- Light rust: orange haze, tiny speckles
- Active rust: flaky, rough texture, pitting starting
- Dull or damaged edges: chisels, plane irons, scrapers, knives, pruners
This keeps you from overdoing it. Most tools need cleaning and a thin protective coat, not an all-out restoration.
Step 2: Clean off grime and old oil
General cleaning (most tools)
Start simple. Wipe everything down with a dry rag to remove loose dust. Then use warm water with a drop of dish soap on a rag for handles and painted surfaces.
- Wood handles: wipe with a barely damp rag, then dry immediately. If the handle feels fuzzy, a quick rub with a gray abrasive pad smooths it out. Finish with a tiny bit of paste wax or boiled linseed oil if you like, but do not soak it.
- Metal parts: dry them thoroughly. Water is fine for cleaning, but it is not fine for hanging out.
- Sticky residue: mineral spirits or citrus degreaser on a rag works well for adhesive, sap, or old oily grime.
Getting grit out of moving parts
Pliers, adjustable wrenches, ratchets, and snips collect grit like it is their side hustle.
- Brush out debris with a toothbrush.
- Work the joint while applying a small amount of mineral spirits to flush grime.
- Wipe clean, then add one or two drops of light oil at the pivot.
- Open and close the tool a few times, then wipe off excess oil so it does not attract more dust.

Step 3: Remove rust without ruining your tool
Rust removal is all about using the gentlest method that works. If you jump straight to aggressive grinding, you can remove plating, flatten knurling, or change a precision surface.
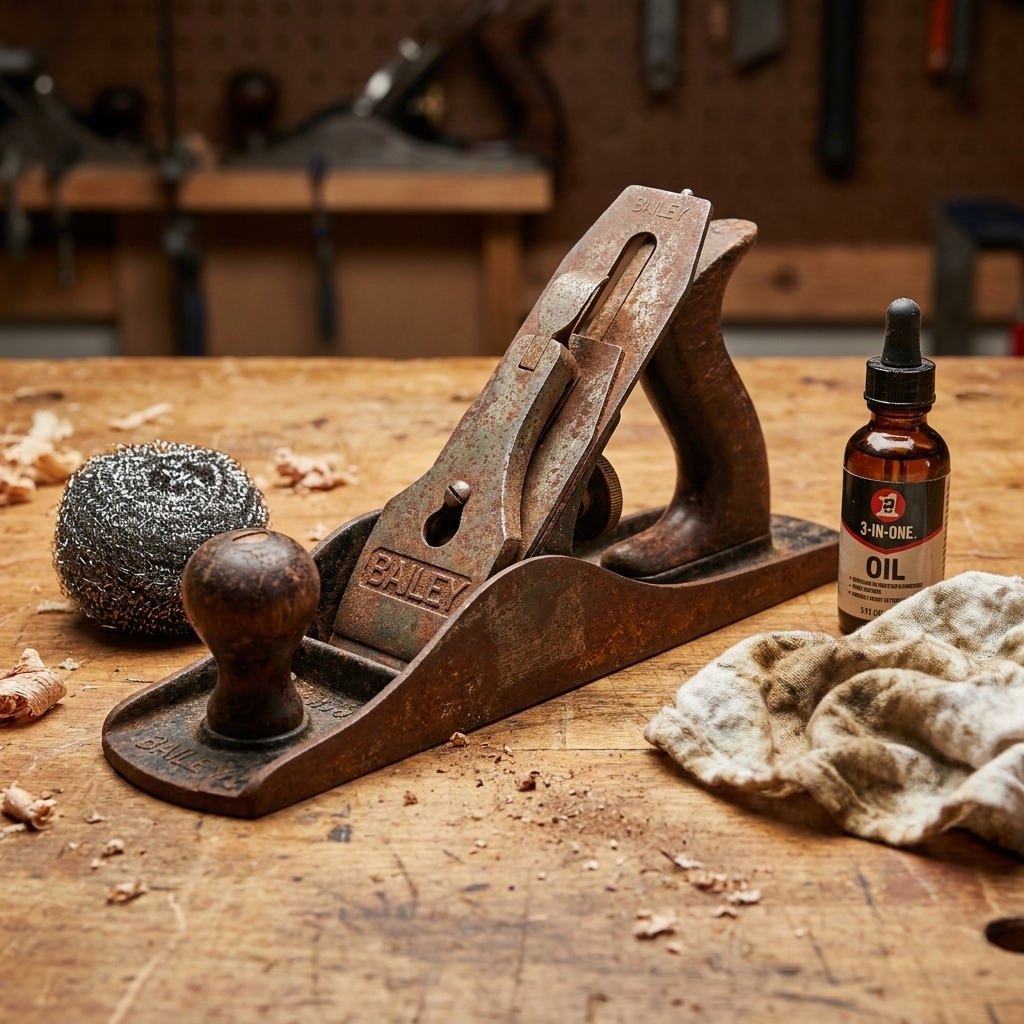
Light rust: oil and a gentle abrasive
For orange haze or peppery specks:
- Add a few drops of light oil to the rusty area.
- Rub with 0000 steel wool or a synthetic pad.
- Wipe clean, then add a fresh thin coat of oil or paste wax.
This method is fast, cheap, and preserves markings.
Moderate rust: vinegar or citric acid soak
For more stubborn rust on solid metal tools (not ones with delicate finishes or assembled parts you cannot dry well):
- Test first: acids can darken steel, strip bluing, and attack some plated surfaces. If you are unsure, try a small spot.
- Vinegar: soak 1 to 12 hours depending on severity, alloy, and finish. Check periodically.
- Citric acid: mix about 1 to 2 tablespoons per quart of warm water. Soak and check every hour.
After soaking:
- Scrub with a brush or pad.
- Rinse with water and dry immediately.
- Optional insurance: a quick wash in baking soda water can help if you suspect acid residue (especially after vinegar). The real key is a thorough rinse and fast drying.
- Apply oil or wax right away. Bare steel flash rusts faster than you would think, usually right when you turn your back to admire your work.
Avoid soaking: tools with wood handles you cannot remove, tools with hidden springs you cannot dry, aluminum or zinc parts, and anything with precision bearings. For those, stick to oil plus abrasive pads and patience.
Disposal: do not pour used acid solutions on plants or into storm drains. Follow local guidance for household chemical disposal, or dilute and dispose the way your municipality recommends.
Heavy rust and pitting: decide how far to go
If a tool has deep pitting, you can make it functional without making it “like new.” I aim for clean and protected, not museum grade.
- Hand planes and chisels: focus on the working surfaces, not every square inch of metal.
- Files: do not wire wheel them and do not sand them. You will dull the teeth. Clean files with a file card or a stiff brush. If a file is lightly rusty but still sharp, brushing often brings it back. If it is rusty and smooth, it is usually done.
- Wire wheel caution: a wire wheel can remove rust quickly, but it can also chew up edges, round corners, and fling wires like tiny darts. Use light pressure and keep firm control.
Step 4: Check and tighten
This is the unglamorous part, and it saves fingers.
- Hammer heads: make sure the head is tight. If it wiggles, fix it before you swing it.
- Wood handles: look for cracks, especially near the head on hammers and hatchets.
- Chisels you strike: if the striking end is mushroomed, dress it back with a file so it cannot chip and throw sharp fragments.
- Planes and squares: check that screws are snug and moving parts adjust smoothly. If a screw keeps backing out, a tiny dab of removable threadlocker helps.
Step 5: Sharpen blades the homeowner way
Sharp fixes a shocking number of problems. A dull chisel feels like your wood is too hard. A dull plane feels like the tool is junk. A dull utility knife makes you push harder, which is how you slip and learn new words.
Know what “sharp enough” means
For most DIY, you do not need surgical sharp. You want an edge that:
- cuts cleanly without forcing it
- does not crush wood fibers
- feels controlled and predictable
A simple test: a sharp chisel will pare end grain with steady hand pressure and leave a smooth surface, not a fuzzy one.
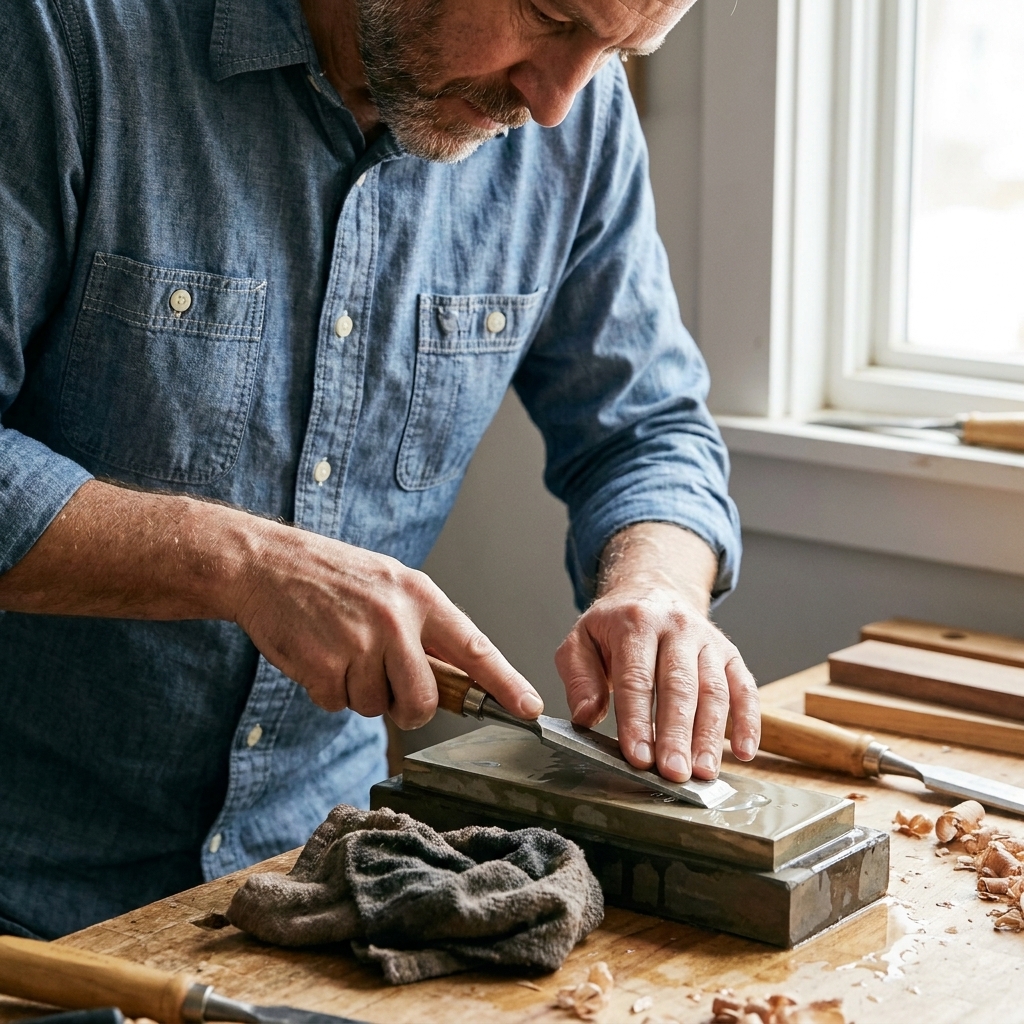
Chisels and plane irons: a reliable process
This is my go-to sequence, whether I am touching up an edge or rehabbing a thrift store rescue.
- Flatten the back (first time only, then occasionally). On a coarse stone, work the back until you have a consistent scratch pattern near the cutting edge, then refine on finer grits. You do not have to flatten the entire back, just the first inch or so.
- Set your bevel angle. A common starting point is around 25 degrees with a 30 degree micro bevel for bench chisels and plane irons. If you chop hard wood a lot, you may like a slightly steeper edge. If you do mostly paring, you can often go a little lower. Consistency matters more than the exact number.
- Grind or hone until you raise a burr. On your coarse or medium stone, sharpen until you can feel a burr along the full edge.
- Refine on finer stones. Move up grits until the scratches look uniform and the edge feels crisp.
- Remove the burr. Flip the tool and take a few light passes on the back on your finest stone.
- Strop (optional, but awesome). A few strokes on a leather strop with compound polishes the edge and makes it feel noticeably keener.
Marker trick: color the bevel with a permanent marker, take a few strokes on the stone, and look where the ink is removed. If only the heel is shiny, you are too low. If only the tip is shiny, you are too steep.
Sharpening specific tools
Hand saws
Saw sharpening is its own craft. If you want to learn it, start with a cheap saw and a proper saw file. For most homeowners, the best maintenance is preventative:
- Brush off pitch and dust after use.
- Wipe the plate with a lightly oiled rag to prevent rust.
- Store saws so teeth are protected and not banging into other tools.
If a handsaw is truly dull and you are not ready to file teeth, a local sharpening service can be money well spent, especially for a quality saw.
Pruners, loppers, and garden shears
These are some of the most satisfying tools to sharpen because the “before” is usually pretty ugly.
- Disassemble if the design allows, then clean sap with mineral spirits.
- Sharpen the beveled cutting blade only, following the existing bevel.
- Use a diamond paddle, a fine file, or a stone. Take light passes.
- Remove burrs with a couple of gentle strokes on the flat side.
- Lightly oil pivot points and reassemble.
Finish by wiping on a thin coat of oil to keep corrosion away, especially if you store tools in a shed.
Utility knives and scrapers
For utility knives, replace the blade. They are cheap, and a fresh one is safer than trying to resurrect a chipped edge.
For paint scrapers and cabinet scrapers:
- Keep the edge square and clean.
- Use a file for major shaping, then stones for refinement.
- Cabinet scrapers need a burr turned with a burnisher for best results.
Step 6: Protect metal so rust stays gone
Rust is basically metal plus oxygen plus moisture plus time. You cannot delete oxygen from your shop, so you control moisture and add a protective barrier.
Oil vs wax
- Light oil: great for pliers, wrenches, ratchets, and any moving parts. Also good for a quick wipe down after use.
- Paste wax: excellent for tool faces and surfaces that slide on wood, like plane soles, chisel sides, and squares. Wax feels less greasy and does not attract dust as much as oil.
I keep an old rag in a jar with just a little oil on it. Lightly oiled, not soaked. Wipe, use, wipe, done. It is like brushing your teeth for tools. If you want to be extra safe, use an approved oily-waste can for any rags that have oil or finish on them.
Step 7: Store tools like you want to see them again
Storage is not about looking like a catalog. It is about keeping tools protected and easy to grab. Tools that are hard to access are the ones that end up in a pile on the floor, which is where rust and broken tips go to thrive.
Good storage options
- Pegboard or wall racks: keeps tools visible and off crowded surfaces. In a dry shop it works great, but humidity control still matters.
- Drawer storage with liners: protects edges, reduces metal-to-metal contact, and keeps smaller tools organized.
- Tool rolls: fantastic for chisels and carving tools. They prevent edge dings and keep steel from rubbing together.
- Plane socks or simple covers: even a shop-made plywood till works well for hand planes.
Humidity control (especially in garages and basements)
- Keep tools off concrete floors and away from exterior walls if possible.
- Use silica gel packs in toolboxes.
- Consider a small dehumidifier if you are constantly fighting rust.
- After wet projects or plumbing surprises, dry the area and wipe tools down the same day.

A simple maintenance schedule
After each use (2 minutes)
- Brush off dust and debris
- Wipe metal with a lightly oiled rag
- Put the tool back where it lives
Monthly (15 to 30 minutes)
- Check for rust starting spots and address them early
- Oil pivots on pliers and snips
- Touch up frequently used edges with a fine stone or strop
- Quick safety check for loose heads, cracked handles, and mushroomed ends
Seasonal (1 to 2 hours)
- Deep clean gummed up tools
- Sharpen chisels, plane irons, pruners
- Wax plane soles and squares
- Reorganize storage so tools are not rubbing together
Troubleshooting
My tool keeps rusting right after I clean it
This is usually flash rust or leftover moisture. Dry thoroughly, use a hair dryer or heat gun on low if needed, then apply oil or wax immediately. Also check your storage area for humidity.
My chisel gets sharp but dulls fast
Common causes are a bevel angle that is too low for what you are doing, or you are working against nails, screws, or hidden grit. Add a slightly steeper micro bevel (around 30 degrees is a good start), and keep a cheap metal detector handy if you reclaim lumber.
My plane chatters and feels scratchy
It might be dull, but it also might be dirty. Clean the sole, wax it, and make sure the blade and chipbreaker are seated properly. A tiny bit of pitch or sawdust in the wrong place can make a plane feel possessed.
Should I paint tools to prevent rust?
Paint is fine on non-working surfaces, but do not paint cutting edges or precision surfaces. For rust prevention, oil and wax are more practical and easier to maintain.
Quick checklist
- Clean first, then remove rust, then sharpen, then protect
- Use the gentlest rust method that works
- Sharpen before tools get totally dull
- Oil moving parts, wax sliding surfaces
- Store tools dry, separated, and easy to grab
If you build these habits, your hand tools will feel better every time you pick them up. And if anyone asks why your 20 year old chisel still works like a champ, you can tell them the truth: you give it occasional spa days and try not to store it in a swamp.